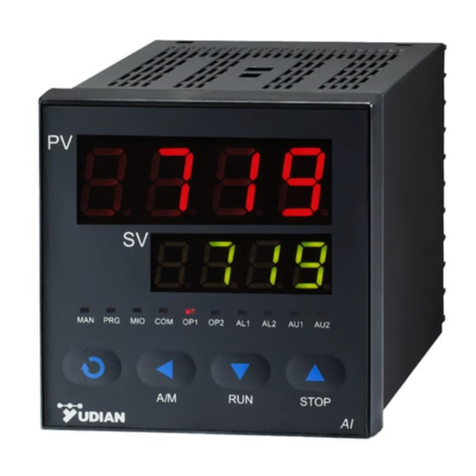
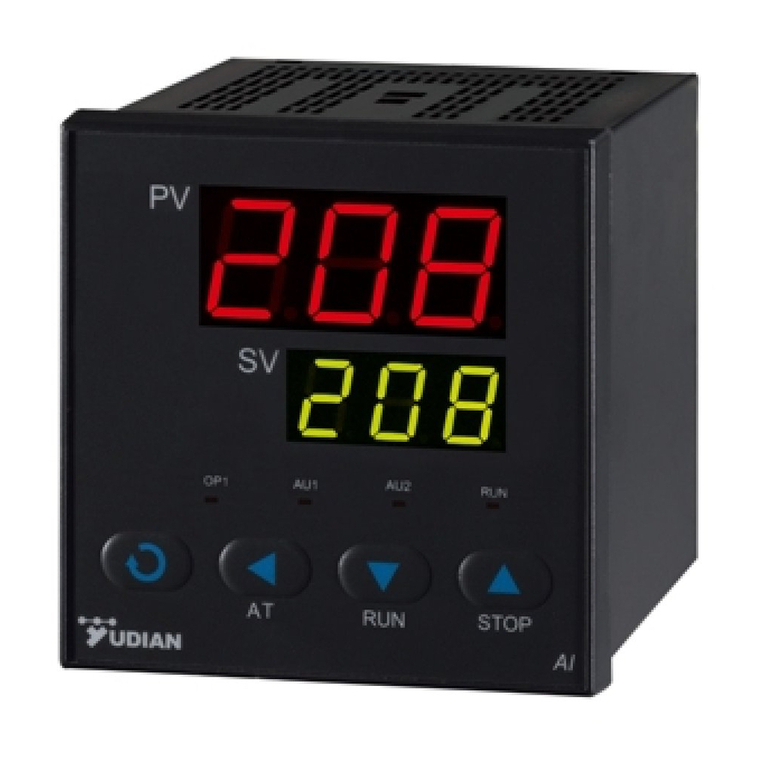
Yudian AI-7048 Technical manual

AI-7048 ARTIFICIAL INTELLIGENCE INDUSTRIAL CONTROLLER
Operation Instruction
Ver. 7.5
Dimension D5

1
1. SUMMARY
AI-7048 is capable of measuring and controlling four channels of temperature, and every channel
can define its own input specification.
AI-7048 can either work independently or cooperate with computer or PLC (Programmable Logic
Controller). It features:
●Providing up to four channels of configurable inputs, and supporting multiple thermocouple
inputs with auto reference junction compensation and linear voltage (mV) inputs with user
defined scale. Every channel has its own digital filtering and can adjust its filtering degree.
●High performance hardware design, which greatly decreased temperature drift and the
interference among the four channels. Therefore, this multi-channel instrument obtains the
same measurement accuracy and anti-interference ability as that of single channel instrument.
●Every channel has independent high/low alarms, and the alarms can be allocated to different
alarm outputs or to the same alarm output (Just available for Dimension E5).
●Friendly and customized operating interface leads to easy learning and simple manipulation.
Up to 12 parameters can be promoted to immediate operator access in Field Parameter Table.
●Advanced communication functions, compatible with the communication protocol of other AI
series instruments. One AI-7048 communicates with the host computer the same as four
independentcontrollers.
●Universal power supply of 100-240VAC or 24VDC.
●New generation D5/E5 rail mounted dimension. The width of D5 is only 22.5mm. The
instrument can be easily configured by connecting to handset display.
●ISO9001 and CE certified and satisfied with EMC standard, achieving world class level of quality,
anti-interference ability and safety. The power and all I/O terminals passed 4KV/5KHz EFT test,
and the instrument can work stably under interference.
2. Technical Specification
Input type:
Thermocouple: K, S, R, E, J, T, B, N, WRe5-WRe26
Linear voltage: 0~20mV, 0~60mV, 0~100mV, 0~1V, etc.
Instrument Input range
K(0~1300 ), S(0℃~1700 ), R(0℃~1700 ), T(℃-200~+350 ), E(0℃~1000 ),℃
J(0~1200 ), B(0℃~1800 ), N(0℃~1300 ), WRe5℃-WRe26(0~2300 )℃
Linear Input: -9990~+30000 units defined by user.
Measurement accuracy : 0.2%FS ± 0.1℃
Note 1: For thermocouple input with internal compensation, cold junction compensation error up to 1℃
should be considered.
Note 2: B thermocouple can obtain the above measurement accuracy only at the range of 600~1800 .℃
If B type thermocouple apply to measure temperature at 60~600 wi℃ll cannot obtain accuracy.
Sampling rate: 250ms
Control period : 0.48 sec / 4 channels
Output : SSR voltage, 12VDC/20mA each channel
Temperature shift : ≤0.01%FS / (typical value is 60ppm/ )℃℃
Electromagnetic compatibility (EMC) : ±4KV/5KHz according to IEC61000-4-4;
4KV according to IEC61000-4-5.

2
Isolation withstanding voltage : Between power, relay contact or signal terminal ≥2300VDC;
Between SSR voltage output and thermocouple input
≥600VDC
Power supply : 100~240VAC, -15%, +10% / 50Hz; 120~240VDC; or 5VA.
Operating Ambient : temperature (-10~60) ; humidity ≤90%RH℃
3. Rear Terminal Layout and Wiring
This is wiring graph for E5, and ALM is an optional alarm
module.
In AI-7048 size E5(DIN rail), E(48X96)mm, F(96X48)mm
and A(96X96)mm, those size can have the alarm action
output after installed the following modules:
L1 : Relay output module (2A/240VAC, NO+NC)
L5 : Dual relay output module (2A/240VAC, NO), can
change to NC by mode by change the parameter “ nonc”
The wiring layout of D5 size. (22.5 X 100)mm, DIN rail.
D5 size no drycontact alarm output.
Terminal 1 and 2:
Power supply of 100~240VAC 50Hz or 24VAC/DC.
Terminal 9-12:
The positive poles of thermocouple inputs of channel 1-4;
Terminal 15 and 16:
The common
Negative pole of thermocouple inputs and can be free connected.
Terminal 5-8:
The positive poles of SSR voltage outputs of channel 1-4
Terminal 3-4:
The common
Negative pole of SSR voltage outputs, and be free connected. The SSR voltage outputs is
12-16VDC/20mA with protection for short circuit.
Terminal 13 and 14:
RS485 communication.
“MODE” LED: indicate the status of communication and alarm.
COMM
OP3
COM
A
LM
COMM
A
L2
1
2
3
4
5
6
7
8
9
10
11
12
15
16
17
18
19
20
13
14
A
L1
OP4
+
+
A
B
100-240VAC~
+
+
COM
COM
N/ON/O
N/O
N/C
+
+
CJC
OP2
OP1
IN4
IN3
IN2
IN1
O P 3 O P 4O P 1 O P 2
IN 4
IN 3IN 2IN 1
1 41 3
R S 4 8 5
AB
9 1 0
1 61 5
C O M -
1 21 1
O P 4
O P 1
O P 3
O P 2
M O D E
21
5 6
1 0 0 - 2 4 0
V A C ~
43
87
C O M -

3
①
②
③
④
A/M
RUN/HOLD
STOP
⑤
⑥
“OP1-OP4” LED: indicate the output of channel 1-4.
4. DISPLAYS AND OPERATIONS
①Upper display window, displays PV, parameter
code, etc.
②Lower display window, displays SV, parameter
value, channel no. or alarm code.
③Setup key, for accessing parameter table and
conforming parameter modification.
④Data shift key, or for switching the channel display
in manual/auto.
⑤Data decrease key, and also for displaying the
previous channel.
⑥Data increase key, and also for displaying the next
channel.
Operation Instructions:
1. Switch between channels:
Press to display to the previous channel
Press to display the next channel.
Press can switch between auto multi-channel circulating display status and normal display.
2. Set parameters:
Keep pressing about 2 seconds can access Full Parameter Table (When the parameter lock
“Loc” isn't locked. Loc=808.)
Pressing can go to the next parameter,and pressing 、or can modify a parameter.
Setpoints (SV) can be set by pressing 、or
Press key to decrease the value.
Press key to increase the value.
Press key to move to the digit expected to modify.
Keep pressing or , the speed of decreasing or inscreasing value gets quick. The range of
setpoint is between the parameter SPL and SPH.
Pressing and holding can return to the preceding parameter. Pressing (don't release) and
then press key simultaneously can escape from the parameter table.
When the parameter is locked, pressing can display Field Parameter Table which includes up to
12 parameters selected by user.
The instrument will escape auomatically from the parameter table if no key is pressed within 25
seconds, and the change of the last parameter will not be saved.
3. Alarm display:
The channel number is displayed in the lower display window.
When high or low limit alarm occurs, the first digital on the left side flickeringly displays H or L.
When an input singal is out of range, for example, the thermocouple circuit is break, the upper
window will display the upper limit or lower limit, and the lower window will flicker.

4
4. MODE indication light:
When the instrument is communicating with the host computer, the light will keep flashing in
random speed.
When the instrument hasn’t received signal from the host computer more than 6 seconds, the
indication light should flicker with the same light on time and lightoff time.
It means:
The on-off period is as long as 1.6 second means no communication and no alarm (it can be
treated as normal);
The light flashing with period 0.6 second means no communication and some general error
occurs.
The light quickly flashing with period 0.3 second means no communication and severe error
such asinputover range occurs.
The light keeping off means the instrument power off or damaged; the light keep on (longer
than 8 seconds) means the instrumentpower on butdamaged.
5. Setting Parameters:
(Note: x means channel number. It can be 1~4.)
egnargnitteSskrameRemaNretemaraP
bAud Baud rate When COMM module interface is used for communication, bAud defines the
baud rate range is 300~19200bit/s. 0 ~ 19.2K bit/S
Addr Communication
address
Every instrument in the same communication line should be assigned to
different communication address. The communication applies AIBUS
protocol. Every input channel takes one address. For example, if channel
number Cn=3 and Addr=10, then the communication address 10~12 are
assigned to the instrument.
0 ~ 80
SPx Setpoint Setpoints of channel 1~4. -999~+ 3200℃
Atx Auto tuning
0: Auto tuning function is disable
1: Active auto turning function to calculate the values of parameters P, I, d
and CtI. After auto tuning is accomplished, “At” will be automatically
changed to 0.
0~1
INPx Input
specification
Define the input specification of channel 1~ 4.
INP Input spec. INP Input spec.
S1K0
T3R2
J5E4
N7B6
8 WRe3-WRe25 9 WRe5-WRe26
10 Extended input spec. 11~24 Spare
25 0~75mV 26~27 Spare
28 Vm001~092Vm02~0
V1~013Vm06~003
32 0.2~1V
0 ~ 39
dPtx Decimal point
dPtx is set to select display resolution for channel x
for linear inputs, the corresponding display resolution of dPt=0,1,2,3 are 0,
0.0, 0.00 and 0.000
For thermocouple inputs, when dPt=0, the display resolution is 1℃; when
dPt=1, the resolution is 0.1 .℃
Note: dPt only affects the display, and has no effect on internal data.
0~3
SCLx Scale low limit SCL and SCH define the corresponding scale range of linear inputs as mV. -9999~+30000

5
SCHx Scale high limit units
Scbx Input offset
For thermocouple, the units of Scb is 0.1 . For example, when Sc℃b=-100,
the actual offset=-10 , then the measured temperature will be 10 lower℃℃
than that when Sc=0.
-1999~+4000
units or 0.1℃
FILx Digital filter
The value of FIL will determine the ability of filtering noise.
FIL=0, no filtering;
FIL=1, filtering with mean;
FIL=2~40, filtering with mean and integral.
When a large value is set, the measurement input is stabilized but the
response speed is slow. Generally, it can be set to 1 to 3.
If strong interference exists, then you can increase parameter FIL gradually to
make momentary fluctuation of measured value less than 2 to 5.
When the instrument is being metrological verified, FIL can be set to 0 or 1 to
shorten the response time.
0~40
Px Proportional
band
Proportional band in PID and APID control. Instead of percentage of the
measurement range, the unit is the same as PV.
Generally, optimal P, I, D and CtI can be obtained by auto tuning. They can
also be manually inputted if you already know the correct values.
10~9999 units
Ix Time of Integral Time of Integral in PID. No integral effect when I=0 0~9999
seconds
Dx Time of
derivative Time of derivative in PID. No derivative effect when d=0 0~999.9
seconds
H.ALx Alarm high limit x channel high alarm is triggered when PVx (the present value of x
channel)>H.ALx; alarm releases when PVx<H.ALx - HYSx. -999~+3200 ℃
L.ALx Alarm low limit x channel low alarm is triggered when PVx<L.ALx;
alarm releases when PVx>L.ALx+HYSx.
HYSx Hysteresis HYS is set to avoid high frequent alarm on/off actions caused by process
input fluctuation. It also works at auto-tuning. 0~999.9℃
AOPx
Alarm output
allocation
(D5 size not
support this
function)
A
larm
Output to
Low limit alarm High limit alarm
None 0 0
AL1 3 3
AL2 4 4
For example, AOP1=43 that the low limit alarm of channel 1 is sent to AL2,
and high limit alarms sent to AL1
0~44
Cn Number of
input channels
Define actual number of input channels. Setting range is 1~4.
When Cn=2, the lower window display the present value of channel 2 instead
of the channel number.
1~ 4
Cno First display
channel setting
If several of AI-7048 has used, this parameter can define the AI-7048 to
display assigned channel number on display. For example, when Cno=6, the
controller will display channel number from 6~9. (6, 7, 8, 9)
AF
Addition
function setting
1
Parameter “AF” was defined as below:
AF=A x 1+B x 2+Cx 3+Dx 4
A=0; Normal speed in channel cycle display;
A=1; Faster speed in channel cycle display;
B=0; C=0;
D=0; Normal application; D=1; Change all of the low alarm to be high alarm;
AF2
Addition
function setting
2
Parameter “AF2” was defined as below:
AF=A x 1+B x 2
A=0; Normal application;
A=1; Change all of the high alarm to be high deviation alarm; when deviation
value (PV – SV) > H.ALx, it will trigger the alarm. When (PV – SV) < H.ALx –
HYSx, alarm off, set the H.ALx value to maximum will disable the alarm
function.
B=0; Normal application;

6
B=1; Change all of the low alarm to be low deviation alarm; when deviation
value (PV – SV) < L.ALx, it will trigger the alarm. When (PV – SV) > L.ALx –
HYSx, alarm off, set the L.ALx value to minimum will disable the alarm
function.
nonc NO/NC
selection
Single channel relay module provides both normal open and normal close
output, while dual relay output module L5 only provides normal open output.
However, by parameter “nonc”, the NO output can be changed to NC output.
nonc = 0, AL1, AL2 (L5 is installed in ALM socket) are normal open output.
nonc = 127, AL1 and AL2 are normal close output
0, 127
Loc Parameter lock
Loc=0, Allow to display and modify parameter “Loc” and the field parameters
which is defined in EP1~EP12 .
Loc=1, Allow to display and modify parameter “Loc”, and only display field
parameters, can’t modify them.
Loc=808, allow to display and set all parameters.
Note: This setting just effect on external display. Modify parameter by
communication was always allowed.
0 ~9999
EP1-12 Field
parameter
When configuration of the instrument is completed, most parameters will not
need to be set by field operators. Furthermore, field operators may not
understand many parameters, and may probably set parameters incorrectly
by mistake and make the instrument unable to work.
EP1~EP12 define 0~12 field parameters for operators’ use in parameter
table. Their parameter values are parameters except parameter EP itself, for
example, H.AL1, L.AL1, .etc,
Parameters from EP1 to EP12 can define 12 field parameters at most, if the
number of field parameters is less than 12(sometimes even none), it is
necessary to define field parameters from EP1 to EP12 in order, the first
unused EP should be set to none.
For example, four parameters of SP1 to SP4 (all channels’ setpoints) are
need to be modified by field operators, the parameter EP can be set as :
EP1=SP1, EP2=SP2, EP3=SP3, EP4=SP4, EP5=none, Loc=0
Then only parameter SP1~4 can be displayed and modified, but via
communication, on the host computer, all parameters can be displayed and
modified.
NonE~bAud
Table of contents
Other Yudian Controllers manuals
Popular Controllers manuals by other brands

Chiyu Technology
Chiyu Technology BF-2300 user guide

Daikin
Daikin DKN-MP130-24M installation instructions

Sony
Sony UPA-PC500 operating instructions

Preferred
Preferred JC-23D2 Installation & operation instructions

Siemens
Siemens CU240E-2 operating instructions

Banner
Banner A-GAGE MINI-ARRAY MAC Series instruction manual

Orbinox
Orbinox VG08 Installation, operation & maintenance manual

bebro electronic
bebro electronic DC RS alpha manual

Prolon
Prolon VC2000 Installation and startup guide

SOMFY
SOMFY Animeo Motor Controller 6 AC IB+ DRM installation guide

Trane
Trane Tracer AH540 Setup and operation

Solarwize
Solarwize RSC-PV1230 user manual