Please refer to design drawings for proposed ducting layout.
5 x 125mm nominal diameter spigots are provided for connection to ducting. Ductwork should be securely
connected to spigots. Failure to do this will cause unnecessary air leakage and impair performance.
If applicable, Fire dampers MUST BE FITTED in accordance with Part B of the Building Regulations.
Rigid Ducting - Install using the least number of fittings to minimise resistance to air flow. Where possible, final
connection to grilles and unit should be made with a flexible connection. Mechanically fix ducts using metal
jubilee clips or heavy duty plastic cable ties and appropriate non-hardening sealant for air tightness.
WARNING: Do not use screws for connection and ensure jubilee clips are not over tightened.
Flexible Ducting - Ensure ducting lengths are kept to a minimum and ducting is pulled taut so that it is smooth
and straight. Where bends are necessary and where ducting is run in restricted areas, ensure the ducting is not
crushed. Mechanically fix ducts using metal jubilee clips or heavy duty plastic cable ties and tape seal for air
tightness.
WARNING: Should be in accordance with Building Regulations.
Ensure any ducting outside of the thermal envelope is insulated in accordance with Building Regulations.
The exhaust port of the unit must terminate to external air and be protected by a suitable wall or roof terminal.
Roof terminal to have a minimum equivalent free area of 10,000mm2.
Ensure unused spigots are capped off using the blanking caps provided.
2.4.1
2.4.2
2.4.3
2.4.4
2.4.5
2.4.6
2.4.7
2.4.8
2.4Ducting Guidelines
2.5 Electrical
WARNING: The appliance MUST be earthed. All wiring must conform to BS7671: IEE Wiring
Regulations.
WARNING: The CMEV. e / CMEV. eHT units must be isolated from the mains supply before
removing the fan motor assembly.
The installation must be carried out by a qualified Electrician.
When supplied from a 6 amp lighting circuit no local fuse is required. If electricity is not supplied via the lighting
circuit, a localised 3 amp fuse must be used (see wiring diagrams).
The CMEV.4e / CMEV.4eHT units are supplied with a pre-wired mains flexible cord – PVC sheathed, 5-core
green/yellow, blue, brown, black & grey & 0.75mm2.
‘If the supply cord is damaged, it must be replaced by a special cord/assembly available
from the manufacturer or its service agent. The replacement must be carried out by a
qualified Electrician in accordance with IEE or local regulations’.
Depending on required wiring (see diagrams), a triple-pole or a double-pole switch having a minimum contact
separation of 3.0mm must be used to provide isolation for the unit.
The recommended switches / sensors for use with either models are:
• For CMEV.4e, wire using either switch-live (lighting circuit) with/without external Greenwood Airvac sensor or via a
Greenwood Airvac GS2 2-position switch with an external Greenwood Airvac sensor (see below for function details).
• For CMEV.4eHT, wire using either switch-live (lighting circuit), via a Greenwood Airvac GS2 2-position switch
with/without an external Greenwood Airvac sensor or via a Greenwood Airvac GS1 3-position switch (see
below for function details).
(See Wiring Diagrams
on page 6).
The fan speed control must not be mounted above or closer than 1m to the cooker where
it could be affected by excessive heat or moisture.
2.5.1
2.5.2
2.5.3
2.5.4
2.5.5
2.5.6
2.5.7
2.5.8
5
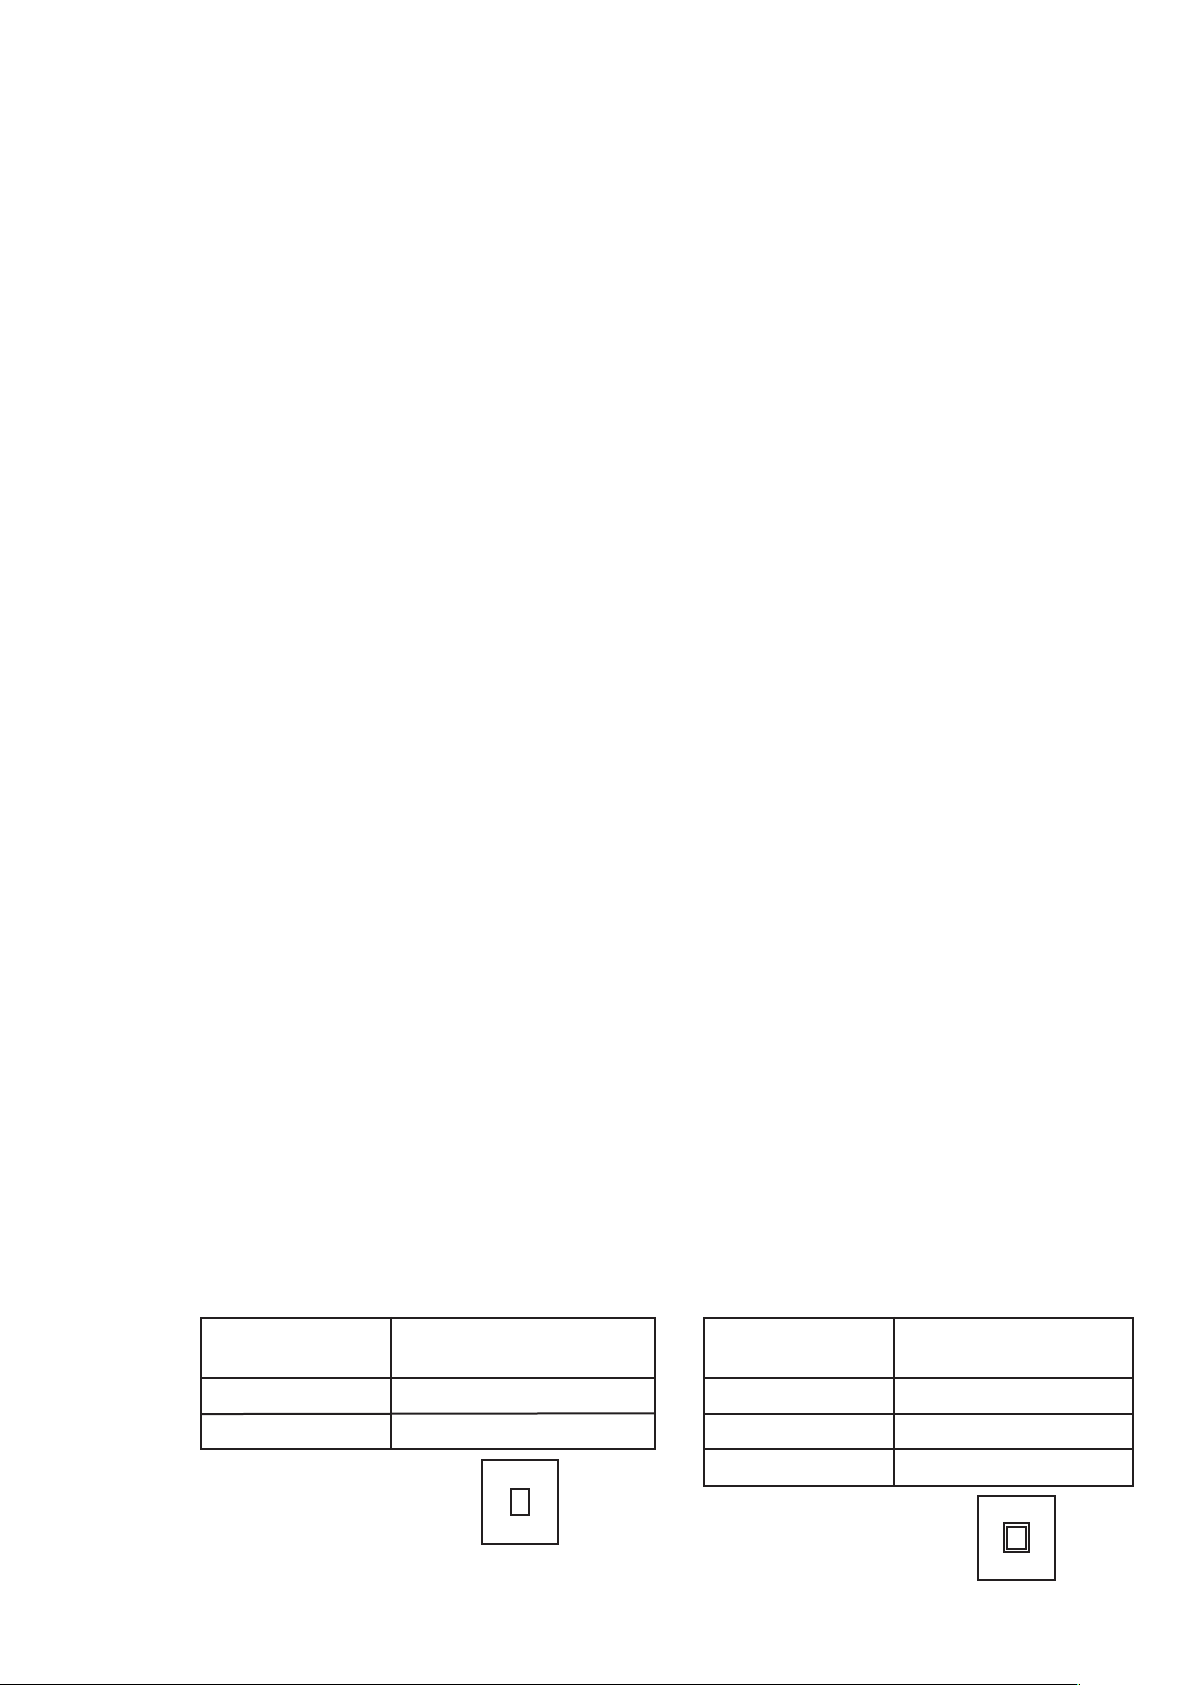
GS2 Remote Function
Switch Positions
Trickle (I) Fan running at trickle speed
Boost (II) Fan running at med/boost speed
II
I
II
I
GS1 Remote Function
Switch Positions
Trickle (Centre position) Fan running at trickle speed
Medium (I) Fan running at medium speed
Boost (II) Fan running at boost speed
CMEV. e / CMEV. eHT CMEV. eHT only