SAFETY WARNINGS & INSTRUCTIONS
1EXTENSION CORDS
Improper use of extension cords may cause inefcient operation of the log split-
ter which can result in overheating. Be sure the extension cord is no longer than
10m and its section is no less than 2.5mm2 to allow sufcient current ow to the
motor. Avoid use of free and inadequately insulated connections.
Connections must be made with certied protected material suitable for outdoor
use.
ELECTRICAL SHOCK HAZARD
Check that the electric circuit is adequately protected, grounded and that it cor-
responds with the power, voltage and frequency of the motor.
Never open the switch / plug box. Should this be necessary, contact a qualied
electrician. Make sure your ngers do not touch the plug’s metal prongs when
plugging or unplugging the log splitter.
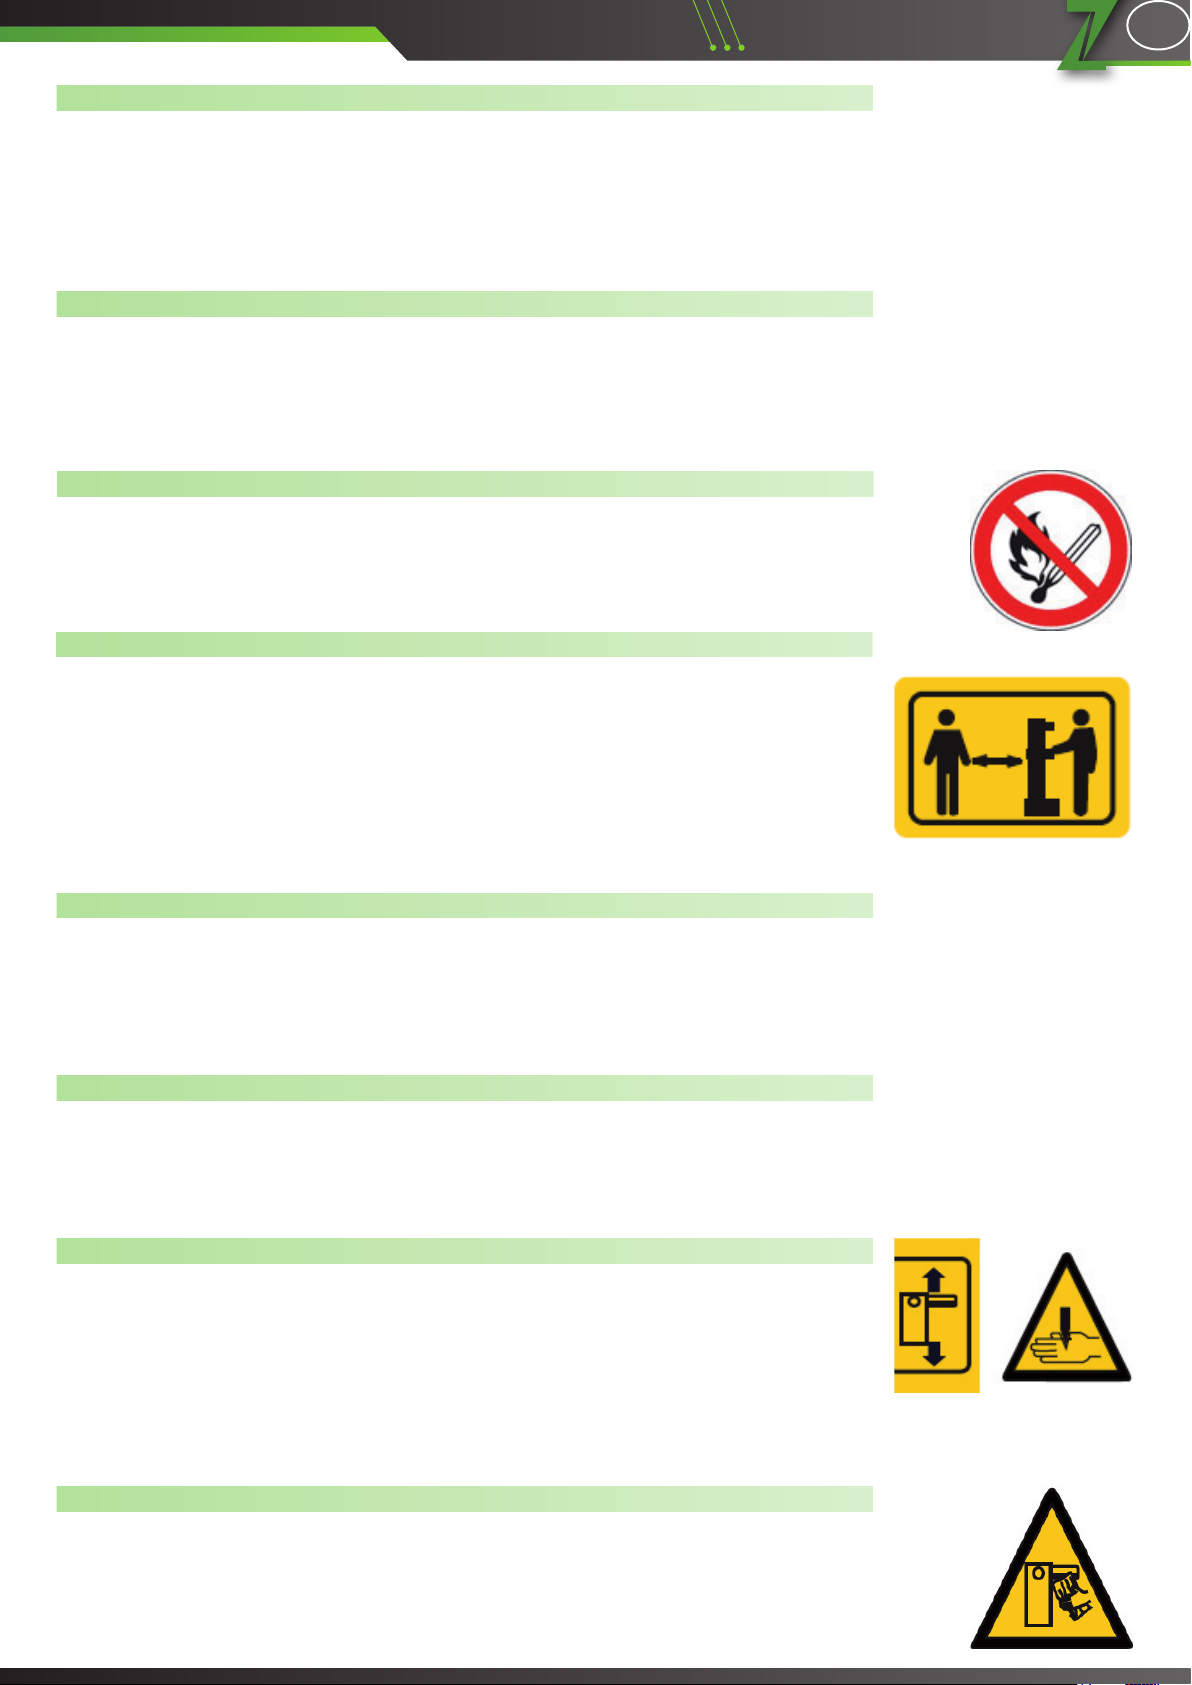
PREVENT FIRES
Do not smoke or have open ames when operating or relling the log splitter.
Never operate the log splitter near ame or spark. Oil is ammable and can ex-
plode.
KEEP BYSTANDERS AWAY
Allow only one person to load and operate the log splitter. Always keep bystan-
ders, including visitors, children and pets away from the work area, especially
when the log splitter is under operations. Only the operator should stand near
the machine and only within the safe operating area prescribed in this manual.
Never use another people to help you with freeing jammed log. No one under the
age of 16 should be allowed to operate the log splitter.
Any individual under the age of 18 should has the necessary training, skills to
perform the functions properly and safely and
should always be under the supervision of adult.
CHECK YOUR LOGS BEFORE SPLITTING
Never attempt to split logs containing nails, wire or debris.
Always make sure that both ends of the log you are splitting
are cut as square as possible. This will prevent the log from
sliding out of position while under pressure. Branches must
be cut of ush with the trunk.
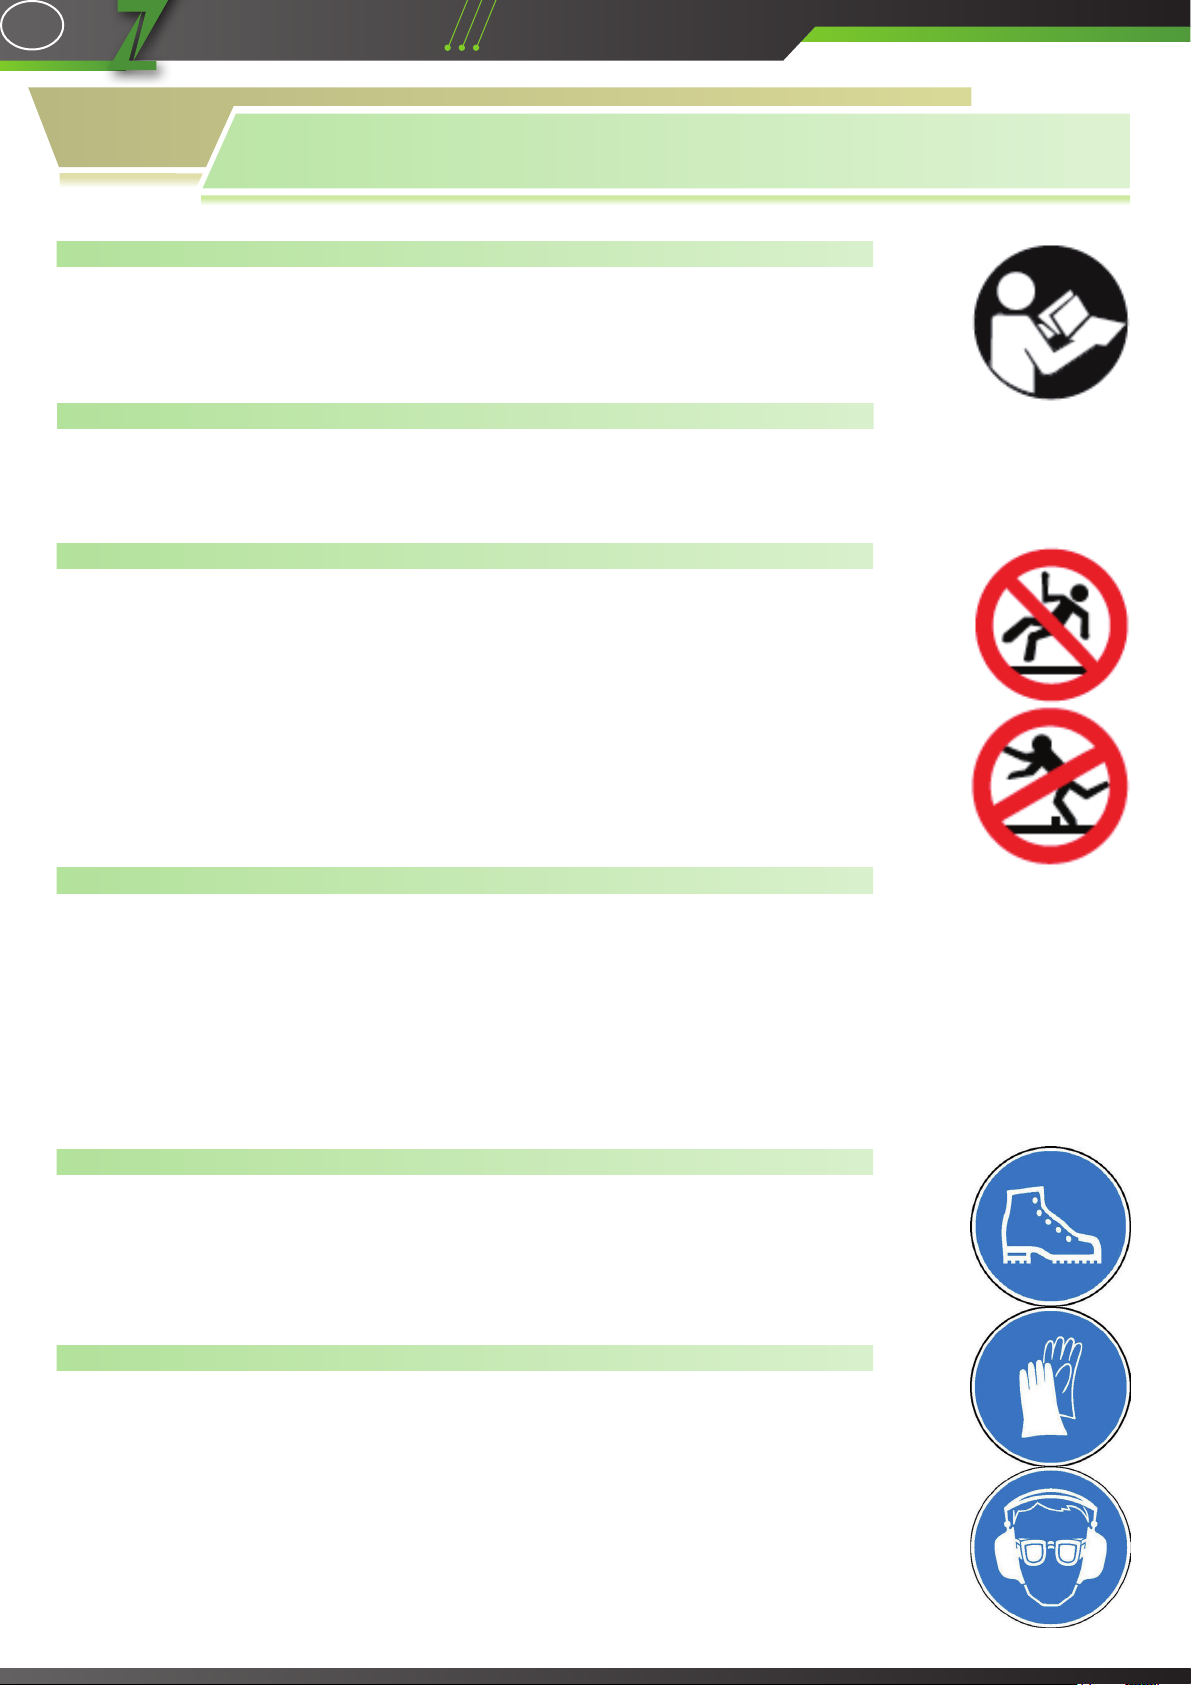
DON’T OVERREACH
Keep proper footing and balance at all times. Never stand on log splitter. Serious
injury could occur if the tool is tipped or if the cutting tools is unintentionally
contacted. Do not store anything above or near the log splitter where anyone
might stand on the tool to reach them.
AVOID INJURY FROM UNEXPECTED ACCIDENT
Do not straddle or reach across the splitting area when operating the log splitter.
Never pile logs to be split in a manner that will cause you to reach across the log
splitter. Only use your hands to operate the control levers. Never use your foot,
knee, a rope, or any other extension device.
Always pay full attention to the movement of the wedge ram. Never attempt to
load your log splitter while the ram is in motion. Keep hands out of the way of all
moving parts. Never try to split two logs on top of each other.
One of them may y up and hit you.
PROTECT YOUR HANDS
When the ram of the log splitter is in the return mode, keep your hands off the
machine – the log splitter is designed to automatically stop when the cylinder is
full retracted. Keep you hands away from splits and cracks which open in the log.
They may close suddenly and crush or amputate your hands. Do not remove
jammed logs with you hands.
EN