Zitta PIWIL000-0005 User manual

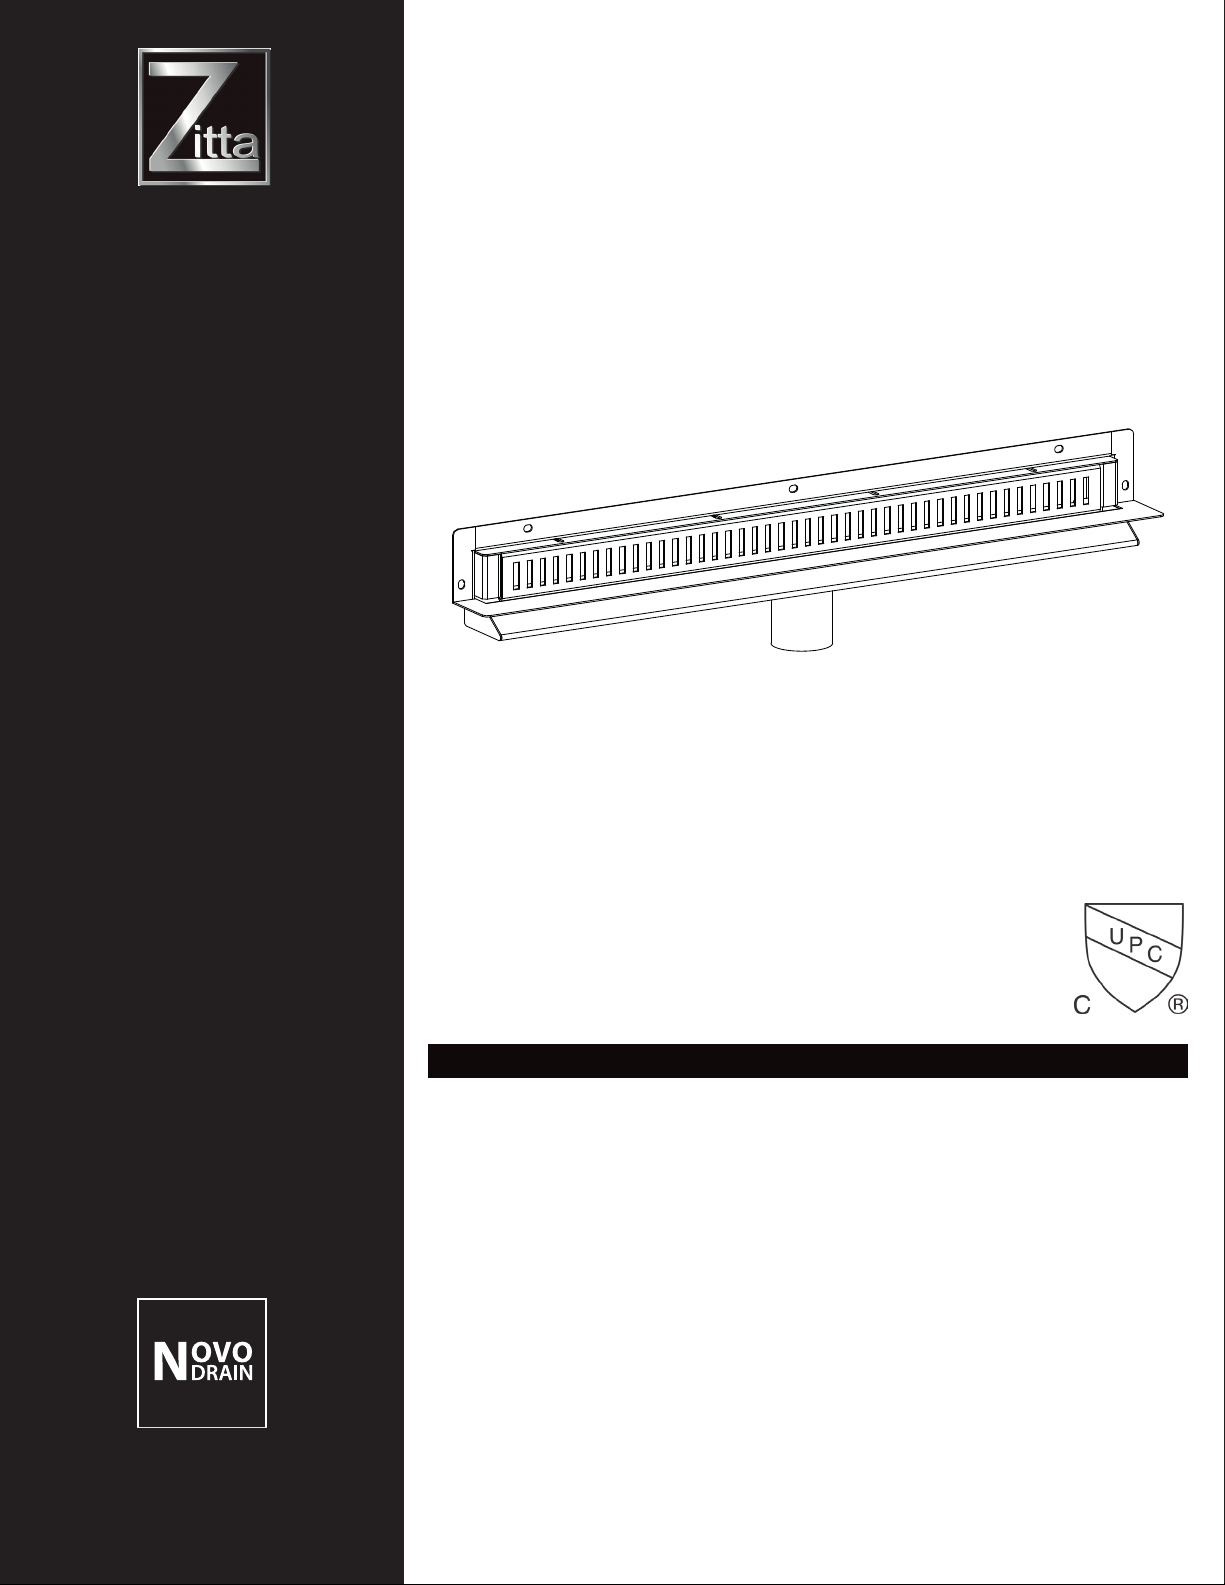
MANUEL D’INSTALLATION / INSTALLATION MANUAL
Drain Mural
Wall Drain
NETTOYAGE ET ENTRETIEN DE
VOTRE DRAIN
Les détergents liquides doux pour vaisselle
sont susants pour garder une surface propre
et brillante. Rincez à fond et asséchez avec un
chion propre.
Attention: Les détergents en poudre ou
liquides abrasifs peuvent endommager les
surfaces.
Ne jamais mettre en contact la surface
apparente avec des produits corrosifs tel que
les produits de débouchage.
NE PAS UTILISER:
• Des produits de nettoyage contenant des
chlorures, de l’alcool, de l’ammoniac ou
de l’essence minérale.
• De la laine d’acier, tampon à récurer ou
brosses.
CARE AND CLEANING OF YOUR
DRAIN
Mild dishwashing liquids will keep the surfaces
bright and clean. Rinse well and dry with a
clean cloth.
Caution: Powder detergent and liquid abrasive
cleaners may damage surfaces.
Do not allow the visible surface to come into
contact with corrosive products such as drain
cleaners.
DO NOT USE:
• Cleaning agents that contains chlorides,
alcohol, ammonia or mineral spirits.
• Steel wool, scouring pad or wire brushes.
IMPORTANT
• Inspectez le produit avant de procéder à l’installation.
• La garantie sera nulle si le produit est installé avec des défauts apparents.brosses.
ATTENTION
• Veuillez lire attentivement ce manuel d’instructions avant de commencer l’installation.
• Conserver ce manuel pour référence ultérieure.brosses.
IMPORTANT
• Thoroughly inspect your product before proceeding with the installation.
• The warranty will no longer apply if the product is installed with a conspicuous defect.
CAUTION
• Carefully read all instructions before starting the installation.
• Keep this manual for later reference.brosses.
81, Theodore-Viau,
Terrebonne, Quebec, Canada, J6Y 0J8
Tel: 1-844-579-1784 450-915-1879
Fax: 1-866-735-6885
[email protected] www.novodrain.ca
81, Theodore-Viau,
Terrebonne, Quebec, Canada, J6Y 0J8
Tel: 1-855-492-4242 450-704-2323
Fax: 1-866-735-6885
[email protected] www.zitta.ca
PIWIL000-0005

2
INTRODUCTION ET RECOMMANDATIONS / INTRODUCTION AND RECOMMENDATIONS
POSITIONNEMENT / POSITIONNING
OUTILS REQUIS / TOOLS REQUIRED
RUBAN À MESURER
MEASURING TAPE
ÉQUERRE
SQUARE
SILICONE
SILICONE
PERCEUSE
DRILL
CRAYON
PENCIL
EMPORTE-PIÈCE
HOLESAW
NIVEAU
LEVEL
COUTEAU À LAME RÉTRACTABLE
UTILITY KNIFE
CLÉ À MOLETTE
CRESCENT WRENCH
TOURNEVIS
SCREWDRIVER
APPLICATEUR À COULIS
GROUT APPLICATOR
TRUELLE
TROWEL
EPONGE
SPONGE
Les drains peuvent être installés dans une multitude de confi gurations. Cependant, il faut s’assurer que la cuve comporte une pente de drainage
minimale de 1 à 4% vers le drain.
The drain can be installed in many confi gurations. However, the pan should have a 1 to 4% drainage slope towards the drain.
Avant de commencer les travaux, assurez-vous de lire attentivement
les instructions de montage.
Consultez le code du bâtiment de votre région afi n de vous assurer
que votre installation respecte les normes en vigueur.
Lors de la réception, inspecter le produit afi n de vérifi er que l’ensemble
des pièces sont en bonne condition. Si un problème survient,
signalez-le immédiatement à votre distributeur.
Assurez-vous que toutes les pièces sont incluses.
Avant d’entreprendre tout travail de tuyauterie, assurez-vous de
mandater un professionel reconnu en technique du bâtiment de votre
province ou état.
Before proceeding, carefully read all instructions.
Consult local building codes to ensure that the installation
complies with standards in your area
Inspect the unit carefully to ensure that there is no damage or defects.
If you fi nd a defect, contact your distributor. If damage has occured
during transport, contact your carrier.
Make sure you have received all the parts required to
install the unit.
Before proceeding with any piping work, make sure to mandate a
professional from your area.

3
CONTENU / PARTS LIST
1
2
3
46
5
7
REF QTÉ CODEDESCRIPTION
1
2
3
4
5
7
8
1
4
1
2
2
1
2Grille du drain de douche / Shower drain grate
Crépine / Strainer
Support de grille ajustable / Ajustable grate support
Caniveau / Gutter rough-in
Patin de nivellement / Levelling feet (1 1/4’’)
Patin de nivellement / Levelling feet (2’’)
PDXX01WIB16
AD00035
PDXX01WIM00
PDXX01WIC00
PV002099
PV002199
A1
A2
B1
B2
B3
24’’ 26’’ 30’’ 36’’
25 9/16’’ 27 9/16’’ 31 9/16’’ 37 9/16’’
954mm
914mm
36’’24’’ 26’’ 30’’
649mm
609mm
700mm
660mm
802mm
762mm
10mm
40mm
Ø
51mm
3/8’’
1 9/16’’
Ø
2’’
B4
B5
B6
35mm
1 3/8’’
67mm
2 5/8’’
137mm
5 7/16’’
8
Écrou d’ajustement M4 / Adjustment nut M4
2
6
Membrane de drain protectrice
Protective drain membrane PDXX01WIM00
PV003699
9
91Crochet de grille / Grate hook AD00040

4
INSTALLATION AVEC RACCORD D’UNION / UNION FITTING INSTALLATION
1 Solive / Joist
2 Sous-plancher / Suboor
3 Mur / Wall
4 Tuyau d’évacuation / Waste pipe
5 Raccord d’union / Union tting**
6 Caniveau / Gutter rough-in
7 Support de grille ajustable / Ajustable grate support
8 Grille du drain de douche / Shower drain grate
9 Patin de nivellement / Levelling feet
10 Crépine / Strainer
11 Gyspe / Gypsum
12 Lit de Mortier / Mortar bed
13 Membrane textile / Textile membrane
14 Membrane protectrice du drain / Protective drain membrane
15 Ciment colle / Cement glue
16 Coulis / Grout
17 Tuiles de céramique / Ceramic tiles
Vue de coupe
Cutaway view
**Non-inclus
Not included
H1
H2
Ø
2 1/16’’
Ø
2 3/16’’
Ø
53mm
Ø
55mm
H3
Ø
2 5/16’’
Ø
58mm

COUPER LE SOUS-PLANCHER / CUT THE SUBFLOOR
4’’
101m
6’’
Gypse
Gypsum
1/2’’
1’’
1/2’’
4’’
101mm
5
1
2
COUPER LE SOUS-PLANCHER / CUT THE SUBFLOOR
MARQUER LE CENTRE
MARK THE CENTRE
Percer avec emporte-pièce.
Drill with holesaw.
COUPER LE MUR / CUT THE WALL

6
3
4
ASSEMBLER ET AJUSTER / ASSEMBLE AND ADJUST
FIXER LE DRAIN ET SERRER LE RACCORD / SET DRAIN AND TIGHTEN THE COUPLING

7
5
INSTALLER LE GYPSE / INSTALL GYPSUM
6
TEST D’ÉTANCHÉITÉ DE LA CONNEXION / CONNECTION LEAK TEST
Vérifi er l’étanchéité de la
connexion sous le sous-plancher.
Check underneath the subfl oor to
ensure that the connection is
waterproof.

1-4%
4’’
101mm
8
7
8
SURFACE EN PENTE / SLOPED SURFACE
PENTE
SLOPE
MOUSSE / FOAM
MORTIER / MORTAR
OU / OR
OU / OR
CONTREPLAQUÉ /
PLYWOOD
VISSER LE DRAIN / SCREW THE DRAIN
Mettre du silicone dans tout les
trous.
Put silicon in the all holes.
Plier la membrane protectrice de drain
Fold the protecting drain membrane

Appliquer de la colle le long de la bride
après avoir appliqué la membrane.
Apply glue on the edge of the fl ange
after having applied the membrane.
9
9
10
INSTALLER LA MEMBRANE / INSTALL MEMBRANE
MEMBRANE LIQUIDE / LIQUID MEMBRANE
MEMBRANE TEXTILE /
TEXTILE MEMBRANE
OU / OR
CELLER LES JOINTS / SEAL THE JOINTS
MEMBRANE LIQUIDE / LIQUID MEMBRANE
MEMBRANE TEXTILE /
TEXTILE MEMBRANE
OU / OR

10
11
12
COLLER LA MEMBRANE PROTECTRICE DU DRAIN / GLUE THE PROTECTIVE DRAIN MEMBRANE
TEST D’ÉTANCHÉITÉ DE LA MEMBRANE / MEMBRANE LEAK TEST
Boucher le trou du drain et vérifi er l’étanchéité de la
membrane sous le sous-plancher.
Block the hole of the drain and check underneath the
subfl oor to ensure that the membrane is waterproof.
Appliquer sur les deux côtés de la membrane.
Apply on both sides of the membrane.

11
14
TUILAGE / TILING
AJUSTER DE LA GRILLE / ADJUSTING THE GRATE
13
Retirer la grille
Remove the grate
Ajuster et serrer le support de
grille
Adjust and tighten grate support
Aligner la grille avec les tuiles
Align the grate with the tiles

12
JOINT DE COULIS / JOINT CEMENT
15
NETTOYER LES TUILES ET JOINTS / CLEAN TILES AND JOINTS
16
Ne pas remplir l’entrée du drain.
Do not fi ll up the drain entry.

13
Besoin d’aide? Contactez nous!
Need help? Contact us!
Tel: 1-855- 492-4242 450-704-2323
Fax: 1-866-735-6885
www.zittagroup.com
Tel: 1-855- 492-4242 450-704-2323
Fax: 1-866-735-6885
Service@zittagroup.com
www.zittagroup.com

81, Theodore-Viau,
Terrebonne, Quebec, Canada, J6Y 0J8
Tel: 1-855-492-4242 450-704-2323
Fax: 1-866-735-6885
[email protected] www.zitta.ca
81, Theodore-Viau,
Terrebonne, Quebec, Canada, J6Y 0J8
Tel: 1-844-579-1784 450-915-1879
Fax: 1-866-735-6885
[email protected] www.novodrain.ca
Other Zitta Bathroom Fixture manuals
Popular Bathroom Fixture manuals by other brands

Black & Decker
Black & Decker Price Pfister 807 Series manual

Franke
Franke KUBUS2 KNG113 Installation and user manual

BEMIS
BEMIS bioBidet BB-2000 Replacement manual

Sanela
Sanela SLU 62 manual

Franke
Franke PRTR0009 Installation and operating instructions

S&P
S&P HELI 300 DUO Instructions for assembly and use