505, 8th Avenue, 10th Floor, New York, NY 10018. Tel: 212-991-0090 email: support@zk-usa.com
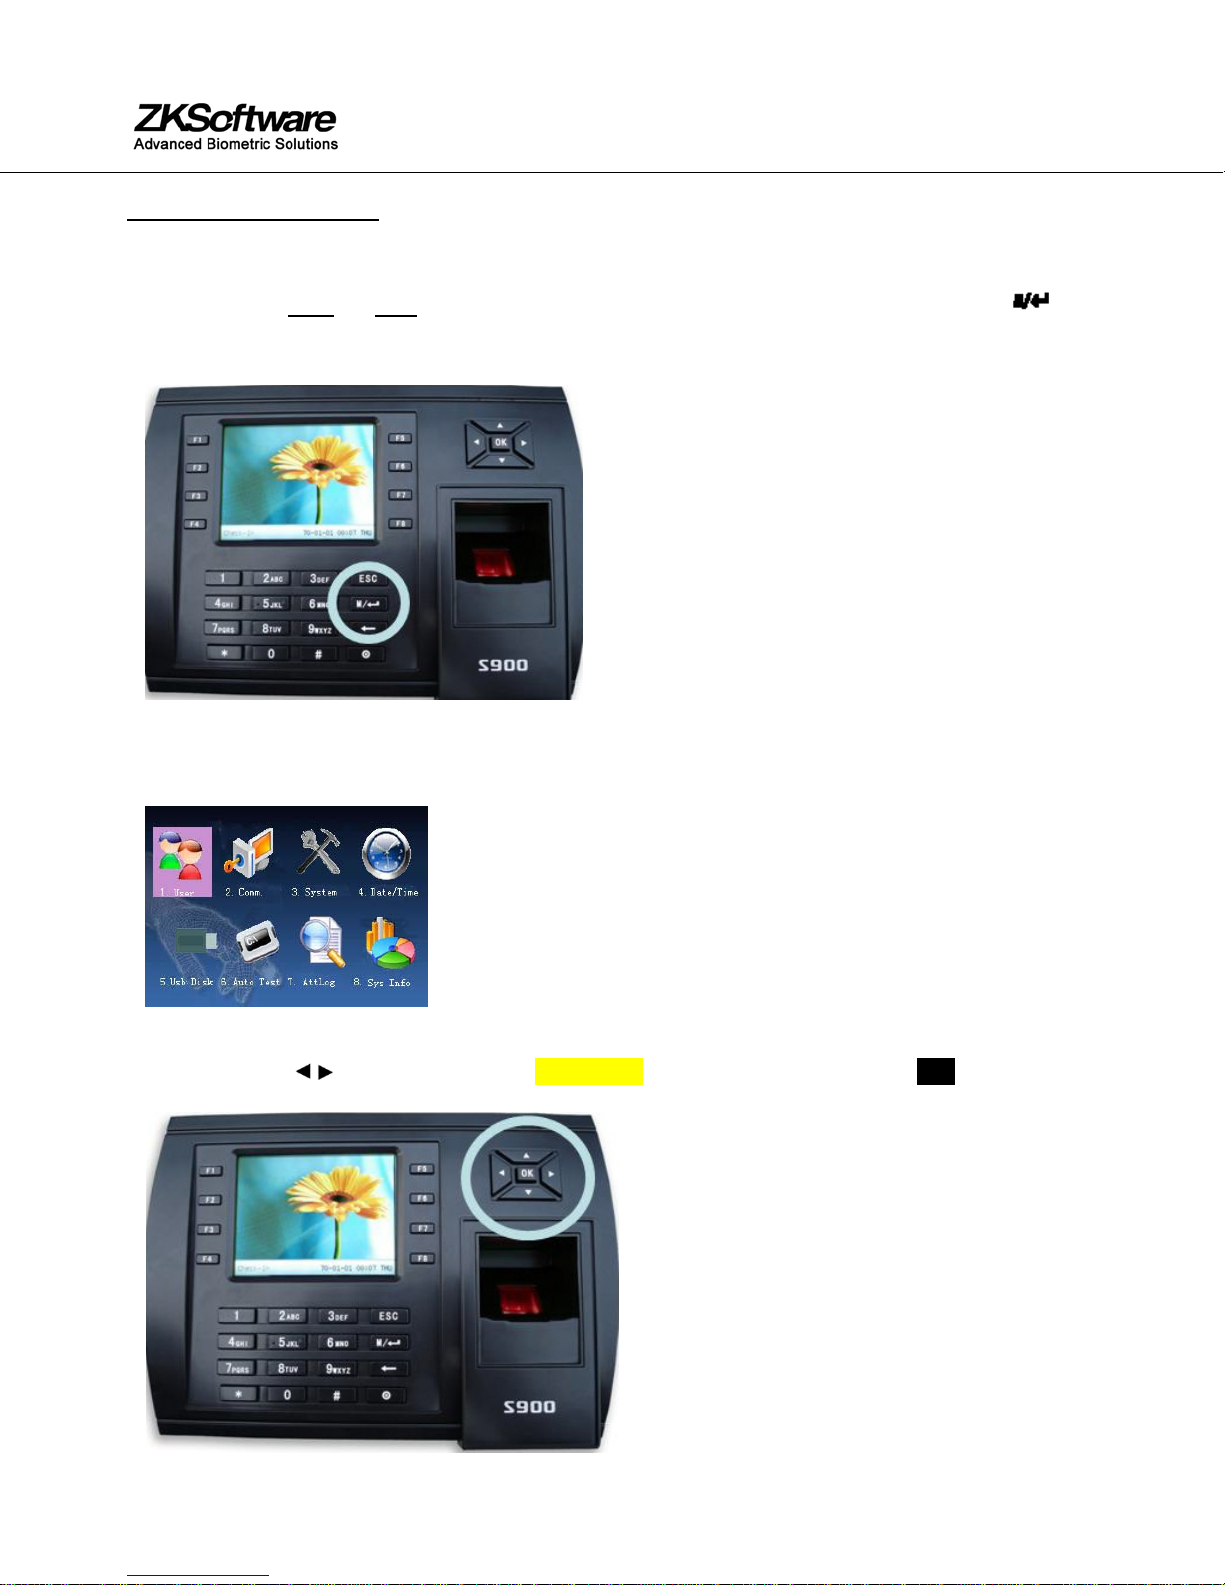
Press the OK key to accept selection.
After New User information is completely entered, scroll with the ▲/▼keys until OK (M/<-) is
highlighted. Press the OK key to accept.
You will then be prompted "Changed Saved! Continue?”
Press the OK key if you wish to save.
Verify New user/fingerprint Enrollment;
Have the same person place his/her finger on the S900 sensor.
A successful verification will be indicated by a pre-recorded voice file (“Thank you”) and a visual
display (green LED).
At this time the USER ID and “timestamp” will be recorded in the S900’s database.
Note:
The “timestamp” can be used for door-access audit reports or with Time & Attendance
software applications.
An unsuccessful verification will be indicated by a pre-recorded voice file (“Please try again”)
and a visual display (red LED).
Note:
If the fingerprints of certain users are unable to be enrolled successfully, you may
enroll PASSWORDS instead of fingerprints for those users. (similar to how a cash
machine/ATM works).