H0354600.F - EN - 2015-12
7
❸ Use
3.1 I Operang principle
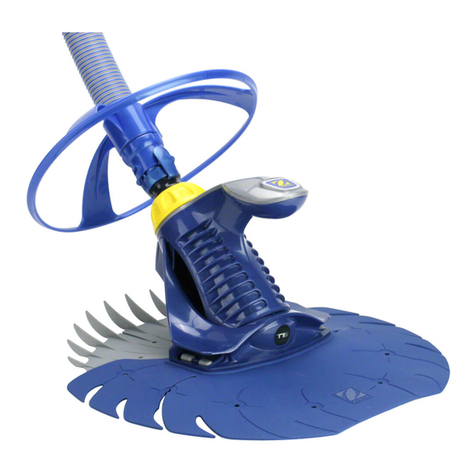
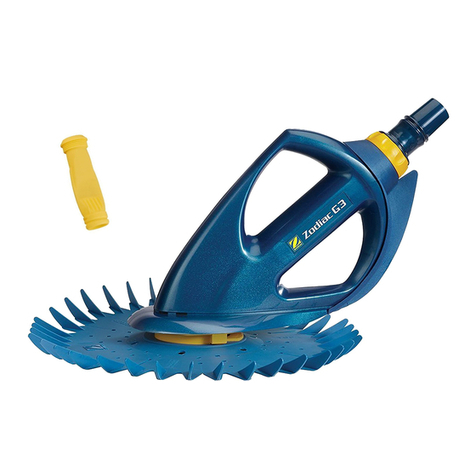
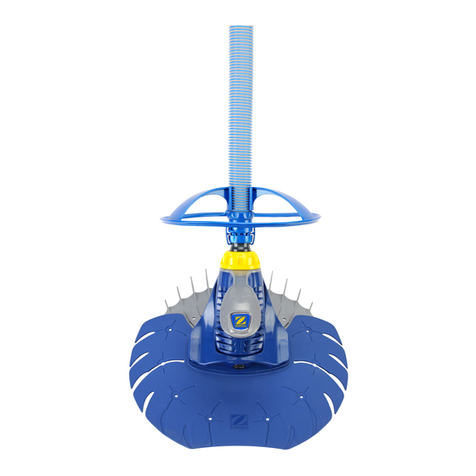
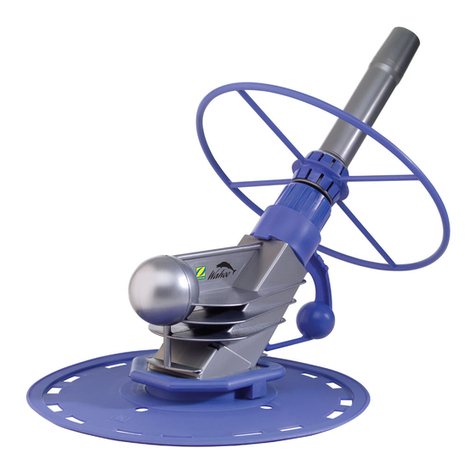
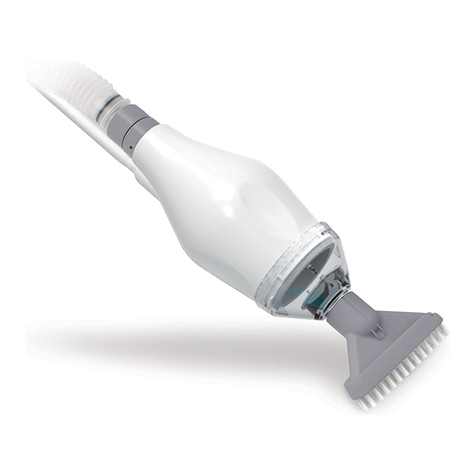
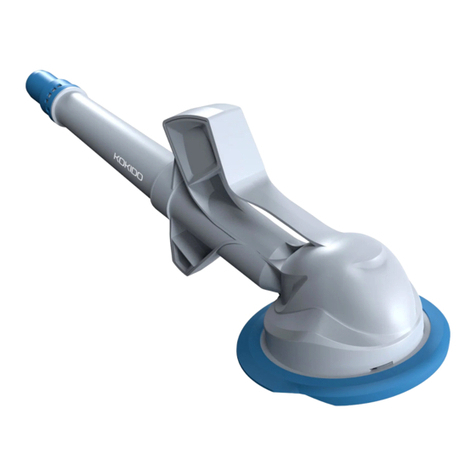
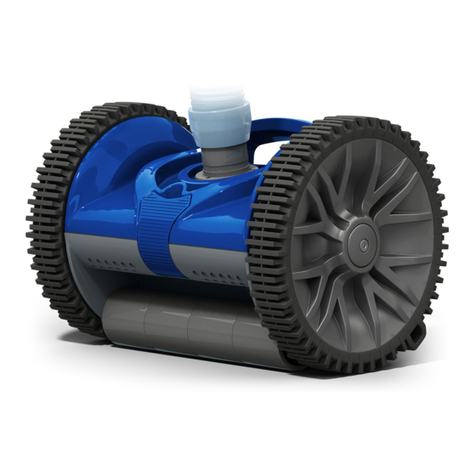
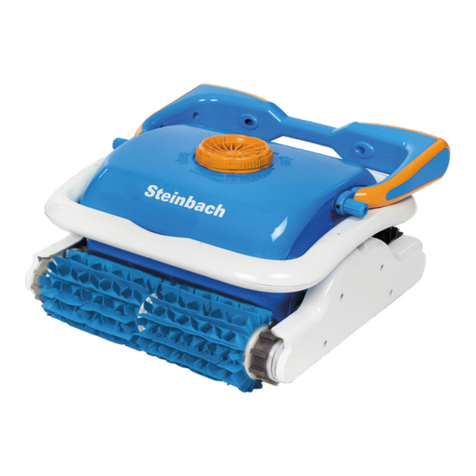
The hydraulic cleaners connect to the ltraon system (either to a brush socket or a skimmer); they use the ltraon
pump's energy to move around the pool randomly. The side climbing capacity varies according to the shape of the pool
and the available water ow.
The debris is sucked in by the cleaner and captured in the ltraon pump's pre-lter or in the leaf catcher (accessory
included or available as an opon depending on the model).
3.2 I Pool preparaon
• The device must operate in pool water with the following quality:
Water temperature Between 15°C and 35°C
pH Between 6.8 and 7.6
Chlorine < 3 mg/ l
• When the pool is dirty, especially when commissioning, remove the largest debris using a net in order to opmise the
device's performances.
• Remove any thermometers, toys and other objects that might damage the device.
• Aer adding chemical products to the water, wait at least 4 hours before pung the cleaner into the water.
• Make sure that the ltraon and the skimmer baskets are clean.
• Tilt the discharge nozzles down to provide full coverage for the pool.
• Close your pool's boom plug.
• Stop the ltraon pump.
3.3 I Operang
• To avoid serious injury, make sure that the ltraon pump is stopped.
• Do not expose your hair, lose clothing, jewellery, etc. to the open end of the hose.
3.3.1 Connecng the ow regulator and immersing the cleaner
• Insert the secon of hose which comprises the oater onto the ow regulator (see image ).
• Immerse the cleaner so that it lls up with water.
• When there are no more air bubbles escaping from the cleaner, connect the hose by inserng the ow regulator onto
the cleaner (see image ).
• Wait unl the cleaner descends to the boom of the pool.
3.3.2 Filling the hoses
• Disconnect the hose to the brush socket or skimmer temporarily.
• Start the ltraon pump.
• Fill the water hose by placing the end in front of a discharge nozzle unl it is completely lled.
• Stop the ltraon pump and connect the hose to the brush socket or skimmer again.
• Start the pump to acvate the cleaner.
