Page 6
Zodiac®LumiPower Lights for Fiberglass Pools | Installation Manual
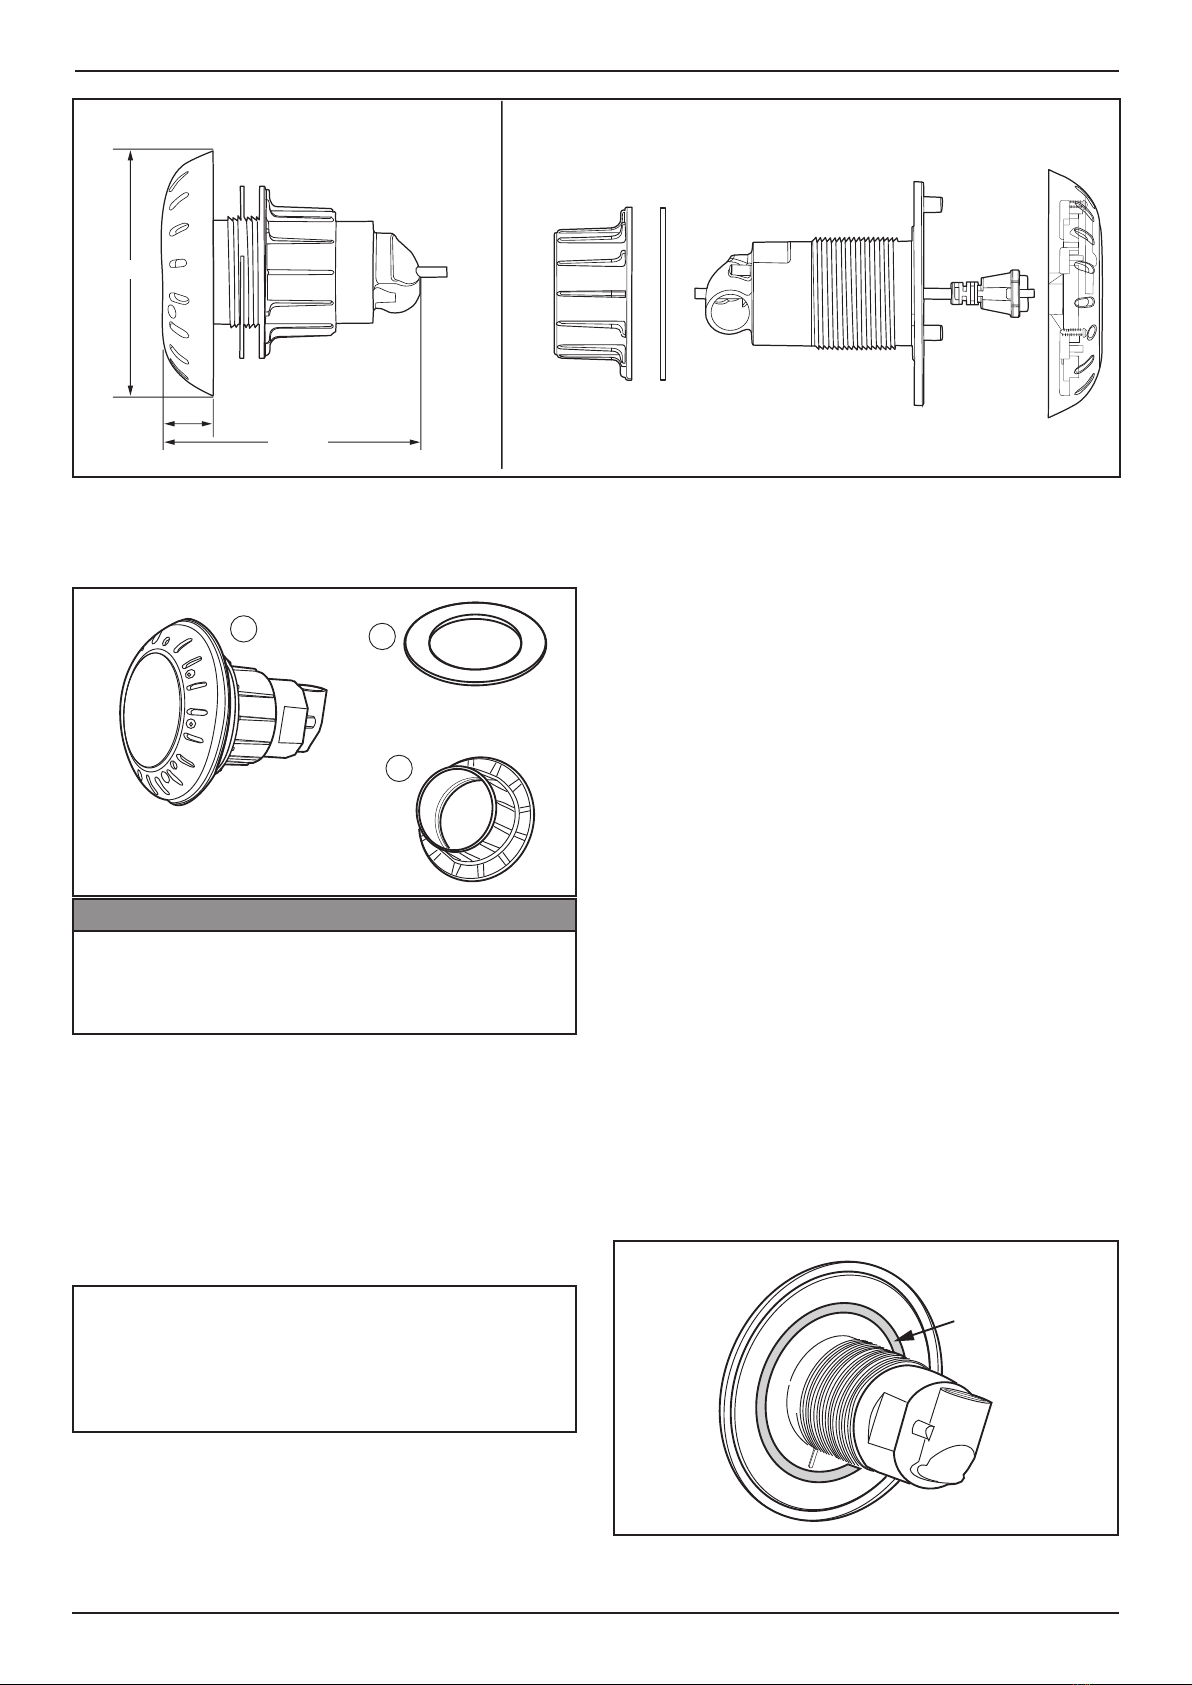
7. From outside of the pool, feed the Washer and
then the Nut (large face first) onto the cable.
Again, there is no need to uncoil the cable,
but you may need to squeeze the ends of
the cable slightly to allow it to pass through.
Ensure that the Nut and Washer are free of
debris. (Leave the Nut and Washer on the
cable for now). See Figure 2.
Nut
Washer
Silicon
Bead
Figure 2. Secure Fiberglass Niche with Nut/Washer
8. Ensure that the niche is still in position against
the pool wall (pull it towards yourself), ensure
that conduit connection point is still facing
upwards and apply a heavier bead of silicone
into the hole in the pool wall. (Fill the area
between the pool wall and the Niche and
slightly onto the niche thread.). See Figure 2.
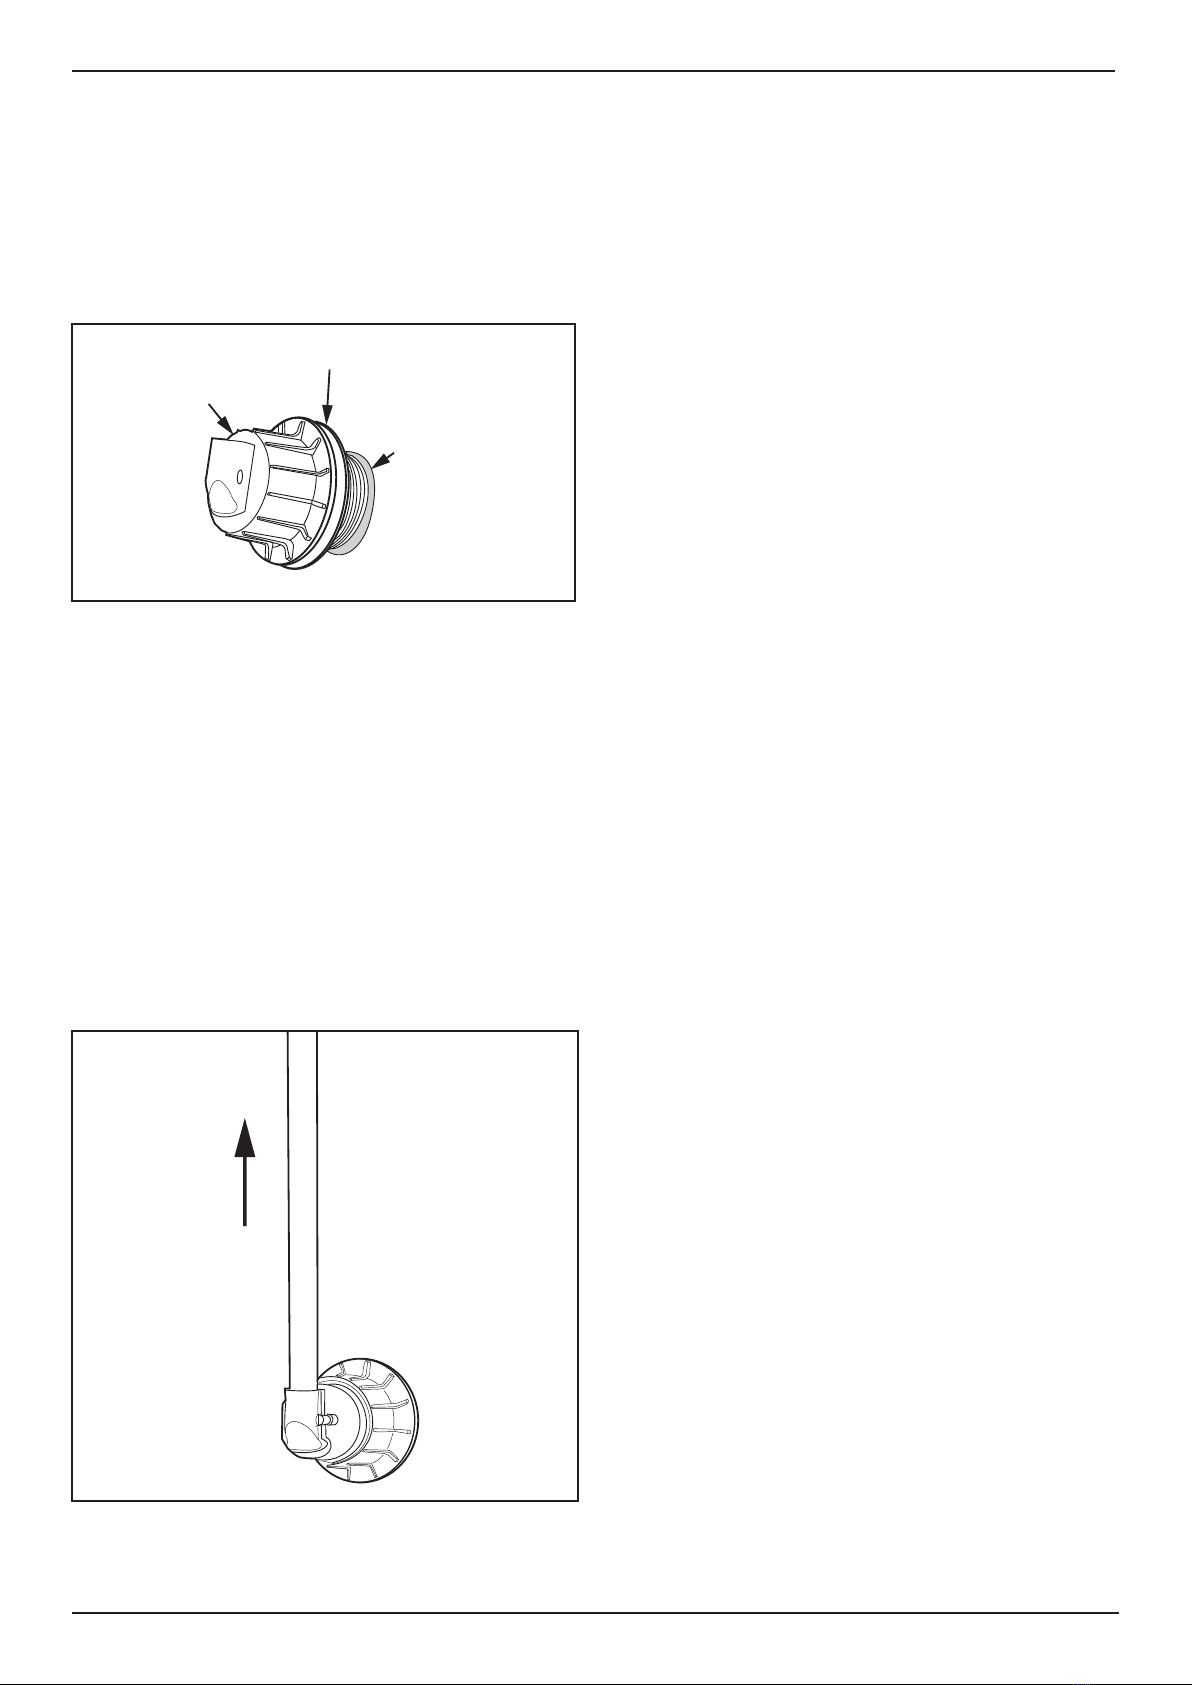
9. Move the washer and nut up onto the Niche
and begin to tighten the nut. Use a spanner
to keep the conduit connection point facing
upwards and tighten the nut. See Figure 3.
NOTE: Hand Tighten Only!
UP
Figure 3. Fiberglass Niche Conduit
10. Zodiac recommends that a vertical length of
conduit, finishing above the waterline, is glued
into the conduit connection point. (The internal
design of the niche allows for a new cable to
be pulled through in the future if required).
11. Hold a piece of 20mm conduit under the lip of
the pool and mark where this conduit meets
the conduit connection point. Cut the conduit
to this mark. Uncoil the light cable and feed it
through the conduit. Apply a small amount of
Type N PVC glue onto the conduit and fit it into
the niche.
12. All Zodiac transformers are supplied with
appropriate light cable connectors. The light
cable can be shortened before it is connected
to the transformer.