manuals.online logo
Brands
  1. Home
  2. •
  3. Brands
  4. •
  5. lumishore
  6. •
  7. Underwater Lighting
  8. •
  9. lumishore SMX53-SUPRA User manual

lumishore SMX53-SUPRA User manual

Before you Start
www.Lumishore.com
45-0101 - Rev 2.0
Lumishore UK Unit 2, Technium 1, Kings Road, Swansea, SA1 8PH, UK | +44(0)208 144 1694 | Info@Lumishore.com
1
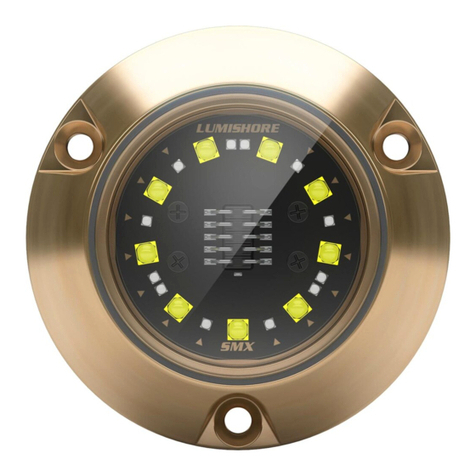
M Class Dual Color
Surface Mount Underwater Light
INSTALLATION AND OPERATION INSTRUCTIONS
Congratulations! You have purchased a LUMISHORE advanced LED
technology underwater lighting system. Every care has been taken to
ensure your compact SMX 53 LED lights arrives in perfect condition,
so please enjoy the ultimate experience in underwater lighting.
Adding underwater lighting to your vessel has never been easier - one
small cable hole and three mounting screws is all it takes.
Please read the following pages to ensure a complete understanding
of the LUMISHORE LED lighting system before installation.
• Always ensure that the vessel’s power source and battery are
disconnected or isolated prior to installation.
• A qualied professional should carry out both the electrical and
mechanical installation.
• For best underwater illumination, LUMISHORE recommends instal-
lation 4” to 12” (100-300mm) below the minimum load water line.
• Choose a location - The light must be mounted on a at (not
curved) surface. For underwater installs mount on transom or side
hull only.
• A hole will be drilled to allow the cable to be inserted; care must be
taken to ensure there is unrestricted access inside the hull.
• When installing three or more lights, equal spacing 2.5’- 3’is recom-
mended to give a consistent light pool.
• The light is temperature sensitive and must not be located close to
the exhaust outlet or other heat source.
• The lights operate on 12V or 24 V DC. Never connect a light directly
to the mains AC voltage, or DC voltage other than that specied.
• Each light should be individually fused. If using a hub then fuses
are included with the hub.
• For Installation on boats up to 15m (50 ft)
Mechanical Installation
Tools: Drill, drill bits, marine sealant (3M 4200 Recommended), Cross-
head screwdriver, Flat head screw driver, rags for clean-up:
Pilot Hole for Screws - 9/64” / 3.5mm
Hole for Cable - 7/32”/ 5.5mm
Recess for Gland - 17/32”/ 13.5mm hole to a depth of 5/8”/ 15mm
1. Select a suitable at surface that is accessible from behind and
ensure the cable can be run without a problem.
2. With one hole at the bottom centre, mark and drill the pilot holes
for the screws. Drill the power cable hole. The cable hole must be
recessed and chamfered on the outside of the hull to accept the
cable gland on the back of the light. The light must sit ush against
the hull. Note: Cored hulls must be sealed prior to tting the lights -
refer to the manufacturers instructions.
3. Clean and prepare the hull ready for the sealant.
4. Apply a continuous thick bead of sealant to the back of the light,
making sure the recess on the outer edge is slightly overlled. Also
apply a bead of sealant around the cable gland. Refer to image
above.
5. Push the power cable through the hole and align the light with the
pilot hole screws.
6. Attach the light using the 3 supplied screws by hand tightening
with a screwdriver.
IMPORTANT: Do Not Over Tighten. Do Not Use Power Tools to tight-
en screws.
7. Use a damp cloth to wipe o excess sealant that has squeezed out
around the light. DO NOT use chemical cleaners or solvents.
IMPORTANT: Refer to the directions on the sealant to make sure it
has fully cured before launching the boat into the water.
Rear side Apply sealant
Bottom center
95mm (3.74in)
12mm
(0.47in)
18mm (0.71in)
PCD 84mm (3.31in)
120°
45-0101 - Rev 2.0 SMX53-SUPRA
Dual Color Surface Mount
10 - 31 VOLT
IP-68

45-0101 - Rev 2.0 2
Electrical Installation - 2 Wire Option
www.Lumishore.com
Lumishore UK Unit 2, Technium 1, Kings Road, Swansea, SA1 8PH, UK | +44(0)208 144 1694 | Info@Lumishore.com
Electrical Installation - SUPRA i-Connect Hub
The light cables can be extended. Ensure the correct cable gauge is
used to avoid issues with voltage drop. Follow ABYC recommenda-
tions for no more than 3% voltage drop at 12V, and 10% at 24V.
Consult a qualifed electrical installer, or contact Lumishore for further
information.
Make sure the lights are tested, and working as expected before the
boat goes back in the water.
Battery / PSU (12 or 24V DC)
Red
(+VDC)
Red
(+VDC)
Black
(GND)
Fuse
Fuse
Switch
O
On
Fuse or
Circuit
Breaker
The lights operate in White, Blue, Random Strobe, and Colour Fade
modes. To change the mode turn the switch OFF / ON (wait a
second before switching back on). To reset to White, switch the
lights o for 5 seconds. The lights will always come on in White
mode when rst switched on.
Plan the cable route prior to instalation. Ensure all cables are suitable
for marine applications, and correctly rated for the required voltage
and current. Each light must be individually fused. The cable connec-
tions are:
Red 12V or 24 V DC
Black Ground
The fuse ratings are: 12 V DC 7.5A
24 V DC 4A
An ON / OFF switch should be installed to select the modes of opera-
tion.
All connections must be made waterproof.
Note: This option requires a Lumishore SUPRA i-Connect Hub
(60-0317) and SUPRA SUPRA i-Connect Hub Switch (60-0318). The
SUPRA i-Connect Hub is Lumi-Link compatible which allows control
via certied MFD or iOS connected device - see datasheet for further
details.
Plan the installation rst. Work out where the lights will be mounted.
Each light connects to the hub using a eld installable connector
(supplied). One hub can power up to 4 lights, and 2 hubs can be
connected together in one system. The hub should be mounted
between the lights and the power source. Plan the cable routes,
including the switch, prior to installation. Ensure all cables are marine
Note: Two hubs can be connected together. All they need is power
connected, and a pre-moulded data cable run between the hubs (see
connecting multiple hubs section for wiring diagram).
The light and power cables can be extended. Ensure the correct cable
gauge is used to avoid issues with voltage drop. Follow ABYC recom-
mendations for no more than 3% voltage drop for 12V, and 10%
voltage drop for 24 V. Consult a qualifed electrical installer, or contact
Lumishore for further information.
Installing the hub(s):
1. Select a site for the installation of the SUPRA i-Connect Hub(s). This
should be within reach of the light cables that will be attached to the
hub(s). The hub(s) should be in a dry, well ventilated area. The hub(s)
should NOT be mounted in areas prone to ooding or excess heat.
2. The hub(s) should be mounted to a at surface, with room for
access to the fuse panel and connectors.
3. Mount the hub(s) as close to the power source as possible. Run the
power cable to the hub(s) from the power source.
Use correct cable gauge -
consult ABYC recomendations
for MAX 3% voltage drop at
12V, and max 10% voltage
drop at 24V.
Warranty
Battery /
PSU
12 or 24 V
SUPRA i-Connect
Hub
On/Off
Scene
SUPRA i-Connect Hub Switch
Field Installable
Connectors (Supplied)
Removable
Fuse Cover
Fuse or
Circuit
Breaker
45-0101 - Rev 2.0 3
www.Lumishore.com
Lumishore UK Unit 2, Technium 1, Kings Road, Swansea, SA1 8PH, UK | +44(0)208 144 1694 | Info@Lumishore.com
4. Remove the clear fuse panel and insert the fuses (supplied):
12V DC 7.5A
24 V DC 4A
Once the fuses are in place replace the fuse panel.
5. Select a position for the SUPRA i-Connect Hub Switch. Mount the
switch and run the cable to the hub. Connect the switch connector to
the hub. The switch cable can be extended up to 50m. To extend, cut
the switch cable, and connect in a 18 AWG, 3 core cable of the desired
length. Take care to ensure that the correct conductors are connected
together.
6. Add the eld installable connector to the light cables (supplied).
The light cables need to be cut back to reveal the third (data) wire.
Cut the cable just below the
heat shrink. Remove the outer
insulation to reveal the yellow
wire
Trim back the insluation on each core to reveal 4mm of wire.
9. Fit and tighten the strain relief and gland nut onto the connector.
Plug into the hub, taking care to orient the key correctly. Tighten the
cap to make the waterproof seal.
10. Make sure that any unused ports on the hubs have dust caps tted
(supplied)
11. Connect power to the hub and switch on. Make sure the lights are
tested, and working as expected before the boat goes back in the
water.
The lights operate in White, Blue, White Strobe, Blue Strobe
Synchronised Strobe, Colour Fade mode, and Synchronised Colour
Fade mode.
To change the mode turn the switch OFF / ON (wait a second
before switching back on). The lights will always come on in White
mode when rst switched on. To reset the lights to White, switch
o for 5 seconds.
7. Unscrew the back of the connector to reveal the terminals. Fit the
strain relief and gland nut over the cable BEFORE wiring the connec-
tor.
8. Wire the connector as shown below. TAKE CARE to secure the wires
well with the grub screws. Check for any stray strands that could short
to the other pins before tting the strain relief and gland nut.
Note: Check the wiring is correct before connecting to the hub. Incor-
rect wiring can damage the light.
Field Installable
Connector terminals
viewed from cable side
RED
(12 or 24 V DC) BLACK
(Ground)
YELLOW
(Data)
BACK VIEW
BLACK
(Ground) RED
(12 or 24 VDC)
YELLOW
(Data)
FRONT VIEW
S
Y
N
C
H
R
O
N
I
S
E
D
S
T
R
O
B
E
W
H
I
T
E
S
Y
N
C
H
R
O
N
I
S
E
D
F
A
D
E
R
A
N
D
O
M
F
A
D
E
B
L
U
E
W
H
I
T
E
S
T
R
O
B
E
B
L
U
E
S
T
R
O
B
E
ON/OFF
SCENE
LUMISHORE
Connecting additional Hubs
You will need additional SUPRA i-Connect Hub(s) (60-0317) and
DMX extension cables (1m - 24-0077, 5m - 24-0078 or 15m -
24-0099)
Each hub can power up to 4 lights, and up to 4 hubs can be
connected together in one system. To add a additional hubs
follow the diagram:
45-0101 - Rev 2.0 4
www.Lumishore.com
Cleaning and Maintenance
LUMISHORE Ltd warrants the SMX 53 to be free from defects in
workmanship and materials for a period of two years, starting
from the date of original purchase. Misuse, abuse, improper instal-
lation, neglect, improper shipping, damage caused by disasters
such as re, ood, and lightning, installation by unqualied
personnel, unauthorized repair or modication will void this
warranty. For the avoidance of confusion and doubt, non-compli-
ance with all installation, maintenance and operating instructions
in this document constitute non-conformance with warranty
terms.
Warranty
LUMISHORE lights require simple cleaning. Lights should be
checked often to ensure the light body and lens area are free from
sea growth. In the event that your light requires cleaning, we
recommend the use of a soft cloth or soft bristled brush.
•DO NOT use any abrasive cleaning materials as these may
damage the body of the light.
•DO NOT use any cleaning uids that contain solvents, acids or
alkalis.
•DO NOT clean using pressure washing or sandblasting equip-
ment.
Slight discolouration of body may occur over life. This does not
aect performance, and is not subject to warranty.
Due to nature and high build quality it may on rare occasions be
possible to see small levels of condensation, this is normal for high
power LEDs and will disappear after cooling and does not harm
operation in any way.
If the lights are covered for any reason, e.g maintnence, or paint-
ing DO NOT switch the lights on until the covers are removed.
SUPRA Lumi- Hub
Field Installable
Connectors (Supplied)
SUPRA i-Connect Hub
Scene
Field Installable
Connectors (Supplied)
DMX Extension
Cable used to
connect hubs together
Warranty
Battery /
PSU
12 or 24 V
On/Off
Scene
SUPRA
i-Connect Hub Switch
Fuse or
Circuit
Breaker
Check all ports
without connectors
have dust caps tted
The world’s rst marine lighng API (Applicaon
Programming Interface) allowing plug-&-play integraon of
Lumishore underwater lighng systems with cered Mul-
Funcon Displays (MFDs) creang a centralized control
plaorm for the enre vessel reducing helm cluer and
simplifying vessel operaon. www.lumishore.com/lumi-link

Other manuals for SMX53-SUPRA

1

Other lumishore Underwater Lighting manuals

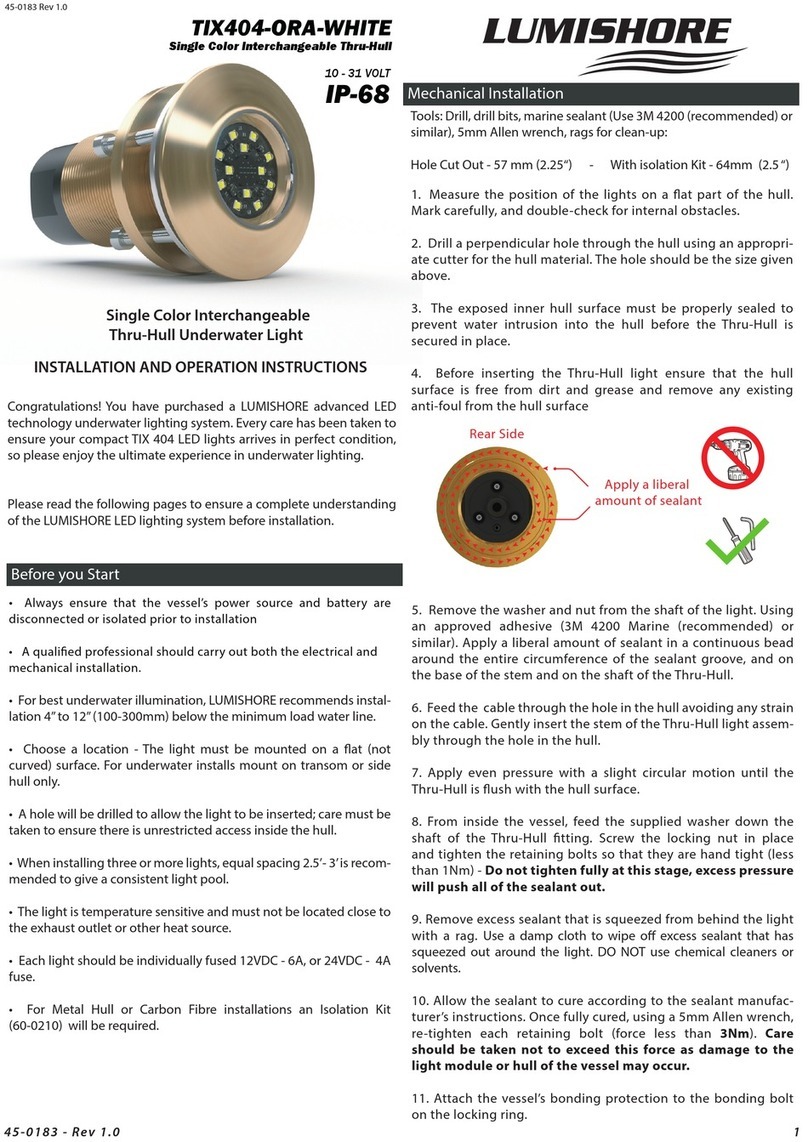
lumishore TIX404-ORA-WHITE User manual

lumishore

lumishore TIX404-ORA-WHITE User manual

lumishore THX 803 Installation guide

lumishore

lumishore THX 803 Installation guide

lumishore SMX23-SUPRA User manual

lumishore

lumishore SMX23-SUPRA User manual

lumishore SY 250 Series User manual

lumishore

lumishore SY 250 Series User manual

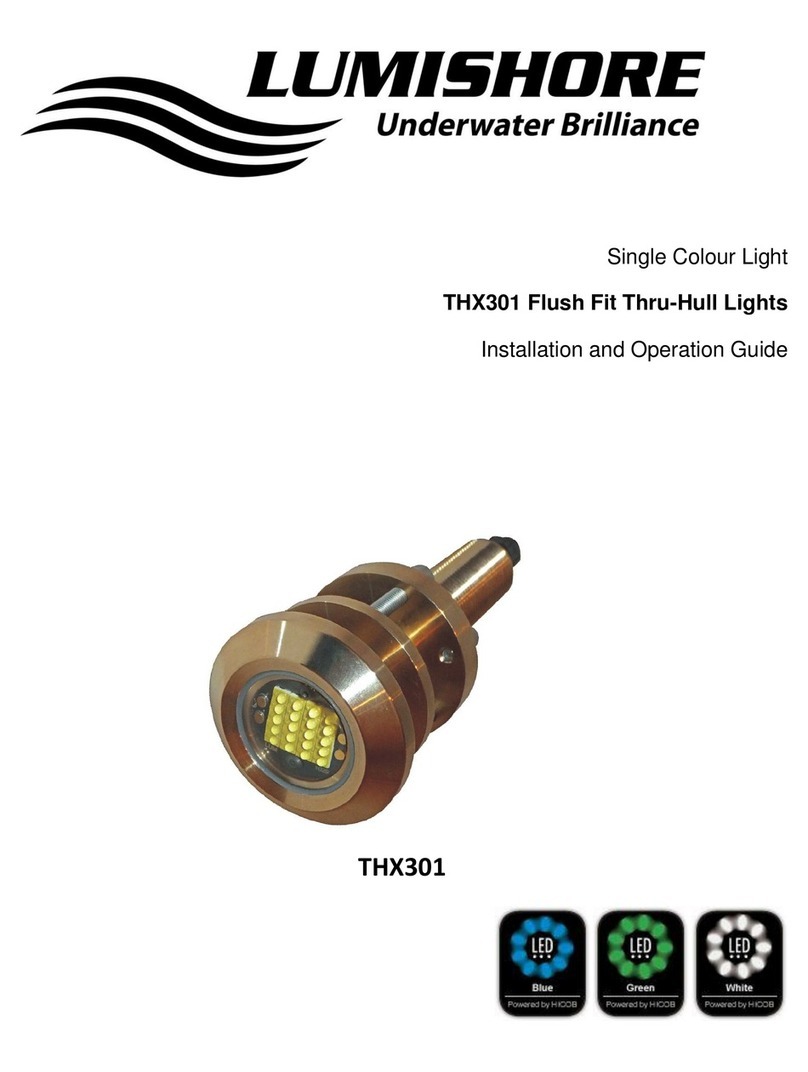
lumishore THX301 Operating instructions

lumishore

lumishore THX301 Operating instructions

lumishore SY Series User manual

lumishore

lumishore SY Series User manual

lumishore TIX 802 Installation guide

lumishore

lumishore TIX 802 Installation guide

lumishore SMX-53 Series User manual

lumishore

lumishore SMX-53 Series User manual

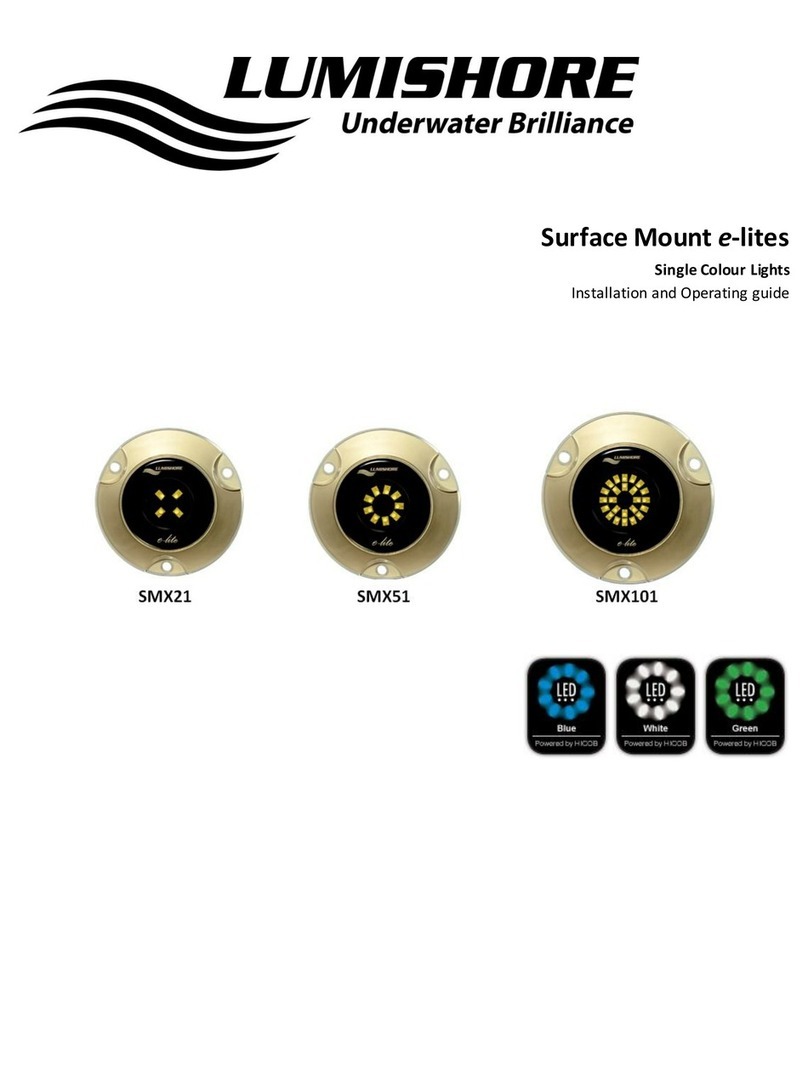
lumishore SMX21 Installation guide

lumishore

lumishore SMX21 Installation guide

lumishore SMX53-ORA-BLUE Owner's manual

lumishore

lumishore SMX53-ORA-BLUE Owner's manual

lumishore SMX53-SUPRA User manual

lumishore

lumishore SMX53-SUPRA User manual

lumishore Shorelite X18 User manual

lumishore

lumishore Shorelite X18 User manual

Popular Underwater Lighting manuals by other brands

Hugo Lahme VitaLight POWER LED 4 x 3 W user manual

Hugo Lahme

Hugo Lahme VitaLight POWER LED 4 x 3 W user manual

Keldan CRI86 operating instructions

Keldan

Keldan CRI86 operating instructions

Hartenberger Nano compact Instructions for use

Hartenberger

Hartenberger Nano compact Instructions for use

PXM PxAqua 3 SF 12V user manual

PXM

PXM PxAqua 3 SF 12V user manual

LIGMAN BOH-60003 installation manual

LIGMAN

LIGMAN BOH-60003 installation manual

Bluefin LED Piranha P6N installation manual

Bluefin LED

Bluefin LED Piranha P6N installation manual

BEGA 99 912 Instructions for use

BEGA

BEGA 99 912 Instructions for use

Keldan VIDEO 18XR 35000lm CRI 86 operating instructions

Keldan

Keldan VIDEO 18XR 35000lm CRI 86 operating instructions

RETRO EMRX Series installation guide

RETRO

RETRO EMRX Series installation guide

Certikin CKSS358 manual

Certikin

Certikin CKSS358 manual

METALSUB KL1242 LED2400/5100 user manual

METALSUB

METALSUB KL1242 LED2400/5100 user manual

Certikin PU9LS Installation

Certikin

Certikin PU9LS Installation

Fiap Light Active Band 300 manual

Fiap

Fiap Light Active Band 300 manual

Oceanled Sport S3116d Installation & operation manual

Oceanled

Oceanled Sport S3116d Installation & operation manual

Hidrotermal Hidro-SW300 Installation and maintenance manual

Hidrotermal

Hidrotermal Hidro-SW300 Installation and maintenance manual

Aquant STANDARD Series Installation and maintenance manual

Aquant

Aquant STANDARD Series Installation and maintenance manual

Hayward UCL Niches owner's manual

Hayward

Hayward UCL Niches owner's manual

Hayward ColorLogic SP0536AF owner's manual

Hayward

Hayward ColorLogic SP0536AF owner's manual

manuals.online logo
manuals.online logoBrands
  • About & Mission
  • Contact us
  • Privacy Policy
  • Terms and Conditions

Copyright 2025 Manuals.Online. All Rights Reserved.