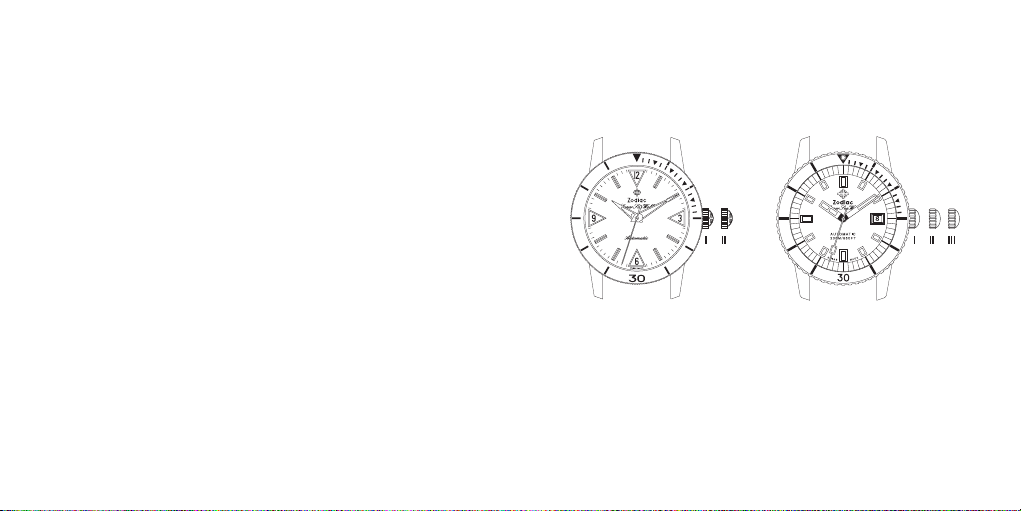
Zodiac 83718 User manual

INSTRUCTIONS
English ..........................................................
Français........................................................
Italiano.........................................................
Deutsch ........................................................
Español ........................................................
日本語 .........................................................
中文 ...........................................................
繁體中文 .......................................................
한국어 ..........................................................
WARRANTY
English .........................................................
Français........................................................
Italiano.........................................................
Deutsch ........................................................
Español ........................................................
日本語 .......................................................
中文 .........................................................
繁體中文 .....................................................
한국어 ........................................................
SERVICE CENTERS.................................................
CERTIFICATE OF WARRANTY ........................................
NOTICES.........................................................

2 3
3 Hand without Date / 3 Hand with Date
(Automatic STP1-11, STP3-13, SW200-1)
Setting the time
1. Unscrew (if necessary) and pull out crown to position 1.
2. Pull crown out to position III (the watch stops).
3. Turn crown until you reach the correct time.
4. Push crown back to position I, and screw back (if necessary).
Setting the date
1. Pull crown out to position II (the watch continues to run).
2. Turn crown until yesterday’s date appears.
3. Pull crown out to position III (the watch stops).
4. Turn crown until correct date appears.
5. Continue to turn crown until correct time appears.
6. Push crown back to position I.
ENGLISH Do not change the date between the hours of pm and am This is the time when the movement
is in position to carry out the automatic date change and any interference may cause damage to
the movement
Automatic Winding Movement
A timepiece fitted with an automatic winding movement obtains the power to wind itself by the
movement of your wrist. It is important that your timepiece is adjusted to match the size of your wrist.
A loose fit may result in a loss in capacity of the timepiece to wind itself. When fully wound, your
timepiece has a power-reserve of approximately 42 hours. If the timepiece has not been worn for over
42 hours it is advised that it be manually wound to ensure necessary power-reserve.

4 5
Chronograph Eye
(Model 8371B and Ronda Z50)
Setting the Time
1. Unscrew crown (if necessary) and pull out to position III (watch stops).
2. Turn crown until you reach the correct time.
3. Push and screw (if necessary) crown back to position I.
Setting the Date
1. Unscrew crown (if necessary) and pull out to position II (the watch continues to run).
2. Turn crown until yesterday’s date appears.
3. Pull crown out to position III (the watch stops).
4. Turn crown until correct date appears.
5. Continue to turn crown until correct time appears.
6. Push and screw (if necessary) crown back to position I.
Chronograph
• The minute counter measures 30 minutes per rotation.
• The center stop-second measures 60 seconds per rotation.
S
W
I
S
S
M
A
D
E
Please note:
Before using the chronograph functions, please ensure that:
- the crown is in position I (= normal position).
- the two chronograph hands are precisely at zero position following activation of pusher B.
Should this not be the case, the positions of the hands must be adjusted (see the chapter
entitled “Adjusting the chronograph hands to zero position”).
Chronograph: Basic function
(Start / Stop / Reset)
1. Press pusher A to start the center stop-second hand.
2. To stop the timing, press pusher A again.
3. To reset the two chronograph hands to zero positioning, press pusher B.
Chronograph: Intermediate or interval timing
1. Press pusher A to start the center stop-second hand.
2. Press pusher B to stop the chronograph.
Note: Although the chronograph hands have stopped, the movement continues to record the
current timing.
3. Make up the measured time:
Press pusher B again and the 2 chronograph hands are quickly advanced to the ongoing
measured time. To continue to record intervals, continue to push pusher B.
4. Press pusher A to stop and the final time is displayed.
5. To reset the two chronograph hands to zero positioning, press pusher B.
Adjusting the chronograph hands to zero position (8371B)
1. Unscrew (if necessary) and pull crown out to position II (the two chronograph hands are in their
correct or incorrect zero position).
2. Press the pusher A two times with a time interval of 2 seconds. The hand counter at 9 makes a
turn.
3. Press pusher B continually for quick setting or push step by step to adjust the minute.
4. Press pusher A. The second hand makes a turn. Push B continually for quick setting and push step
by step to adjust the second.
5. Push and screw (if necessary) crown back to position I to exit.
Adjusting chronograph hands to zero position (Ronda Z50)
1. Pull crown out to position 3 (all chronograph hands are in their correct or incorrect zero position.)
8371B Z50

6 7
Tachymeter Usage
The Tachymeter function is used to measure the rate of speed of an object over a fixed distance. The
scale, located either on the top ring or the inside bezel of the timepiece, will display speed in Miles,
Knots, or Kilometers per hour.
Example of usage: In a driving race, the car passes the first mile (km) post when the seconds hand
is at the 12:00 position (60 second mark). Commence measurement. At the 36 second mark the car
passes the second mile (km) post, you will see that the car traveled a distance of one mile at 100
miles (km) an hour.
2. Keep both pushers depressed simultaneously for at least 2 seconds (the second counter hand
rotates by 360°: corrective mode is activated.)
3. Adjust the second counter hand by pressing pusher A continually for quick setting or push step
by step to adjust the second.
4. Press pusher B to adjust next hand.
5. Adjust the minute counter by pressing pusher A continually for quick setting or step by step to
adjust the minute.
6. Push the crown back to position I to exit.
Bracelet Instructions
To resize your bracelet, simply push down on the part of the link as indicated by an arrow icon. Slide
the link out from the opposite end and then reconnect the remaining links together.

8 9
Water Resistance
See caseback for water resistance rating.
The water resistance rating provides guidelines for appropriate water-related exposure to avoid
damage to internal watch components. Please see chart for recommended usage guidelines.
In order to ensure water does not enter the watch and cause damage to it, please follow the
instructions listed below:
• Do not adjust the crown while the timepiece is in contact with water.
• Ensure the crown is in the closed position before contact with water. For timepieces with screw-
down crowns, ensure the crown is completely tightened before contact with water.
• For timepieces with pusher-enabled functionality, do not engage the function underwater.
• Exposure to extreme atmopheres is not recommended (i.e. hot water, saunas or steam rooms).
• Avoid exposure to water moving with force (i.e. water running from a faucet, ocean waves or
waterfalls).
• Avoid long exposure to salt water. After contact with salt water, rinse watch under tap water if
rated 5ATM or higher and wipe dry with a soft cloth.
Use Precautions - Resistance to Water
RECOMMENDATIONS FOR WATER-RELATED USE
INDICATION
SPLASH RESISTANT SUBMERSIBLE SHALLOW DIVING SCUBA
DIVING
(Hand Washing) (Swimming) (Snorkeling) (Not
Deep Sea)
(NONE)
3 ATM • 3 BAR •
30 Meters
5 ATM • 5 BAR •
50 Meters
10 ATM • 10 BAR •
100 Meters
20 ATM • 20 BAR •
200 Meters
This manual suits for next models
1
Table of contents
Languages:
Other Zodiac Watch manuals
Popular Watch manuals by other brands

Casio
Casio QW 5513 Operation guide

Piaget
Piaget 560P Instructions for use

Armitron
Armitron pro sport MD0346 instruction manual

West Marine
West Marine BlackTip 13411293 Instruction Booklet and Care Guide

Jaeger-leCoultre
Jaeger-leCoultre HYBRIS MECHANICA CALIBRE 184 manual

FOREVER
FOREVER iGO PRO JW-200 user manual