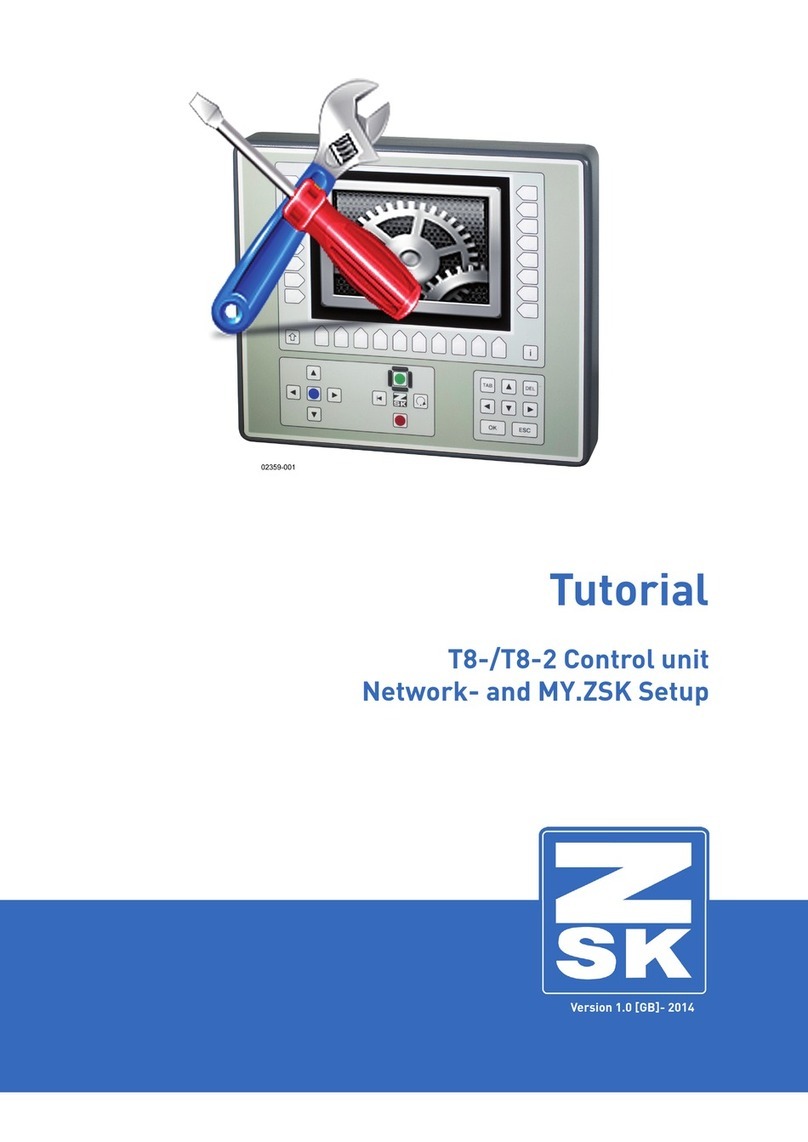
ZSK T8 User instructions

02442V10 [D] - 2018
User Manual
T8/T8-2 Control unit
Software settings

Subject to change!
Änderungen vorbehalten!
© ZSK Stickmaschinen GmbH
Printed in Germany
[ GB ] 02442V10

02417V10 • 11.09.2018/DC • 3
Basic information
T8-Software adjustments
Basic information
Download Software Updates:
https://www.zsk.de/t8-software.html
All discribed functions of the control unit T8-/T8-2 will be started at the Base Screen
(BS).
The keys used in the function descriptions are shown in the above T8-/T8-2-gure.

4 • 02417V10 • 11.09.2018/DC
Software settings
Software settings
With the function Software settings of the T8 control unit, different operating modes and queries can be
switched ON/OFF. In addition, modication and optimization options, as well as a network connection can
be selected.
Open software adjustments
Switch on the function Software settings. Starting
from the basic screen of the T8 control unit, press the
following buttons:
• [L7] Software-/hardware settings
• [R4] Software settings
Ö The dialog Software settings appears.
All functions of the dialog Software settings
are described individually is following.
[L7] Defaults
Resets all settings made to the default values.
[L8] Conrm
Takes over all the settings made and the dialog Software-/hardware settings appears again.
[R8] Previous
Cancels the dialog and returns to the dialog Software-/hardware settings.

02417V10 • 11.09.2018/DC • 5
Abridged user interface
In the abridged user interface of the T8 control unit, the functionality of the machine operation is reduced to
the most necessary functions for the machine operation. Access authorization prevents the unauthorized use
of the complete machine operation.
Access to all setting functions is now switched off. Changes to the setting functions
can only be carried out by authorized personnel via the Abridget user interface of the
T8 control unit.
Enable abridged user interface
• Activate the button [L1] Simpleoperationmode.
• Press the button [L8] Conrm.
Ö The selection menu Software-/hardware
settings appears again.
• Press the button [L8/R8] Previous.
Ö The basic screen with the abridged user in-
terface is displayed.

6 • 02417V10 • 11.09.2018/DC
Abridged user interface
Assignment of access rights
• Press the button [L2] Completeoprerationmode.
Ö The dialog Enter access authority is
displayed.
At the rst return to the complete operation an access authorization for authorized
personnel should be created here. The access authorization prevents subsequent
unauthorized access by the machine user to the complete operation mode and where
changes of the machine settings are possible.
The entered access authorization (PIN) remains valid until renewed modication/remo-
val and must always be entered when changing to complete operation mode.

02417V10 • 11.09.2018/DC • 7
Abridged user interface
• Press the button [L7] Change access authority.
• Press the button
[L3/R3] New access authority.
• Enter a 4-digit PIN with the button [U1] - [U0]
in the input eld.
• Press the button
[L4/R4] Conrmaccessauthority.
• Enter the 4-digit PIN in the input eld again for
conrmation.
• Press the button [L8] Conrm.
The basic screen of the complete operation mode is
displayed again. The machine can now be operated
with full functionality again.

8 • 02417V10 • 11.09.2018/DC
Abridged user interface
Return to the complete user interface
after granting an access authorization
• Press the button [L2] Completeoprerationmode.
Ö The dialog Enter access authority is
displayed.
• Press the button
[L3/R3] Zugangsberechtigung.
• Enter the 4-digit PIN in the input eld with the
button [U1] - [U0].
• Press the button [L8] Conrm.
The basic screen of the complete operation mode is
displayed again. The machine can now be operated
with full functionality again.

02417V10 • 11.09.2018/DC • 9
Abridged user interface
Change/delete access authorization
• Press the button [L2] Completeoprerationmode.
Ö The dialog Enter access authority is
displayed.
• Press the button [L3/R3] Access authority.
• Enter the 4-digit PIN with the button [U1] - [U0]
in the input eld.
• Press the button [L7] Change access authority.
• Press the button [L3/R3] New access authority.
• Enter a 4-digit PIN with the button [U1] - [U0]
in the input eld.
• Press the button
[L4/R4] Conrmaccessauthority.
• Enter the 4-digit PIN in the input eld again for
conrmation.
• Press the button [L8] Conrm.
To delete the access authorization, leave the input elds empty and conrm the dialog
with the [L8] Conrm button.

10 • 02417V10 • 11.09.2018/DC
Query pantograph conguration
The query function Inquirypantographcongur allows you to determine whether the dialog
Checkpantographconguration is to be displayed each time a design is loaded. If the function is
deactivated, the dialog is not displayed.
• Press the button
[L2] Inquirypantographkongur.
• Press the button [L8] Conrm.
Ö The dialog Checkpantographconguration
is displayed each time before the design is
loaded.

02417V10 • 11.09.2018/DC • 11
Internal monograming
Activating the function Internal writing switches the operating mode Writing ON/OFF.
• Press the button [R1] Internal writing.
• Press the button [L8] Conrm.
ÖWhen the function Internal writing is
activated, the operating mode Writing is
switched on and can be used via the design
load or the Editor. When deactivated, the
operating mode Writing can only be used via
the Editor.
The operating mode Writing is described in detail in a separate manual.

12 • 02417V10 • 11.09.2018/DC
No inquiries at desin change
With the function No inquiries at design change, you determine whether the dialog Machine design should
be displayed each time a design is changed. If the function is deactivated, the dialog is always displayed.
• Press the button
[L2] No inquiries at design change.
• Press the button [L8] Conrm.
Ö The dialog Machine design is no longer
displayed before the design change.

02417V10 • 11.09.2018/DC • 13
Modication options
Modication options
With the function [L3/R3] … you choose which modication options should be used during design loading/
changing.
• Press the button [L3/R3] ….
Ö The dialog Modicationoptionswhilede-
sign loading appears.
• Select one of the following options:
• [L1/R1] Allmodicationoptions
Ö All design modication options are applied
during design loading/changing.
• [L2/R2] Nomodication
Ö No design modication options are applied
during design loading/changing.

14 • 02417V10 • 11.09.2018/DC
Modication options
• [L3/R3] Applicationdepend.modicat.
Ö The design modication options are applied
depending on the application during design
loading/changing.
• Press the button [L8] Conrm in the dialog Software Settings when you have made all necessary
settings.
Modication options

02417V10 • 11.09.2018/DC • 15
Optimization options
With the function [L4/R4] … you choose which optimization options should be used during design loading/
changing.
• Press the button [L4/R4] ….
Ö The dialog Optimizationoptionswhilede-
sign loading appears.
• Select one of the following options:
• [L1/R1] Alloptimizationoptions
Ö All design optimization options are applied
during design loading/changing.
• [L2/R2] Alwaysusedefaultoptimizat
Ö The default optimization options are always
applied during design loading/changing.

16 • 02417V10 • 11.09.2018/DC
Optimization options
• [L3/R3] Designdependendoptimization
Ö The design optimization options are applied
depending on the application during design
loading/changing.
• [L4/R4]
Alwaysoptimzewithuserdenedvalues
Ö The design is loaded with user values when
design loading/changing.
Press the button [L8] Conrm in the dialog Software settings when you have made all necessary settings.
Optimization options

02417V10 • 11.09.2018/DC • 17
Assignment of the design number
When loading designs from external medias (oppy disk, USB ash drive or via network), it may be
possible that the design number of the loaded design has already been assigned to the memory of the T8. In
this case, use the function [L5/R5] … to determine how the design number should be adjusted during design
loading.
• Press the button [L5/R5] ….
• Select one of the following options:
[L1/R1] Alwaysaskfordesignnumber
[L2/R2] Automaticdesignnoassignment
Automatic design no assignment
• Press the button
[L2/R2] Automaticdesignnoassignment.
Ö During design loading, the design number
is automatically assigned in the back-
ground and the design head of the design is
displayed.
[U1] Markstartingpointofdesign
[U2] Markendpointofdesign
[U3] Unmarkdesignstart-/endpoint
[L8] Acceptloadeddesign
[R8] Cancel
• Press the button [L8] Acceptloadeddesign.
Ö The design is transferred to the machine and
can now be embroidered.

18 • 02417V10 • 11.09.2018/DC
Assignment of the design number
Always ask for design number
• Press the button [L1/R1]
Alwaysaksfordesignnumber.
Ö The design number, design version or the de-
sign name must always be changed manually
during the design loading via the following
dialog:
NewNumber: First it shows the original number of
the design to be loaded with the note Numberinuse!.
[L3] Editdesignnumber/version: For manually
changing the design number and the design version.
[L4]Freedesignnumber: Changes the design
number to the next free design number.
[L5] Free design version: Changes the design version
to the next free design version.
[L6]Newname: Changing the design name of the
design to be loaded in a separate dialog.
Press the button [L4]Freedesignnumber.
Ö The next free design number is displayed in
the display eld Newnumber.

02417V10 • 11.09.2018/DC • 19
Assignment of the design number
• Press the button [L5] Free design version.
ÖThe display Newnumber shows the new
design version.
• Press the button [L6]Newname.
Ö The dialog Enternewdesignname is
displayed.
• Change the design name here.
• Conrm your entries with the key [OK] on the
T8 control unit.
Ö The dialog Loadpatternfromdevice
appears again.
• Conrm your changes in the dialog
Loadpatternfromdevice with the button
[L8] Conrm.

20 • 02417V10 • 11.09.2018/DC
Options for network operation
With the function [L6/R6] … you choose which network connection to use for design loading/changing.
• Press the button [L6/R6] ….
Ö The dialog Networkmodeoptions appears.
• Select one of the following options:
• Press the button
[L1/R1] Select network connection
Ö The network connection is inquired at the
design loading via the following dialog.
Other manuals for T8
5
This manual suits for next models
1
Table of contents
Other ZSK Control Unit manuals
Popular Control Unit manuals by other brands

Kidde
Kidde CO120X quick start guide

Red Jacket
Red Jacket 880-051-1 Installation and owner's manual

SOMFY
SOMFY animeo KNX Master Control W8 installation guide

Honeywell
Honeywell Velociti AOM-2RF Installation and maintenance instructions

Swegon
Swegon TBLZ-1-48-1 Installation

Acromag
Acromag AcroPack AP513 user manual