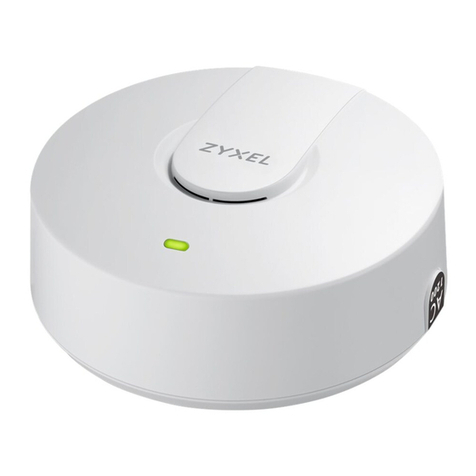
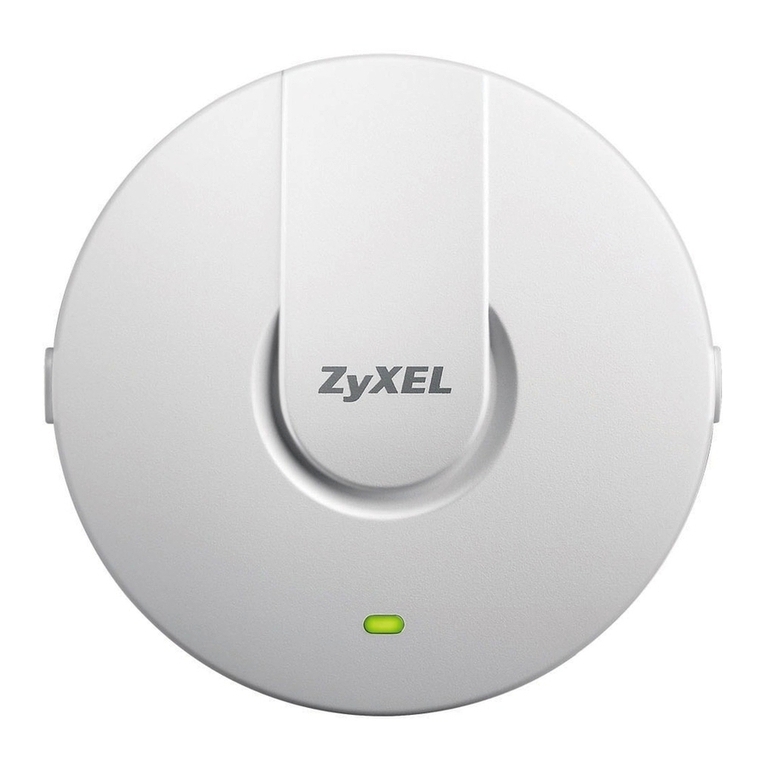
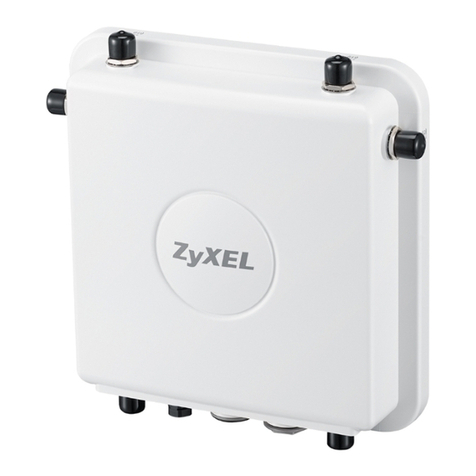
WAC6303D-S
802.11ac Wave2 Dual-Radio Unified Pro Access Point
Quick Start Guide Hardware Installation
Copyright © 2017 Zyxel Communications Corp. All Rights Reserved.
EU Importer
Zyxel Communications A/S
Generatorvej 8D, 2860 Søborg, Denmark.
http://www.zyxel.dk
US Importer
Zyxel Communications, Inc
1130 North Miller Street Anaheim, CA 92806-2001
http://www.us.zyxel.com
EN 1
DE 1
ES 1
FR 1
Connect the UPLINK/POE port to a router network through a PoE switch or a PoE
injector (30W).
Verbinden Sie den UPLINK/POE Anschluss mit einem Router Netzwerk über einen
PoE Switch oder einen PoE Injektor (30W).
Conecte el puerto UPLINK/POE a una red de router a través de un switch PoE
inyector (30W).
Connectez le port UPLINK/POE au réseau d'un routeur via un commutateur PoE ou
un injecteur PoE (30W).
Drill two holes for the plastic wall plugs (A), 6.41cm apart. Insert the plugs into the wall.
Screw the self-drilling drywall anchors (C) into the ceiling, 6.41cm apart.
Install two mounting screws through the holes on the bracket (B) into the
plugs/anchors to secure the bracket to the wall/ceiling. Make sure the screws are
snugly and securely fastened to the wall/ceiling.
After the bracket is attached to the wall/ceiling, line up the UPLINK/POE port on the
WAC6303D-S with the tab of the mounting bracket (B). Push the WAC6303D-S in and
turn it to the right until it clicks into place.
Bohren Sie die zwei Löcher für die Wanddübel (A) in einem Abstand von 6.41cm.
Bringen Sie die Dübel an der Wand an. Schrauben Sie die selbstbohrenden Rigipsdübel
(C) in einem Abstand von 6.41 cm an die Decke.
Bringen Sie zwei Montageschrauben durch die Öffnungen der Halterung (B) in die
Dübel an, um die Halterung an der Wand/Decke zu befestigen. Stellen Sie sicher, dass
die Schrauben fest in der Wand/Decke befestigt sind.
Nachdem die Halterung an der Wand/Decke befestigt wurde, richten Sie den
UPLINK/POE Anschluss am WAC6303D-S an der Nase der Montagehalterung (B) aus.
Drücken Sie den WAC6303D-S hinein und drehen Sie nach rechts, bis er einrastet.
Perfore dos agujeros para los tacos de la pared,(A), a una distancia de 6.41 cm.
Inserte los tacos en la pared. Atornille los anclajes de autoperforación drywall (C) en el
techo, a 6.41 cm de distancia.
Instale los dos tornillos de montaje a través de los agujeros del soporte (B) en los tacos
o anclajes para fijar el soporte a la pared o techo. Asegúrese de que los tornillos estén
perfectamente apretados y seguros en la pared o techo.
Tras colocar el soporte en la pared o techo, alinee el puerto UPLINK/POE del
WAC6303D-S con la lengüeta del soporte de montaje (B). Presione el WAC6303D-S y
gírelo a la derecha hasta que haga clic en su lugar.
Percez deux trous pour les chevilles en plastique (A), espacés de 6.41 cm.
Insérez les chevilles dans le mur. Vissez les chevilles auto-perceuses pour placo (C)
dans le plafond, espacées de 6.41 cm.
Installez deux vis de fixation à travers les trous sur le support (B) dans les
chevilles/ancrages pour fixer le support au mur/plafond. Vérifiez que les vis sont
correctement fixées au mur/plafond et de façon sécurisée.
Une fois que le support est fixé au mur/plafond, alignez le port UPLINK/POE sur le
WAC6303D-S avec la languette du support de montage (B). Insérez le WAC6303D-S et
tournez-le vers la droite jusqu'à ce qu'il prenne sa place.
EN
DE
ES
FR
Initial Configuration
http://1.1.1.1 (First time
configuration only)
User Name: admin
Login Password: 1234
(default)
1234
Login
User Name
Password
admin
WAC6303D-S
Management
IP Address:
SSID:
Wi-Fi Security
Connect UPLINK to Router
Not Connect UPLINK to Router 192.168.1.2
DHCP-assigned
Zyxel
Disabled
3
2
4
5
1b1a
3
12
2
LOCK
OPEN
B
ENGLISH | DEUTSCH | ESPAÑOL | FRANÇAIS
Wall / Ceiling Mounting How to release the AP
North America
USA
+ 1 800 978 7222
UK + 44 3331 559 301
Germany + 49 2405 690969
Spain + 911 792 100
soporte@zyxel.es
France + 33 4 72 52 97 97
Support Information
See the User's Guide at www.zyxel.com for more information,
including safety warnings and customer support.
Zyxel
Wireless Network Connection
XXXX
DASHBOARD
Interface Status Summary
XXX X.X.X.X / X.X.X.X
Name IP Addr/Netmask
http://1.1.1.1
Wizard setting
WAC6303D-S
Prev Next Cancel
SSID:
PSK
Secret:
XXXXXX
XXXXXX
SSID
SSID (Wi-Fi Network Name):
PSK (Wi-Fi Password):
Note 1
Current IP Address:
Note 2
WAC6303D-S
Note 1
6.41cm
A
60cm
C
6.41cm
60cm
1-a
1-b
1-a
1-b
1-a
1-b
1-a
1-b
2
3
2
3
2
3
2
3
12
2
3
From a Wi-Fi enabled computer, search for the WAC6303D-S's default Wi-Fi network
name (Zyxel) and connect to it.
Open your web browser and enter "http://1.1.1.1" for initial configuration. Enter the
default user name (admin) and password (1234). Click Login.
Note: If your computer doesn't have a Wi-Fi adapter, use an Ethernet cable to
connect your computer to the LAN1 port of the WAC6303D-S. Use its DHCP-assigned
IP or default static IP address (192.168.1.2) to access the web configurator. Make sure
your computer IP address is in the same subnet as the WAC6303D-S's.
The wizard appears automatically. Use the wizard to set up your WAC6303D-S. Note: It
takes 1 to 2 minutes to apply your wizard changes. The power LED will blink red and
green alternatively. The power and Wi-Fi LEDs then turn steady green when the system
is ready. Check the Dashboard screen and note down the WAC6303D-S's IP address in
case you need to access it's web configurator again.
Note: The 1.1.1.1 is for initial setup only. It is not usable after the WAC6303D-S is
configured.
Use the WAC6303D-S's new wireless settings (SSID and key) to re-connect to the
WAC6303D-S's Wi-Fi network for Internet access if you change them in the wizard.
EN
2
3
Suchen Sie mit einem WLAN-fähigen Computer nach dem WLAN-Standardnamen
des WAC6303D-S (Zyxel), und stellen Sie die Verbindung zu diesem her.
Öffnen Sie Ihren Webbrowser, und geben Sie für die Erstkonfiguration "http://1.1.1.1"
ein. Geben Sie den Standardbenutzernamen (admin) und das Kennwort (1234) ein.
Klicken Sie auf Login.
Hinweis: Wenn Ihr Computer keinen WLAN-Adapter hat, können Sie ihn mit einem
Ethernetkabel an den LAN1-Anschluss des WAC6303D-S anschließen. Verwenden Sie
die vom DHCP-Server zugewiesene IP-Adresse oder die statische
Standard-IP-Adresse (192.168.1.2), um auf den Web-Konfigurator zuzugreifen. Die
IP-Adresse des Computers muss sich im selben Subnetz befinden wie die des
WAC6303D-S.
DE
2
3
En un ordenador con Wi-Fi activado, busque la conexión Wi-Fi predeterminada del
WAC6303D-S nombre de la red (Zyxel) realice la conexión.
Abra el navegador y escriba "http://1.1.1.1" para la configuración inicial. Escriba el
nombre de usuario predeterminado (admin) y la contraseña (1234). Haga clic en
Login (Iniciar sesión).
Nota: si su ordenador no tiene adaptador de Wi-Fi, utilice un cable Ethernet para
conectar el ordenador al puerto LAN1 del WAC6303D-S. Utilice su IP DHCP asignada
o una dirección IP estática (192.168.1.2) para acceder al configurador web.
Compruebe que la dirección IP del ordenador esté en la misma subred que el
WAC6303D-S.
ES
2
3
À partir d'un ordinateur connecté par Wi-Fi, recherchez le nom de réseau Wi-Fi par
défaut du WAC6303D-S (Zyxel) et connectez-vous à celui-ci.
Ouvrez votre navigateur Web et saisissez « http://1.1.1.1 » pour la configuration initiale.
Saisissez le nom d'utilisateur par défaut (admin) et le mot de passe (1234). Cliquez
sur Connexion.
Remarque : Si votre ordinateur ne dispose pas d'un adaptateur Wi-Fi, utilisez un
câble pour connecter votre ordinateur au port LAN1 du WAC6303D-S. Utilisez son IP
DHCP attribuée ou l'adresse IP statique par défaut (192.168.1.2) pour accéder au
configurateur Web. Vérifiez que l'adresse IP de votre ordinateur se trouve dans le
même sous-réseau que le WAC6303D-S.
FR
4
5
EN
Der Assistent erscheint automatisch. Richten Sie den WAC6303D-S mit dem
Assistenten ein. Hinweis: Es dauert 1 bis 2 Minuten, bis der Assistent die Änderungen
übernimmt. Die POWER LED blinkt nun abwechselnd rot und grün. Wenn das System
bereit ist, leuchten die LED-Anzeigen POWER und Wi-Fi (WLAN) grün. Rufen Sie das
Dashboard-Fenster auf, und notieren Sie sich die IP-Adresse des WAC6303D-S, falls Sie
nochmals auf den Web-Konfigurator zugreifen müssen.
Hinweis: 1.1.1.1 kann nur bei der Erstkonfiguration verwendet werden, nicht jedoch, wenn
der WAC6303D-S schon einmal konfiguriert wurde.
Nachdem Sie die WLAN-Einstellungen des WAC6303D-S (SSID und dazugehöriger
Schlüssel) im Assistenten geändert haben, können Sie mit diesen die Verbindung zum
WLAN-Netzwerk des WAC6303D-S und damit zum Internet herstellen.
4
5
DE
El asistente aparecerá automáticamente. Utilice el asistente para configurar su
WAC6303D-S. Nota: el asistente tarda entre 1 y 2 minutos en aplicar los cambios. El LED
de alimentación parpadeará en rojo y verde alternativamente. Los LEDs de
alimentación y Wi-Fi se mantendrán en verde fijo cuando el sistema esté listo.
Compruebe la pantalla Dashboard (Panel) y anote la dirección IP del WAC6303D-S por
si necesita acceder de nuevo al configurador web.
Nota: 1.1.1.1 es sólo para la configuración inicial. No se puede usar después de que el
WAC6303D-S haya sido configurado.
Utilice la nueva configuración inalámbrica del WAC6303D-S (SSID y clave) para volver
a conectarse a la red Wi-Fi del WAC6303D-S para acceder a Internet si la ha cambiado
en el asistente.
4
5
ES
L'assistant apparaît automatiquement. Utilisez l'assistant pour configurer votre
WAC6303D-S. Remarque : 1 à 2 minutes sont nécessaires pour appliquer les
modifications de l'assistant. Le voyant d'alimentation clignote en rouge et vert
alternativement. Les voyants d'alimentation et Wi-Fi s'allument en vert continu quand
le système est prêt. Consultez l'écran du Tableau de bord et notez l'adresse IP du
WAC6303D-S au cas où vous auriez besoin d'accéder de nouveau à son configurateur
Web.
Remarque : L'adresse 1.1.1.1 est uniquement destinée à la configuration initiale. Elle n'est
pas utilisable une fois que le WAC6303D-S est configuré.
Utilisez les nouveaux paramètres sans fil du WAC6303D-S (SSID et clé) pour
reconnecter le réseau Wi-Fi du WAC6303D-S pour l'accès à Internet si vous les modifiez
dans l'assistant.
4
6
FR
PoE Injector
OUT IN
PoE Switch
or
or
1
Router
Wait until the LED turns
steady bright blue
EN
DE
ES
FR
Insert a thin flat tool (such as a flat screwdriver) to push down the AP lock. Turn the AP in
a counterclockwise direction to release.
Setzen Sie ein dünnes flaches Werkzeug (wie einen flachen Schraubenzieher) ein, um die
AP-Sperre nach unten zu drücken. Drehen Sie den AP gegen den Uhrzeigersinn, um ihn
zu lösen.
Inserte una herramienta plana y fina (como un destornillador plano) para presionar el
cierre del PA. Gire el PA en sentido contrahorario para liberarlo.
Insérez un outil plat et mince (tel qu'un tournevis plat) pour pousser sur le verrouillage
de l'AP. Tournez l'AP dans le sens inverse des aiguilles d'une montre pour le libérer.

