ZYYX Fume Free User manual

ee 3D Print
QUICK START GUIDE
The fume fr er
The Fume Free 3D Printer
ZYYX 3D Printer Quick Start Guide version 001 14 09


LEGAL STATEMENT
This document is copyrighted and contains proprietary information that is the property of
Magicfirm Europe AB. This document is subject to change without notice.
The user does not have the right to copy, reproduce, or translate this document in any way or
to any media without the prior written consent of Magicfirm Europe AB.
Except for operating your printer, any unauthorized use of any information contained in this
document may violate copyright laws, trademark laws, the laws of privacy and publicity,
communications regulations and statutes, and other applicable laws and regulations. Magic-
firm Europe AB will not be responsible for any liability arising from or related to use this
document by you and anyone with your permission.
© 2014 Magicfirm Europe AB. All rights reserved.

TABLE of CONTENTS
I. Meet the ZYYX 3D Printer
Specifications
Unpacking your printer - STEP 1
Unpacking your printer - STEP 2
What´s included
At a glance
II. Setting up your ZYYX 3D Printer
Power Supply
Insert Build Plate
Installing Spool Holder
Loading Filament - STEP 1
Loading Filament - STEP 2
III. Printing
Printing from SD Card
Cancel Print
IV. Maintenance
Replacing the ZYYX Fume Filter
Cleaning the Build Plate
Cleaning the Print Head

I. Meet the ZYYX 3D Printer
Specifications
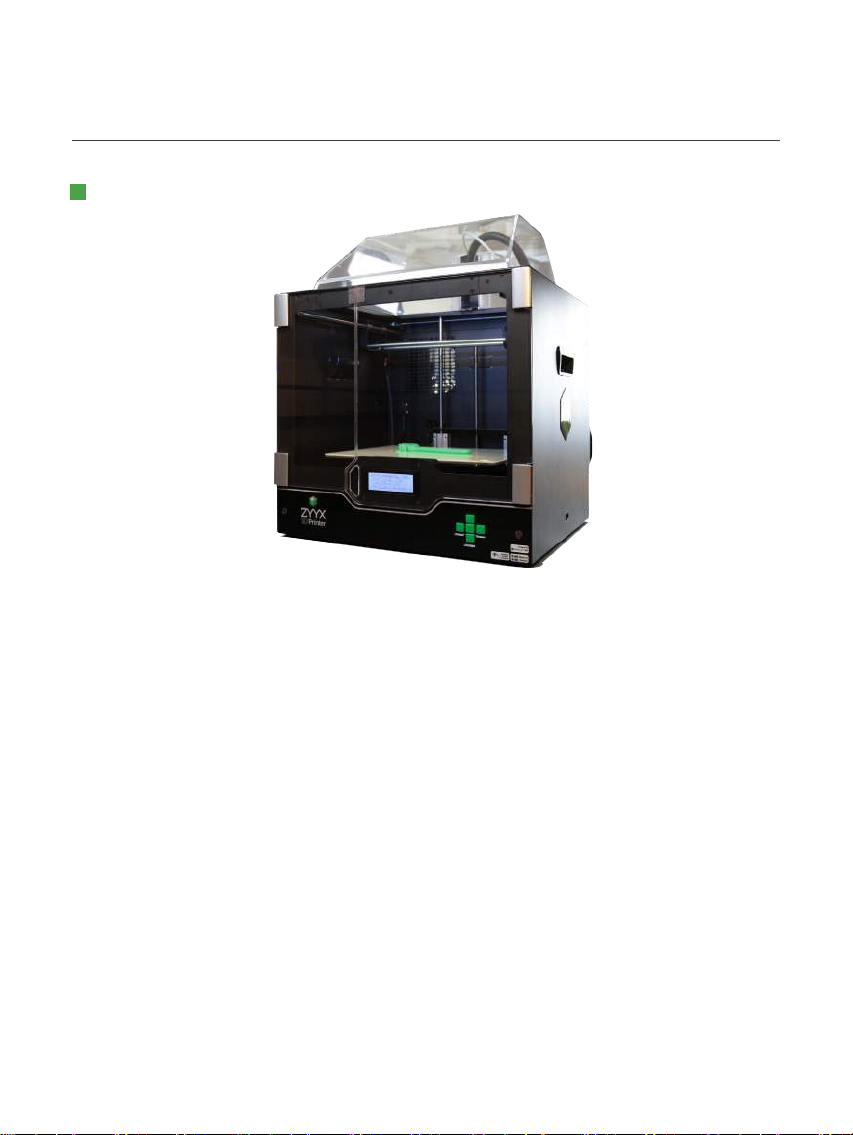
Print Technology Fused Filament Fabrication(FFF)
Build Volume 270x230x195 mm
Filament diameter 1.75 mm
Nozzle diameter 0.4 mm
Max Resolution 50 microns layer thickness, 11 microns XY positioning
Speed up to 150mm/s print speed, 200mm/s travel speed
Printing temperature 100-265 Degrees Celsius
Filament type PLA, ABS, Flexible PLA, TPU, Nylon, PET, Laywood, Laybrick, T-glase
Interfaces USB, SD Card
Stepper Motor type 1.8° Step angle, 1/16 micro stepping
Build Plate Glass build plate with ZYYX 3D Print Sheet top layer
Firmware Custom Sailÿsh Open Source FW
Desktop Software Simplify3D
Computer Requirements Intel Pentium 4 or higher processor, 2GB or more of RAM,
Windows XP or greater Mac OS X 10.6 or greater,
Ubuntu Linux 12.10 or greater. OpenGL 2.0 capable system
Supported ÿle types STL, X3G
Product size 43x54x45,5(WxHxL) cm
Product weight 16kg

I. Meet the ZYYX 3D Printer
Unpacking your printer - STEP 1
1. Place the box on the ground and open it up.
2. Slowly take the printer out of the box by grasping the upper
frame with two hands. Place it on a sturdy table.
3. Gently remove all the fixtures holding parts in place for transport.
Be careful with scissors.

I. Meet the ZYYX 3D Printer
Unpacking your printer - STEP 2
1. Remove all the plastic foam and the filament spool (optional) from inside
the printer. If needed move build plate holder by turning the z axis screw
2. With a wire cutter cut the cable tie attached at the
back of the cover and the z axis rod
3. Lift the the cover out
4. Cut and remove the two tape bands around the print head axis

I. Meet the ZYYX 3D Printer
What´s included
The box contains the following accessories. If anything is missing or
damaged, please contact your sales representative from whom you
purchased the printer.
SD card Spool holder Feed tube
Toolkit
(optional) USB cable Power cord
Filter Build plate Cover

I. Meet the ZYYX 3D Printer
At a glance
[1] LCD panel
[4] Build Plate
[7] Print Head Cable
[2] Function buttons
[5] Build Plate Holder
[8] Threaded Z-axis rod
[3] USB Port
[6] Feed Tube
5
4
6
7
8
3
1
2

II. Setting up your ZYYX 3D Printer
Power Supply
The power supply of the ZYYX 3D Printer can be switched between
230 Volt and 115 Volt. It is located at the bottom side and the
default setting is 230 Volt
230 V/115 V
Installing Spool holder
Tilt the spool holder and insert it in to the
holder on the back of the printer.

II. Setting up your ZYYX 3D Printer
Insert Build Plate
Place the build plate in the printer. Make sure that all three
magnets under the build plate are positioned correctly in the
circular grooves in the build plate holder
Magnets

II. Setting up your ZYYX 3D Printer
Loading Filament - STEP 1
Turn the power on. Fit the filament spool onto the spool holder
on the back of the machine. Make sure the spool spins counter-
clockwise when viewed from the back of the machine. Cut off
any molten plastic from the tip of the filament string. Then push
filament through the feed tube until the filament string appears at
the other end of the feed tube.
Power Switch

II. Setting up your ZYYX 3D Printer
Loading Filament - STEP 2
By using the function buttons, perform the following steps
to load the filament
Choose Utilities
Choose Filament lo
Choose Load
Wait for heating up
When the above message appears in
the LCD push the filament string straight
down into the print head feeder hole.
When you can feel the print head
gripping the filament, push the feed
tube into the feed tube holder.
Wait until you can see the correct
color plastic extruded from below the
print head nozzle and press the (m)id-
button to exit

III. Printing
Printing from SD Card
The ZYYX 3D printer uses the Simplify 3D Integrated Printing Software
to generate the print file needed for printing. Please refer to the Quick
Start Guide for Simplify 3D for creating your first print file. This guide
can be downloaded from www.zyyx3dprinter.com/support.
When you have your print file stored on the supplied SD card, simply
follow these instructions:
Chose Print from SD and then choose the file you created from the file
list shown in the LCD
After you have selected the file by pressing the mid button, the print
Head will heat up and then commence with printing your model

III. Printing
Cancel Print
To cancel your print, press the left button to bring up a selection of
actions, and select Cancel Print to stop the print completely.
For detailed information on how to operate the onboard
computer of your ZYYX 3D Printer visit zyyx3dprinter.com/support
to download the complete manual under Printer Firmware

IV.Maintenance
Replacing the ZYYX Fume FIlter
The ZYYX Fume Filter needs to be replaced in about every two months,
based on printing 2-4 hours a day
To replace the filter simply pull out the filter cartridge from the
backside of the printer and pull out the filter.

IV.Maintenance
Cleaning the Build Plate
The build plate needs to be cleaned on a
regular basis (after 2-4 prints) to make sure
your models stay firmly on the plate while
printing.
The best method is to gently sweep with a
tissue soaked in Acteone(CH3COCH3), this will
remove any grease and also refresh the special
ZYYX print top layer making sure your prints
stay on the plate.
Cleaning the Print Head
At an interval of 2-4 weeks the print head
should be cleaned.
Pull the front fitted fan
upwards to reach the feeder mechanism.
Unload the filament, and while letting the
unload feeding continue brush off any residue
plastic on the feeder wheel with a small brush
or tooth pick.
Use compressed air to blow out any debrie
from the mechanism.
Reattach the fan.
CH3COCH3
ACETONE

For further info and troubleshooting
look up the FAQ at:
http://www.zyyx3dprinter.com/support/#faq

Table of contents
Other ZYYX 3D Printer manuals