3DCPI 3DCPI-03 User guide
3DCPI-03 START-UP GUIDE
Product Summary
3DCPI-03

3DCPI-03 START-UP GUIDE
Product Image
3DCPI-03 START-UP GUIDE
Product Parameters
Forming Tech.: Fused deposition modeling (FDM)
Tech. Parameters: Extrude Number: Dual extruders(Perfect supported)
Build Size: 300*250*520mm
Precision: X, Y 0.01mm, Z 0.015
Min. Layer: 0.04mm
Nozzle Diameter: 0.4mm(0.3、0.5 Optional)
Max. Travel Speed: 250mm/sec.
Max. Print Speed: 180mm/sec
Max. Extruder Temperature: 250Deg.
Max. Hot Bed Temperature: 120Deg.
Max. Extrude Speed: 100mm/sec
Filament: Filament Type: ABS、PLA(Spec.)、PVA、PS
Filament Temperature: 150~250Deg.
Filament Colors: Black, White, Red, Yellow, Green, Blue
Hardware: Controller: Arduino ATmega2560 R3Micro Controller
Mother Board: CreatBot Stable Main Board V3.x
Stepper Motor: X, Y 42*48, 1.3A
Stepper Motor: Z 42*63, 1.5A
Geared Motor: E 42*42, Ratio 1:10
Power Input: 110~220V, 1.5A
Power Output: 24V, 10.5A
Software: OS: XP, Vista, Win7, Win8
File Format: STL, OBJ, GCode
Slicer: Cura, Slic3r
Print Software: Cura, Printrun, RepetierHost
Machinery: Dimensions: 420*380*790mm
Weight: About 35KG

3DCPI-03 START-UP GUIDE
Product Features
Metal Body
All-metal unibody, sufficient rigidity and
weight are powerful guarantee
high-precision printing, printing effect
and stability than wooden frame printer.
Large Build
Build size up to 300*250*520mm (L/W/H),
far more than other 3D printer available in
the market worldwide.
High Accur.
Imported bearing and rail, all parts
making by CNC, X, Y accuracy up to 10
microns, Z up to 0.04mm
Filament PLA and ABS can simultaneously support,
and soluble PVA support as well.
High Speed
Most high speed printer in the market,
travel speed up to 250mm/sec, print
speed up to 180mm/sec, is more than
reprap and makerbot.

3DCPI-03 START-UP GUIDE
Thermostat
Fully enclosed chassis designed to create a
climate of printing environment, and the
cover is easily removed.
Durable Nozz.
The extruder made by special materials,
and also uses a more advanced design
technology, the extrusion have more
stable and longer life.
No Blocked
The new generation nozzle has formed a
perfect solution that can prevent block the
nozzle.
Accu. Feed Exclusively design filament feeder, the use
of professional precision gear motor can
ensure feedrate filament accurately.
3DCPI-03 START-UP GUIDE
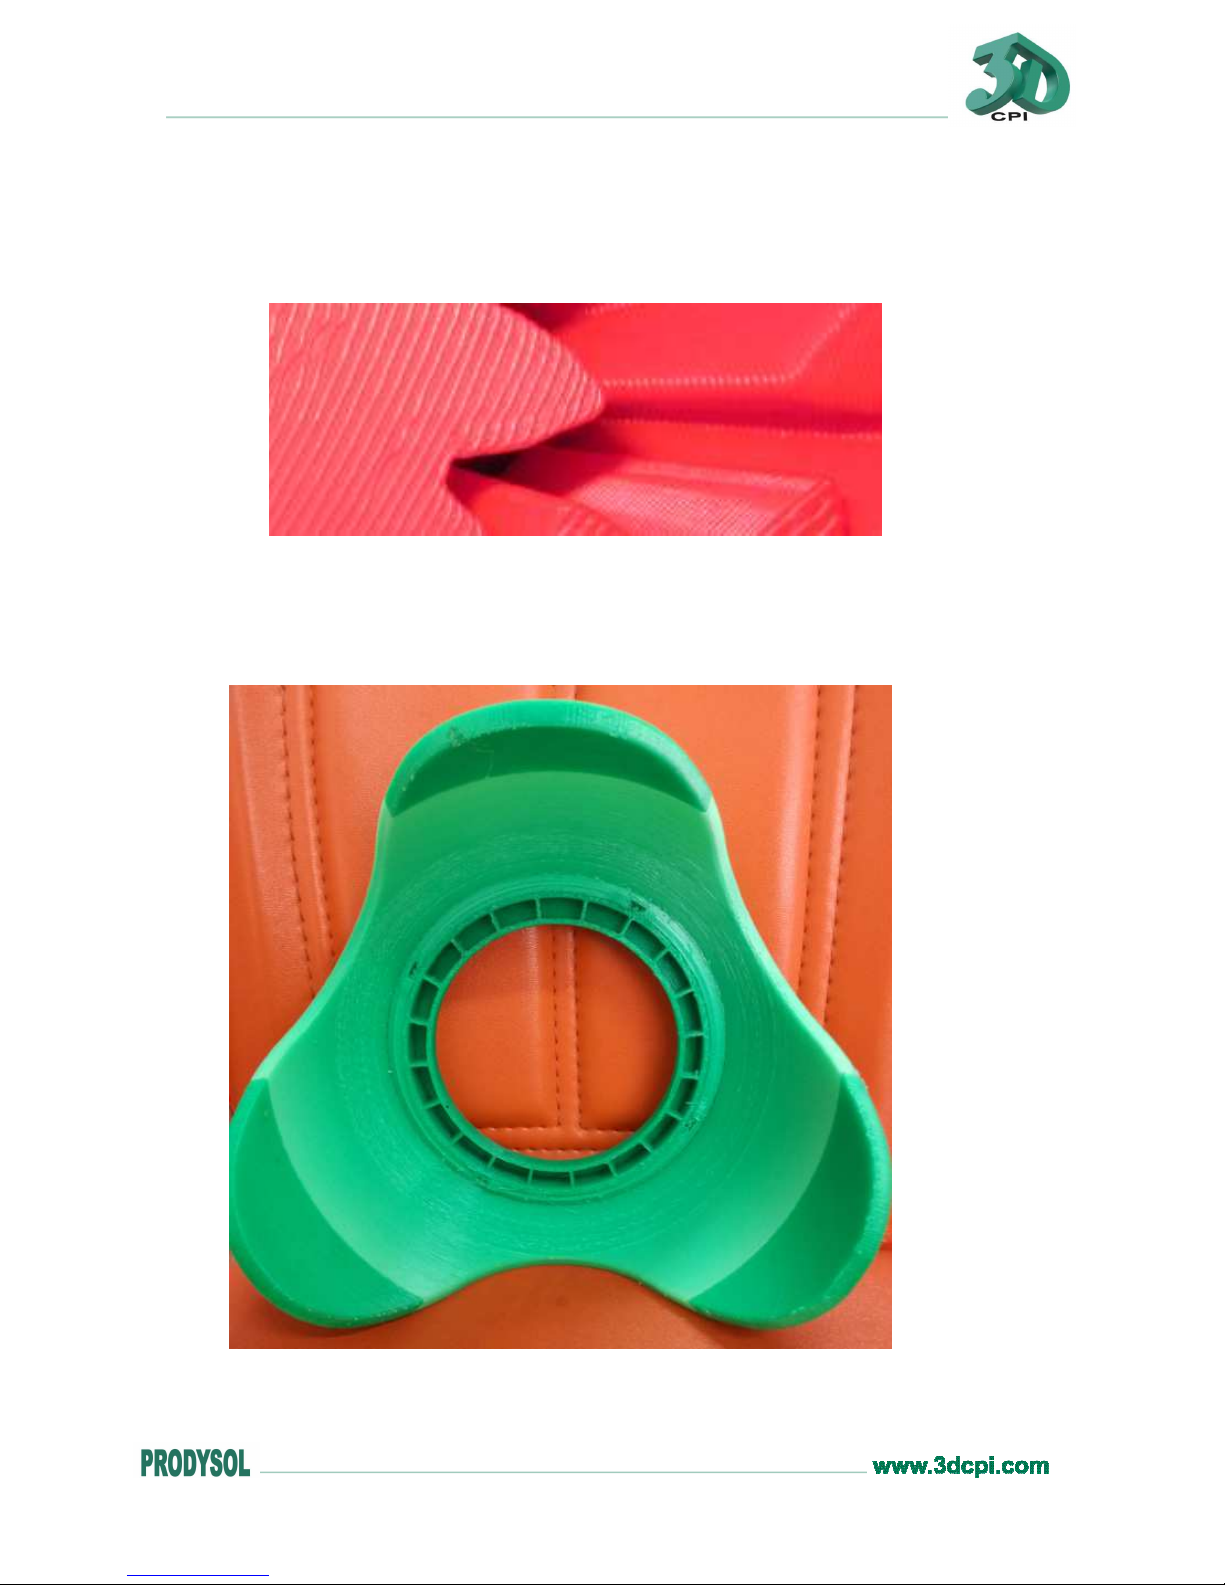
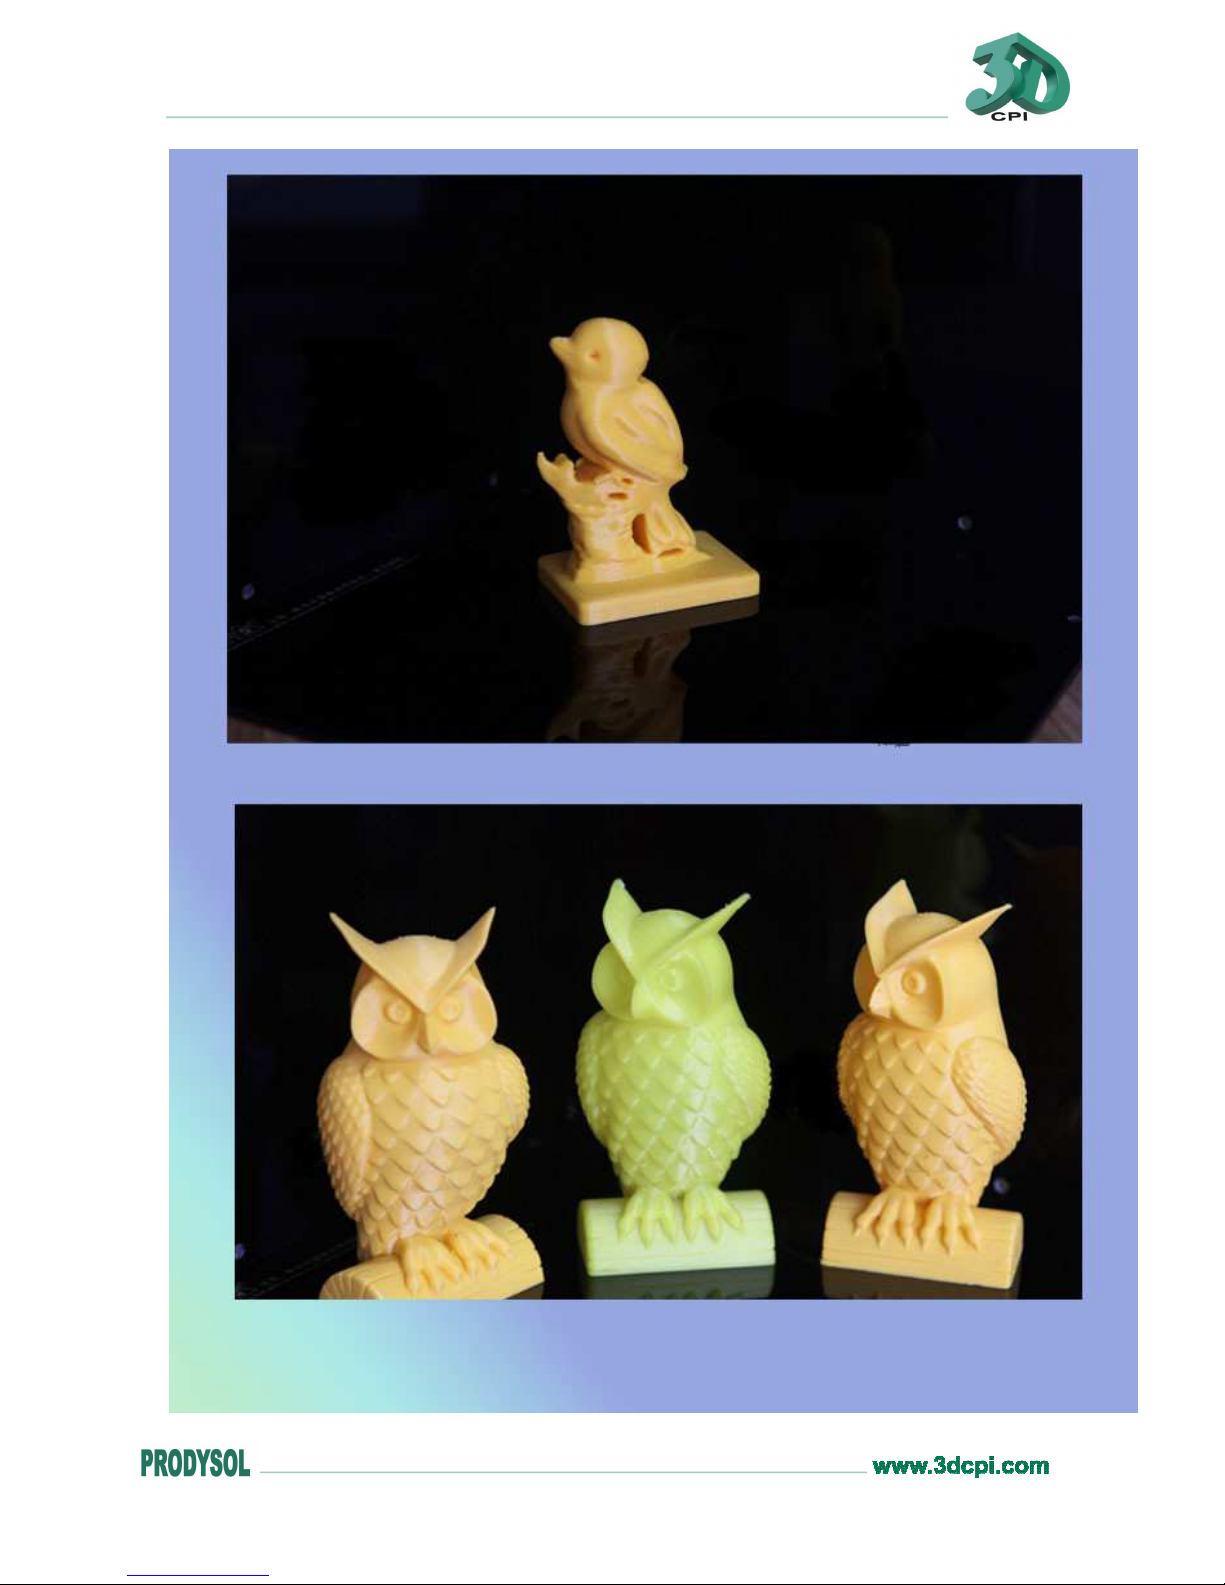
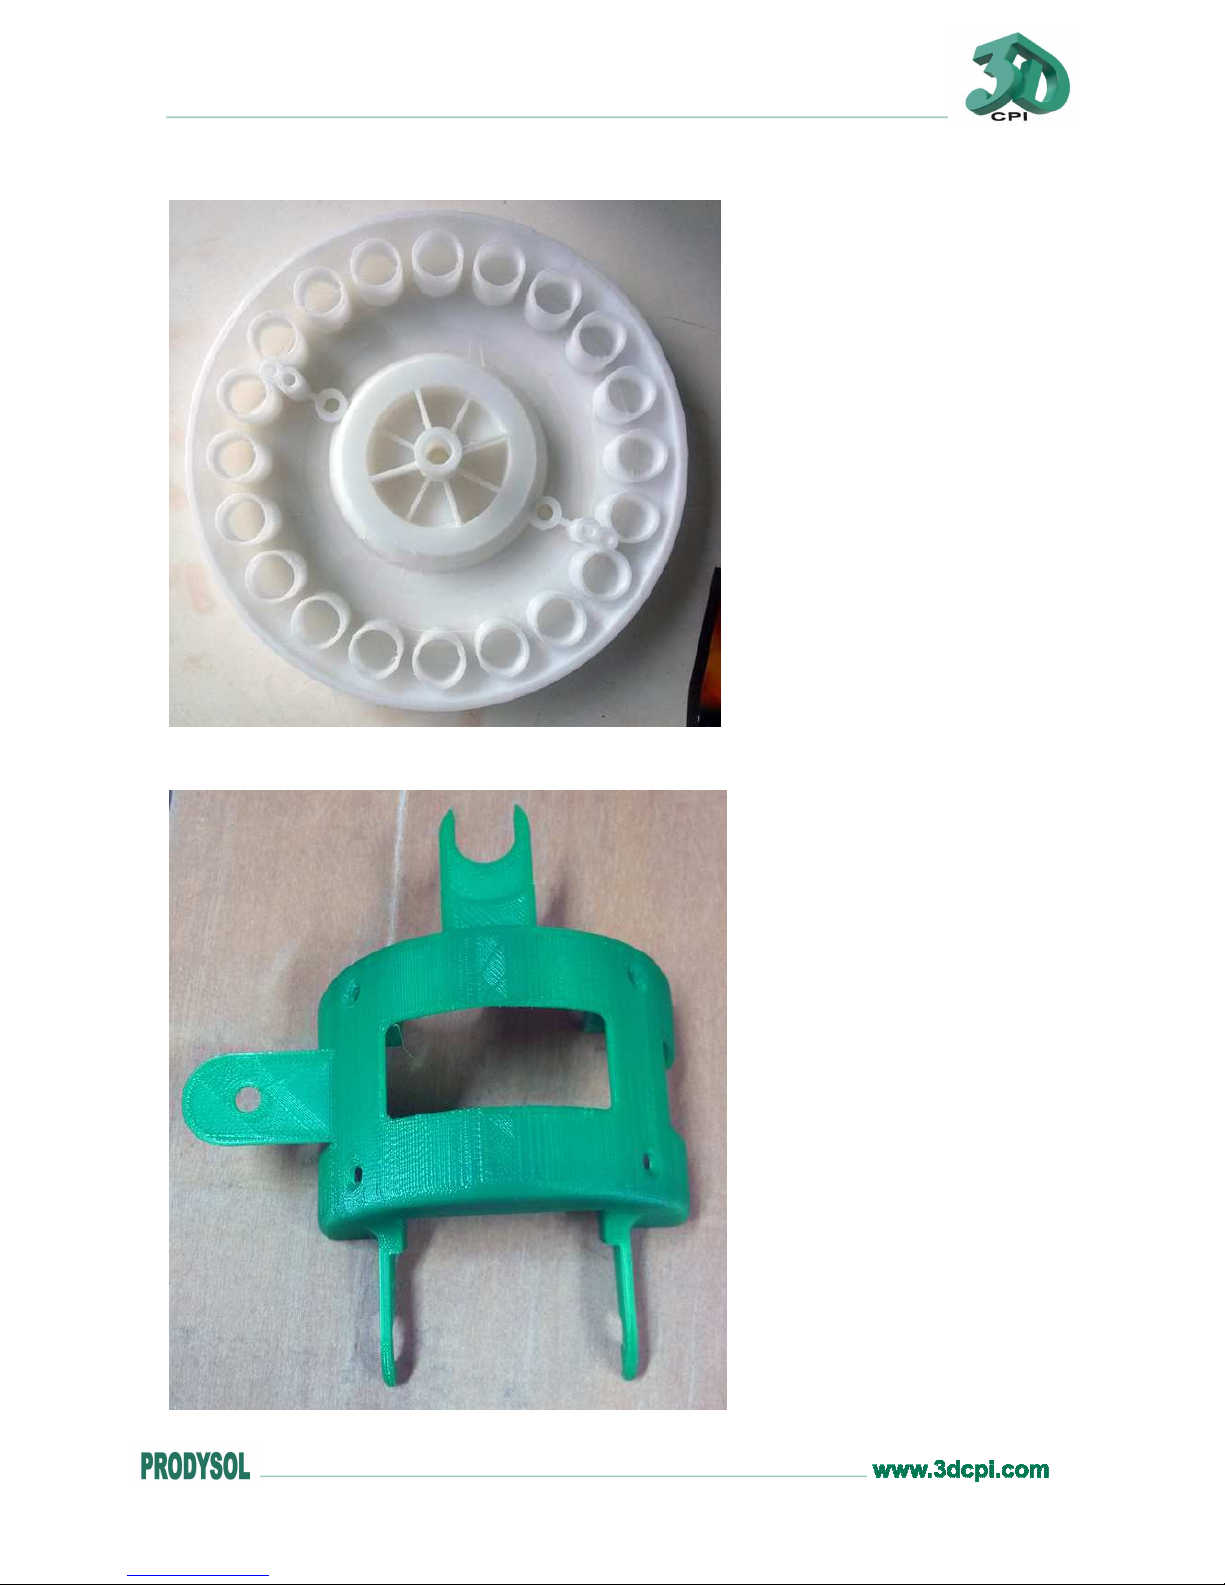
Printer Showcase
Enlarged display, Texture clear and delicate
Industrial products, smooth regular, size: 185*185mm
3DCPI-03 START-UP GUIDE

3DCPI-03 START-UP GUIDE

3DCPI-03 START-UP GUIDE
3DCPI-03 START-UP GUIDE
Overhanging
perfect, size:
145*145mm
Oversize,
Size:
245*245mm
Table of contents
Other 3DCPI 3D Printer manuals


