manuals.online logo
Brands
  1. Home
  2. •
  3. Brands
  4. •
  5. 3M
  6. •
  7. Medical Equipment
  8. •
  9. 3M Littmann Select User manual

3M Littmann Select User manual

select ins 38-9017-6312-8 3/19/02 11:49 AM Page 1
English
3M™ Littmann® Select Stethoscope
Congratulations on the purchase of your new Littmann
Select Stethoscope.
The Littmann Select stethoscope offers a convenient,
tunable diaphragm in a single-sided, coated alloy
chestpiece designed to provide reliable and clear
acoustics.
The stethoscope offers the portable convenience of a
single-sided chestpiece. A patented tunable diaphragm
conveniently alternates between low and high frequency
sounds without the need to turn over the chestpiece.
Other features include a comfortably angled,
anatomically correct headset and single-lumen tubing in
a variety of colors to meet individual preferences.
Most of all, know that your Littmann Select stethoscope
carries the Littmann brand name, the name known
worldwide for unsurpassed quality. As a trusted leader
in auscultation technology, the Littmann brand of
stethoscopes is your assurance of acoustical superiority,
innovative design and exceptional performance.
1
select ins 38-9017-6312-8 3/19/02 11:49 AM Page 2
Instructions for Use
Changing Frequencies Using the
Tunable Diaphragm
Your Littmann Select Stethoscope is equipped with a
patented tunable diaphragm that enables you to listen to
both low and high frequency sounds without turning
over the chestpiece.
Low frequencies: To
listen to low frequency
sounds (traditional bell
mode) use very light skin
contact.
High frequencies: To
listen to higher frequency
sounds (traditional
diaphragm mode), press
firmly on the chestpiece.
To listen to low and high frequency sounds without
removing and repositioning the chestpiece simply
alternate between light and firm pressure on the
chestpiece.
Headset Adjustment
Your new Littmann stethoscope
is designed to provide a
comfortable, acoustically sealed
ear fit. Notice that the eartubes
are set to accommodate the
typical anatomy of the ear
canal. The eartips should point
in a forward direction as you
insert them into your ear canals.
To reduce spring tension in the
headset, hold each eartube at
the bend near the eartip and
gradually pull apart until fully
extended.
To increase spring tension,
grasp the headset with one
hand where the eartubes enter
the tubing and squeeze until the
tubing on one eartube touches
the other. Repeat as necessary.
This stethoscope utilizes a
unique design for attaching the
eartip to the eartube. The
eartips are pushed on to the end
of the eartube and snapped
firmly into place. To remove,
pull firmly on the eartip.
2
Correct
Incorrect
select ins 38-9017-6312-8 3/19/02 11:49 AM Page 3
Removing the Diaphragm and
Cleaning the Chestpiece
With the diaphragm side up,
grasp the rim with the thumbs
and index fingers of both
hands and roll the rim off the
edge of the chestpiece.
Remove the diaphragm from
the rim and clean the parts in
soapy water or wipe with alcohol. Chestpiece surfaces
can be wiped with alcohol or soapy water. Dry all parts
and surfaces thoroughly before reassembly.
Assembly and Replacement of the
Tunable Diaphragm
Using your fingertip, apply a
small amount of talcum powder
to the inside surface of the
flexible edge of the diaphragm.
This will facilitate assembly
and maintain smooth and quiet
low/high frequency alternation. Snap the diaphragm
with your fingers to remove excess talc.
Insert the flexible edge of the
diaphragm into the groove of
the rim. This is best
accomplished by starting with
the rim positioned above the
legible side of the diaphragm.
Visually examine the ring to ensure that the flexible
edge is smoothly engaged inside the rim. If necessary,
flex the assembly by pinching the outer rim edge
between the thumb and fingers.
Repeat this flexing procedure
after rotating the assembly one
quarter.
To attach the rim/diaphragm
assembly to the chestpiece,
engage the groove of the rim
(with the diaphragm attached)
around the chestpiece at one
point and hold it in place with
your thumbs.
Slowly roll the rim around and
over the chestpiece edge using
both thumbs, moving in
opposite directions around the
chestpiece.
Visually inspect the edge where
the diaphragm engages the rim
for uniform containment.
Minor adjustments may be
made by slightly pulling and
rolling the rim away from the
diaphragm, allowing the diaphragm to slip into position.
General Use and Maintenance
• Avoid extreme heat, cold, solvents, and oils.
• The entire stethoscope can be wiped clean with
alcohol or soapy water.
3

N
N
A
M
T
T
I
L
Q
U
A
L
I
T
Y
TM
N
N
A
M
T
T
I
L
Q
U
A
L
I
T
Y
TM
N
N
A
M
T
T
I
L
Q
U
A
L
I
T
Y
TM
N
N
A
M
T
T
I
L
Q
U
A
L
I
T
Y
N
N
A
M
T
T
I
L
Q
U
A
L
I
T
Y
TM
I
L
Q
U
A
N
N
A
M
T
T
L
I
T
Y
L
I
T
T
M
A
N
N
Q
U
A
L
I
T
Y
TM
select ins 38-9017-6312-8 3/19/02 11:49 AM Page 4
• Eartips can be removed from the eartubes for
thorough cleaning.
NOTE: Do not immerse your stethoscope in any liquid
or subject it to steam sterilization. If disinfection is
required, the stethoscope may be wiped with a 70%
isopropyl alcohol solution.
Littmann Stethoscope Service and
Warranty Program
Your Littmann stethoscope comes with the finest service
and warranty policy in the industry. The Littmann
Select Stethoscope is warranted against any defects in
material and workmanship for a period of two (2) years.
If a material or manufacturing defect is discovered
during the warranty period, repairs will be made without
charge upon the return of the instrument to 3M, except
in cases of obvious abuse or accidental damage.
For maintenance or repair services, write a short note
explaining the repair or service you require, include
your name, address and phone number and send your
stethoscope directly to:
3M Health Care Service Center
Bldg. 502, Suite 200
3350 Granda Ave. North
Oakdale, MN 55128
IN CANADA:
3M Health Care Service Centre
3M Canada Inc.
80 Enterprise Drive South
London, Ontario
Canada N6N1C2
1-800-563-2921
Outside of the U.S. and Canada please contact your local
3M subsidiary for maintenance and repair information.
Explanation of Symbols:
4
• Attention, see instructions for use.
• This product and package do not contain
natural rubber latex.
!
select ins 38-9017-6312-8 3/19/02 11:49 AM Page 5

Other 3M Medical Equipment manuals

3M Litmann Quality 3100 User manual

3M

3M Litmann Quality 3100 User manual

3M Littmann Classic III User manual

3M

3M Littmann Classic III User manual

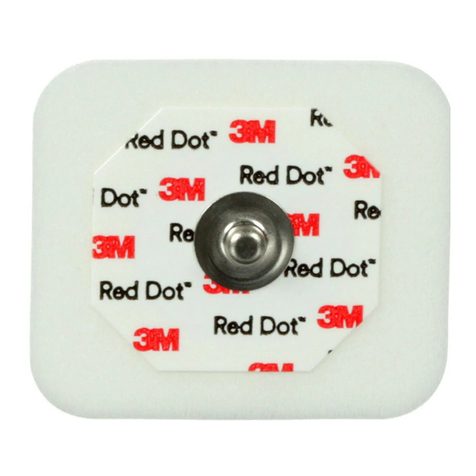
3M Red Dot Electrodes User guide

3M

3M Red Dot Electrodes User guide

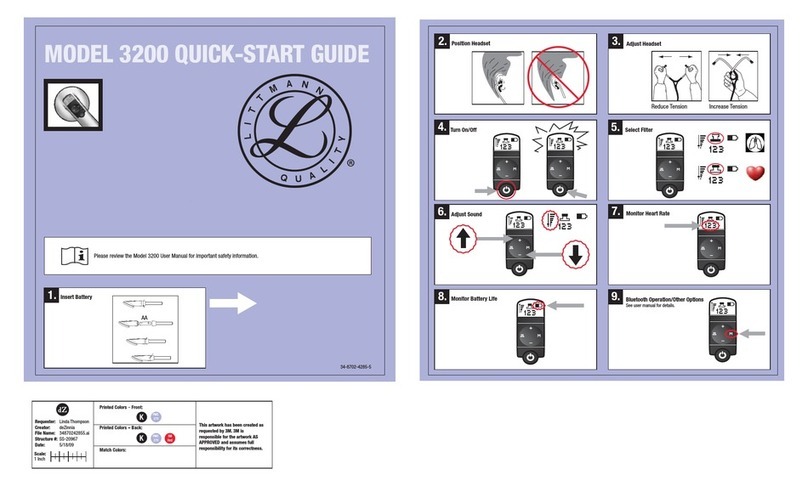
3M Littmann 3200 User manual

3M

3M Littmann 3200 User manual

3M Littmann Lightweight II S.E. User manual

3M

3M Littmann Lightweight II S.E. User manual

3M Littmann CORE User manual

3M

3M Littmann CORE User manual

3M Littmann Cardiology IV User manual

3M

3M Littmann Cardiology IV User manual

3M Littmann CORE User manual

3M

3M Littmann CORE User manual

3M Littmann 3000 User manual

3M

3M Littmann 3000 User manual

3M Littmann 3200 User manual

3M

3M Littmann 3200 User manual

3M Littmann 4000 User manual

3M

3M Littmann 4000 User manual

3M Littmann 3100 User manual

3M

3M Littmann 3100 User manual

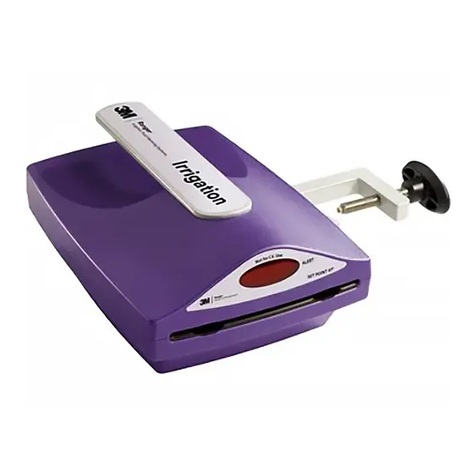
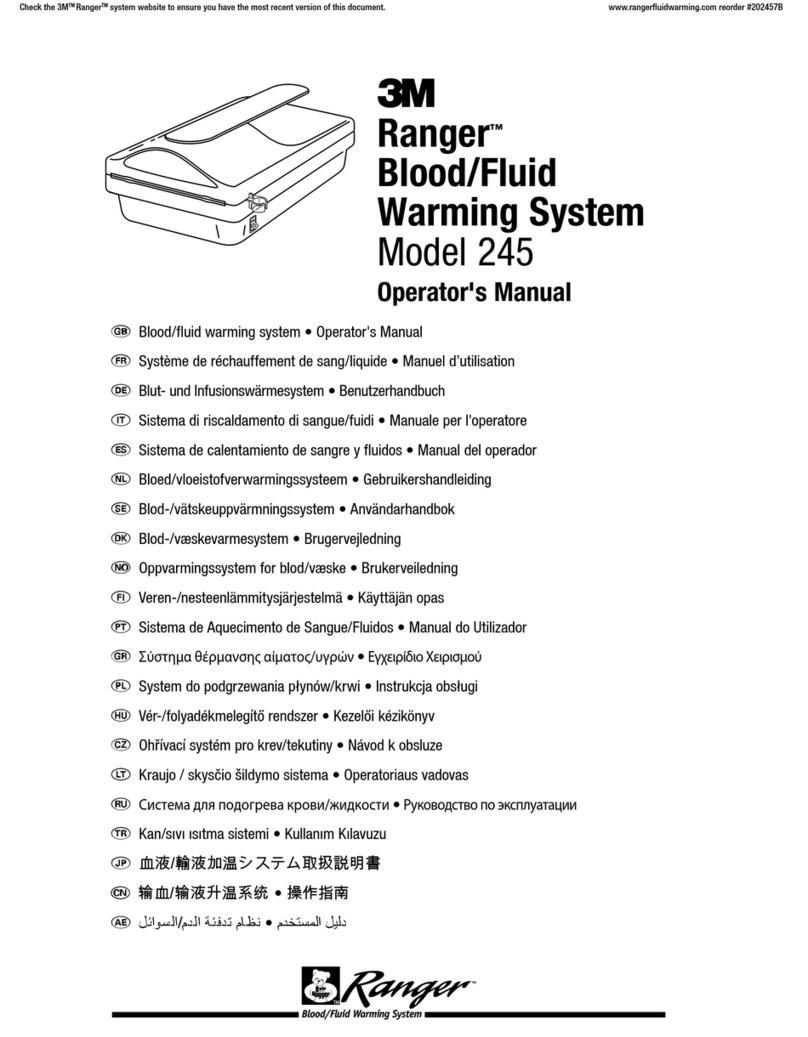
3M Ranger 245 User manual

3M

3M Ranger 245 User manual

3M Littmann Classic II Pediatric User manual

3M

3M Littmann Classic II Pediatric User manual

3M Littmann Classic III User manual

3M

3M Littmann Classic III User manual

3M Ranger User manual

3M

3M Ranger User manual

3M Littmann 3200 User manual

3M

3M Littmann 3200 User manual

3M Littmann Cardiology III User manual

3M

3M Littmann Cardiology III User manual

3M Littmann 3100 User manual

3M

3M Littmann 3100 User manual

3M Littmann Classic II Pediatric User manual

3M

3M Littmann Classic II Pediatric User manual

3M Ranger 247 User manual

3M

3M Ranger 247 User manual

3M Littmann CORE User manual

3M

3M Littmann CORE User manual

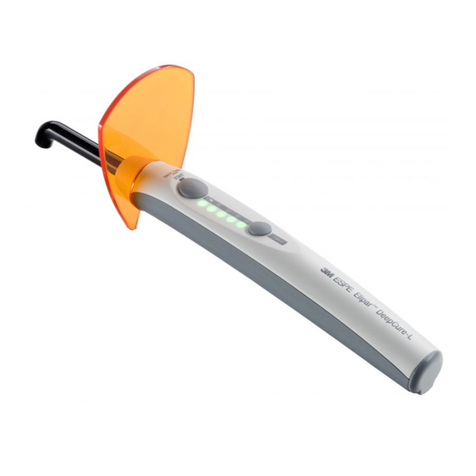
3M Elipar DeepCure-L User manual

3M

3M Elipar DeepCure-L User manual

3M Littmann 3200 User manual

3M

3M Littmann 3200 User manual

Popular Medical Equipment manuals by other brands

GE TONOPORT V Service manual

GE

GE TONOPORT V Service manual

Bien-Air Dental HOSES MCX Instructions for use

Bien-Air Dental

Bien-Air Dental HOSES MCX Instructions for use

Thermo Scientific CryoStar NX70 series Operator's guide

Thermo Scientific

Thermo Scientific CryoStar NX70 series Operator's guide

Drew Technologies IMclean manual

Drew Technologies

Drew Technologies IMclean manual

Cincinnati Sub-Zero HEMOTHERM 400CE Operation manual

Cincinnati Sub-Zero

Cincinnati Sub-Zero HEMOTHERM 400CE Operation manual

Riester ri-sonic PCP-USB Instructions of use

Riester

Riester ri-sonic PCP-USB Instructions of use

HEINE OMEGA 600 manual

HEINE

HEINE OMEGA 600 manual

Handicare SystemRoMedic HygieneSling product manual

Handicare

Handicare SystemRoMedic HygieneSling product manual

Follett REFP installation instructions

Follett

Follett REFP installation instructions

Maico MA 42 Service manual

Maico

Maico MA 42 Service manual

Metrohm Dialysis 6.5330.100 instruction manual

Metrohm

Metrohm Dialysis 6.5330.100 instruction manual

Permobil Trost Lite owner's manual

Permobil

Permobil Trost Lite owner's manual

Mountway Serena Pillow Lift operating instructions

Mountway

Mountway Serena Pillow Lift operating instructions

SPR Therapeutics, Inc. SPRINT PNS System Clinician Instructions for Use

SPR Therapeutics, Inc.

SPR Therapeutics, Inc. SPRINT PNS System Clinician Instructions for Use

Siemens SOMATOM Sensation 16 manual

Siemens

Siemens SOMATOM Sensation 16 manual

DJO Donjoy Perform'Ice Knee manual

DJO

DJO Donjoy Perform'Ice Knee manual

Otto Bock 4R118 Instructions for use

Otto Bock

Otto Bock 4R118 Instructions for use

Boston Scientific SC-5110 manual

Boston Scientific

Boston Scientific SC-5110 manual

manuals.online logo
manuals.online logoBrands
  • About & Mission
  • Contact us
  • Privacy Policy
  • Terms and Conditions

Copyright 2025 Manuals.Online. All Rights Reserved.