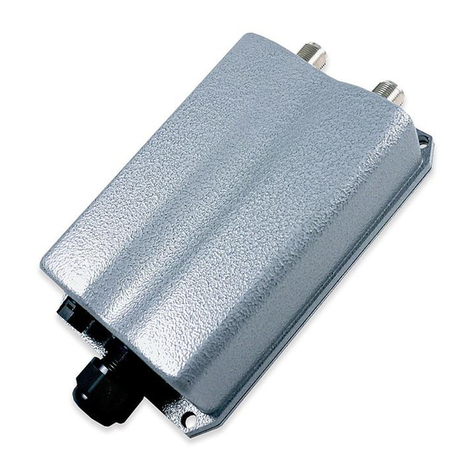
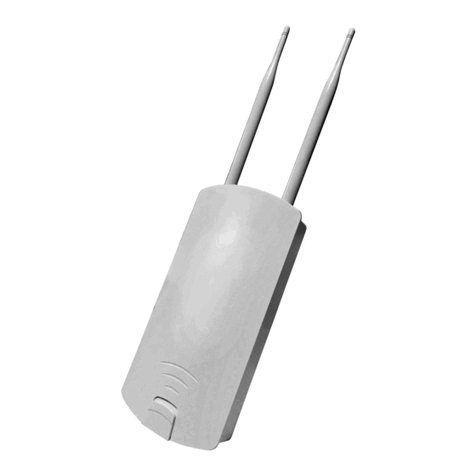
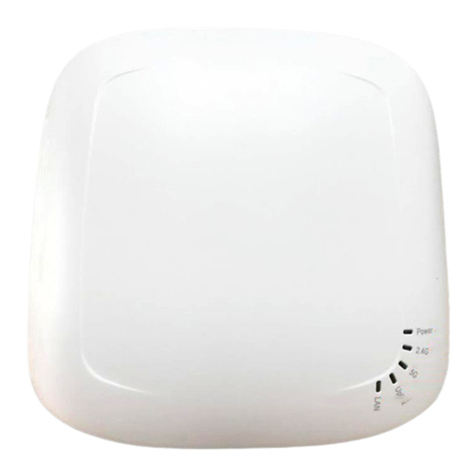
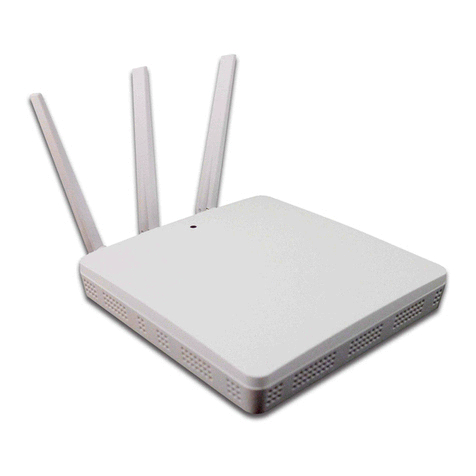
manuals.online logo
Brands
  1. Home
  2. •
  3. Brands
  4. •
  5. 4IPNET
  6. •
  7. Wireless Access Point
  8. •
  9. 4IPNET EAP210 User manual

4IPNET EAP210 User manual

Enterprise Access Point
Indoor EAP Series/
Outdoor OWL Series
User’s Manual
Enterprise Access Point ENGLISH
1
Copyright © 4IPNET, INC.
Copyright & Disclaimer
Copyright
The contents of this publication may not be reproduced in any part or as a whole, stored,
transcribed in an information retrieval system, translated into any language, or transmitted in any
form or by any means, mechanical, magnetic, electronic, optical, photocopying, manual, or
otherwise, without the prior written permission of 4IPNET, INC.
Disclaimer
4IPNET, INC. does not assume any liability arising out the application or use of any products, or
software described herein. Neither does it convey any license under its parent rights not the parent
rights of others. 4IPNET further reserves the right to make changes in any products described herein
without notice. The publication is subject to change without notice.
Trademarks
4IPNET (4ipnet) is a registered trademark of 4IPNET, INC. Other trademarks mentioned in this
publication are used for identification purposes only and may be properties of their respective
owners.
User’s Manual
Enterprise Access Point ENGLISH
2
Copyright © 4IPNET, INC.
Table of Contents
1. Before You Start ..................................................................................................................................5
1.1 Preface ...........................................................................................................................................5
1.2 Document Conventions...............................................................................................................5
1.3 Package Content ...........................................................................................................................6
2. System Overview and Getting Started .............................................................................................8
2.1 Introduction of 4ipnet Access Points ........................................................................................8
2.2 Hardware Description.................................................................................................................9
2.3 Hardware Installation...............................................................................................................17
2.4 Access Web Management Interface ........................................................................................19
3. Connect your AP to your Network..................................................................................................22
4. Adding Virtual Access Points ..........................................................................................................29
5. Securing the AP .................................................................................................................................31
6. Creating a WDS Bridge between two APs......................................................................................42
7. Web Management Interface Configuration...................................................................................45
7.1 System ..........................................................................................................................................47
7.1.1 General ............................................................................................................................ 47
7.1.2 Network Interface...........................................................................................................49
7.1.3 Port.................................................................................................................................. 51
7.1.4 Management ................................................................................................................... 52
7.1.5 CAPWAP ......................................................................................................................... 55
7.1.6 IPv6.................................................................................................................................56
7.2 Wireless .......................................................................................................................................57
7.2.1 VAP Overview ................................................................................................................. 57
7.2.2 General ...........................................................................................................................60
7.2.3 VAP Configuration .........................................................................................................63
7.2.4 Security...........................................................................................................................65
7.2.5 Repeater .........................................................................................................................70
7.2.6 Advanced ........................................................................................................................ 72
7.2.7 Access Control ................................................................................................................ 74
7.3 Firewall........................................................................................................................................78
7.3.1 Firewall List ....................................................................................................................78
7.3.2 Service ............................................................................................................................82
7.3.3 Advanced ........................................................................................................................83
7.4 Utilities ........................................................................................................................................84
7.4.1 Change Password............................................................................................................84
7.4.2 Backup & Restore...........................................................................................................85
User’s Manual
Enterprise Access Point ENGLISH
3
Copyright © 4IPNET, INC.
7.4.3 System Upgrade .............................................................................................................87
7.4.4 Reboot ............................................................................................................................ 87
7.4.5 Upload Certificate ..........................................................................................................88
7.4.6 Channel Analysis............................................................................................................89
7.4.7 Background Scan............................................................................................................90
7.5 Status ..........................................................................................................................................91
7.5.1 Overview ......................................................................................................................... 91
7.5.2 Interfaces........................................................................................................................93
7.5.3 Associated Clients .......................................................................................................... 95
7.5.4 WDS Link Status ............................................................................................................96
7.5.5 Event Log........................................................................................................................98
7.5.6 Monitor...........................................................................................................................99
8. CPE Mode Configuration (OWL530/EAP210) ..........................................................................100
8.1 System.......................................................................................................................................102
8.1.1 System Information ..................................................................................................... 102
8.1.2 Operating Mode ........................................................................................................... 104
8.1.3 Network Settings ......................................................................................................... 105
8.1.4 Management ................................................................................................................108
8.2 Wireless ....................................................................................................................................110
8.2.1 General Settings............................................................................................................110
8.2.2 Advanced Wireless Settings ......................................................................................... 111
8.2.3 Security Settings ..........................................................................................................112
8.2.4 Site Survey....................................................................................................................114
8.3 Firewall.....................................................................................................................................116
8.3.1 IP/ Port Forwarding .....................................................................................................116
8.3.2 Demilitarized Zone ...................................................................................................... 117
8.4 Utilities .....................................................................................................................................118
8.4.1 Change Password .........................................................................................................118
8.4.2 Backup & Restore.........................................................................................................119
8.4.3 System Upgrade .......................................................................................................... 120
8.4.4 Reboot ..........................................................................................................................121
8.4.5 Upload Certificate ....................................................................................................... 122
8.5 Status ........................................................................................................................................123
8.5.1 System Overview ......................................................................................................... 123
8.5.2 Interfaces..................................................................................................................... 125
8.5.3 Event Log .................................................................................................................... 128
8.5.4 Monitor ....................................................................................................................... 129
8.5.5 DHCP Leases............................................................................................................... 130
User’s Manual
Enterprise Access Point ENGLISH
4
Copyright © 4IPNET, INC.
8.5.6 UPnP Status .................................................................................................................131
9. Console Interface Configuration...................................................................................................132
User’s Manual
Enterprise Access Point ENGLISH
5
Copyright © 4IPNET, INC.
1.Before You Start
1.1 Preface
This manual is intended for using by system integrators, field engineers and network administrators to help
them set up Access Points in their network environments. It contains step by step procedures and pictures to
guide users with basic network system knowledge to complete the installation.
Corresponding Software Versions for each Model
EAP210
Up to software version 1.10
EAP220
Up to software version 1.10
EAP320
Up to software version 2.10
EAP747
Up to software version 1.30
EAP750
Up to software version 2.10
EAP757
Up to software version 2.10
OWL530
Up to software version 1.10
OWL610
Up to software version 1.40
OWL620
Up to software version 1.40
1.2 Document Conventions
Represents essential steps, actions, or messages that should not be ignored.
Note:
Contains related information that corresponds to a topic.
Indicates that clicking this button will save the changes you made, but you must reboot
the system for the changes to take effect.
Indicates that clicking this button will clear what you have set before the settings are
applied.
User’s Manual
Enterprise Access Point ENGLISH
6
Copyright © 4IPNET, INC.
1.3 Package Content
The standard package of EAP210 includes:
4ipnet EAP210 x1
Quick Installation Guide (QIG) x1
CD-ROM (with User’s Manual and QIG) x1
Console Cable x1
Power Adaptor (12V) x1
Detachable Antenna x2
The standard package of EAP220 includes:
4ipnet EAP220 x1
Quick Installation Guide (QIG) x1
CD-ROM (with User’s Manual and QIG) x1
Console Cable x1
Ethernet Cable x1
Power Adaptor (12V) x1
Detachable Antenna x4
The standard package of EAP320 includes:
4ipnet EAP320 x1
Quick Installation Guide (QIG) x1
CD-ROM (with User’s Manual and QIG) x1
Console Cable x1
Ethernet Cable x1
Power Adaptor (12V) x1
Detachable Antenna x4
User’s Manual
Enterprise Access Point ENGLISH
7
Copyright © 4IPNET, INC.
The standard package of EAP747 / EAP750 / EAP757 includes:
4ipnet EAP747 / EAP750 / EAP757 x1
Quick Installation Guide (QIG) x1
CD-ROM (with User’s Manual and QIG) x1
Ethernet Cable x1
Power Adaptor (12V) (Optional) x1
Mounting Kit x1
Detachable Antenna (EAP750) x4
The standard package of OWL530 includes:
4ipnet OWL530 x1
Quick Installation Guide (QIG) x1
CD-ROM (with User’s Manual and QIG) x1
Power Sourcing Equipment (Optional) x1
Ground Wire x1
Mounting Kit x1
The standard package of OWL620 / OWL610 includes:
4ipnet OWL620 / OWL610 x1
Quick Installation Guide (QIG) x1
CD-ROM (with User’s Manual and QIG) x1
Power Sourcing Equipment (Optional) x1
Mounting Kit x1
It is recommended to keep the original packing materials for possible future shipment when repair or
maintenance is required. Any returned product should be packed in its original packaging to prevent
damage during delivery.
User’s Manual
Enterprise Access Point ENGLISH
8
Copyright © 4IPNET, INC.
2. System Overview and Getting Started
2.1 Introduction of 4ipnet Access Points
Indoor –EAP210 / EAP220 / EAP320 / EAP747 / EAP750 / EAP757
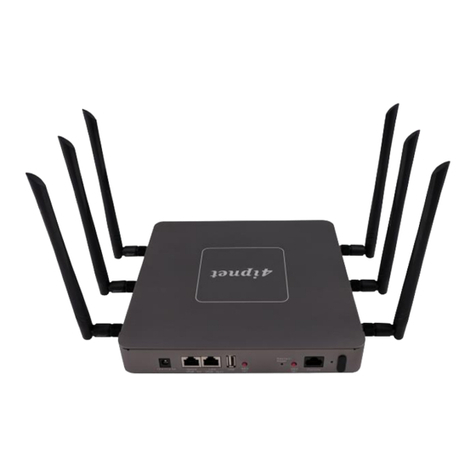
The 4ipnet’s Enterprise Access Point EAP Series are embedded with 802.11 a/b/g/n MIMO technology,
designed for seamless wireless connectivity in enterprise or industrial environments of all dimensions.
EAP220 / EAP320 / EAP750 / EAP757 feature dual radio RF cards to offer flexible implementations
needed for the growing wireless networking applications. The EAP Series make wireless communication
fast, secure and easy. They support business grade security, namely 802.1X, and Wi-Fi Protected Access
(WPA and WPA2). By pushing a purposely built button, the 4ipWES (Press-n-Connect) feature makes it
easy to bridge wireless links of multiple access points for forming a wider wireless network coverage.
The EAP Series also features multiple ESSIDs with VLAN tags and multiple Virtual APs, great for
enterprise applications, such as separating traffic from different departments using different ESSIDs. The
PoE LAN port is able to receive power from Power over Ethernet (PoE) sourcing devices.
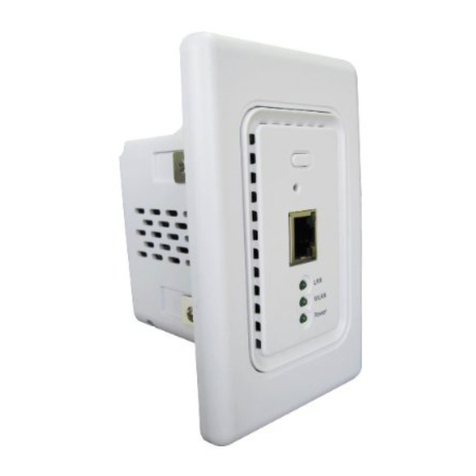
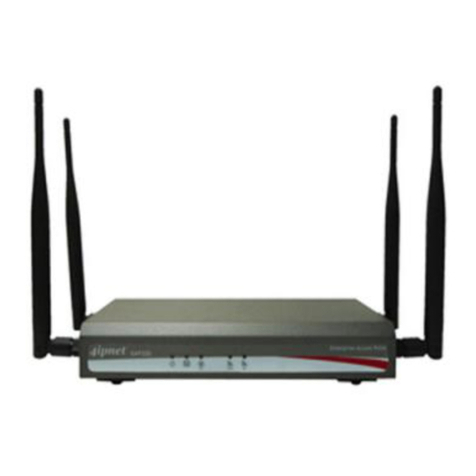
EAP210, EAP220 and EAP320’s metal housing is IP50 anti-dust compliant, which means that these
Access Points are well suited to WLAN deployment in industrial environments. EAP747 / EAP750 /
EAP757 are packed in fire-retardant wall/ceiling mountable plastic enclosures, and are built perfectly to
blend in with your décor.
Outdoor –OWL530 / OWL610 / OWL620
The 4ipnet OWL530 / OWL610 / OWL620 Outdoor Access Point is embedded with dual(OWL620) /
single(OWL610 and OWL530) radio RF cards (802.11 a/b/g/n MIMO) in weatherproof housing, designed
for building municipal or campus wide wireless networks in harsh outdoor environments. The OWL Series’
rust-free die-cast Aluminum housing is IP68 compliant and high wind load resilient. All the components
are designed to operate in a wide range of temperature. The OWL Series Outdoor Access Point makes
wireless communication fast, secure and easy. It supports business grade security, namely 802.1X, and
Wi-Fi Protected Access (WPA and WPA2).
Combined with a variety of directional antennas (chosen by professionals), one OWL620 with dual radios
is easy to serve clients located in different directions as well as to cover longer range. With all modules
supporting a/b/g/n bands, more channels are available for better channel planning. For example, to
reduce radio interferences, network planners may select channels in 5 GHz for backhaul or bridges while
allocating non-overlapping channels in 2.4 GHz for serving clients.
Please note that screenshots are taken from APs which feature dual RF cards. Single RF
Card APs can be configured in the same manner from the User Interface.
User’s Manual
Enterprise Access Point ENGLISH
9
Copyright © 4IPNET, INC.
2.2 Hardware Description
This section depicts the hardware information including all panel description.
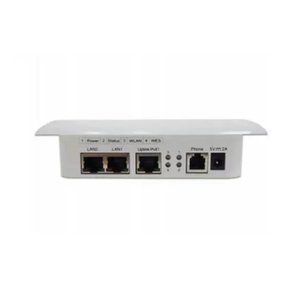
EAP210
Front Panel
EAP210 Front Panel
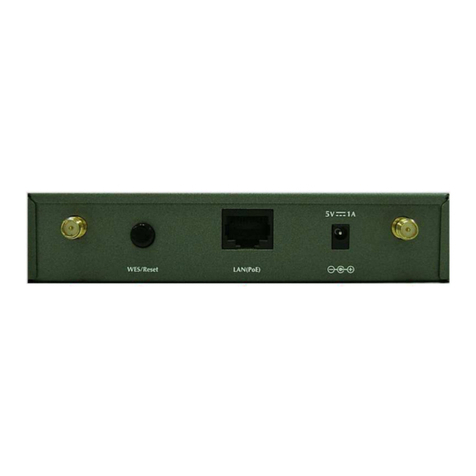
Rear Panel
1 2 3 714 56
EAP210 Rear Panel
1
Antenna
Connector
Reverse SMA connectors for attaching antennas.
2
12V 2A
Power Socket for the power adaptor.
3
Uplink Port
The port for uplink connection to another gateway or device. PoE (802.3af/at) is
supported.
4
WES Button
WDS Easy Setup. Press the button to build up a WDS link with another peer. 4 WDS
links can be set up.
5
Restart Button
Press to restart the system
User’s Manual
Enterprise Access Point ENGLISH
10
Copyright © 4IPNET, INC.
6
LED Indicators
Power
On indicates power on.
Status
On indicates the system is ready.
WLAN
On indicates wireless network interface is ready for service.
WES
For indicating WDS connection status.
Master (Press for more
than 3 seconds)
Slave (Press once and
then release right
away)
WES Start
LED (Green) OFF and
then BLINKING SLOWLY
LED (Green) BLINKS
SLOWLY
WES Negotiate
BLINKING SLOWLY
(Green)
BLINKING RAPIDLY
(Green)
WES Success
LED (Green) ON
LED (Green) ON
WES Fail/Timeout
LED (Green) OFF
LED (Green) OFF
7
Console Port
To access EAP210 via the console interface
User’s Manual
Enterprise Access Point ENGLISH
11
Copyright © 4IPNET, INC.
EAP220
Front Panel
1 2 3 4
EAP220 Front Panel
User’s Manual
Enterprise Access Point ENGLISH
12
Copyright © 4IPNET, INC.
Rear Panel
1 2 3 5 64
EAP220 Rear Panel
1
Restart / Reset
Press once to restart the system; to reset the system to factory default
settings, hold for more than 5 seconds.
2
WES Button (RF B)
WDS Easy Setup. Press the button to build up a WDS link with another
peer. 4 WDS links can be set up per RF card. Note that the WES Button
only runs on the 5 GHz RF Card B.
3
Console Port
To access EAP220 via the console interface.
4
LAN 1~4 Ports
The ports for connections with LAN side devices.
5
Uplink Port (PoE)
The port for uplink connection to another gateway or device. PoE (802.3at)
is supported.
6
12V 2A
Power Socket for the power adaptor
User’s Manual
Enterprise Access Point ENGLISH
13
Copyright © 4IPNET, INC.
EAP320
Front Panel
EAP320 Front Panel
Rear Panel
Figure 2 EAP320 Back Panel
1
12V 2A
Power Jack Socket
2
Restart / Reset
Press once to restart the system; to reset the system to factory default
settings, hold for more than 5 seconds.
3
WES Button (A / B)
WDS Easy Setup. Press the button to build up a WDS link with another
peer. 4 WDS links can be set up per RF card.
4
LED Indicators
6 indicators that displays the states of 6 various functions or progresses.
The numbers are explained on the leftmost side of the rear panel.
5
Uplink Port (PoE)
The port for uplink connection to another gateway or device. PoE is
supported.
6
LAN Ports 1~2
The ports for connections with LAN side devices.
7
Console Port
To access EAP320 via the console interface.
User’s Manual
Enterprise Access Point ENGLISH
14
Copyright © 4IPNET, INC.
EAP747 / EAP750 / EAP757
Rear Panel
7
1 2 3 4 5 6 7
Figure 3 EAP747 / EAP750 / EAP757 Back Panel
1
12V 2 A
Attach the power adaptor here.
2
Restart / Reset Button
Press once to restart the system; Press and hold for more than 5 seconds
to reset to factory default.
3
WES Button
WDS Easy Setup. Press the button to build up a WDS link with another
peer.
4
LED Indicators
4 LED lights. Representation is listed at the bottom of the panel. (Top 2
reserved for RF Card B if applicable)
5
Uplink (PoE) Port
For Uplink connection. This port can be used to connect to a controller,
gateway, or directly to the internet. PoE is supported.
6
LAN 1 –2 Ports
Attach Ethernet cables here to connect to the wired local network.
7
Phone Jack (EAP747)
A telephone can bypass to a connected phone line in the back of the AP
when connected to the socket.
User’s Manual
Enterprise Access Point ENGLISH
15
Copyright © 4IPNET, INC.
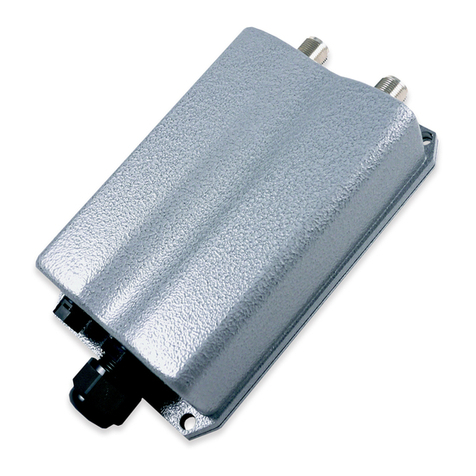
OWL530
1
Ventilation Valve
Due to extreme weather conditions, water vapor in the OWL530 may
condense. The valve allows ventilation to prevent moisture buildup within
the OWL530.
2
Ground Connector
For connecting the ground wire.
3
PoE Connector
For connecting to the Power Sourcing Equipment (PSE).
4
N-type Connector x 2
For connecting to an antenna
User’s Manual
Enterprise Access Point ENGLISH
16
Copyright © 4IPNET, INC.
OWL620 / OWL610
Figure 3 OWL620 / OWL610
1
Console
The system can be configured via a serial console port. The administrator
can use a terminal emulation program such as Microsoft’s Hyper Terminal
for troubleshooting purposes.
2
Ethernet LAN
Attach Ethernet cables here for connecting to the wired local network.
3
PoE Connector
For connecting to the Power Sourcing Equipment (PSE).
4
N-type Connector x 2
For connecting to an antenna (OWL610).
4
N-type Connector x 4
For connecting to an antenna (OWL620: RF Card A x 2, RF Card B x 2).
User’s Manual
Enterprise Access Point ENGLISH
17
Copyright © 4IPNET, INC.
2.3 Hardware Installation
Please follow the steps mentioned below to install the hardware of EAP210 / EAP220 / EAP320:
Step 1. Place the EAP210 / EAP220 / EAP320 at the best location. The best location is usually at the center
of your intended wireless network.
Step 2. Connect the EAP210 / EAP220 / EAP 320 to your network device. Connect one end of the Ethernet
cable to the Uplink port of EAP210 / EAP220 / EAP320 and the other end of the cable to a switch, a
router, or a hub. EAP210 / EAP220 / EAP320 is then connected to your existing wired LAN network.
Step 3. There are two ways to supply power to EAP210 / EAP220 / EAP320
a) Connect the DC power adaptor to the EAP210 / EAP220 / EAP320 power jack socket.
b) The EAP210 / EAP220 / EAP320 Uplink port is capable of receiving DC currents. Connect a
(IEEE 802.3at-compliant for EAP220 and 802.3af/at-compliant for EAP210 / EAP320) PSE
device (e.g. a PoE-switch) to the Uplink port of EAP210 / EAP220 / EAP320 with the Ethernet
cable.
Please follow the steps mentioned below to install the hardware of EAP747 / EAP750 / EAP757:
Step 1. Place the EAP747 / EAP750 / EAP757 at the best location. The best location is usually at the center
of your intended wireless network. If admin would like to mount the AP on the wall (on a socket), the
figure below indicates how the mounting kit can be used on the back of the device. Screw the metal
panel to the wall, and then turn the EAP747 / EAP750 / EAP757 clockwise to fasten to the panel. For
installation instructions on the Ceiling Mount Kit, please refer to the included Installation Guide.
User’s Manual
Enterprise Access Point ENGLISH
18
Copyright © 4IPNET, INC.
Step 2. Connect one end of the Ethernet cable to the Uplink port and the other end of the cable to a switch, a
router, or a hub. The EAP747 / EAP750 / EAP757 is now connected to your existing wired LAN
network.
Step 3. There are two ways to supply power to EAP747 / EAP750 / EAP757
a) Connect the DC power adaptor to the power jack socket.
b) The Uplink port is capable of receiving PoE. Connect an IEEE 802.3af/at-compliant PSE device
(e.g. a PoE-switch) to the Uplink port of EAP747 / EAP750 / EAP757 with the Ethernet cable.
Please follow the steps mentioned below to install the hardware of OWL530 / OWL610 / OWL620:
Step 1. Connect an antenna to the Access Point’s antenna connector.
Step 2. Connect the Ethernet Port of OWL530 / OWL610 / OWL620 to the POWER & DATA OUT Port of a
802.3af PSE device.
Step 3. Connect one end of an Ethernet cable to the Data In Port of PSE and the other end to the computer.
Step 4. Power on the PSE in order to supply adequate power to the OWL530 / OWL610 / OWL620.
Now, the Hardware Installation is complete.
Please use only the power adapter supplied with the package. Using a different power
adapter may damage this system.
To verify the wired connection between the AP and your switch / router / hub, please also
check the LED status indicator of the respective network devices.
User’s Manual
Enterprise Access Point ENGLISH
19
Copyright © 4IPNET, INC.
2.4 Access Web Management Interface
4ipnet Access Points support web-based configuration. When hardware installation is complete, the AP can
be configured through a PC by using a web browser.
The default values of the AP’s LAN IP Address and Subnet Mask are:
IP Address: 192.168.1.1
Subnet Mask: 255.255.255.0
Example of entering the AP's default IP Address into a web browser
To access the web management interface (WMI), connect the administrator PC to the LAN port
of the AP via an Ethernet cable. Then, set a static IP Address on the same subnet mask as the AP in
TCP/IP settings of your PC, such as the following example:
IP Address: 192.168.1.100
Subnet Mask: 255.255.255.0
Note:
Please note that the IP Address used should not overlap with the IP Addresses of
any other device within the same network to avoid IP conflict.
Launch the web browser on your PC and enter the IP Address of the AP (192.168.1.1) at the
address field, and then press Enter. The following Administrator Login Page will appear. Enter
“admin” for both the Username and Password fields, and then click Login.
Administrator Login Page
After a successful login into AP, a System Overview page of the Web Management Interface
(WMI) will appear.

Other manuals for EAP210

3

This manual suits for next models

8

Other 4IPNET Wireless Access Point manuals

4IPNET EAP747 User manual

4IPNET

4IPNET EAP747 User manual

4IPNET EAP210 User manual

4IPNET

4IPNET EAP210 User manual

4IPNET EAP727 User manual

4IPNET

4IPNET EAP727 User manual

4IPNET OWL530 v1.00 User manual

4IPNET

4IPNET OWL530 v1.00 User manual

4IPNET EAP220 User manual

4IPNET

4IPNET EAP220 User manual

4IPNET EAP717 User manual

4IPNET

4IPNET EAP717 User manual

4IPNET OWL400 User manual

4IPNET

4IPNET OWL400 User manual

4IPNET EAP750 V1.00 User manual

4IPNET

4IPNET EAP750 V1.00 User manual

4IPNET EAP200 User manual

4IPNET

4IPNET EAP200 User manual

4IPNET EAP737 User manual

4IPNET

4IPNET EAP737 User manual

4IPNET EAP100 User manual

4IPNET

4IPNET EAP100 User manual

4IPNET OWL530 User manual

4IPNET

4IPNET OWL530 User manual

4IPNET EAP300 User manual

4IPNET

4IPNET EAP300 User manual

4IPNET OWL610 Operator's manual

4IPNET

4IPNET OWL610 Operator's manual

4IPNET EAP727 User manual

4IPNET

4IPNET EAP727 User manual

4IPNET EAP760 User manual

4IPNET

4IPNET EAP760 User manual

4IPNET OWL630 User manual

4IPNET

4IPNET OWL630 User manual

4IPNET EAP200 User manual

4IPNET

4IPNET EAP200 User manual

4IPNET EAP738 User manual

4IPNET

4IPNET EAP738 User manual

4IPNET EAP200 User manual

4IPNET

4IPNET EAP200 User manual

4IPNET EAP757 V1.00 User manual

4IPNET

4IPNET EAP757 V1.00 User manual

4IPNET EAP260 User manual

4IPNET

4IPNET EAP260 User manual

4IPNET EAP260 User manual

4IPNET

4IPNET EAP260 User manual

4IPNET OWL550 User manual

4IPNET

4IPNET OWL550 User manual

Popular Wireless Access Point manuals by other brands

ZyXEL Communications ZyAIR G-3000 user guide

ZyXEL Communications

ZyXEL Communications ZyAIR G-3000 user guide

SMC Networks SMCWEB-N Specifications

SMC Networks

SMC Networks SMCWEB-N Specifications

Siemens RUGGEDCOM WIN5137 installation guide

Siemens

Siemens RUGGEDCOM WIN5137 installation guide

Motorola AP 7161 installation guide

Motorola

Motorola AP 7161 installation guide

Siemens SCALANCE W700 Reference manual

Siemens

Siemens SCALANCE W700 Reference manual

Ruijie RG-AP680-A Hardware  installation and reference guide

Ruijie

Ruijie RG-AP680-A Hardware installation and reference guide

peplink Surf 200BG-AP user guide

peplink

peplink Surf 200BG-AP user guide

Allied Telesis TQ6000 GEN2 installation guide

Allied Telesis

Allied Telesis TQ6000 GEN2 installation guide

MikroTik Groove 2Hn user manual

MikroTik

MikroTik Groove 2Hn user manual

Hamlet HNWS111 user guide

Hamlet

Hamlet HNWS111 user guide

Dell PowerConnect W-IAP3WN user guide

Dell

Dell PowerConnect W-IAP3WN user guide

Siemens SIMATIC NET SCALANCE W780 Series Configuration manual

Siemens

Siemens SIMATIC NET SCALANCE W780 Series Configuration manual

NETGEAR WAG102 - ProSafe Dual Band Wireless Access... Reference manual

NETGEAR

NETGEAR WAG102 - ProSafe Dual Band Wireless Access... Reference manual

Intel PRO/Wireless 2011 Quick installation guide

Intel

Intel PRO/Wireless 2011 Quick installation guide

Pakedge WA Series Deployment guide

Pakedge

Pakedge WA Series Deployment guide

Meraki MR76-HW Hardware installation guide

Meraki

Meraki MR76-HW Hardware installation guide

Buffalo WLA-G54C user manual

Buffalo

Buffalo WLA-G54C user manual

D-Link DAP-1665 Quick installation guide

D-Link

D-Link DAP-1665 Quick installation guide

manuals.online logo
manuals.online logoBrands
  • About & Mission
  • Contact us
  • Privacy Policy
  • Terms and Conditions

Copyright 2025 Manuals.Online. All Rights Reserved.