manuals.online logo
Brands
  1. Home
  2. •
  3. Brands
  4. •
  5. abi
  6. •
  7. Plumbing Product
  8. •
  9. abi KINGSLEY 14629 User manual

abi KINGSLEY 14629 User manual

SPECIFICATIONS
RECOMMENDED USE
CONSTRUCTION
Disclaimer: Products in this manual must by law be installed by licensed and registered tradespeople in accordance with the relevant standards. ABI and the manufacturer/distributor reserve the right to
vary specifications or delete models from their range without prior notification. Dimensions are nominal measurements only. The information listed is correct at the time of publication, however ABI and
the manufacturer/distributor takes no responsibility for printing errors. Copyright © ABI Interiors 2021.
Note: Dimensions are nominal measurements only
INSTALLATION GUIDE
Note: This product must be installed by a licensed plumber.
This is a general installation guide - there are many factors that are involved that can
alter the installation method. This product install must comply with AS/NZS 3500.
Domestic
Solid Brass
Note: In wall not included in handle kit.
Note: In wall not included in handle kit
Top View
Front View
Note: Dimensions are nominal measurements only
78

25

54

14
26 13 35
74
New Build - Install breach in desired position (please refer to additional install information regarding breach set backs).
Retrofitting Existing - Remove existing tapware & reseat body seats until shiny and smooth.
DO NOT use cr ea m
clean ers or bl ea ch .
These substances ar e
ab ra sive
DO NOT use cleaning
pa ds with abr asive
sur f aces as this may
scratch the material
Regularly clean with
mild liquid dete rgen t
or soap and wa te r
Remove locking nut from spindle. Screw spindle into breach and hand
tighten until rear of spindle meets the body seat, be sure not to overtighten.
If necessary apply more pressure lightly with spanner.
Fit the fibre washer over the spindle. Screw on the locking nut and
tighten with spanner. TEST AND CHECK FOR LEAKS.
12
This product may require a bonnet extender (purchase at local hardware
store) that may be required to cover the additional breach depth. Please
refer to the following page for breach set back guide. If required, screw
bonnet extender on to locking nut.
3Install the back plate onto the locking nut (or bonnet extender if
required), twisting by hand until tightened.
4
A 10mm brass spacer is provided to achieve optimum handle spacing
from the back plate. Insert spacer into rear side of handle and install
handle onto spindle, fixing with a screw and washer.
5Insert handle cap into front of handle.
6
Note: Bonnet extender
not included with assembly taps.
Available at local hardware store.
KINGSLEY ASSEMBLY HANDLE KIT
SET BACK GUIDE
Note: This product must be installed by a licensed plumber.
The set back of the wall breach and distance of the nogging to tile or finished wall surface
will dictate the necessary extension parts that will be required install.
Tile/Finished Wall Surface
Minimum distance between nogging and finished wall surface is 45mm
(or 3mm from in-wall breech to finished wall surface). To achieve this
connection the standard spindle and 20mm screw is required.
standard spindle 20mm screw
Nogging
Breech
Tile/Finished Wall Surface
Nogging
Breech
To maintain optimum spacing between handle and back plate a 10mm spacer
and 25mm screw are recommended for a distance of 45mm to 55mm from
nogging to finished wall surface, (or 13mm from breech to finished wall surface).
60
18
Tile/Finished Wall Surface
Nogging
Breech
standard spindle 25mm screw10mm spacer
55
13
70
28
Tile/Finished Wall Surface
Nogging
Breech
standard spindle 25mm screw
10mm spacerbonnet extender
For installations when distance between nogging and finished wall surface is
between 55mm and 65mm an additional spindle bonnet extender is required
(purchase separately). The bonnet extender can be cut to size to sit flush on the
spindle locking nut.
For distances 65mm up to 70mm between nogging and finished wall surface,
an extended spindle (available for additional purchase) is required.
Note: To achieve distances greater than 70mm additional parts can be used
with the extended spindle. (bonnet extender, 10mm brass spacer)
extended spindle 25mm screw
45
3
10mm spacer
Bonnet Extender
10mm Spacer
ASSEMBLY SETUP GUIDE
Note: This product must be installed by a licensed plumber.
This is a general installation guide - there are many factors that are involved that can alter
the installation method. This product install must comply with AS/NZS 3500.
Example Two:
Centred basin mixer/bath spout setup
200mm centre to centre
Kingsley Assembly Tap Handles
Kingsley Spout
In-line plumbing breech
available for purchase from ABI
Example Three:
Shower Setup
Kingsley Assembly Tap Handles
200mm
centre to centre
In-line plumbing breech
available for purchase from ABI
Feed out to shower
supplied by plumber
Example One:
Off set basin mixer/bath spout setup
200mm centre to centre
Kingsley Assembly Tap Handles
Kingsley Spout
In-line plumbing breech
available for purchase from ABI Flexible poly pipe
supplied by plumber
1
2
3
4
5
6
7
8
WHATS IN THE BOX
1. Back plate x 2
2. 10mm Brass Spacer x 2
3. Handle Body x 2
4. Washer x 2
5. 20mm screw x 2
6. ‘Hot’ Handle Cap x 1
7. ‘Cold’ Handle Cap x 1
8. 25mm screw x 2

Other abi Plumbing Product manuals

abi EDEN 12163 User manual

abi

abi EDEN 12163 User manual

abi ELYSIAN 10429 User manual

abi

abi ELYSIAN 10429 User manual

abi PIXI TILE INSERT User manual

abi

abi PIXI TILE INSERT User manual

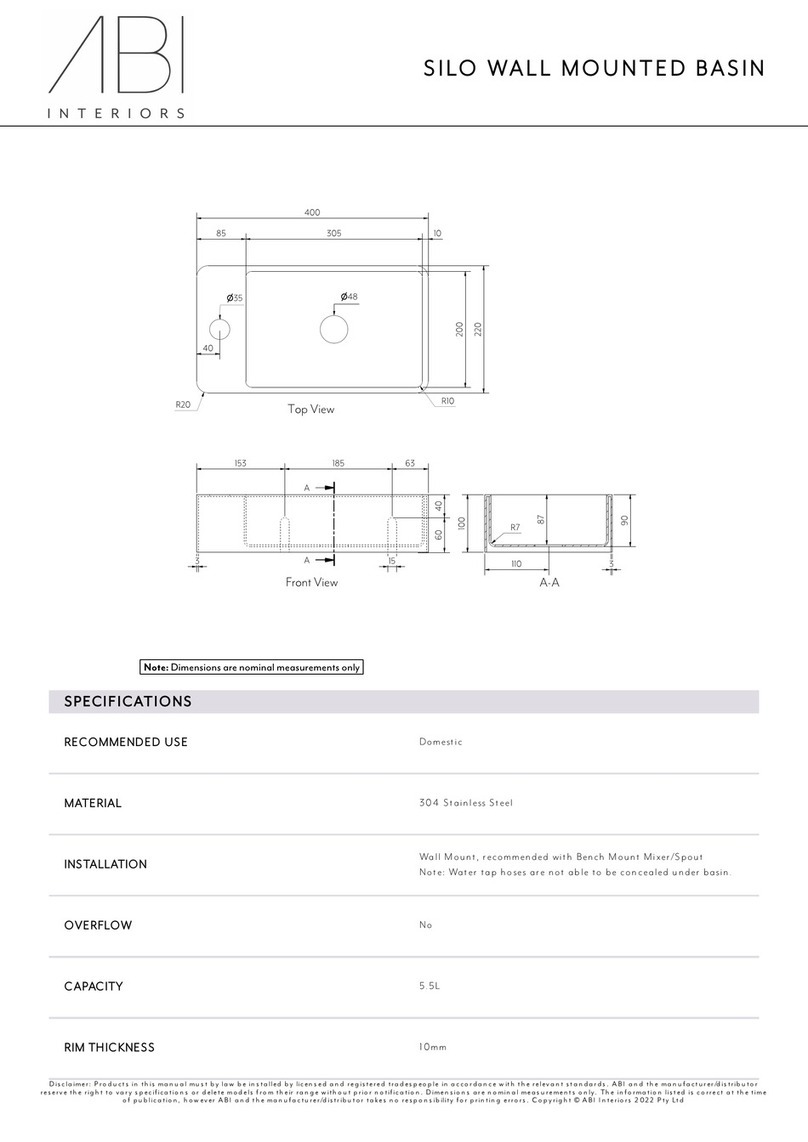
abi SILO 11753 User manual

abi

abi SILO 11753 User manual

abi ELYSIAN 11958 User manual

abi

abi ELYSIAN 11958 User manual

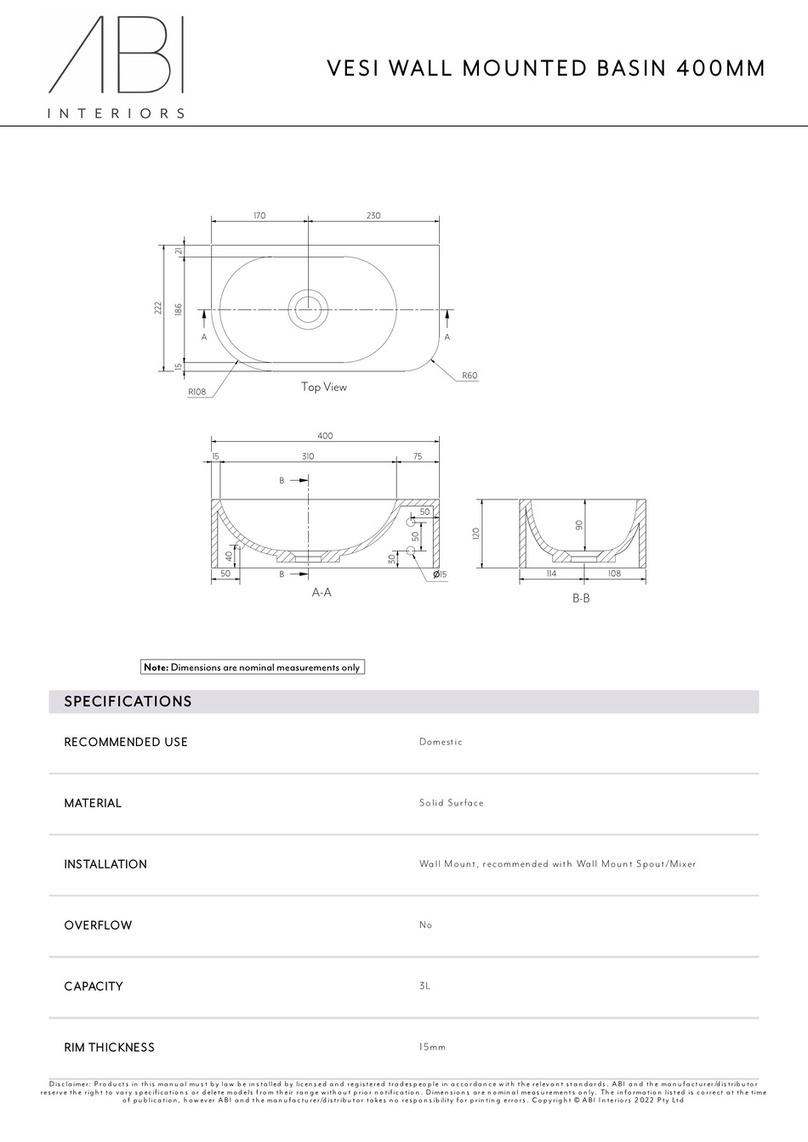
abi VESI 13543 User manual

abi

abi VESI 13543 User manual

abi SOLA User manual

abi

abi SOLA User manual

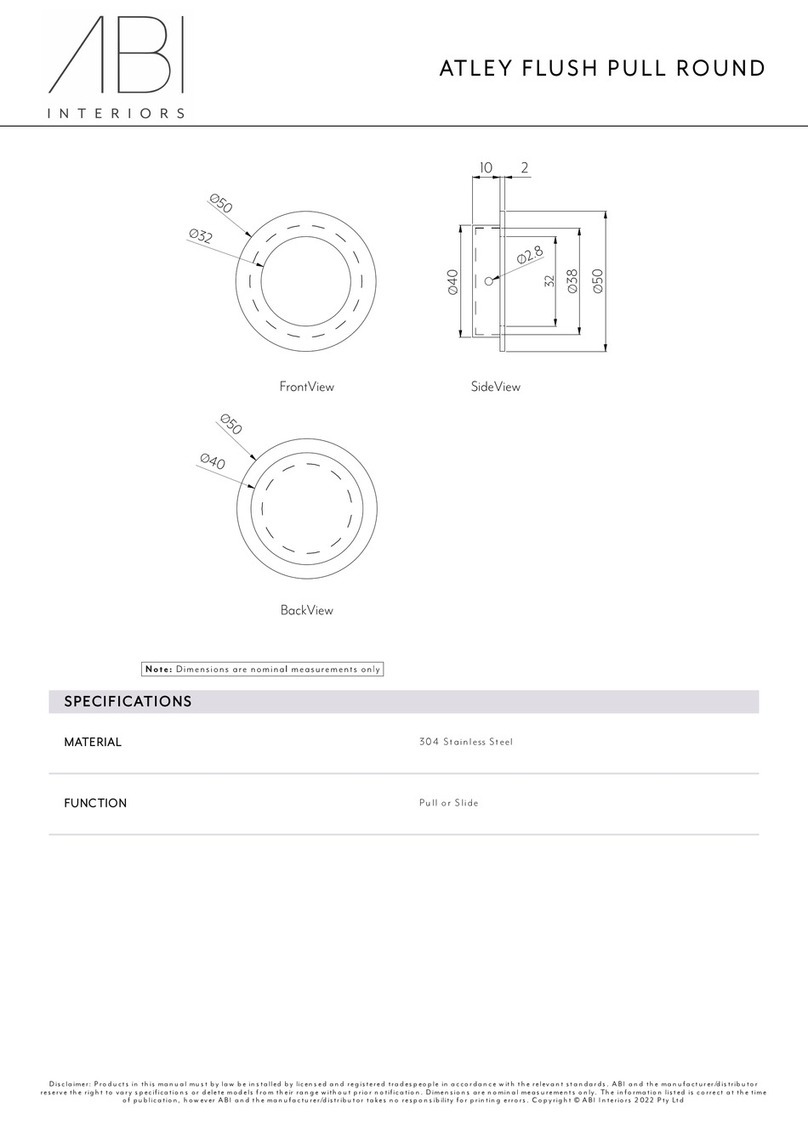
abi ATLEY 12996 User manual

abi

abi ATLEY 12996 User manual

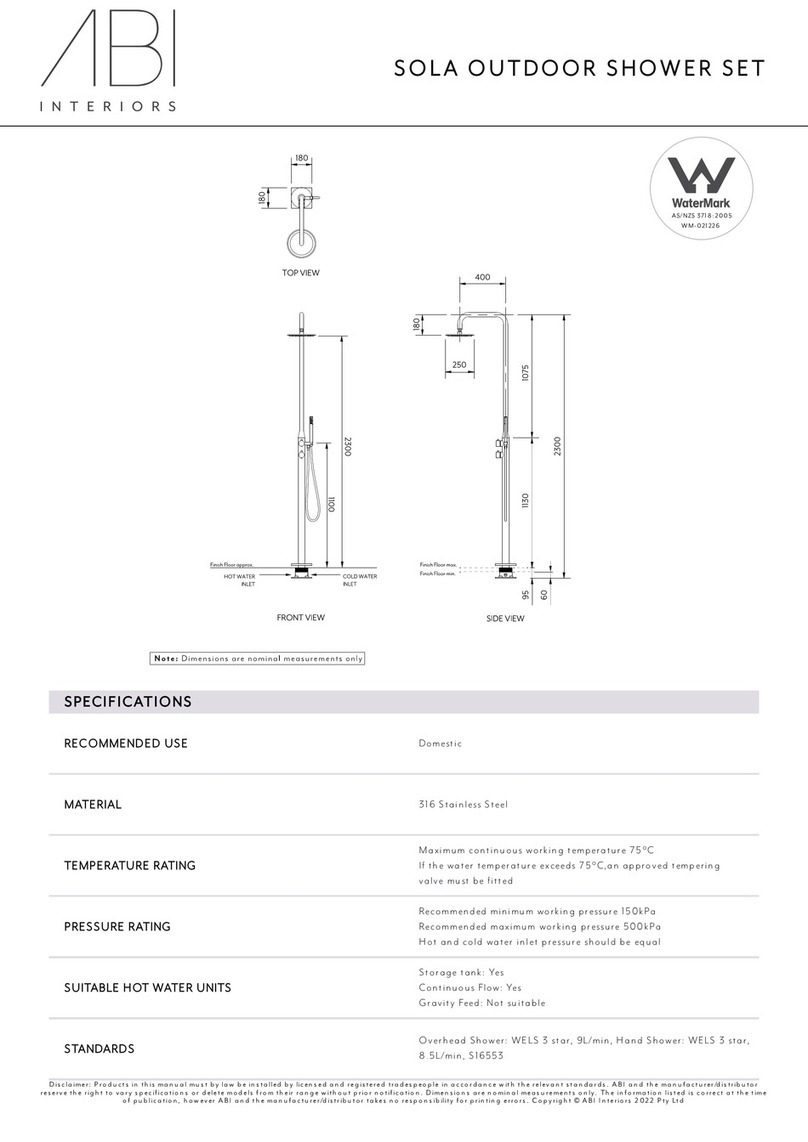
abi SOLA OUTDOOR SHOWER SET User manual

abi

abi SOLA OUTDOOR SHOWER SET User manual

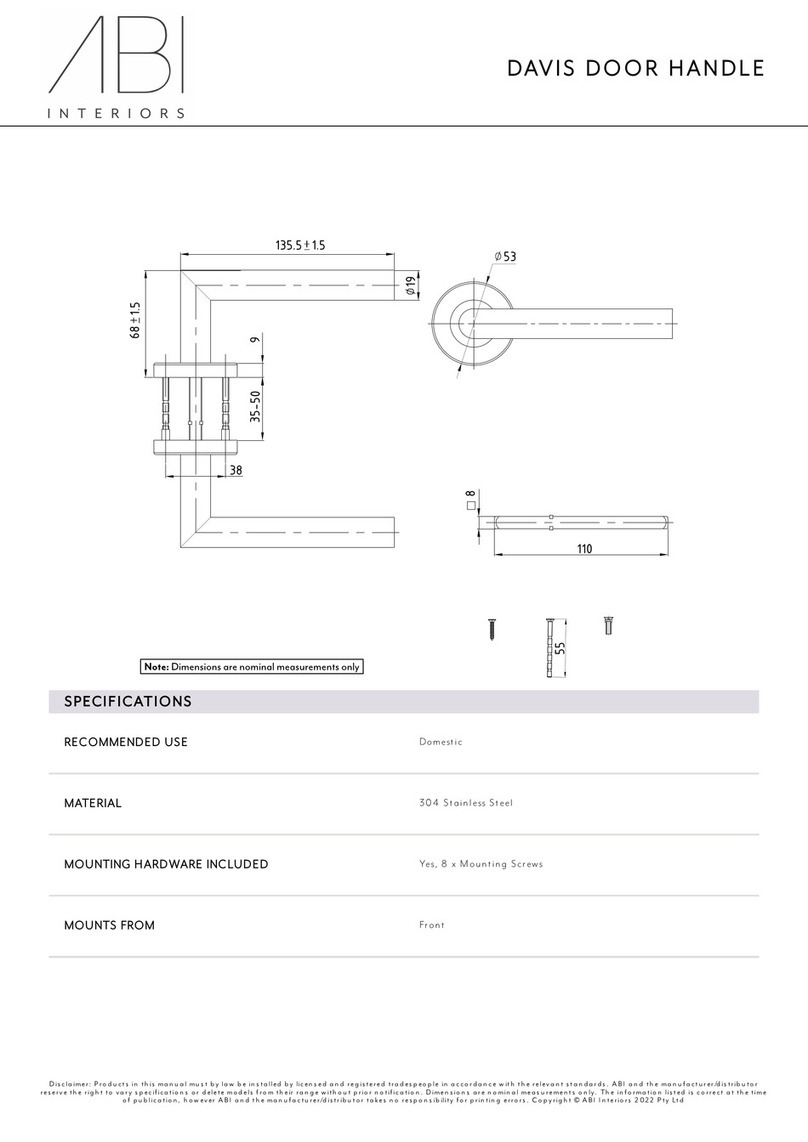
abi DAVIS 12979 User manual

abi

abi DAVIS 12979 User manual

abi 10463 User manual

abi

abi 10463 User manual

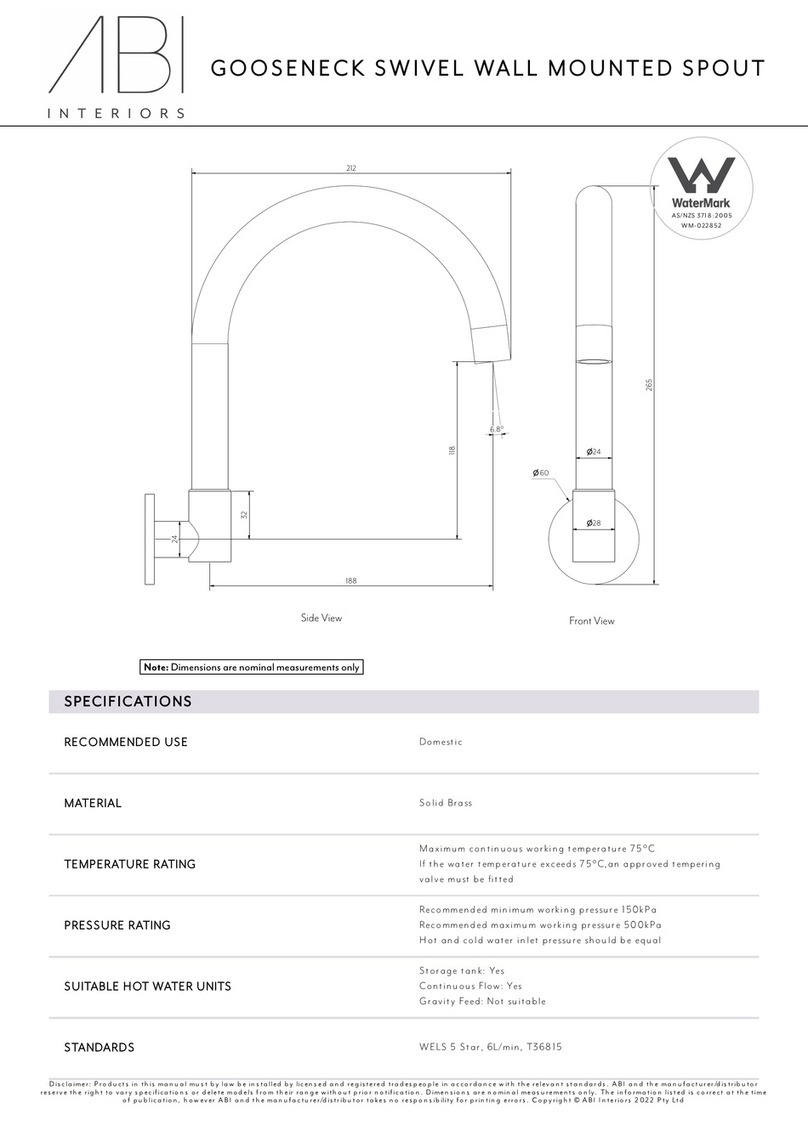
abi GOOSENECK 11941 User manual

abi

abi GOOSENECK 11941 User manual

abi 14404 User manual

abi

abi 14404 User manual

Popular Plumbing Product manuals by other brands

American Standard Upgradable Deck-Mount Tub Filler R890 Specification sheet

American Standard

American Standard Upgradable Deck-Mount Tub Filler R890 Specification sheet

Voda Plumbingware VECM010 instructions

Voda Plumbingware

Voda Plumbingware VECM010 instructions

Mira Vie Installation and user guide

Mira

Mira Vie Installation and user guide

Gessi RETTANGOLO installation instructions

Gessi

Gessi RETTANGOLO installation instructions

Gessi ORIGINI 66036 manual

Gessi

Gessi ORIGINI 66036 manual

Hans Grohe Talis Select Series Instructions for use/assembly instructions

Hans Grohe

Hans Grohe Talis Select Series Instructions for use/assembly instructions

KWC SIRIUS BS330 Installation and operating instructions

KWC

KWC SIRIUS BS330 Installation and operating instructions

Grohe Talia 19 719 manual

Grohe

Grohe Talia 19 719 manual

Haws 8330 Installation, operation & maintenance instructions

Haws

Haws 8330 Installation, operation & maintenance instructions

Mira Alero Installation and user guide

Mira

Mira Alero Installation and user guide

Kohler K-T13141 Homeowner's guide

Kohler

Kohler K-T13141 Homeowner's guide

Kohler STANCE K-37467T installation instructions

Kohler

Kohler STANCE K-37467T installation instructions

Kohler AIRFOIL 37271X-7 quick start guide

Kohler

Kohler AIRFOIL 37271X-7 quick start guide

Brizo R60000 Series manual

Brizo

Brizo R60000 Series manual

iB PURO 386 Fitting instructions

iB

iB PURO 386 Fitting instructions

Spectrum Brands Pfister 042-PFL Quick installation guide

Spectrum Brands

Spectrum Brands Pfister 042-PFL Quick installation guide

Hans Grohe Ecostat Comfort Series Instructions for use/assembly instructions

Hans Grohe

Hans Grohe Ecostat Comfort Series Instructions for use/assembly instructions

Kohler Trend K-11935 Homeowner's guide

Kohler

Kohler Trend K-11935 Homeowner's guide

manuals.online logo
manuals.online logoBrands
  • About & Mission
  • Contact us
  • Privacy Policy
  • Terms and Conditions

Copyright 2025 Manuals.Online. All Rights Reserved.