manuals.online logo
Brands
  1. Home
  2. •
  3. Brands
  4. •
  5. Abode
  6. •
  7. Plumbing Product
  8. •
  9. Abode Globe Single Lever AT2146 User manual

Abode Globe Single Lever AT2146 User manual

Globe Single Lever
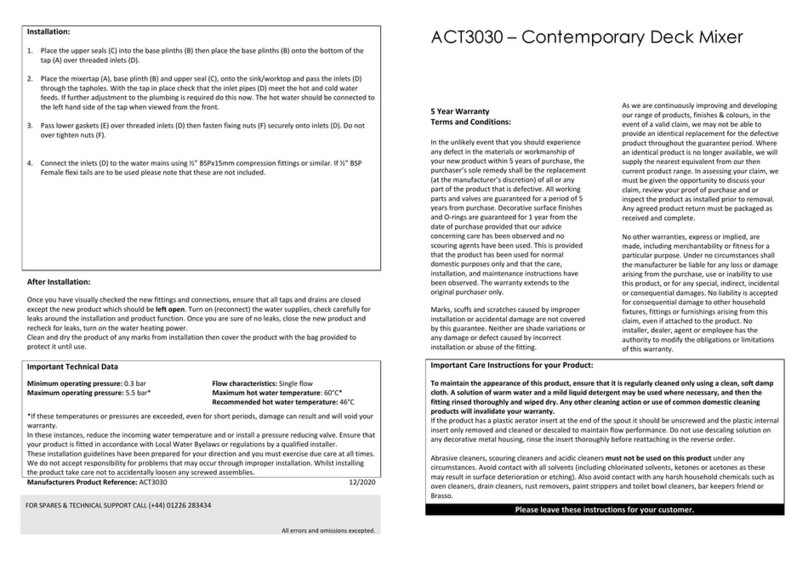
5 Year Warranty
Terms and Conditions:
In the unlikely event that you should experience any
defect in the materials or workmanship of your new
Abode product within 5 years of purchase, the
purchaser’s sole remedy shall be the replacement (at the
manufacturer’s discretion) of all or any part of the
product that is defective. All workin parts and valves are
uaranteed for a period of 5 years from purchase.
Decorative surface finishes and O-rin s are uaranteed
for 1 year from the date of purchase provided that our
advice concernin care has been observed and no
scourin a ents have been used. This is provided that the
product has been used for normal domestic purposes
only and that the care, installation and maintenance
instructions have been observed. The warranty extends
to the ori inal purchaser only.
Marks, scuffs and scratches caused by improper
installation or accidental dama e are not covered by this
uarantee. Neither are shade variations or any dama e
or defect caused by incorrect installation or abuse of the
fittin .
As we are continuously improvin and developin our
ran e of products, finishes & colours, in the event of a
valid claim, we may not be able to provide an identical
replacement for the defective product throu hout the
uarantee period. Where an identical product is no
lon er available, we will supply the nearest equivalent
from our then current product ran e. In assessin your
claim, we must be iven the opportunity to discuss your
claim, review your proof of purchase and or inspect the
product as installed prior to removal. Any a reed product
return must be packa ed as received and complete.
No other warranties, express or implied, are made,
includin merchantability or fitness for a particular
purpose. Under no circumstances shall the manufacturer
be liable for any loss or dama e arisin from the
purchase, use or inability to use this product, or for any
special, indirect, incidental or consequential dama es.
No liability is accepted for consequential dama e to
other household fixtures, fittin s or furnishin s arisin
from this claim, even if attached to the product. No
installer, dealer, a ent or employee of Abode has the
authority to modify the obli ations or limitations of this
warranty.
Important Care Instructions for your Product:
To maintain the appearance of this product, ensure that it is regularly cleaned only using a clean, soft damp cloth. A solution
of warm water and a mild li uid detergent may be used where necessary, and then the fitting rinsed thoroughly and wiped
dry. Any other cleaning action or use of common domestic cleaning products will invalidate your warranty.
If the product has a plastic aerator insert at the end of the spout it should be unscrewed and the plastic internal insert only
removed and cleaned or descaled to maintain flow performance. Do not use descalin solution on any decorative metal
housin , rinse the insert thorou hly before reattachin in the reverse order.
Abrasive cleaners, scourin cleaners and acidic cleaners must not be used on this product under any circumstances. Avoid
contact with all solvents (includin chlorinated solvents, ketones or acetones as these may result in surface deterioration or
etchin ). Also avoid contact with any harsh household chemicals such as oven cleaners, drain cleaners, rust removers, paint
strippers and toilet bowl cleaners, bar keepers friend or Brasso.
Please leave these instructions for your customer.
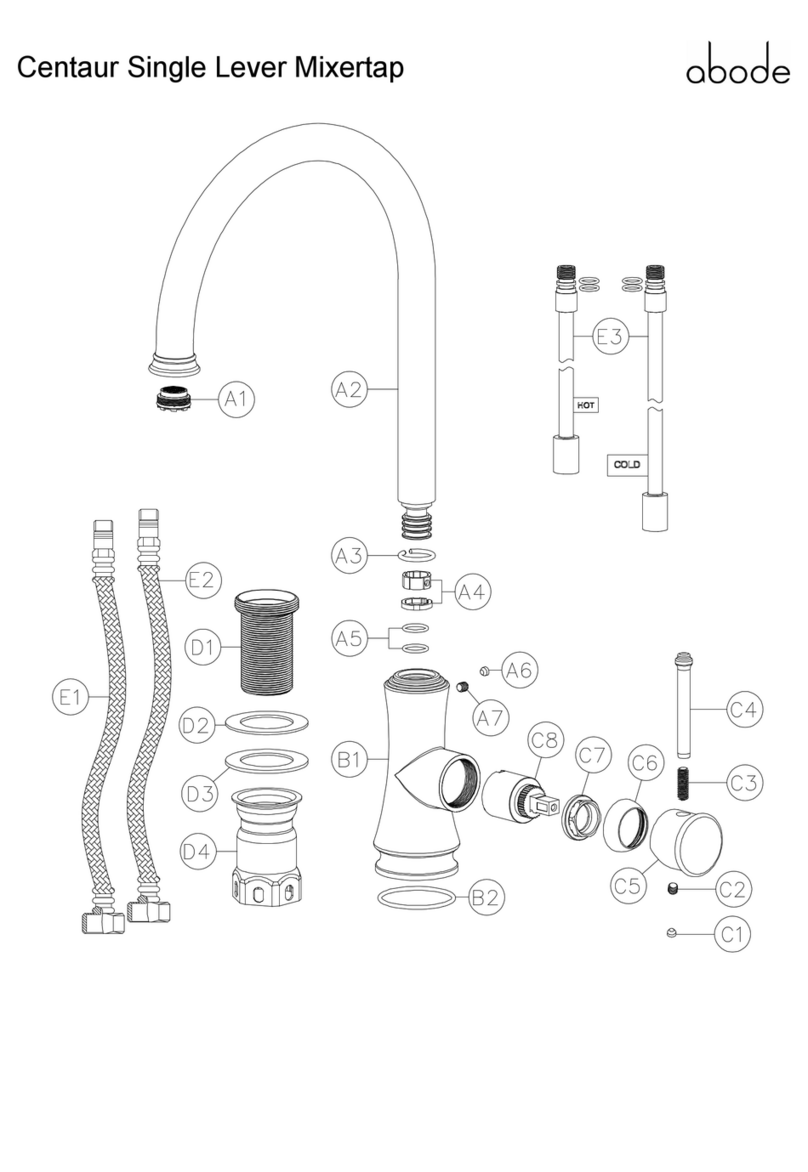
Parts and Contents:
Key Description Qty
A Mixertap body 1
B Base plinth 1
C Upper seal 1
D Fixin stud 1
E Trian ular stabilisin bracket 1
F Lower asket 1
G Fixin bracket 1
H Fixin nut 1
I Hot Flexi tail
(with inte ral NRV) 1
J Cold Flexi tail
(with inte ral NRV) 1
Installation Instructions:
Preparation
Before installing the new product it is essential that you thoroughly flush through the supply pipes in order to remove any
remaining solder, swarf or impurities from your system. Failure to carry out this simple procedure could cause problems or
dama e to the workin s of the product or reduce performance invalidatin the warranty.
We stron ly recommend best practice of installin particle filters and isolation valves to both the hot and cold feed pipes in an
accessible position. This will help to prevent premature failure of the valves and ease any future maintenance.
All parts should be removed from their packaging and inspected for any transport damage prior to installation.
Shut off (isolate) your hot and cold water supply locally at the point of installation before continuin with the installation. If the
water cannot be isolated locally the turn off the mains stopcock and power to any heatin system, now open the lowest tap or
drain point in the system until both hot and cold supplies are fully drained.
This product requires a 35mm tap hole, if replacin an existin product, remove it and clean the end of the hot and cold feed
pipes usin wire wool, the tap hole area should be free from dirt and sealant.
If the handles on the product operate backwards and forwards, allow for this when plannin the sink or tap hole position.
Loosely position the product and fittin s to check if any alteration to the existin pipework is required, if needed, do this now.
If the product is sin le flow (see section important technical data “flow characteristics”) then non return (check) valves must be
installed to comply with re ulations. Some products are supplied with non-return valves this will be noted in the instructions.
⚠
Correct use of Flexible Hose Connectors
If this product is supplied with flexible hose connections for ease of installation you must observe the conditions below,
failure to observe these standard installation uidelines will invalidate the warranty for your product.
Always screw
the flexi hoses
into the
product only
by hand, until
feelin
mechanical
rest, a spanner
must not be
used on the
product end of
the connecting
hose.
Always use the
pipes provided
and not an
alternative
substitute
The braidin
on the flexible
hose must not
be in contact
with anything
else, for
example
chemicals,
internal or
external room
walls or
dissimilar
metals or
materials or
sharp objects.
Never twist or
stretch the
flexible hose
durin
installation.
Do not
overtighten the
hexa onal end
of the hose
connectin to
the supply
feeds when
usin a spanner
causin the
hose to twist.
Hoses must
not be double
bent in
multiple
directions
kinked or
looped.
Observe the
minimum
bend radius of
50mm.
Before
assembling the
hose to the
product ensure
the hose
ferrule has
been crimped
(as hi hli hted)
on both ends of
the hose after
the braided
hose sleeve.
Both ends of
the hose must
have a
minimum
50mm
straight
section before
any bend.
50mmØ
Installation:
1. Screw studded rod (D) into the base of the tap (A).
2. Place the upper seal (C) into the base plinth (B) then place the base plinth (B) onto the bottom of the tap (A).
3. Screw the hot & cold water tail pipes (I & J) into the base of the tap (A) as shown.
4. Place the mixertap (A) and base plinth (B) onto the sink/worktop, passin the tail pipes (I & J) and studded rod (D) throu h
the tap hole and base plinth (B)
5. Pass the trian ular stabiliser (E), lower asket (F) and then the fixin bracket (G) over the studded rod (D) and around the
flexible tail pipes (I & J)
6. Fasten the fixin nut (H) securely onto the fixin stud (D) to fix the tap (A) into its correct location.
7. Connect the hot and cold tail pipes (I & J) to the water mains usin ½” BSPx15mm compression fittin s. Note: Non-return
valves will be pre-inserted into tail pipes (I & J).
After Installation:
Once you have visually checked the new fittin s and connections, ensure that all taps and drains are closed except the new
product which should be left open. Turn on (reconnect) the water supplies, check carefully for leaks around the installation and
product function. Once you are sure of no leaks, close the new product and recheck for leaks, turn on the water heatin power.
Clean and dry the product of any marks from installation then cover the product with the ba provided to protect it until use.
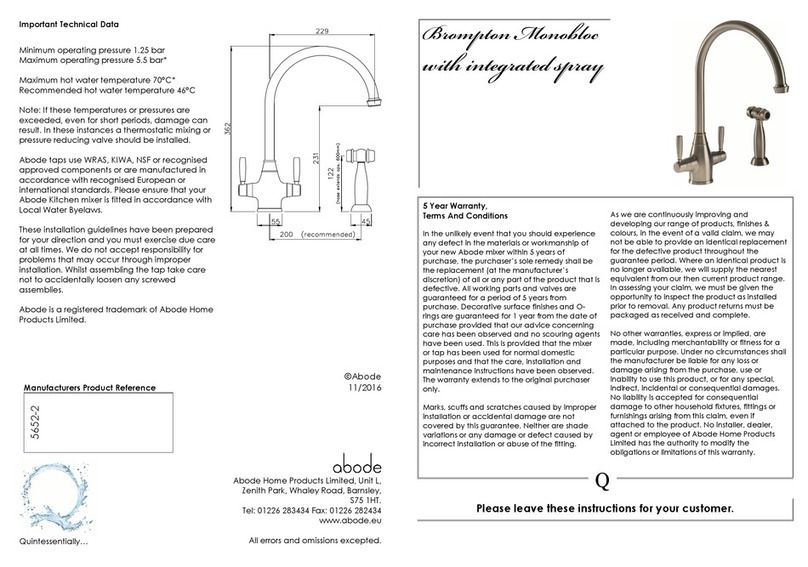
Important Technical Data
Minimum operating pressure: 0.75 bar
Maximum operating pressure: 5.5 bar*
Flow characteristics: Sin le flow
Maximum hot water temperature: 60°C*
Recommended hot water temperature: 46°C
*If these temperatures or pressures are exceeded, even for short periods, dama e can result and will void your warranty.
In these instances, reduce the incomin water temperature and or install a pressure reducin valve. Ensure that your Abode
product is fitted in accordance with Local Water Byelaws or re ulations by a qualified installer.
These installation uidelines have been prepared for your direction and you must exercise due care at all times. We do not
accept responsibility for problems that may occur throu h improper installation. Whilst installin the product take care not to
accidentally loosen any screwed assemblies.
Manufacturers Product Reference: AT2146-49 ©Abode - 9/2020
Unit L, Zenith Park, Whaley Road, Barnsley, S75 1HT
Tel: (+44) 01226 283434 or www.abodedesi ns.co.uk
All errors and omissions excepted.

This manual suits for next models

3

Other Abode Plumbing Product manuals

Abode Harmonie AB1201 User manual

Abode

Abode Harmonie AB1201 User manual

Abode Althia Pull Out AT1260 User manual

Abode

Abode Althia Pull Out AT1260 User manual

Abode Harmonie AB1201 User manual

Abode

Abode Harmonie AB1201 User manual

Abode Fraction Single Lever Pull Out Spray AT2156 User manual

Abode

Abode Fraction Single Lever Pull Out Spray AT2156 User manual

Abode ACT3023 User manual

Abode

Abode ACT3023 User manual

Abode Fraction Single Lever Professional AT2160 User manual

Abode

Abode Fraction Single Lever Professional AT2160 User manual

Abode ACT3030 User manual

Abode

Abode ACT3030 User manual

Abode Brompton 3 Part 5692 User manual

Abode

Abode Brompton 3 Part 5692 User manual

Abode MARIDO ACT3034-36 User manual

Abode

Abode MARIDO ACT3034-36 User manual

Abode Vixo User manual

Abode

Abode Vixo User manual

Abode Pico Quad Monobloc AT2134 User manual

Abode

Abode Pico Quad Monobloc AT2134 User manual

Abode Belfast AX4046 User manual

Abode

Abode Belfast AX4046 User manual

Abode Langley Bridge User manual

Abode

Abode Langley Bridge User manual

Abode Astbury 3 Part AT3050 User manual

Abode

Abode Astbury 3 Part AT3050 User manual

Abode Bayenne Bridge 5656 User manual

Abode

Abode Bayenne Bridge 5656 User manual

Abode Globe Aquifier AT2173 User manual

Abode

Abode Globe Aquifier AT2173 User manual

Abode Ceramic Inset Sink AX4002 User manual

Abode

Abode Ceramic Inset Sink AX4002 User manual

Abode Astbury 5685 User manual

Abode

Abode Astbury 5685 User manual

Abode Burford Monobloc AT2170 User manual

Abode

Abode Burford Monobloc AT2170 User manual

Abode Zest Pull Out AT2164 User manual

Abode

Abode Zest Pull Out AT2164 User manual

Abode Tubist Single Lever Pull Out AT2131 User manual

Abode

Abode Tubist Single Lever Pull Out AT2131 User manual

Abode Atlas Monobloc Quad AT2166 User manual
Abode

Abode Atlas Monobloc Quad AT2166 User manual

Abode Brompton 3 Part AT3048 User manual

Abode

Abode Brompton 3 Part AT3048 User manual

Abode BromptonBridge 5662 User manual

Abode

Abode BromptonBridge 5662 User manual

Popular Plumbing Product manuals by other brands

Hans Grohe AXOR Starck Series Installation/User Instructions/Warranty

Hans Grohe

Hans Grohe AXOR Starck Series Installation/User Instructions/Warranty

Hans Grohe AXOR MyEdition 47210 Series Instructions for use/assembly instructions

Hans Grohe

Hans Grohe AXOR MyEdition 47210 Series Instructions for use/assembly instructions

Spectrum Brands Pfister Park Avenue R89-1FE Quick installation guide

Spectrum Brands

Spectrum Brands Pfister Park Avenue R89-1FE Quick installation guide

Kohler K-15599X installation guide

Kohler

Kohler K-15599X installation guide

Kohler K-2804 installation guide

Kohler

Kohler K-2804 installation guide

METHVEN AURAJET HANDSET installation guide

METHVEN

METHVEN AURAJET HANDSET installation guide

Grohe Grohtherm 1000 34 334 quick start guide

Grohe

Grohe Grohtherm 1000 34 334 quick start guide

Moen SHOW HOUSE S4714 Series manual

Moen

Moen SHOW HOUSE S4714 Series manual

Helvex MG MOJAVE installation guide

Helvex

Helvex MG MOJAVE installation guide

Franke RODX605 Installation and operating instructions

Franke

Franke RODX605 Installation and operating instructions

Beurer FC 72 Instructions for use

Beurer

Beurer FC 72 Instructions for use

CRISTINA PROFILO CRIPF102 installation instructions

CRISTINA

CRISTINA PROFILO CRIPF102 installation instructions

American Standard Hampton 4751.702 installation instructions

American Standard

American Standard Hampton 4751.702 installation instructions

newform Ergo-open 66510 instructions

newform

newform Ergo-open 66510 instructions

Helvex 313-38-4.8 installation guide

Helvex

Helvex 313-38-4.8 installation guide

Moen CHATEAU T991 Illustrated parts list

Moen

Moen CHATEAU T991 Illustrated parts list

Zanussi 153980 Specifications

Zanussi

Zanussi 153980 Specifications

Gerber Maxwell DF-21-102 Directions

Gerber

Gerber Maxwell DF-21-102 Directions

manuals.online logo
manuals.online logoBrands
  • About & Mission
  • Contact us
  • Privacy Policy
  • Terms and Conditions

Copyright 2025 Manuals.Online. All Rights Reserved.