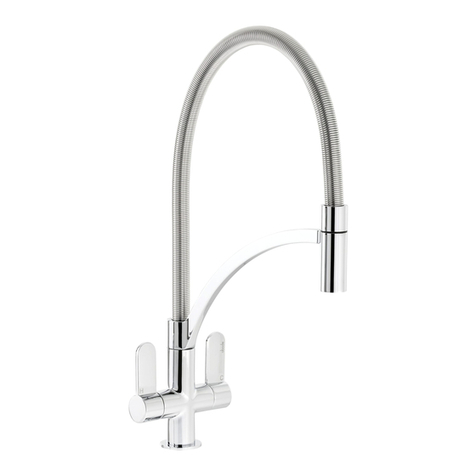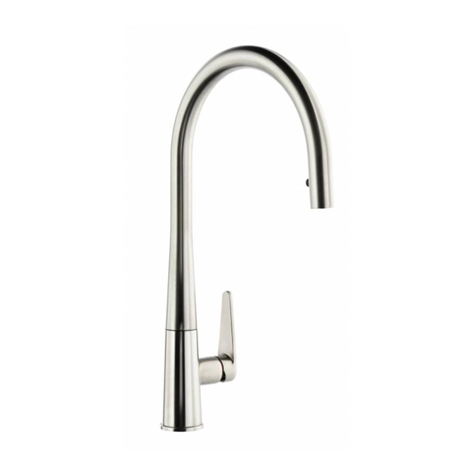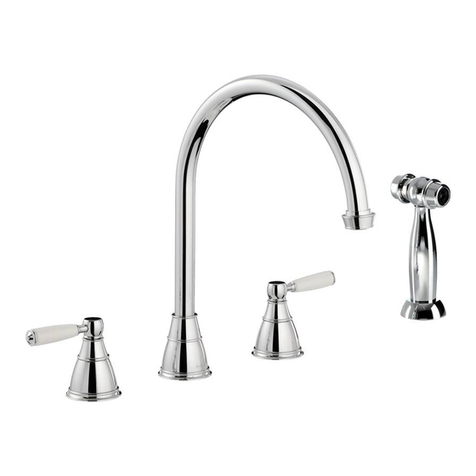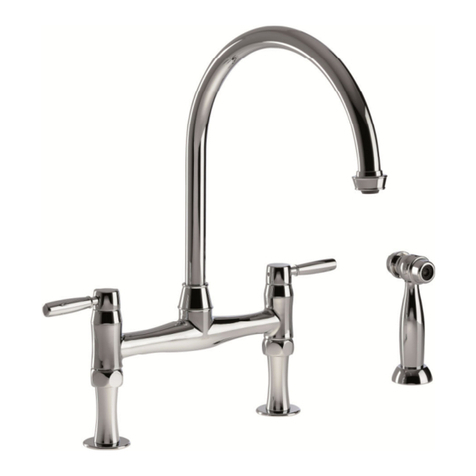
Vixo (December 2008 Onwards)
General Advice:
• These instructions are intended as a guide only, if you are in any doubt you should seek the ad ice of a qualified professional.
• Take care not to mark finished parts with screwdri ers or other tools.
• Use a pair of rubber glo es to get a better grip on decorati e hand tight parts.
• Ensure all parts are reassembled tightly.
• After maintenance test that all assemblies are water tight and function correctly.
• Always isolate the hot and cold water supplies before starting any maintenance, once isolated you should drain any residual water from your
system.
To replace the valve:
24. Loosen grub screw (A5) on the rear of spout (A4) using a 2.5mm A/F allen key.
25. Pull the spout (A4) ertically away from the control block (B3).
26. Remo e PTFE ring (B1).
27. Loosen grub screw (B2) on the rear of control block (B3) using a 2.5mm A/F allen key.
28. Pull the control block (B3) and PTFE ring (B5) ertically away from the body (D2).
29. Loosen grub screw (D1) on the rear of body (D2) using a 2.5mm A/F allen key.
30. Unscrew the al e shroud (A10) using an adjustable spanner on the opposite flats.
31. Remo e gaskets (C1&C2), small o-ring (C3), splined collar (C4) & large o-ring (C5).
32. Remo e locking nut (C6) using Circlip or long nose pliers. Pull the old al e cartridge (C7) away from the body (D2).
33. Ensure that the inside of body (D2) is clean of dirt and grit.
34. Place the new al e (C7) in the body (D2), ensuring the locators on the base of valve (C7) align with the recesses in the chamber of
the tap (D2)
35. Replace the fixing nut (C6) and tighten until the al e (C7) is secure.
36. Replace the o-ring (C5) o er the fixing nut (C6).
37. Turn the splined al e stem of the al e (C7) fully clockwise (i.e. the off position)
38. Place the splined collar (C4) o er the al e stem of the al e (C7) so that the threaded hole directly faces the rear centre of the tap body (D2).
39. Push gasket (C1) up inside the chamber of the valve shroud (A10) so that it seats flat.
40. Pass (C3) then (C2) o er the al e stem of the al e cartridge (C6). Note the orientation of (C2).
41. Screw the al e shroud (A10) into the body (D2). Note the orientation of the slot in al e shroud (A10) must match the threaded hole in the
rotating splined collar (C4). When the al e is turned fully clockwise grub screw (B2) must not foul on the end of the slot in the al e shroud
(A10), adjust the rotation of the al e shroud (A10) so the al e turns through 90° and fully to the off position with grub screw (B2) inserted.
42. Re-tighten grub screw (D1) to lock the al e shroud (A10) in place.
43. Replace PTFE ring (B5) centrally o er the top of the al e shroud (A10), followed by the control block (B3)
44. Tighten grub screw, (B2) of the control block (B3) into the threaded hole in the splined collar (C4) using a 2.5mm A/F allen key.
45. Replace PTFE ring (B1).
46. Replace spout (A4), fixing it in position by tightening grub screw (A5) on the rear of spout (A4) using a 2.5mm A/F allen key.
To replace the spout o-rings:
8. Loosen grub screw (A5) on the rear of spout (A4) using a 2.5mm A/F allen key.
9. Pull the spout (A4) ertically away from the control block (B3).
10. Remo e the old o-rings (A7 & A8) using a small screwdri er or similar.
11. Ensure the inside of the spout (A4) and the top of the al e shroud (A10) is clean of dirt and grit with a soft wet cloth.
12. Carefully locate the new O-rings (A7 & A8) onto the top of retaining nut (B7).
13. Grease the O-rings (A7 & A8) thoroughly with silicone or alternati e similar grease.
14. Reassemble the tap in the re erse order ensuring PTFE ring (B1) is placed into the recess on control block (B3).
To replace the valve shroud gaskets:
1. Loosen grub screw (A5) on the rear of spout (A4) using a 2.5mm A/F allen key.
2. Pull the spout (A4) ertically away from the control block (B3).
3. Remo e PTFE ring (B1).
4. Loosen grub screw (B2) on the rear of control block (B3) using a 2.5mm A/F allen key.
5. Pull the control block (B3) and PTFE ring (B5) ertically away from the body (D2).
6. Loosen grub screw (D1) on the rear of body (D2) using a 2.5mm A/F allen key.
7. Unscrew the al e shroud (A10) using an adjustable spanner on the opposite flats.
8. Remo e gaskets (C1&C2) and small o-ring (C3).
9. Push new gasket (C1) up inside the chamber of the valve shroud (A10) so that it seats flat. (Note gasket orientation)
10. Pass (C3) then (C2) o er the al e stem of the al e cartridge (C6). Note the orientation of (C2).
11. Now check that locking nut (C6) is tight.
12. Screw the al e shroud (A10) into the body (D2). Note the orientation of the slot in al e shroud (A10) must match the threaded hole in the
rotating splined collar (C4). When the al e is turned fully clockwise grub screw (B2) must not foul on the end of the slot in the al e shroud
(A10), adjust the rotation of the al e shroud (A10) so the al e turns through 90° and fully to the off position with grub screw (B2) inserted.
13. Re-tighten grub screw (D1) to lock the al e shroud (A10) in place.
14. Replace PTFE ring (B5) centrally o er the top of the al e shroud (A10), followed by the control block (B3)
15. Tighten grub screw, (B2) of the control block (B3) into the threaded hole in the splined collar (C4) using a 2.5mm A/F allen key.
16. Replace PTFE ring (B1).
17. Replace spout (A4), fixing it in position by tightening grub screw (A5) on the rear of spout (A4) using a 2.5mm A/F allen key.
