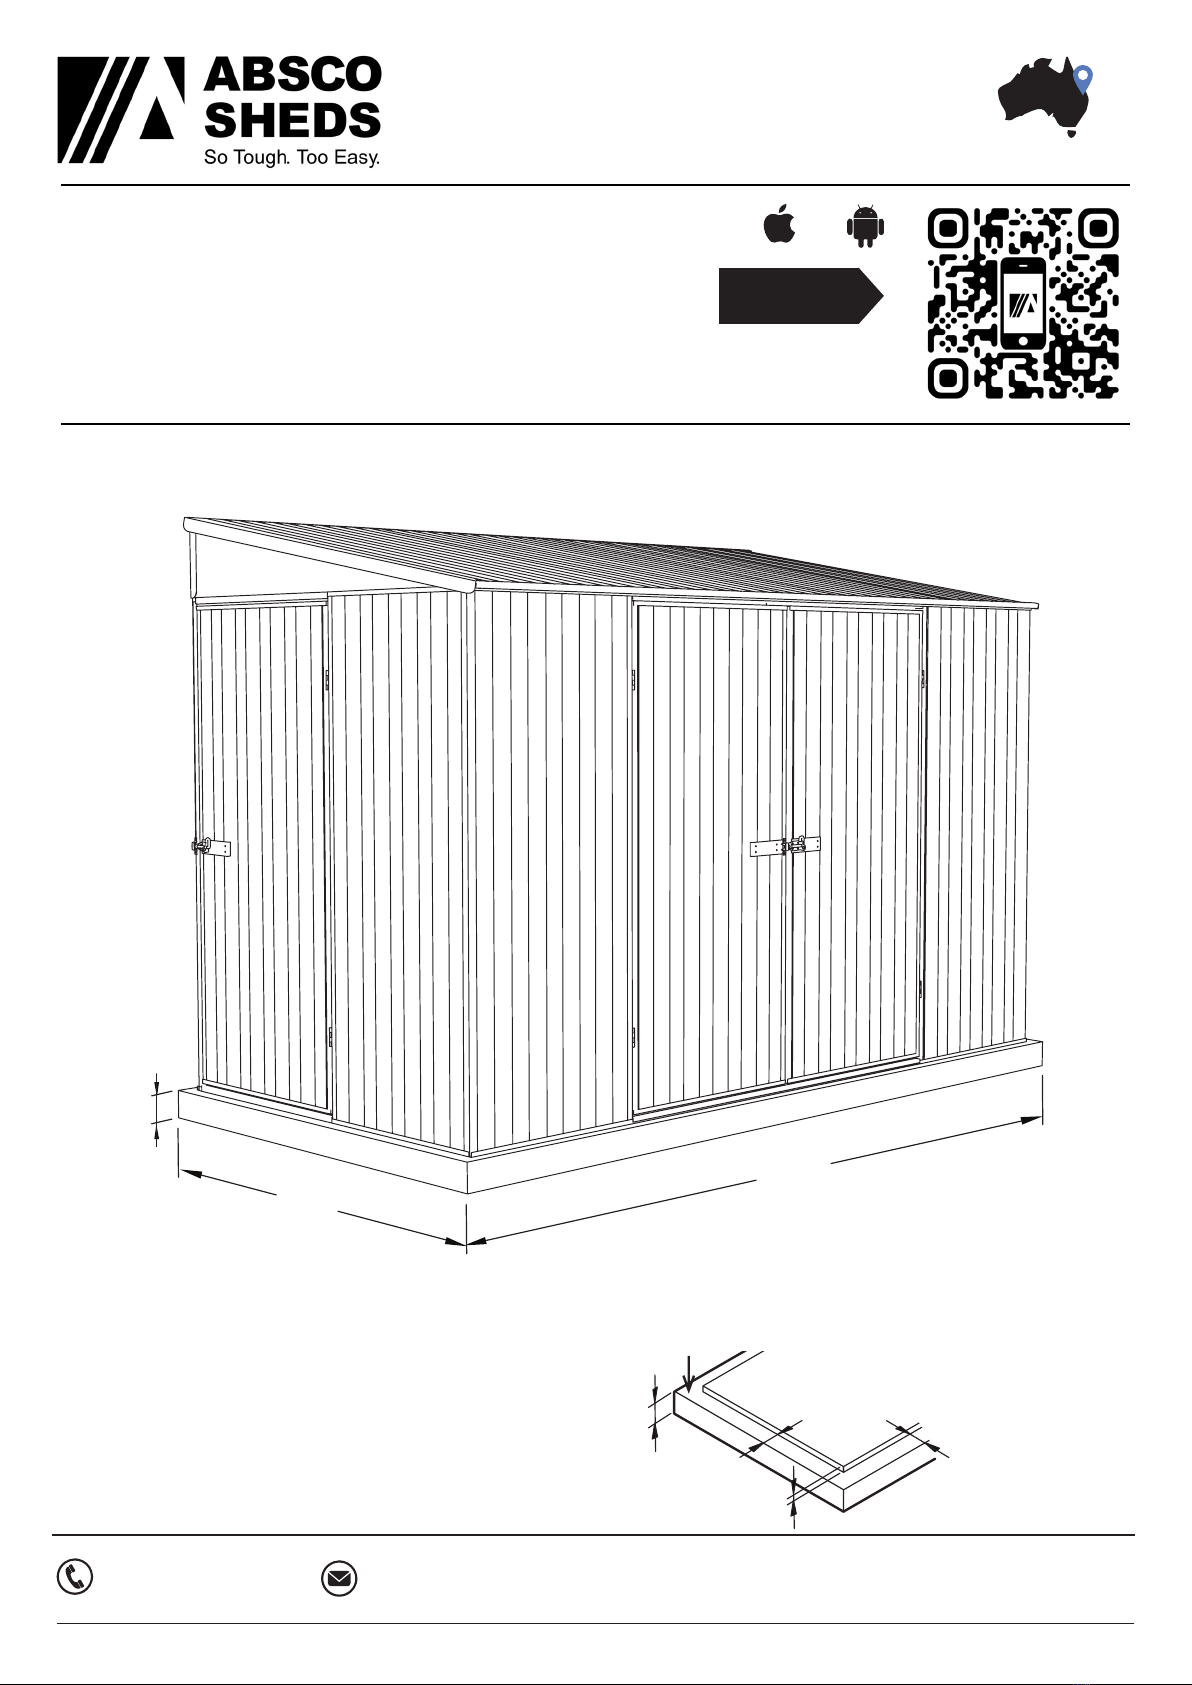
ABSCO SHEDS 30153BK-PTX User manual
Other ABSCO SHEDS Outdoor Storage manuals

ABSCO SHEDS
ABSCO SHEDS 3060HK User manual

ABSCO SHEDS
ABSCO SHEDS AWN33 User manual

ABSCO SHEDS
ABSCO SHEDS Premier 23231GK User manual

ABSCO SHEDS
ABSCO SHEDS PPCK-PTX User manual

ABSCO SHEDS
ABSCO SHEDS 30082SK-PTX Installation guide

ABSCO SHEDS
ABSCO SHEDS N3/C1 FRAME KIT User manual

ABSCO SHEDS
ABSCO SHEDS 30232GK User manual

ABSCO SHEDS
ABSCO SHEDS A15301FKFD-PTX User manual

ABSCO SHEDS
ABSCO SHEDS 30152GK Installation guide

ABSCO SHEDS
ABSCO SHEDS PREMIER 15151GK User manual

ABSCO SHEDS
ABSCO SHEDS 2314F1 User manual

ABSCO SHEDS
ABSCO SHEDS 30222RK User manual

ABSCO SHEDS
ABSCO SHEDS CHICKEN COOP User manual

ABSCO SHEDS
ABSCO SHEDS 3014F2 User manual

ABSCO SHEDS
ABSCO SHEDS Regent 30142RK User manual

ABSCO SHEDS
ABSCO SHEDS J30082SECO User manual

ABSCO SHEDS
ABSCO SHEDS 60303WK User manual

ABSCO SHEDS
ABSCO SHEDS 1508WBCK User manual

ABSCO SHEDS
ABSCO SHEDS 30302GK Installation guide

ABSCO SHEDS
ABSCO SHEDS 60303WK User manual


Popular Outdoor Storage manuals by other brands

LIVING AND HOME
LIVING AND HOME 0735940285711 user guide

USP
USP DURAMAX 10 Ft x 8 Ft StoreMax Plus owner's manual

rollaway container
rollaway container ARPCA24 manual

Duratuf
Duratuf GL105 Assembly instructions

Viking
Viking SD5300SS Use & installation guide

USP
USP DURAMAX Apex Pro 10.5 Ft x 8 Ft 40116 owner's manual