© Accora Config ra® assessment helpline: 01223 206110 | config ra@accora. k.com | www.config ra. k.com 3
Introduction
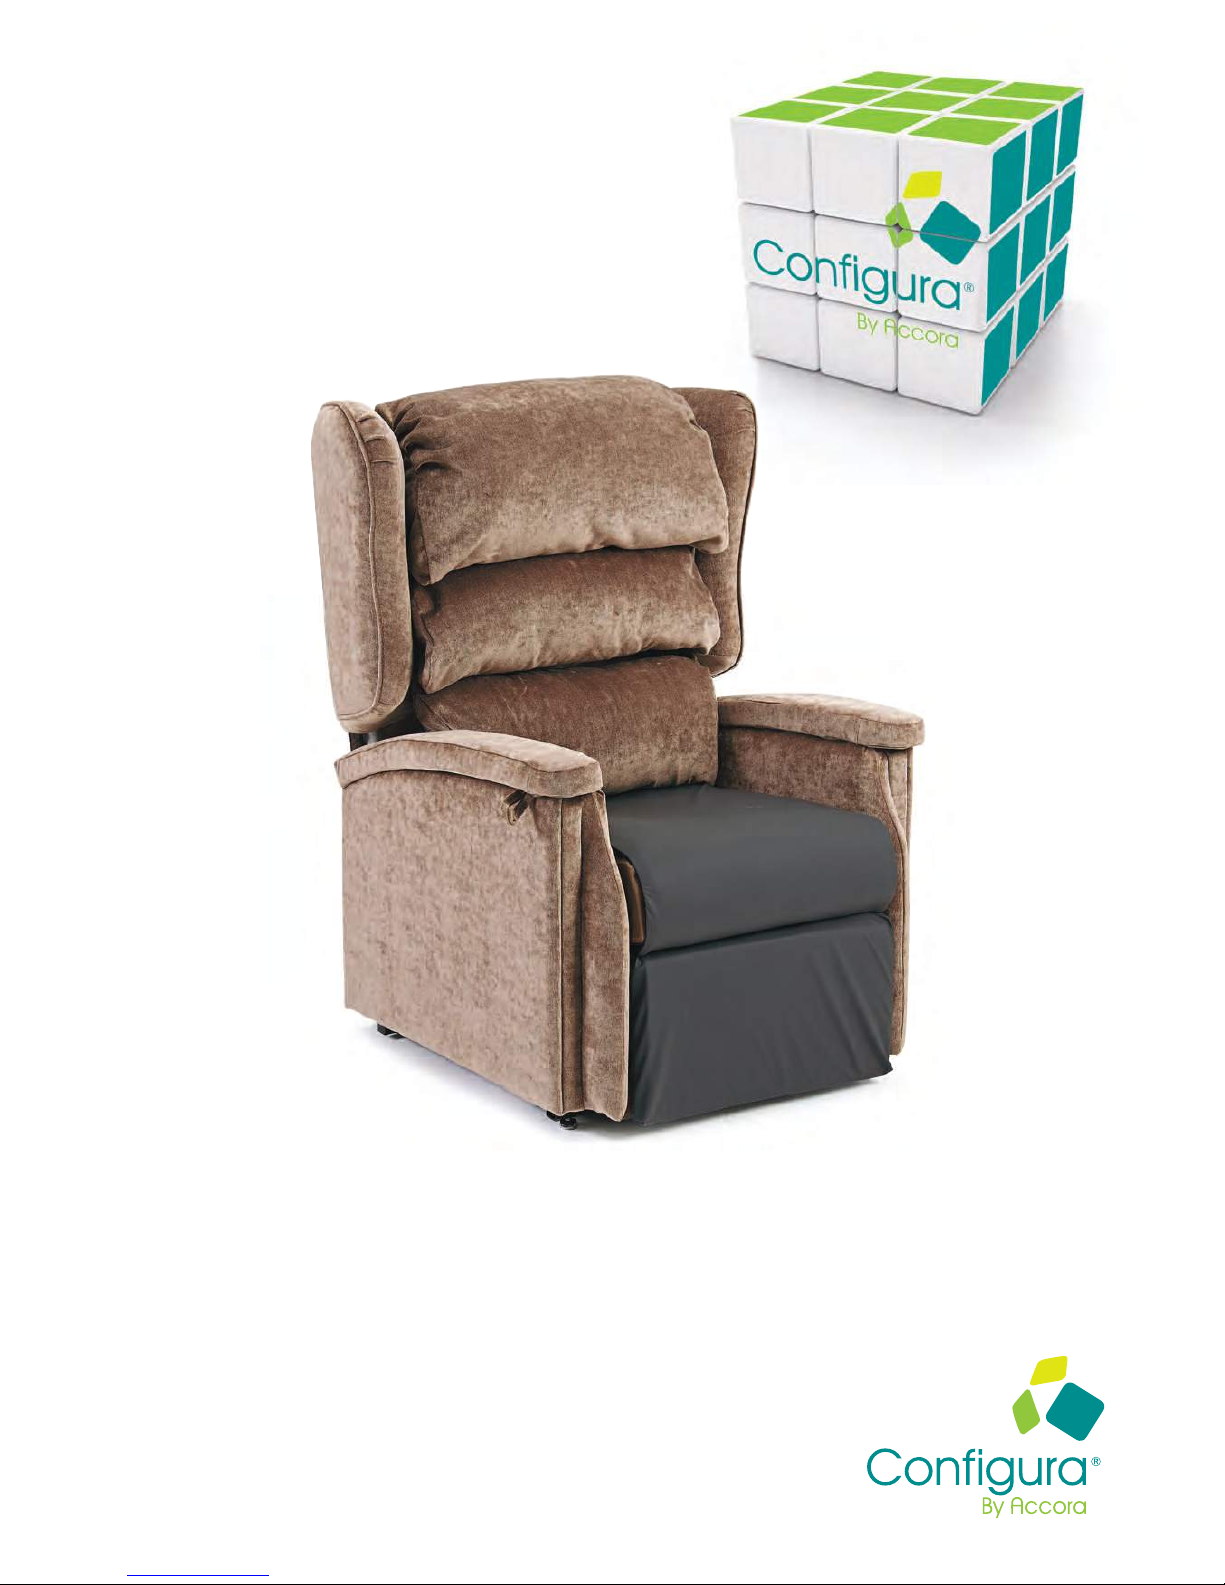
These instructions apply to the Configura®
chair by Accora.
Please read them carefully before setting up and
using the chair and keep them in a safe place for
future reference.
These instructions include details of the
performance of the chair. If the chair
malfunctions, shows signs of damage or
excessive wear, or otherwise feels unsuitable,
please take it out of service and contact your
supplier immediately.
The Configura®is designed to be configured to
suit a range of different size, pressure and
posture requirements.
arning: do not allow children
or animals to play with or near
the chair.
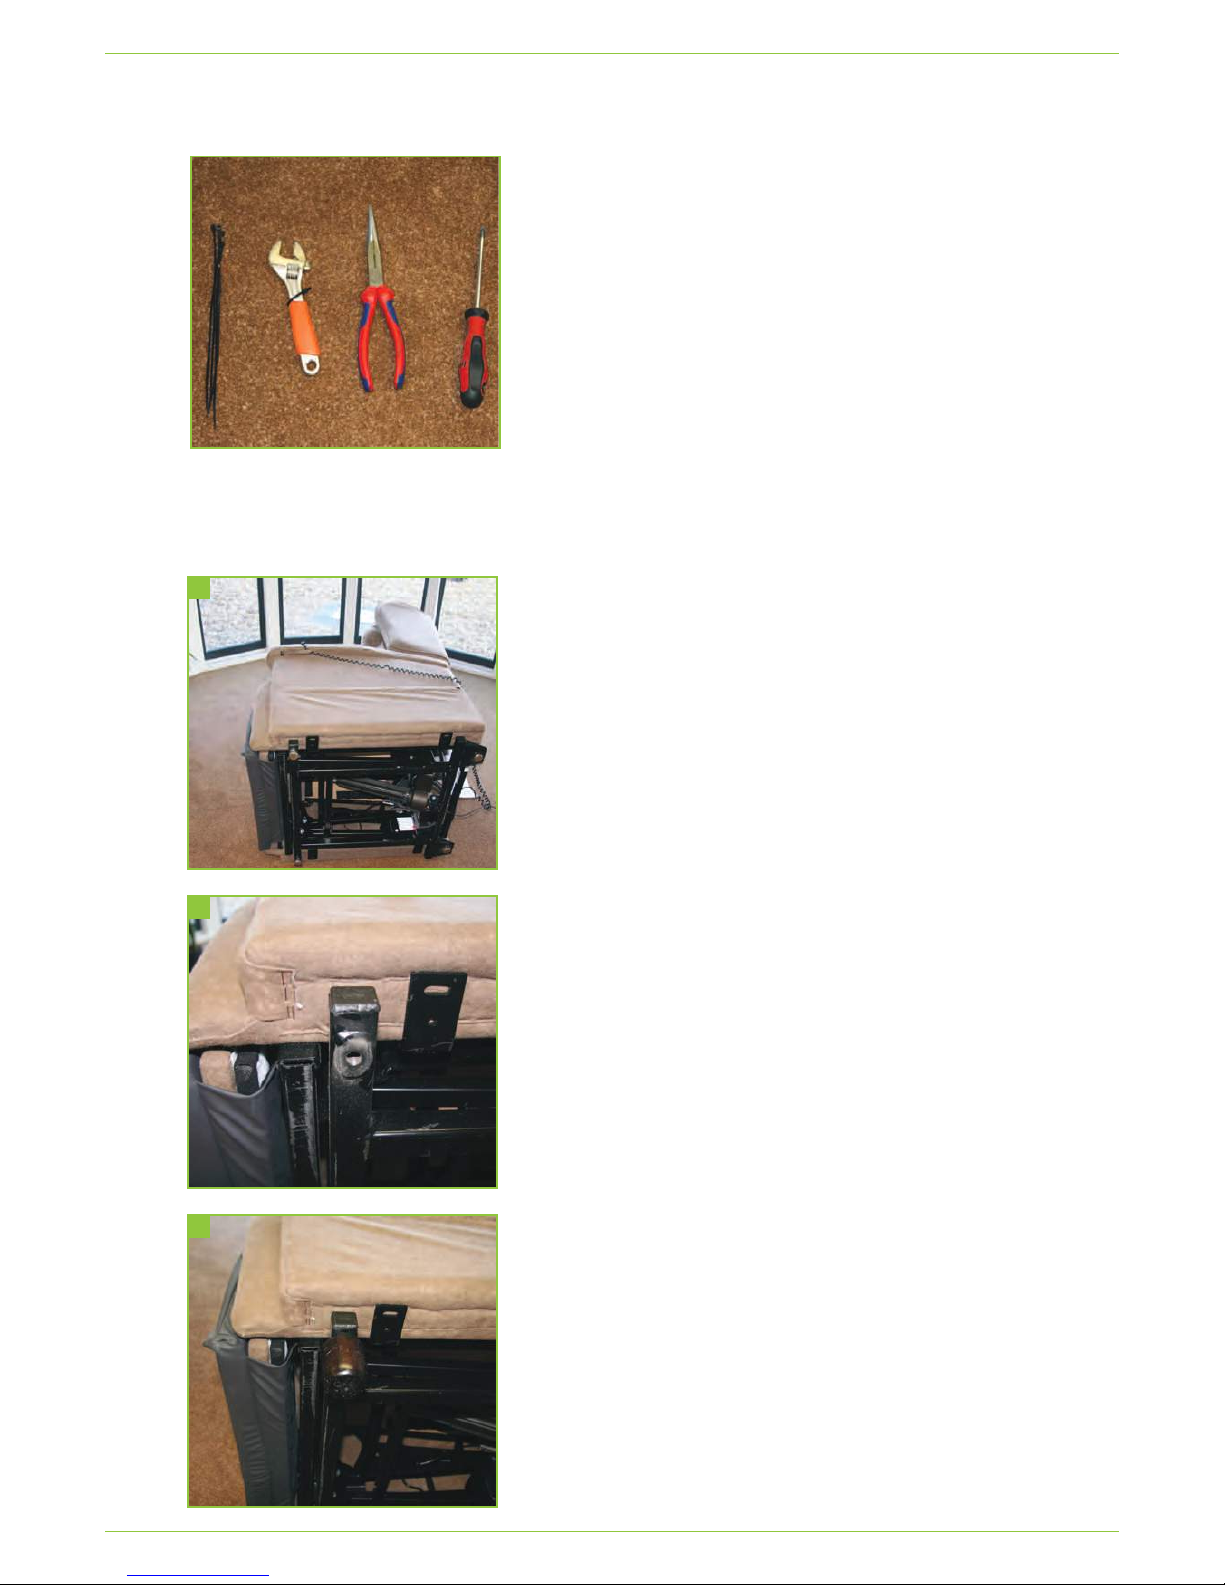
Chair set-up
The chair configuration is selected by a healthcare
professional via the Configura®Assessment form. If
extra parts are required, they can be ordered
separately from Accora.
For a copy of the Configura®Assessment form or for
a parts and accessories manual, please email
Weight capacity:
Small = 20 stone
Medium = 25 stone
Large = 25 stone
Medium Low Profile = 20 stone
Large Low Profile = 20 stone
Accora classifies the Configura®as a configurable
seating solution for varied and changing user needs.
The ability to configure the size, pressure and posture
requirements allows the chair to be used for many
different user requirements. It is particularly suitable
for quipment Loan Store use as the chair can be
easily re-issued.
We strongly recommend that anybody issuing the
Configura®has attended a Configura®Product
Training Session. For details of these courses, contact
The Configura®should be selected for
users:
nWith neurological conditions who have reduced
sitting balance
nWith progressive conditions where the risk of
developing pressure damage is likely to increase
nWho have oedema or fluid build up on the legs
nWho have poor circulation
nWho have skeletal issues (such as kyphosis) and
require adjustment of support in the backrest
nWho have difficulty in sit-to-stand transfers
The Configura®is designed to offer the right size and
to accommodate pressure care and postural
requirements for different users. The Configura®can
accommodate moderate postural requirements but
is not suitable for users that lean to one side heavily
or have fixtures such as pronounced ‘windsweeping’,
fixtures or pelvic obliquity. It is also not suitable for
users who have severe involuntary movements. The
Configura®is suitable for users with neurological
conditions such as MS, MND, dementia and
Parkinson’s etc.
The suitability and effectiveness of these features are
dependent on correct chair set-up, which is
dependent on three key elements:
nseat to floor height
nseat width
nseat depth
The Configura®should be regularly checked to
ensure the set-up is correct and that it is working as
intended for the user.
This icon denotes that this item
is not normally stocked by
Equipment Loan Stores. However,
they are available from Accora.