Acer Advanced MP3 Player User manual

Acer Advanced MP3 Player
User Manual

Copyright
Copyright 2004 by Acer Inc., All rights reserved. No part of this publication may be
reproduced, transmitted, transcribed, stored in a retrieval system, or translated into any
language or computer language, in any form or by any means, electronic, mechanical,
magnetic, optical, chemical, manual or otherwise, without the prior written permission of
Acer Computer GmbH
Disclaimer
Acer Inc. makes no representations or warranties, either expressed or implied, with
respect to the contents hereof and specifically disclaims any warranties, merchantability
or fitness for any particular purpose. Any software described in this manual is sold or
licensed "as is". Should the programs prove defective following their purchase, the buyer
(and not this company, its distributor, or its dealer) assumes the entire cost of all
necessary servicing, repair, and any incidental or consequential damages resulting from
any defect in the software. Further, Acer Computer GmbH, reserves the right to revise this
publication and to make changes from time to time in the contents hereof without
obligation to notify any person of such revision or change.
All brand and product names mentioned in this manual are trademarks and/or registered
trademarks of their respective holders.

1
CONTENT
Introduction 2
1.1 Product overview 2
1.2 Package contents 2
1.3 The characters of Acer Advanced MP3 Player 2
1.4 The index parameter 3
1.5 The system requirement of Acer Advanced MP3 Player 3
Installation guide of Acer Advanced MP3 Player 3
2.1 Windows 98 operation system 3
2.2 Windows Me/2000/XP operation system 5
2.3 MAC OS 9.X operation system 7
2.4 Linux 2.4 core operation system 7
Uninstall Acer Advanced MP3 Player 7
3.1 Uninstall in windows 98 7
3.2 Uninstall in windows Me/2000/XP 8
3.3 Uninstall in MAC OS 9.X 9
3.4 UninstallinLinux2.4 9
Functions and guide 9
4.1 PowerOn/OFF 9
4.2 Playingmusicfiles 9
4.3 Repeat mode control 10
4.4 EQ mode 10
4.5 A—Breplay 10
4.6 Volumecontrol 11
4.7 Holdfunction 11
4.8 Main menu 11
4.9 System setting menu 12
4.10 Voice recording 13
4.11 Voiceplaying 14
4.12 How to display the lyric synchronously 14
4.12.1 How to make lyric file 14
4.12.2 Lyric file display 15
4.13 Softwareusing 15
4.13.1 Use the software to format your computer 16
4.13.2 Use the sound converter tool 16
ManageyourMP3Player 16
Safety Precaution 17
FAQ 18

2
Introduction
1.1 Product Overview
Hold switch: for holding all function
keys
Volume -: for down the volume
Volume +:for up the volume
Power ON / Play / Pause / Stop /
Power OFF key : for Power ON /
Play / Pause / Stop / Power OFF
control
Prev /mode / Next key: the key for
enter menu and for next&prev
select.
1.2 Package Contents
The package should include the following accessories. Please contact the dealer if
any of the listed items are missing from the package.
Acer Advanced MP3 Player
QSG
AAA battery
Neck strap type Earphones
Installation CD
1.3 The Characters of Acer Advanced MP3 Player
Your Acer Advanced MP3 player is a multi-functional with high sound quality and low
power consumption.
Main feature contented:
◆ Support MP3, WMA files playing.
◆ Support lyric synchronously display.
◆ Can update the firmware freely via the USB interface.
◆ Support 7 EQ modes
◆ Support long time voice recording and VOX recording.
◆ Support changing the contrast and EL display time of LCD displaying.
◆ Can be used as a mass storage device.
◆ Support series play modes and A-B replaying.
◆ Can resume the playing state before turn off.

3
1.4 The index parameter
Index Parameter specification
Hard disk IBM PC, compatible PC, notebook with USB interface
Interface Universal Serial Bus 1.0/1.1 (USB 1.0/1.1)
Storage medium Flash EMS memory
Power Supply by USB interface without connect power, when
play songs, need 1xAAA
Transfer speed Max. Writing: 600KB/S, Max. Reading: 800 KB/S
Operation System Windows98/Me/2000/XP, MAC OS 9.x, Linux2.4 Core
Earphone Output 16 ohm earphone,10mW+10mW output
Record Time Max 17 hours,128M
Bit Rate Support MPEG1 Layer1:32K-448K bps;
MPEG1 Layer2: 32K-384K bps;
MPEG1 Layer3:32K-320K bps;
MPEG2/2.5 Layer1: 32K-256K bps;
MPEG2/2.5 Layer2: 8K-160K bps;
MPEG2/2.5 Layer3: 8K-160K bps;
Capacity 64MB/128MB/256MB
LCD Display 96×26 dots
Operating
Conditions
-20ºC~ +40ºC
Common
Conditions
-40ºC ~ +60ºC
Size 96.5mmx30mmx21mm
Life-span Writing over one million times, reading doesn’t
influence the life; data can be stored over ten years
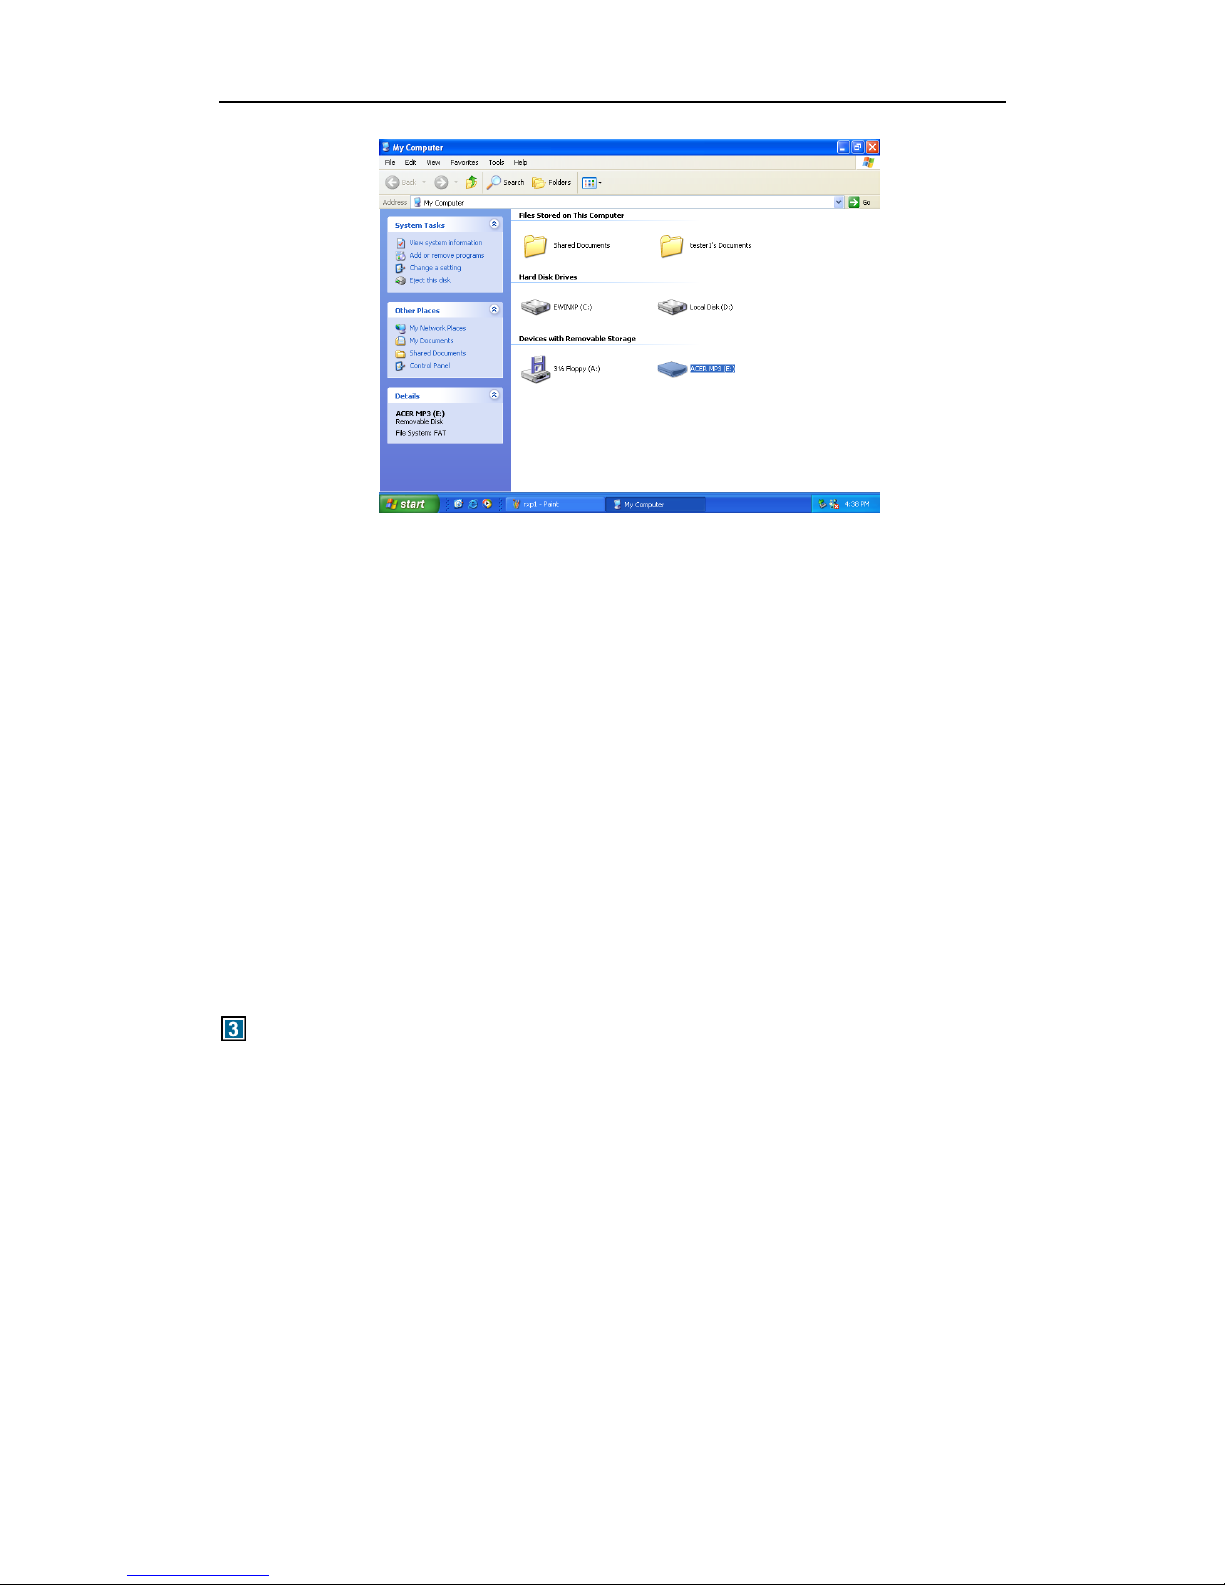
Driver Installation only be needed under Windows98, other
operation systems don’t need to install, such as
Windows Me, Windows 2000 and above
1.5 The system requirement of Acer Advanced MP3 Player
1) PC Hard disk Requirements:
IBM PC, compatible PC, notebook with USB interface
2) Operator System Requirements
Microsoft Windows XP/2000/ME/98 or Mac OS 9.X, Linux 2.4 Core above or
other operator systems which support the protocol of USB Mass Storage
Installation Guide of Acer Advanced MP3 Player
2.1 Windows98 Operation System
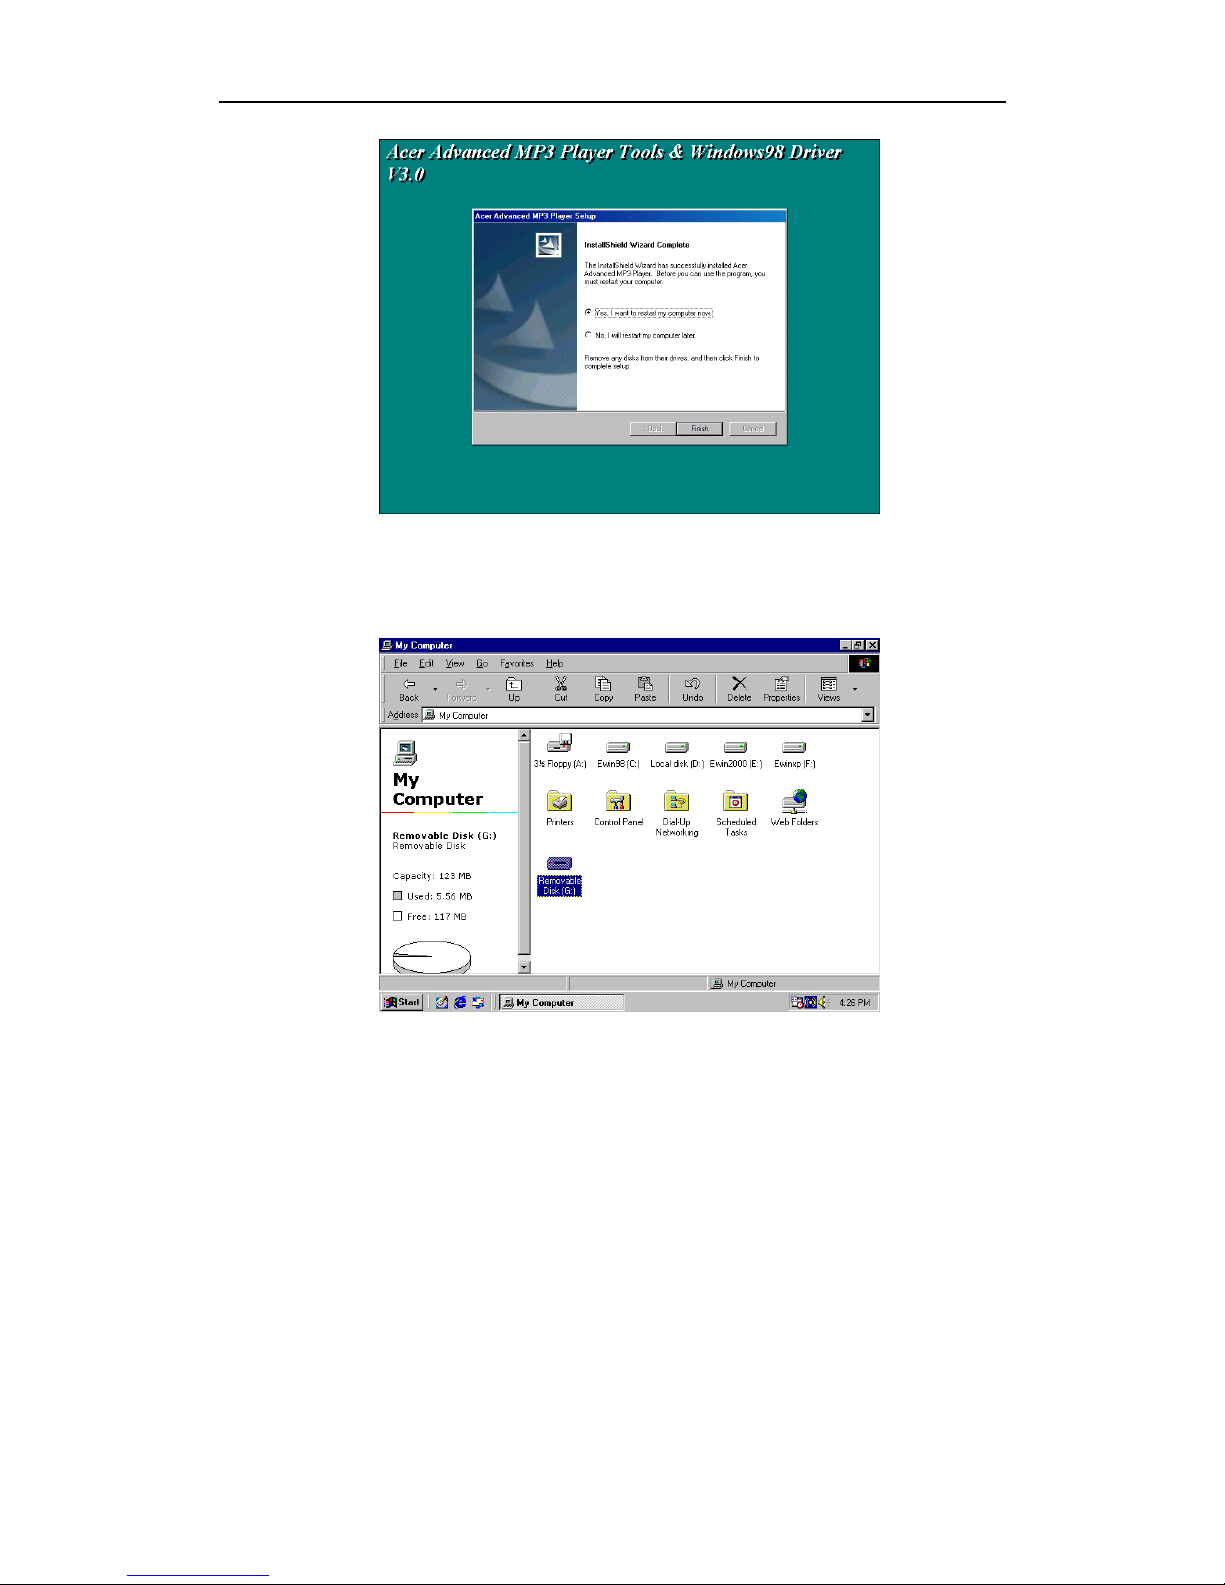
Under win98, this installation will install the driver & Tool for the player.
1) Put the driver CD into CD-ROM.

4
2) An Autorun interface will appear, click the Installation ICON and the follow window will
appear:
.
3) Click the Next button and follow the install wizard steps, the following window will
appear:
4) Click the Finish button; it will pop up a window as the follow.

5
5) Click the button Finish and the system will restart, after the system is rebooted, insert
the player into the USB port and a “Removable disk” symbol will appear. That means
you can use Acer Advanced MP3 Player as a hard disk.
2.2 Windows Me/2000/XP Operation System
Under win2000/XP, the installation will setup the tools only for the MP3 player.
1)Put the driver CD into CD-ROM.
2)An autorun interface will appear, click the Installation ICON and the follow window will
appear:

6
3)Click the Next button and follow the install wizard steps, the follow window will appear:
4)Click the Finish button; it will install the tools completely.
Insert the Acer Advanced MP3 Player directly to your computer’s USB interface. The
system will recognize it automatically and meanwhile there is a driver symbol “Removable
Disk” appears on “My computer”. And you can use it like usual ones.

7
2.3 MAC OS 9.X Operation System
Insert Acer Advanced MP3 Player directly to your computer’s USB interface. The system
will recognize it automatically and meanwhile there is a driver symbol “Untitled” appears
on the desktop. And you can use it like usual ones.
2.4 Linux2.4 core Operation System
For Linux system, you should use it as these steps:
1) Boot your computer.
2) Plug Player into USB interface of the computer.
3) Login as root, type in the order: “mount/dev/sda1/mnt“, this command will create a
directory for MP3 Player. And the flash disk will be mounted then you can use it freely.
Attention: The item “sda1“or the command “ mount/dev/sda1/mnt“, may be changed
due to the usage status of the computer or flash disk. Please operate according to the
Linux order regulations.
Uninstall Acer Advanced MP3 Player
3.1 Uninstall in Windows98
1) Hardware uninstall: When you complete the using of Acer Advanced MP3 Player, you
can pull it out from the USB interface if only the indicator light stops glinting. And the
symbol of “Removable Disk” will disappear automatically.
2)Driver uninstall: If you want to uninstall the driver of Acer Advanced MP3 Player, inset
the install CD into the CD-ROM and click the installation button, it will show the follow
windows, Click Next button and follow the install wizard to finish your job.

8
3.2 Uninstall in Windows Me/2000/XP
1) Double click the icon “pull out or eject the hard disk” on right bottom of the taskbar, as
the follow picture:
2) Choose the dialogue frame “USB Mass Storage Device”
3) Click “Stop”
4) Click “OK” when the system indicates “USB Mass Storage Device equipment can be
removed safely from the system”, and then you can pull out the Acer Advanced MP3
Player safely.

9
3.3 Uninstall in MAC OS 9.X
1) Choose “Untitled” disk
2) Click the menu “others” and choose “pull out” then click;
3) when the system indication “Now you can pull the box-hardware from USB equipment,
because Macintosh has finished its management”, then click “OK” to pull out the Acer
Advanced MP3 Player from the USB interface.
3.4 Uninstall in Linux 2.4 core
Before unplugging the MP3 Player,type in the order “umount /mnt “. The system
will release the flash disk and then you can unplug the device safely.
Functions and guide
In the menu mode, the mode key is for conform a selection and for enter or return to
the submenu.
4.1 Power ON / OFF
Press “Power on/Play/pause/Stop/Power off “( ) button 2-3sec to turn on.
Press “Power on/Play/pause/Stop/Power off” ( )button 3-5sec to turn off while
playing.
In the standby mode, the player will shut down automatically when the machine is not
being operated for 30 seconds.
4.2 Play music files
If you turn on the MP3 Player, the player will enter the standby mode, press
the” ”button; Or when you connect the player to computer, Press ”mode” key, you
will activate the music play mode, as the following graphic:
In Play mode, press “ ”or “ ” button to select the next or previous song

10
In Play mode, press mode key to enter the play menu.
4.3 Repeat mode Control
In the play mode, press the mode key to enter the play menu, as in the following
picture:
Press the mode key to enter the repeat setting submenu, as in the following graphic:
Then you can change the repeat modes from Normal to Preview, Repeat All, Random
or Repeat One by using the “ ”or “ ” key. Press the mode key to confirm your
selection.
4.4 E
E
EQ
Q
Q
M
M
Mo
o
od
d
de
e
e:
:
:
In the play mode, press the mode key to enter the play menu and choose the EQ
Select item, see the following illustration:
Press mode key to enter EQ setting mode, as in the following illustration:
The Equalizer has 6 EQ modes (Jazz, Rock, Classic, Pop, Soft, and Natural). You
can change the EQ mode by using the “ ”or “ ” key.
4
4
4.
.
.5
5
5
A
A
A-
-
-B
B
B
R
R
Re
e
ep
p
pl
l
la
a
ay
y
y
In play mode, press the mode key to enter the play menu, select A-B replay and you
can replay the song or paragraph you select, see the following picture:
As you enter the A-B replay mode, when the letter A is blinking, press Next key to set
the start point; when the letter B is blinking, press Next key to set the end point. The
player will replay the song snippet you select.

11
To cancel the A-B replay mode, Please press the mode key.
4
4
4.
.
.6
6
6
V
V
Vo
o
ol
l
lu
u
um
m
me
e
e
C
C
Co
o
on
n
nt
t
tr
r
ro
o
ol
l
l
When MP3 is on standby or playing, press “VOL+” or “VOL -” button to control the
volume and the LCD will show the following graphics:
4
4
4.
.
.7
7
7
H
H
HO
O
OL
L
LD
D
D
F
F
Fu
u
un
n
nc
c
ct
t
ti
i
io
o
on
n
n
Using the HOLD function can prevent a malfunction of the player by accidentally
pressing a wrong button. Move the HOLD switch on the side of the player to HOLD. A
lock icon on the LCD panel is displayed for the setting. Move the switch to HOLD OFF
and a lock icon on the display disappears, like this:
4
4
4.
.
.8
8
8
M
M
Ma
a
ai
i
in
n
n
M
M
Me
e
en
n
nu
u
u
In Standby mode, press the mode key and enter the main menu. This menu
contains 5 items. Press “ ”or “ ”to select the menu item, see illustration:
Enter the music directory to play MP3/WMA files,.
Select this item to enter record mode.
Select this item to enter the voice directory where
youcanplayvoicerecordingfiles.
Select this item to enter the system setting menu.

12
Exit the main menu.
4
4
4.
.
.9
9
9
S
S
Sy
y
ys
s
st
t
te
e
em
m
m
s
s
se
e
et
t
tt
t
ti
i
in
n
ng
g
g
m
m
me
e
en
n
nu
u
u
When you select the “sys function” item in the main menu, you will enter the system
setting menu:
There are 12 submenus in the system setting menu. You may use “ ”or “ ”to
select the menu item and then press the mode key to confirm your selection. See
the following illustration:
Select the directory. As you select music Dir, the Player will
play the music files; and if you select record Dir the device will play the voice files.
When you store your music files in many subdirectories, it will display all
subdirectories when you select music Dir, you may change the music subdirectory by
using “ ”or “ ”to select the subdirectory and then press the mode key to confirm
your selection.
Disable and enable the lyric display. If you select lyric off it
will not display lyric files when playing.
Check the memory information in the MP3 device.
Filter recording noise. You can select filter levels from 1 to 6.
Change the back light of the device. You can change the
back light lamp time from 0 to 30 seconds, increments of 5 seconds. When you
select the back light lamp time of 0 seconds, the back light will not activate if you
press any key.
With this item you can set the auto/off time when there is no

13
signal to the player. Using increments of 5 seconds you can change the time from 0 to
60 seconds.
Enable you to set the menu font.
Allow you to change the contrast of the LCD from 0 to 15.
Use this item you can select to del music or record files, and
you can select to del one or all files. When you select del one music file, it will only del
the appointed music file; when you select del all record files, it will del all record files,
such and such.
When you select to del file, press Play button ( ) to confirm your selection, or press
Vol+ button to cancel your selection.
This selection is for formatting your machine, as you select
yes and then press “ ” key, it will activate the format. Notice that you should backup
the data in your player because it will erase all off your data when you do this format.
Here you can check the firmware version of your player.
Exit the sys/function setting menu.
4
4
4.
.
.1
1
10
0
0
V
V
Vo
o
oi
i
ic
c
ce
e
e
R
R
Re
e
ec
c
co
o
or
r
rd
d
di
i
in
n
ng
g
g
In the standby mode, press the mode key to select the “record” item from the Main
menu. A recording mode will appear as the following graphic:
After you select the record mode and press the mode key, you can begin recording.
You will observe the following picture:

14
To pause recording please press the “ ” button, see the following illustration:
To continue recording, please press the “ ” button again.
After recording is complete, press “ ” button 4-5 seconds to save the recording files,
the LCD will indicate a graphic file is building like this:
The recorded file is saved as “MOD**.ACT” in the Voice Folder.
To exit the record mode, in the recording standby state, press mode key to access
main menu, and select the music or voice mode.
4
4
4.
.
.1
1
11
1
1
V
V
Vo
o
oi
i
ic
c
ce
e
e
P
P
Pl
l
la
a
ay
y
y
Select Voice Play Mode by pressing “Mode” key to access the main menu and select
the voice item.
Alternative way, in sys function setting menu, select the directory item where you can
enter the Voice play mode.
After selecting the desired file to play from the list, Press ” ” button to play the Voice
folder and press ” ” button again to stop playing, as illustrated in the following
picture.
4
4
4.
.
.1
1
12
2
2
H
H
Ho
o
ow
w
w
t
t
to
o
o
d
d
di
i
is
s
sp
p
pl
l
la
a
ay
y
y
t
t
th
h
he
e
e
l
l
ly
y
yr
r
ri
i
ic
c
c
s
s
sy
y
yn
n
nc
c
ch
h
hr
r
ro
o
on
n
no
o
ou
u
us
s
sl
l
ly
y
y
4.12.1 How to make lyric file:
There are two ways to make it:
(1) Use Word Pad to edit lyric.
(2) Use professional lyric software to edit.
The importance is that the lyric must be edited according to the playing time.
Format ” [mm:ss]” or ” [mm:ss.fff] ” (minute : sec)
mm: minute
ss: seconds
For example: Angel’s Tale
[00:00.00]Angel's Tale
[00:12.72]Here in my heart,
[00:17.55]Memories linger,

15
[00:22.23]I hold them sacred,
[00:28.61]Safe from all others,
[00:32.99]Angel's tale.
[00:42.56]A love such a this,
[00:47.54]Once in a lifetime,
[00:53.17]Lost in your beauty,
[00:58.99]Still dreaming of you,
[01:05.32]Angel's tale.
[01:12.58]You drove the sinner from me,
[01:19.57]And shone with such glary,
…………………………………
[04:49.74] make: xxy 2004.2.6
NOTE : Use Word Pad tool to edit, then save the file after finishing editing,
choose ALL FILES in file type, the file extension name must be *.lrc in the
saving dialog box.
File Name: XXX.lrc (please make sure to put .lrc as an extension)
File Type: All Files (please make sure to select All Files, not Text File)
4.12.2 Lyric file display
In mp3 player, the name of song must be the same as the name of lyric files, and also
they must be in the same folder. The extension of song files maybe *.mp3 or *.wma, while
the extension of lyric files must be *.lrc.
For example: yesterday once more.mp3 and yesterday once more. lrc
4
4
4.
.
.1
1
13
3
3
S
S
So
o
of
f
ft
t
tw
w
wa
a
ar
r
re
e
e
u
u
us
s
si
i
in
n
ng
g
g
After you setup the software you can use the PC to manage your player:
4.13.1 Use the software to format your player:
1. If your MP3 Player is damaged, you may need to re-format the device using the
MP3 Player’s Format Tool.
2. To select the MP3 Player Format tool, see below:
2. When you select the format tool, the following will appear and give you these
options:

16
Volume: the device’s volume when you change to
the string you input for this item.
Quick: when you select this item it will do a quick
format for the device.
Full: when you select this item it will do a full format
for the device.
Low: when you select this item it will do a low
format for the device.
Bootable: when you select this item it will create a
bootable disk for you.
3. Select the item and press the Start button, this message will appear as the follow,
Click the YES button, it will format you disk automatic.
4. If you select the bootable item and use this tool to format the player, it will create a
bootable disk for you , so that you can then use this Player to re-boot your computer.
W
W
Wa
a
ar
r
rn
n
ni
i
in
n
ng
g
g:
:
:Please backup your data in the player before you want to do a format,
because it will erase all of your data when do a format. If you unplug the unit
when the device is doing a low format, the device will be damaged!
4.13.2 Use the sound converter tool:
This tool is used for converting rcd/rec/act file recorded by an MP3 player to WAV file.
1. Open the Sound Convert Tool.
2. It will appear as follows:
[Open]: Open a WAV, MP3 or rcd/rec/act
file. If it is a WAV or MP3 file you can play
it back directly. If it is an rcd/rec/act file
you should convert it to a WAV file before
playing it back.
[Convert] Do convert. Only enable when
selecting an rcd/rec/act file.
[Help] Shows this help dialog.
[Exit] Exit this tool.
3. Press the Open button and an explorer windows will appear. Select the file you want
to open.
4. If the file you opened is an MP3 or Wav file, you can use this tool to play it.
5. If the file you opened is a REC/RED/ACT file, you can use this tool to transform it to a
wav file.
M
M
Ma
a
an
n
na
a
ag
g
ge
e
e
y
y
yo
o
ou
u
ur
r
r
M
M
MP
P
P3
3
3
P
P
Pl
l
la
a
ay
y
ye
e
er
r
r

17
Follow the instructions below to Firmware upgrade. The firmware has two files:
$norfla$.ugr and $nanfla$.ugr, but the two files are not necessary for firmware update
every time, when the two files are exist, you must upgrade the two files at this time.
1) Be sure to backup your important files in your unit before Firmware Downloading.
2) Connect the unit into the USB port
3) Firstly copy the file $norfla$.ugr to the MP3 root directory.
4) Safely unplug the device from PC, the machine will update the firmware automatic,
and the following picture will appear on the LCD.
5) Connect the unit into the USB port again and format the machine.
6) Secondly copy the file $nanfla$.ugr to the MP3 root directory.
7) Safely unplug the device from PC, the machine will update the firmware automatic,
and the LCD will show the same graphic as item 4.
8) Connect the unit into the USB port again, you will find a file succeed.txt in the MP3
player root directory, it means that you have upgraded the device successful.
Notes: Low battery will cause the firmware update to fail and damage the player.
S
S
Sa
a
af
f
fe
e
et
t
ty
y
y
P
P
Pr
r
re
e
ec
c
ca
a
au
u
ut
t
ti
i
io
o
on
n
n
See following precautions. Any violation of one or more of the following
precautions may cause damage to the player and will void the warranty.
- Please take out the battery when you will not use the machine for a long time.
- Conform that the lock switch is unlocked before you turn on the unit.
- Avoid exposure to heat, moisture and static electricity.
- Do not drop or place heavy objects on the player.
- Vibration or shock to the unit can cause damage.
- Do not place the player in or near any liquid.
- Avoid areas of high humidity, strong magnetic fields or high heat when storing the
unit.
- Do not use paint thinner, alcohol, or benzene when cleaning the unit. This may
change the color of the player or damage the surface. Use a soft towel to clean the
surface of the player.
- To avoid damage to the unit never open the case.
- Do not expose to excess heat (over +140°F). Avoid exposure to direct sun. Do not
leave in a warm car, especially during the summer season.
- We strongly recommend that as you uploading/downloading files from your PC,
please never disconnect the player from the computer until the blinking display stops.
If you unplug the unit when the display is blinking, data may be lost!
- We strongly recommend that you back up your data for safety.
12

18
F
F
FA
A
AQ
Q
Q
7
7
7.
.
.1
1
1
T
T
Th
h
he
e
e
p
p
pl
l
la
a
ay
y
ye
e
er
r
r
d
d
do
o
oe
e
es
s
s
n
n
no
o
ot
t
t
t
t
tu
u
ur
r
rn
n
n
o
o
on
n
n:
:
:
- Check if the player has the batteries installed.
- Turn on your computer, connect the player to the USB port and turn on the player.
- If the above step does not resolve the problem, then do a “Firmware upgrade” and
format the player, you can find and download the firmware from our website.
7
7
7.
.
.2
2
2
L
L
LC
C
CD
D
D
d
d
di
i
is
s
sp
p
pl
l
la
a
ay
y
y
d
d
do
o
oe
e
es
s
s
n
n
no
o
ot
t
t
s
s
sh
h
ho
o
ow
w
w
a
a
an
n
ny
y
yt
t
th
h
hi
i
in
n
ng
g
g:
:
:
- Press the Play/Pause button to turn on the player.
- If the above step does not resolve the problem, then do a “Firmware upgrade” and
format the player.
7
7
7.
.
.3
3
3
F
F
Fo
o
or
r
r
t
t
th
h
he
e
e
W
W
Wi
i
in
n
nd
d
do
o
ow
w
w
9
9
98
8
8
u
u
us
s
se
e
er
r
r
–
–
–
W
W
Wh
h
he
e
en
n
n
P
P
PC
C
C
d
d
do
o
oe
e
es
s
sn
n
n’
’
’t
t
t
r
r
re
e
ec
c
co
o
og
g
gn
n
ni
i
iz
z
ze
e
e
t
t
th
h
he
e
e
p
p
pl
l
la
a
ay
y
ye
e
er
r
r.
.
.
- If your operating system is Windows 98, please connect the player to the USB port
of PC first and after it recognizes it as a new hardware, then install the driver.
- If your PC doesn’t recognize the player, please repeat #1 step.
- If the above step does not resolve the problem, then run the “Firmware Download”
program and format the player again.
7
7
7.
.
.4
4
4
W
W
Wh
h
he
e
en
n
n
s
s
sh
h
ha
a
al
l
ll
l
l
w
w
we
e
e
c
c
ch
h
ha
a
an
n
ng
g
ge
e
e
t
t
th
h
he
e
e
b
b
ba
a
at
t
tt
t
te
e
er
r
ry
y
y?
?
?
- The icon for coulometer on the LCD is empty and blinking.
- The player powers off by itself while playing or powers off quickly when you turn
on.
Table of contents
Other Acer MP3 Player manuals
Popular MP3 Player manuals by other brands

Philips
Philips GoGear SA9200 Specifications

Hyundai
Hyundai MPC 151 FM instruction manual

Creative
Creative ZEN Zen Mozaic EZ300 4GB quick start

Samsung
Samsung YP-Q2JCB - 8 GB Digital Player user manual

Goodmans
Goodmans CDMP3527K instruction manual

TrekStor
TrekStor i.Beat organix 2.0 operating instructions