2
I Safety Instruction
1) Make sure a close reading of this Safety Instruction.
2) Be sure to well keep this brochure for further need
3) Please keep MP3 in a dry place.
4) Please keep it out of sunshine.
5) Any liquid should never be poured into this device or destruction or electric leakage
might happen
6) If one of the following cases happens, please contact a professional:
The pouring of any liquid into the device
The device is dampened
Abnormal working of the device or no working can be obtained under the
manual’s guide
The drop or damage of the device
7) No use of MP200 in such cases:
when driving or riding
when doing a high risky job
when walking on the street
any case that needs full attention
8) If you want to format the disk of MP200, please select the format of FAT32.
9) No liquid or spraying detergent can be used for cleaning, and only a wet soft cloth
is enough.
10) Please adjust the volume to proper when the earphone is connected in case of any
listening hurting.
11) Attention: Explosion might happen due to any improper use of the batteries. Please
see the instructions in chapter of “Battery”
12) The used batteries should be recycled rather than disposed as common rubbish.
13) As a mobile storage product, It's highly recommended that you back up all the data;
our company takes no responsibility and assumes no liability for the loss of data
caused by misoperation or hardware malfunction.
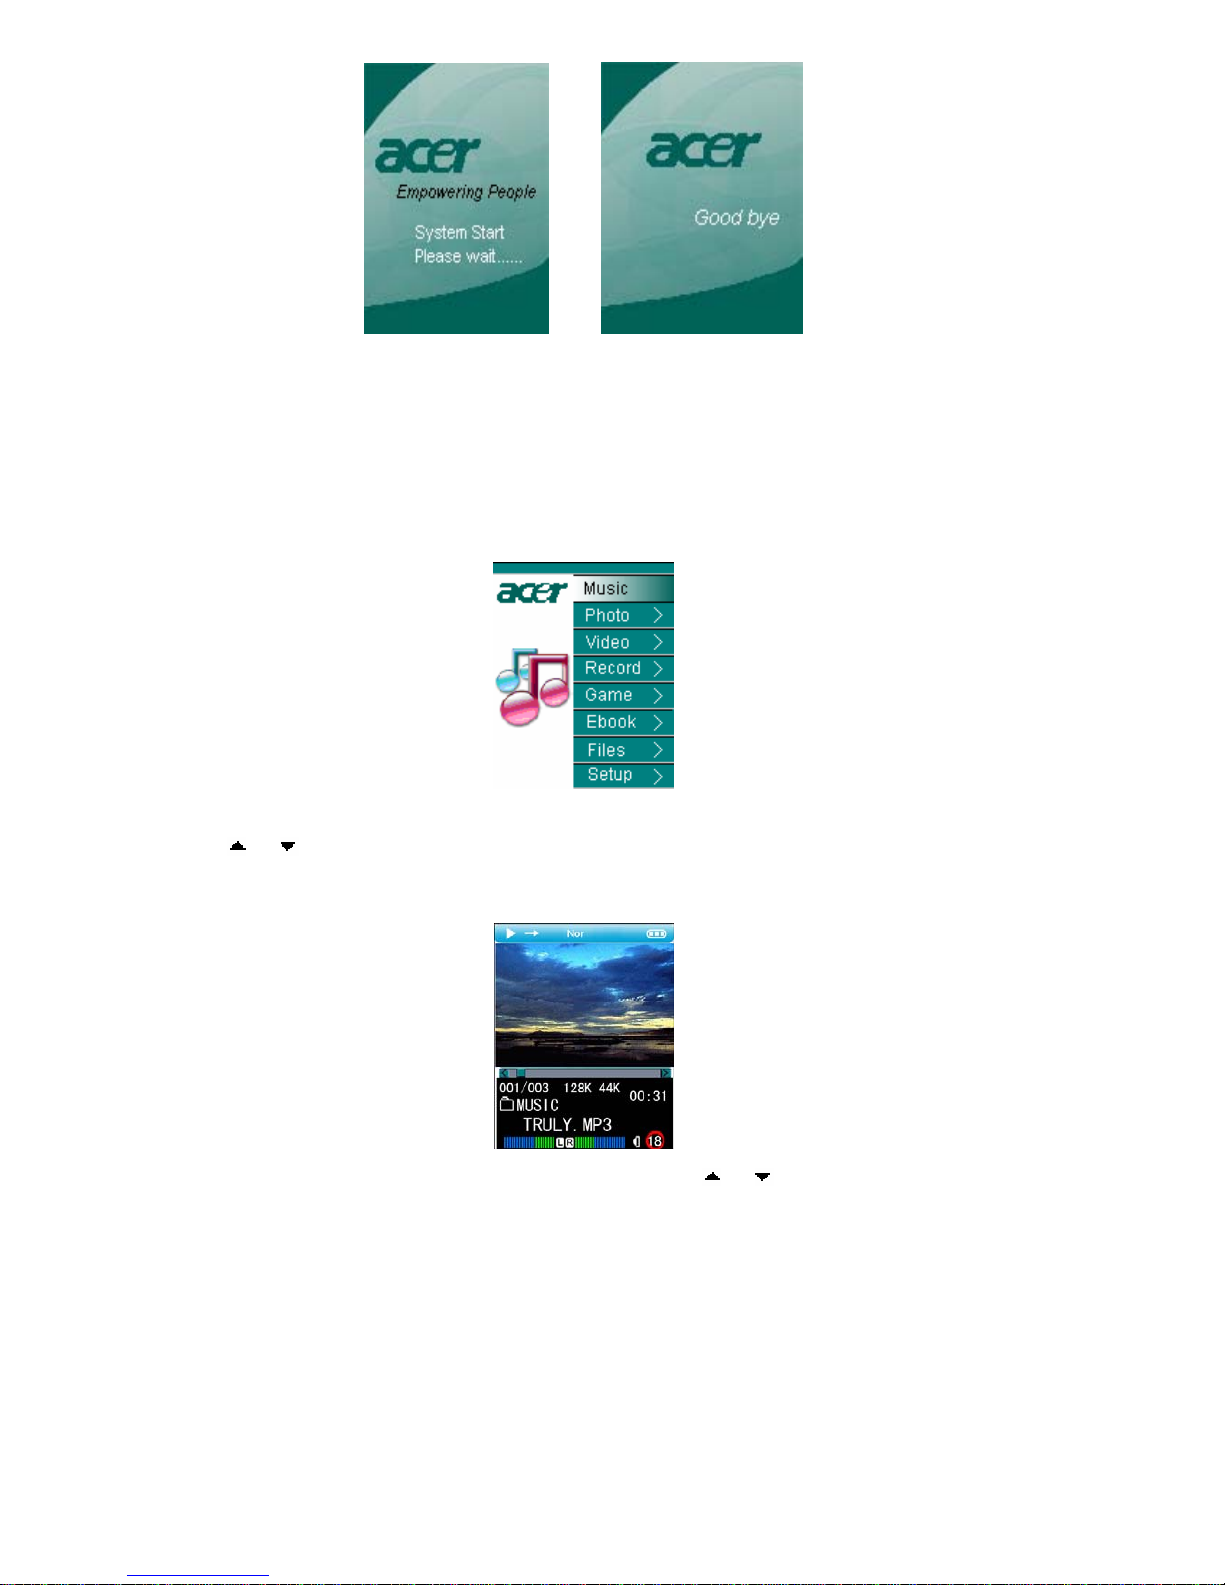
II Product Introduction
Thank you for choosing Acer’s MP200, which has a chargeable Li-Polymer battery with
high-quality disk. You can play your favorite audio or video file and enjoy the perfect
listening and watching experience. It is also a portable USB storing device which enables
you to store and manage your personal data.
1 Major Features
Display--1.8" TFT LCD window can display clearly the pictures and video files.
High capacity disk --with1"4GB/6GB/8GBdisk, it can store a large amount of
data.
Video playing –It supports ACV video files and other format files should be
converted to ACV by the accessory software.
Audio playing—It supports MP3 (MPEG1/2/2.5 Layer3), WMA music files.
Lyric Synchronization—Songs will play with lyrics.