5 Medical device description
5.1 Removing the medical device from its packaging
When you receive your medical device, check for any damage that may have occurred during transportation. If you
have any questions or requirements, contact your supplier.
If you have received this medical device by mistake, please contact the supplier to arrange for it to be collected.
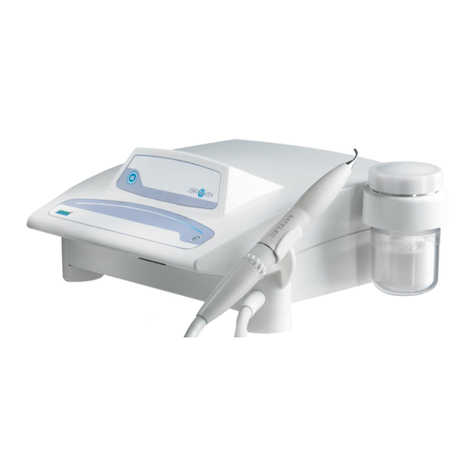
The AIR-N-GO® easy includes the following items:
la handpiece with a turbine adapter that cannot be disconnected
la SUPRA 120° nozzle
lmaintenance material, including:
la tube of silicone grease
lsilicone grease applicator brushes
lreplacement O-rings
la syringe and a cannula
la cleaning probe with a metal shaft
lmaintenance instructions flyer [J10104],
lQuick Start guide [J10100] ;
lQuick Clean guide [J10101] ;
lstarter kit with ten sticks of Classic powder and two sticks of Pearl powder
Verify that the AIR-N-GO® easy adapter is compatible with your quick coupling.
5.2 Installing the medical device
The AIR-N-GO® easy connects directly to your dental chair's quick coupling.
1. Remove the turbine.
2. Dry the quick coupling using a multifunctional syringe in air position.
3. Leave the turbine off while connecting the AIR-N-GO® easy.
4. Remove the reservoir cover.
5. Connect the quick coupling to the AIR-N-GO® easy adapter.
6. Adjust the water flow until individual drops come out.
7. Wipe the walls of the reservoir with a dry, lint-free cloth.
8. Press the chair's foot pedal to expel any moisture remaining in the hose. Repeat the operation until droplets no
longer can be seen in the wall of the reservoir.
9. Wipe the walls of the reservoir with a dry, lint-free cloth.
10. Fill the reservoir with as much powder as is necessary for the intended treatment.Do not exceed the specified
maximum level.
11. Wipe with a dry, lint-free cloth, and remove all traces of powder on the reservoir's fitting and cover.
12. Check that the O-ring is properly positioned in the reservoir's cover.
13. Reclose the reservoir.
14. Remove the nozzle and body from their sterile pouches.
15. Put them in place and begin the treatment.
In step 8, if there is still moisture on the walls of the reservoir, refer to chapter Water in the powder reservoir
page 23
Adjust the position of your medical device to correspond to your angle of vision and the characteristics of your
workstation, e.g. lighting or distance between the user and the medical device.
Ensure that your medical device is readily accessible. Do not install your medical device near or on another device.
Check the condition of your quick coupling's O-rings with each use. A defective O-ring could damage your
medical device beyond repair.
Before connecting the AIR-N-GO® easy, dry the chair's quick coupling using the air syringe.
User Manual • AIR-N-GO® easy • J10129 • V5 • 11 • 10/2015 • ND27US050E - Page 11/35


