manuals.online logo
Brands
  1. Home
  2. •
  3. Brands
  4. •
  5. ADTRAN
  6. •
  7. Network Card
  8. •
  9. ADTRAN 3192 H2TU-C User manual

ADTRAN 3192 H2TU-C User manual

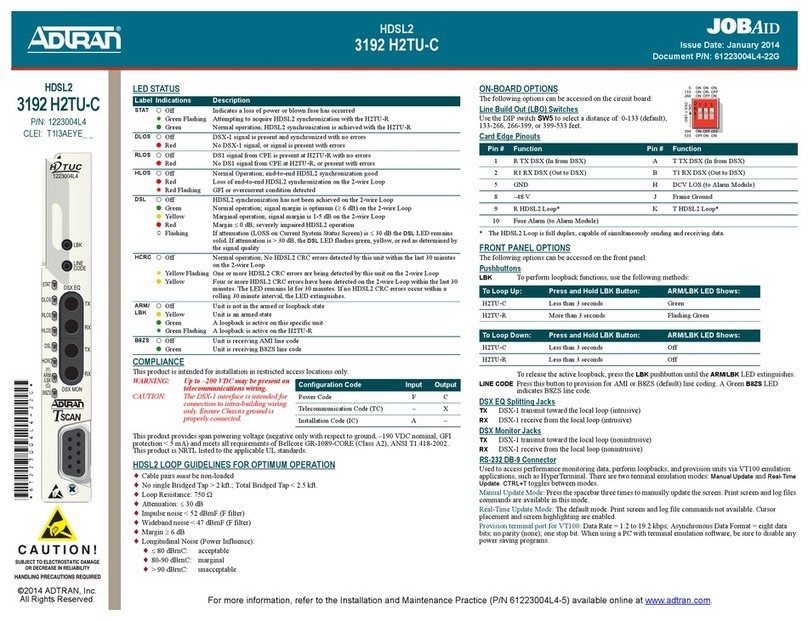
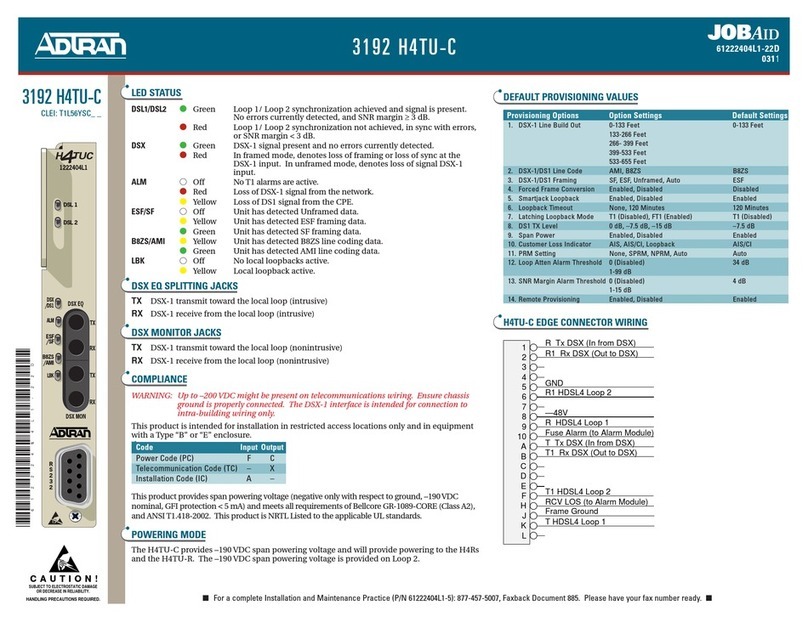
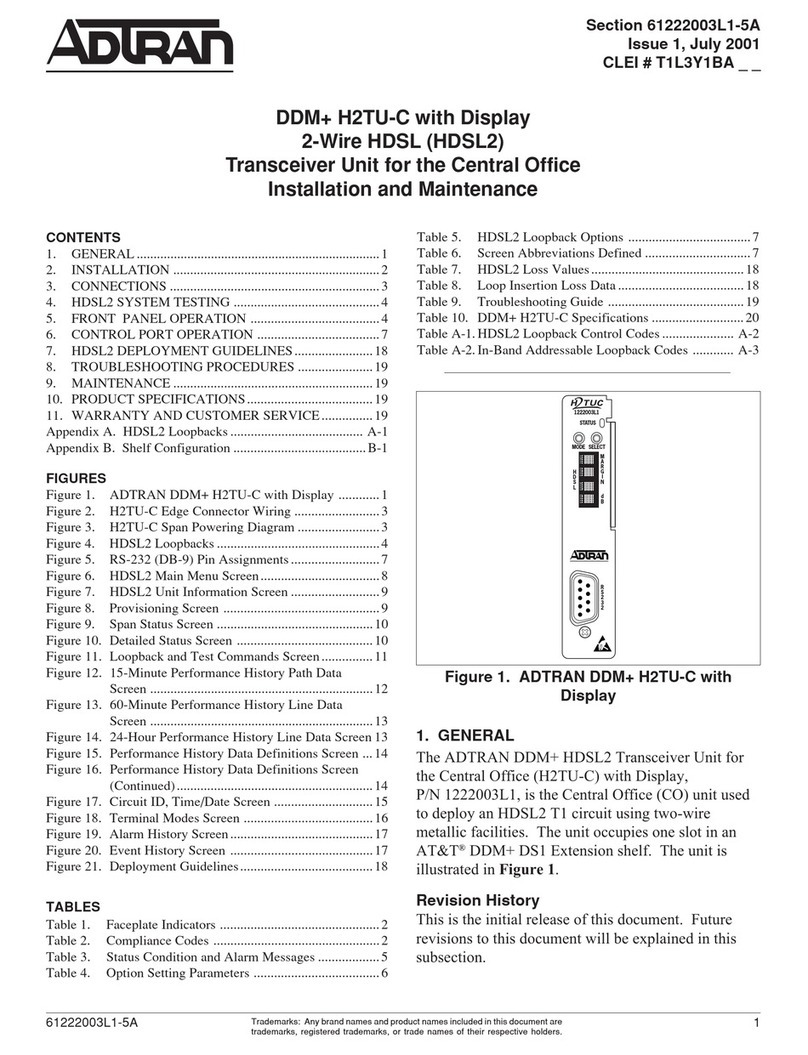
220/DDM+/3192 H2TU-C
Option Settings Display (“VIEW”)
Message Description Settings Default
LBO Line Build Out EXT, 0, 133, 266, 399, 533 *
CODE Line Code AMI, B8ZS B8ZS
FRMG DSX-1 Framing AUTO, UNF UNF
NLBK NIU Loopback EN, DIS EN
LBTO Loopback Timeout NONE, 1 Hr, 2 Hr, 8 Hr, 24 Hr 1 Hr
CLOS Customer Loss Response AIS, LPBK AIS
PRM Performance Reporting Messages NPRM, SPRM, NONE, AUTO AUTO
TXLV DS1 Transmit Level 0 dB, -7.5 dB, -15 dB 0 dB
SPWR Span Power EN, DIS EN
ALMP Alarm Pattern to Customer AIS, LOS AIS
* 220 = EXT, 3192/DDM+ = 0
Loopback Options Display (“LPBK”)
Select Loopback State Loopback Description
HTUC NET Network loopback at H2TU-C
CST Customer loopback at H2TU-C
NONE No active loopback
HTUR BLB Bidirectional loopback at H2TU-R
NET Network loopback at H2TU-R
CST Customer loopback at H2TU-R
NONE No active loopback
DSX-1 BANTAM JACKS
EQ
■Provides an intrusive access point to the data stream.
TX - Access the data stream being received from the network.
RX - Access the data stream being transmitted to the network.
MON
■Provides a non-intrusive access point to the data stream.
TX - Monitors the data stream being received from the network
RX - Monitors the data stream being transmitted to the network.
NOTE: The DDM+ H2TU-C does not have the DSX-1 Bantam Jacks option.
RS-232 DB-9 CONNECTOR
■Used to access performance monitoring data, perform loopbacks and provision units via VT100
emulation applications such as Hyper Terminal – Private Edition, ProComm Plus, and Telnet.
■There are two types of terminal emulation modes, Manual and Real-Time. Use “CTRL-T” to toggle
between the two modes.
Manual Emulation Mode:Press the space bar 3 times to manually update the screen. Print screen
and log file commands are available in this mode.
Real-Time Emulation Mode:The default mode. Print screen and log file commands are not
available in this mode. Cursor placement and screen highlighting are enabled.
■Provision terminal port as follows:
Data Rate — 1.2 to 19.2 kbps
Asynchronous Data Format — eight data bits, no parity (none), one stop bit
■When using a PC with terminal software, be sure to disable any power saving programs.
PROVISIONING NOTES
■This unit can be provisioned via the RS-232 port or remotely via ITS codes. This unit cannot be
provisioned from the faceplate four-character display. Select “2” from the ADTRAN HDSL2 Main
Menu Screen to view the Provisioning Screen.
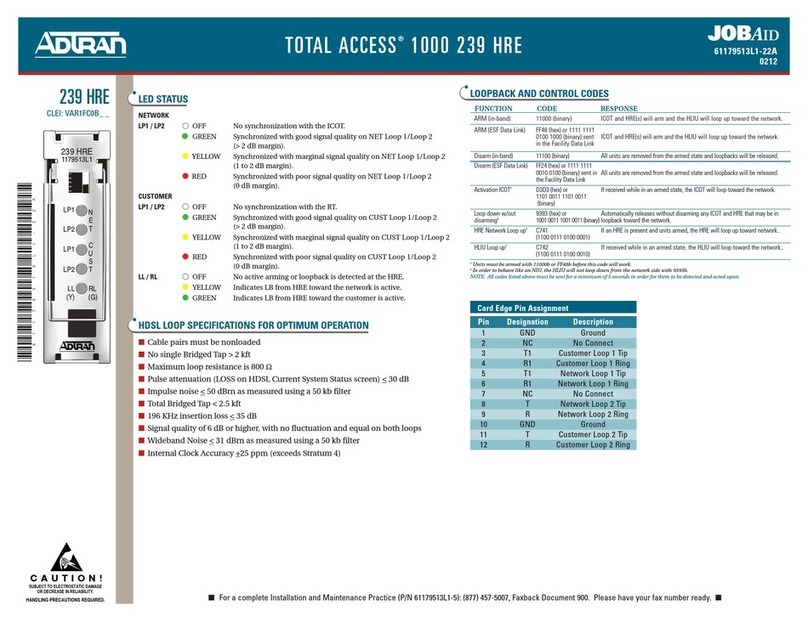
STATUS LED
STATUS ●GREEN Everything functioning normally
✷BLINKING ES, SES, or BPV detected
●YELLOW Loopbacks active
✷BLINKING In-band loopbacks armed
●RED Alarm on the HDSL2 loop, DSX or DS1 interface
✷BLINKING Signal Quality of 0 or No Sync on the HDSL2 loop
FOUR-CHARACTER DISPLAY (FCD) OPERATION
FCD Modes
Mode Message Function
Status STAT Displays loop margin, alarms, and general status conditions
Display Off Blank Blank after five minutes of no activity
View VIEW View current options settings
Loopback LPBK Select and execute HDSL2 circuit loopbacks
Status/Alarm Display (“STAT”)
Message Description
MARG xx HDSL2 loop margin, 0-20
DSL ERR CRC error detected on HDSL2 Loop
LOC ERR Frame bit error (SF Mode), Bipolar Violation (BPV), or CRC error (ESF Mode)
detected locally at DSX-1 of the H2TU-C
REM ERR Frame bit error (SF Mode), Bipolar Violation (BPV), or CRC error (ESF Mode)
detected remotely at DS1 of the H2TU-R
DSL LOS No synchronization of H2TU-C and H2TU-R on loop
LOC LOS DSX signal is absent from the network interface or is of a format which does
not match the provisioning of the HDSL2 circuit
REM LOS DS1 signal is absent from the network interface or is of a format which does
not match the provisioning of the HDSL2 circuit
ARM NIU Loopback is armed
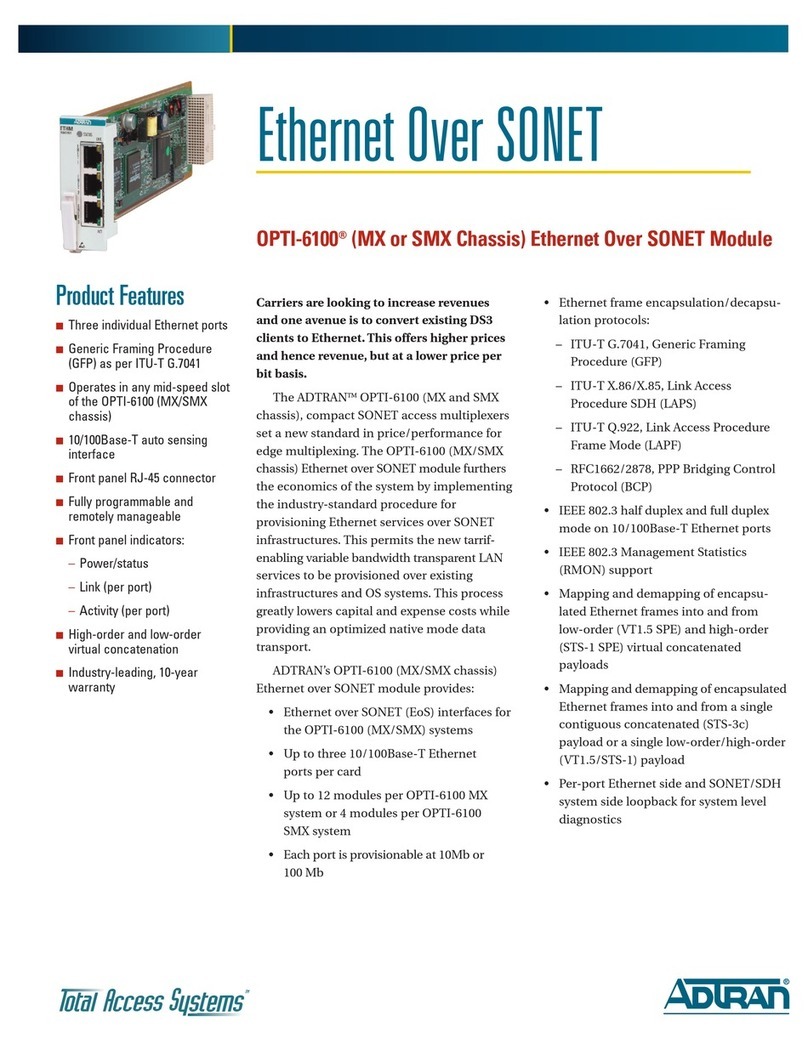
Left = MODE
Center = OFF
Right = SELECT
1221001L6
STATUS
D
S
L
dB
SELMODE
R
S
2
3
2
E
Q
HIS
TX
RX
M
O
N
TX
D
S
X
RX
C A U T I O N
C A U T I O N
!
SUBJECT TO ELECTROSTATIC DAMAGE
OR DECREASE IN RELIABILITY.
HANDLING PRECAUTIONS REQUIRED.
COMPLIANCE CODES
This product is intended for installation in restricted access locations only and in equip-
ment with a Type “B” or “E” installation code.
Input current at maximum load is 0.7 A at
–48 Vdc. Maximum output at over current
condition is 165 mA at –190 Vdc.
WARRANTY
Warranty for Carrier Networks products manufactured by ADTRAN and supplied under
Buyer’s order for use in the U.S. is ten (10) years. For a complete copy of ADTRAN’s U.S.
Carrier Networks Equipment Warranty: (877) 457-5007, Document #414.
CODE IN OUT
Installation Code (IC) A –
Telecommunication Code (TC) – X
Power Code (PC) F C
Reference Guide
61221001L6A-30B
0011
PRICING AND AVAILABILITY 800.827.0807
TECHNICAL SUPPORT 800.726.8663
RETURN FOR REPAIR 256.963.8722
www.adtran.com
61221001L6-30B
HDSL2 TROUBLESHOOTING GUIDE
HDSL2 DEPLOYMENT GUIDELINES
■Cable pairs must be non-loaded
■Total bridged tap length < 2.5 kft
■No single bridged tap >2 kft
■196 kHz insertion loss < 35 dB
■Pulse attenuation (ATTEN on HDSL2 Span Status Screen) < 30 dB
■Maximum loop resistance is 900 Ω
■Impulse noise < 50 dBrn as measured using a 50 kb filter
■Wideband noise ≤31 dBrn as measured using a 50 kb filter
TURN UP GUIDELINES
Circuit Parameters Under Normal Operation
■Margin ≥6 dB
■Attenuation < 30 dB
■Insertion Loss ≤35 dB
■No ES, SES, or UAS
If these parameters are met, then the circuit will provide quality service. If not, a cable problem or
excessive loss situation is probable. In this case, a more detailed cable analysis is required to insure that
all HDSL2 Loop Specifications are met.
These conditions may also be the result of intermittent cable faults or intermittent noise impairments. If
intermittent problems are suspected, utilize the Performance History Screen (Main Menu selection #5) to
assist in troubleshooting. An example of a Performance History Screen is illustrated in the bottom right-
hand corner.
Front Panel Indications Under Normal Operation
■STATUS LED will be Green (solid)
NOTE: The circuit must have DSX-1 signal (from Network) and DS1 signal (from Customer) in order for
the LED to be Green. If either DSX-1 or DS1 signal is not present, the LED will be Red.
■The four-character display will flash the current loop margin for the HDSL2 loop. No alarm or error mes-
sages will be displayed. After five minutes of no activity, the display will turn completely Off. It will
remain Off until MODE or SELECT is activated or a message other than loop margin is to be displayed.
TROUBLESHOOTING GUIDELINES
Front Panel Indicators
■All indicators are Off. 1. Verify that -48 Vdc is properly connected.
2. Inspect fuse and verify that it is not blown.
3. Insert the H2TU-C into a slot known to be good and verify that the
STATUS indicator is lit. If card fails replace H2TU-C.
■Status LED is Blinking Red Poor signal quality or loss of sync. Use basic troubleshooting procedures to
identify cable pair problems.
■Status LED is Solid Red If customer equipment is not installed, initiate an H2TU-R to Network
Loopback and perform BERT test. If this test fails, or the craft interface
indicates a loss of sync, then there is a problem with the cable pair that
should be resolved through normal troubleshooting procedures.
■Status LED is Blinking Green Errors are being taken on the DSX, DS1, or HDSL2 loop. The craft interface
screens will identify the source. BERT test to the appropriate loopbacks
should isolate the problem.
Four Character Display
■The error messages for this display are defined on page 1 of this guide.
Craft Interface Screens
■Detailed Status Screen Provides instant view of system status (Main Menu selection “3”, Span Status selection “2”)
■Alarm History Screen Provides a record of system alarms (Main Menu selection “8”)
■Event History Screen Provides last 100 events on the system (Main Menu selection “9”)
■Performance History Screens Provide performance data for all points in the system (Main Menu selection “5”)
■For complete Installation and Maintenance: (877) 457-5007, Document #529,
#555, and #556. Please have your fax number available. ■

Other manuals for 3192 H2TU-C

3

Other ADTRAN Network Card manuals

ADTRAN TSU 600 User manual

ADTRAN

ADTRAN TSU 600 User manual

ADTRAN 3.125 Gigabit Ethernet User manual

ADTRAN

ADTRAN 3.125 Gigabit Ethernet User manual

ADTRAN 239 T1 HDSL4 Instruction Manual

ADTRAN

ADTRAN 239 T1 HDSL4 Instruction Manual

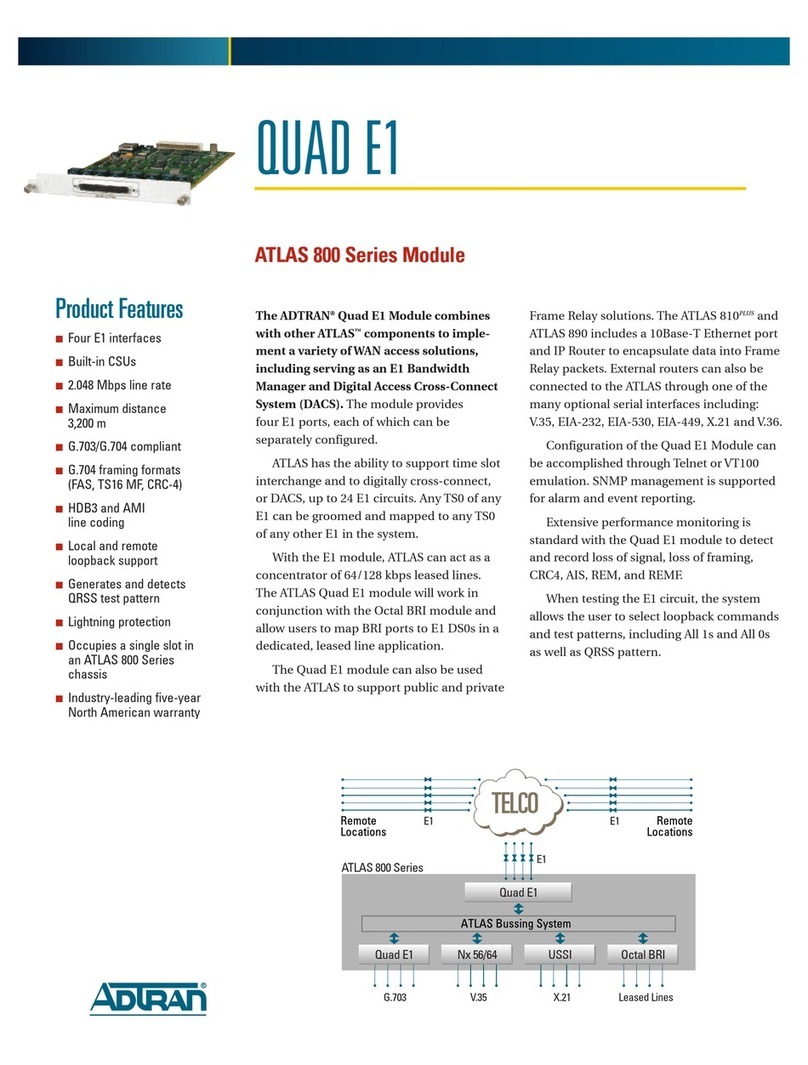
ADTRAN ATLAS 800 Series Module QUAD E1 User manual

ADTRAN

ADTRAN ATLAS 800 Series Module QUAD E1 User manual

ADTRAN TRACER Protection Switch User manual

ADTRAN

ADTRAN TRACER Protection Switch User manual

ADTRAN DS3 User manual

ADTRAN

ADTRAN DS3 User manual

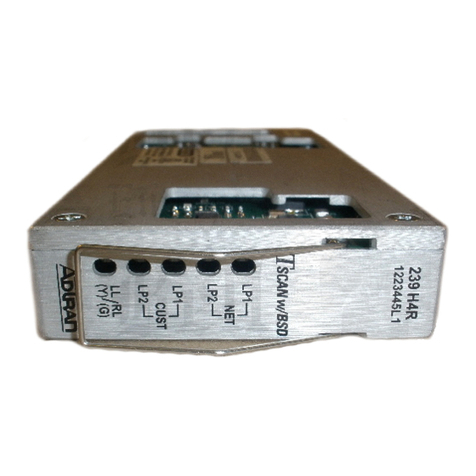
ADTRAN 239 H4R User manual

ADTRAN

ADTRAN 239 H4R User manual

ADTRAN OPTI-6100 LMX User manual

ADTRAN

ADTRAN OPTI-6100 LMX User manual

ADTRAN NetVanta 8044M User manual

ADTRAN

ADTRAN NetVanta 8044M User manual

ADTRAN NIU3 Instruction Manual

ADTRAN

ADTRAN NIU3 Instruction Manual

ADTRAN ATLAS 800 Series Module Nx56/64 Bonding User manual

ADTRAN

ADTRAN ATLAS 800 Series Module Nx56/64 Bonding User manual

ADTRAN 850 DSX-1 User manual

ADTRAN

ADTRAN 850 DSX-1 User manual

ADTRAN NetVanta 1000R Series Operating manual

ADTRAN

ADTRAN NetVanta 1000R Series Operating manual

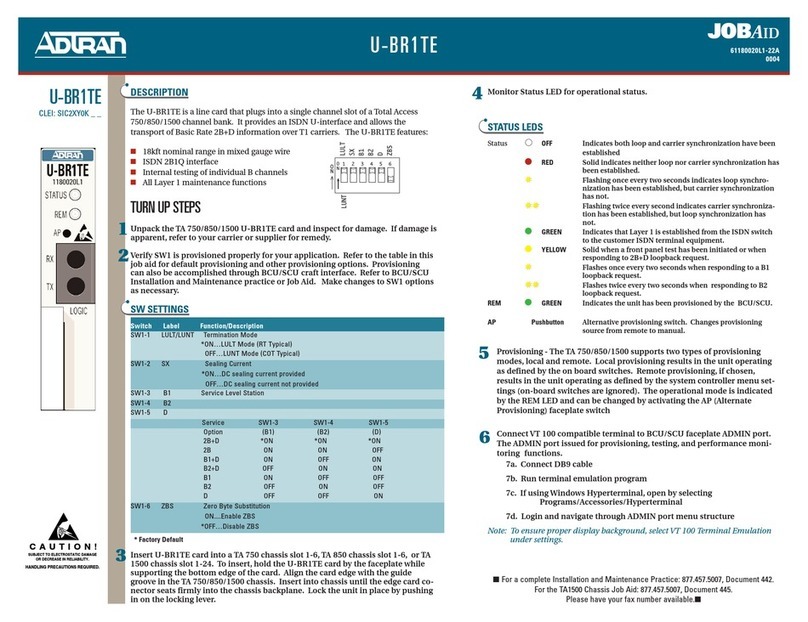
ADTRAN U-BR1TE User manual

ADTRAN

ADTRAN U-BR1TE User manual

ADTRAN Total Access 1500 Instruction Manual

ADTRAN

ADTRAN Total Access 1500 Instruction Manual

ADTRAN 3000 HTU-C User manual

ADTRAN

ADTRAN 3000 HTU-C User manual

ADTRAN DDM+ H2TU-C Instruction Manual

ADTRAN

ADTRAN DDM+ H2TU-C Instruction Manual

ADTRAN AHDSL2 Instruction Manual

ADTRAN

ADTRAN AHDSL2 Instruction Manual

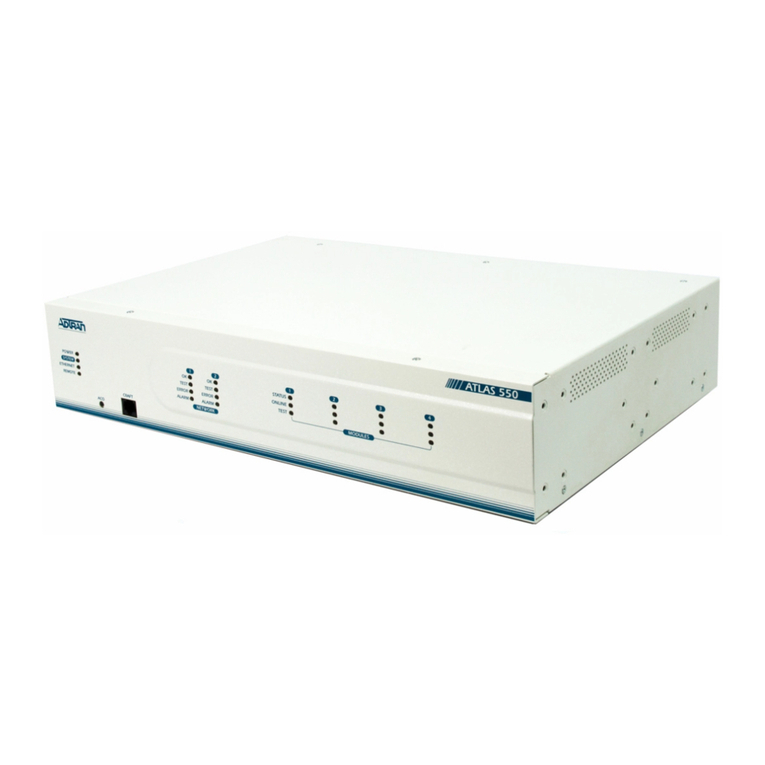
ADTRAN ATLAS 550 User manual

ADTRAN

ADTRAN ATLAS 550 User manual

ADTRAN NetVanta Internet-Based WAN Backup User manual

ADTRAN

ADTRAN NetVanta Internet-Based WAN Backup User manual

ADTRAN Type 400 Instruction Manual

ADTRAN

ADTRAN Type 400 Instruction Manual

ADTRAN ATLAS 800PLUS User manual

ADTRAN

ADTRAN ATLAS 800PLUS User manual

ADTRAN TOTAL ACCESS OPTI-T200 User manual

ADTRAN

ADTRAN TOTAL ACCESS OPTI-T200 User manual

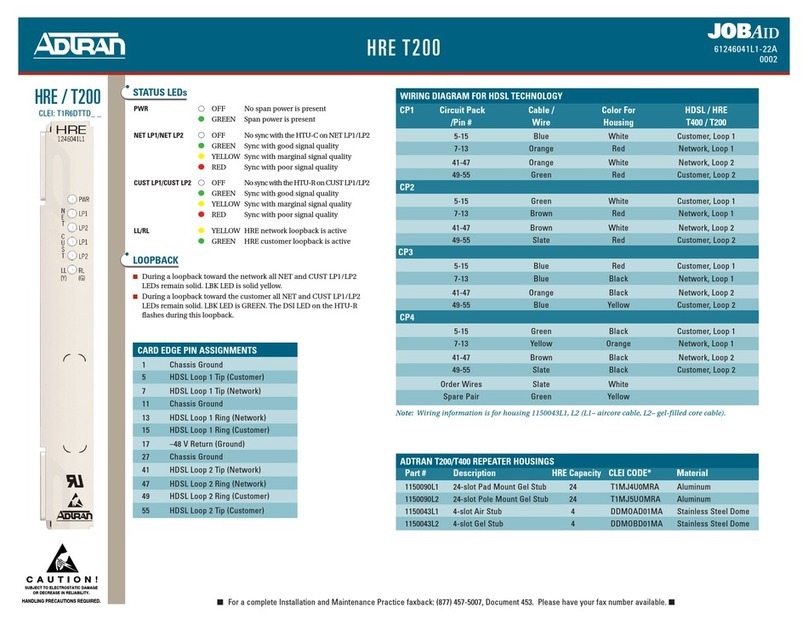
ADTRAN HRE/T200 User manual

ADTRAN

ADTRAN HRE/T200 User manual

Popular Network Card manuals by other brands

TP-Link TL-PA4020 Quick installation guide

TP-Link

TP-Link TL-PA4020 Quick installation guide

Cisco IDTA153 installation manual

Cisco

Cisco IDTA153 installation manual

NETGEAR DG814 - DSL Modem Internet Gateway Reference manual

NETGEAR

NETGEAR DG814 - DSL Modem Internet Gateway Reference manual

TRENDnet TEW-642EC Quick installation guide

TRENDnet

TRENDnet TEW-642EC Quick installation guide

Dynex DX-NNBC - N NOTEBOOK CARD WiFi user guide

Dynex

Dynex DX-NNBC - N NOTEBOOK CARD WiFi user guide

SyChip WLAN6065SD user manual

SyChip

SyChip WLAN6065SD user manual

PC LINE PCL-PCI10 quick start guide

PC LINE

PC LINE PCL-PCI10 quick start guide

NexWatch PW-5000 PW5K1EN installation manual

NexWatch

NexWatch PW-5000 PW5K1EN installation manual

National Instruments NI 9478 operating instructions

National Instruments

National Instruments NI 9478 operating instructions

Allwins AWU50G-W user manual

Allwins

Allwins AWU50G-W user manual

Dynex DX-NNBC - N NOTEBOOK CARD WiFi Quick install guide

Dynex

Dynex DX-NNBC - N NOTEBOOK CARD WiFi Quick install guide

Gtran Wireless DotSurfer GPC-2100 user manual

Gtran Wireless

Gtran Wireless DotSurfer GPC-2100 user manual

Sierra Wireless AirCard 880 Wireless Modem quick start guide

Sierra Wireless

Sierra Wireless AirCard 880 Wireless Modem quick start guide

CSL 300149 user manual

CSL

CSL 300149 user manual

Sonnet PRESTO GIGABIT quick start guide

Sonnet

Sonnet PRESTO GIGABIT quick start guide

ICP DAS USA ZT-2018/S quick start

ICP DAS USA

ICP DAS USA ZT-2018/S quick start

Hawking HGU1 Quick installation guide

Hawking

Hawking HGU1 Quick installation guide

3Com 3C589D user guide

3Com

3Com 3C589D user guide

manuals.online logo
manuals.online logoBrands
  • About & Mission
  • Contact us
  • Privacy Policy
  • Terms and Conditions

Copyright 2025 Manuals.Online. All Rights Reserved.