manuals.online logo
Brands
  1. Home
  2. •
  3. Brands
  4. •
  5. Advanced Instruments
  6. •
  7. Laboratory Equipment
  8. •
  9. Advanced Instruments 3D3700 Use and care manual

Advanced Instruments 3D3700 Use and care manual

Sample Probe Replacement
3D3700
Reference: Use this instruction with replace-
ment part 3D3700 (stainless
steel) or 4D3102 (non-metallic),
and any of the following models
of Advanced Instruments, Inc. or
Fiske Associates®osmometer or
cryoscope:
Advanced Instruments Inc.
4250 Cryoscopes (Serial Suffix E - W)
4D3 Cryoscopes (Serial Suffix E - W)
3250 Osmometers (Serial Suffix C - T)
3D3 Osmometers (Serial Suffix C - T)
Fiske Associates
Mark 2 Cryoscopes
Mark 3 Osmometers
Tools Needed: Phillips screwdriver, flat-
bladed screwdriver, probe
alignment tool and instruc-
tions (included).
CAUTION: Improper connections may cause
damage to the instrument.
Instruction:
1. Place an empty sample tube in the freez-
ing chamber to catch any extraneous
material that might fall in.
2. Turn off the power and unplug the instru-
ment.
3. Remove the two screws from the head
cover (A) and lift off the head cover.
4. Unplug the sample probe connector from
the head transition board (B).
5. Loosen the two mandrel setscrews (C).
6. Lower the probe and mandrel together,
down over the stir/freeze wire.
7. Push the connector and lead wires of the
new sample probe up through the hole in
the sample head, and raise the mandrel so
that the stir/freeze wire extends down
through the stir/freeze wire channel in the
mandrel.
For additional information or technical assistance,
please contact Advanced Instruments Hot-Line®
Service Center (U.S. 1-800-225-4034, outside North
America +US 1-781-320-9000).
3DP700 Rev2
(3255/4D35/MK05 Service Manual)
Page 1 of 2
A
B
C
3DP700 Rev2
(3255/4D35/MK05 Service Manual)
Page 2 of 2
8. Seat the mandrel firmly up into the man-
drel hole, with the stir/freeze wire chan-
nel perpendicular to the front edge of the
chassis and no gaps between the flange
and the underside of the chassis.
9. Without overtightening (overtightening
can damage the mandrel), re-tighten the
two mandrel setscrews to hold the man-
drel in place.
Note: The probe length is factory-adjusted to
the mandrel, and should not require
further adjustment.
10. Use the probe alignment tool and instruc-
tions to properly position the probe and
stir/freeze wire.
11. Plug the sample probe connector into the
head transition board.
12. Arrange the probe leads so that they will
not touch the clapper or be pinched by the
head cover, and replace the cover.
13. Plug in the power cord and turn on the
instrument.
14. Set the sample bin number (see the fol-
lowing procedure).
15. Calibrate the instrument. (Recalibration
is required each time the sample probe is
replaced.)
Set Sample Bin Number
1. If there is a Supervisor/Operator
keyswitch, turn it to the Supervisor posi-
tion (if required).
2. Press TEST. Press <or >to select
“Probe Bin Test”, and then press
START.
3. Place a sample of Probe Bin-Setting Fluid
into the freezing chamber.
4. At “[START] Ready?”, press START.
5. At the end of the test, record the sample
probe resistance and the bin number, and
then press STOP. The display will
change to “Probe Bin Test”.
To set the correct sample bin number, fol-
low steps 6-8.
If the current sample bin number matches
the number just recorded, press STOP
twice to exit the menu.
6. Press SETUP. The Supervisor/Operator
keyswitch must be in the Supervisor posi-
tion.
7. At “Select Setup Item”, press <or >to
select “Select Sample Bin #”, and then
press START.
8. If the current sample bin number is not
the same as the one recorded in step 5,
enter the correct number, press ENTER,
and then press STOP twice to exit the
menu.
Other Advanced Instruments Laboratory Equipment manuals

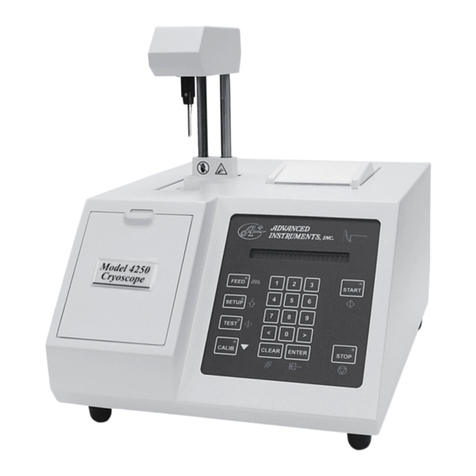
Advanced Instruments 4250 User manual

Advanced Instruments

Advanced Instruments 4250 User manual

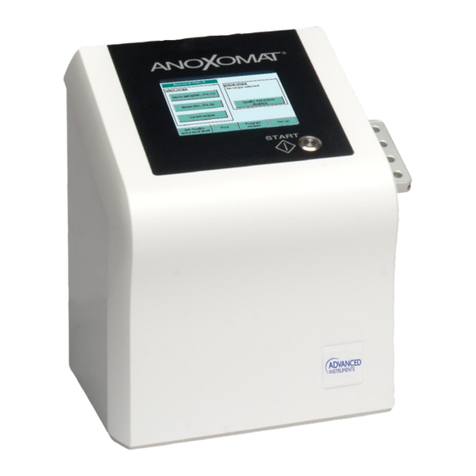
Advanced Instruments Anoxomat III User manual

Advanced Instruments

Advanced Instruments Anoxomat III User manual

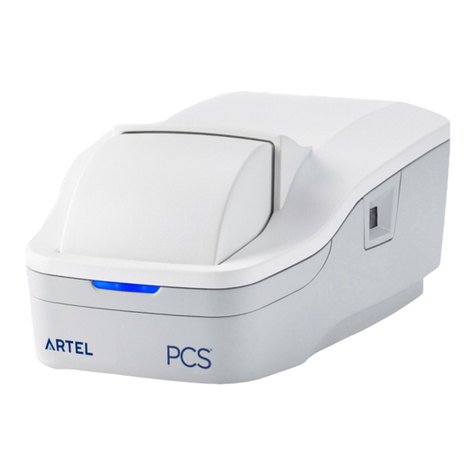
Advanced Instruments ARTEL PCS User manual

Advanced Instruments

Advanced Instruments ARTEL PCS User manual

Popular Laboratory Equipment manuals by other brands

Waters ACQUITY UPLC M-Class System guide

Waters

Waters ACQUITY UPLC M-Class System guide

Molbio Trueprep AUTO user manual

Molbio

Molbio Trueprep AUTO user manual

taurus Healthcare Everyday Purity manual

taurus Healthcare

taurus Healthcare Everyday Purity manual

Neuation iFUGE D08 Product user manual

Neuation

Neuation iFUGE D08 Product user manual

Agu Fay user manual

Agu

Agu Fay user manual

Biobase BOV-V30F Maintenance manual

Biobase

Biobase BOV-V30F Maintenance manual

VWR avantor Chemi Premium instruction manual

VWR

VWR avantor Chemi Premium instruction manual

Shimadzu LC-40D X3 CL instruction manual

Shimadzu

Shimadzu LC-40D X3 CL instruction manual

Buehler Vector manual

Buehler

Buehler Vector manual

Araknis Networks AN-ACC-INJ-POE-30W quick start guide

Araknis Networks

Araknis Networks AN-ACC-INJ-POE-30W quick start guide

Hanna Instruments HI 190 instruction manual

Hanna Instruments

Hanna Instruments HI 190 instruction manual

Diatron Abacus 5 Operator's manual

Diatron

Diatron Abacus 5 Operator's manual

Agilent Technologies 8860 user manual

Agilent Technologies

Agilent Technologies 8860 user manual

Agilent Technologies Turbo-V 6000 instruction manual

Agilent Technologies

Agilent Technologies Turbo-V 6000 instruction manual

Okolab UNO-T manual

Okolab

Okolab UNO-T manual

Philips Avent SCF922 user manual

Philips

Philips Avent SCF922 user manual

GYROZEN 416 quick guide

GYROZEN

GYROZEN 416 quick guide

W&H Med Lara Instructions for use

W&H Med

W&H Med Lara Instructions for use

manuals.online logo
manuals.online logoBrands
  • About & Mission
  • Contact us
  • Privacy Policy
  • Terms and Conditions

Copyright 2025 Manuals.Online. All Rights Reserved.