AEG Voxtel D81 User manual

1
UK
CORDLESS
TELEPHONE
Voxtel D81
Voxtel D81 twin
Voxtel D81 triple
QUICK START GUIDE
GR
PL
IT
NL
FR
DE
UK
V3

2
A
B
D
C
E
F
G
H
I
J
K
L
M
A
P1 P2
P3
P4 P5

3
2
UK
1. BECAUSE WE CARE
Thank you for purchasing this product. This product has been designed and
assembled with utmost care for you and the environment. This is why we supply
this product with a quick installation guide to reduce the number of paper (pages)
and therefor save trees to be cut for making this paper.
A full and detailed user guide with all the features descripted can be found on
our website www.aegtelephones.eu. Please download the full user guide in case
you want to make use of all the advanced features of your product. To save the
environment we ask you not to print this full user guide. Thank you for supporting
us to protect our environment.
2. GETTING STARTED
2.1 Location
Place the base within 1.5 metres of a mains power outlet easy to access so that in
case of any problem you can disconnec the device from the power.
Make sure that it is at least 1 metre away from other electrical appliances to avoid
interference. The phone works by sending radio signals between the handset and
base. The strength of the signal depends on where the base is placed. Placing it as
high as possible ensures the best signal.
2.2 Signal strength
The icon on the handset indicates that it is within range of the base. When out of
range of the base, the icon flashes. When on a call, a warning beep will be heard.
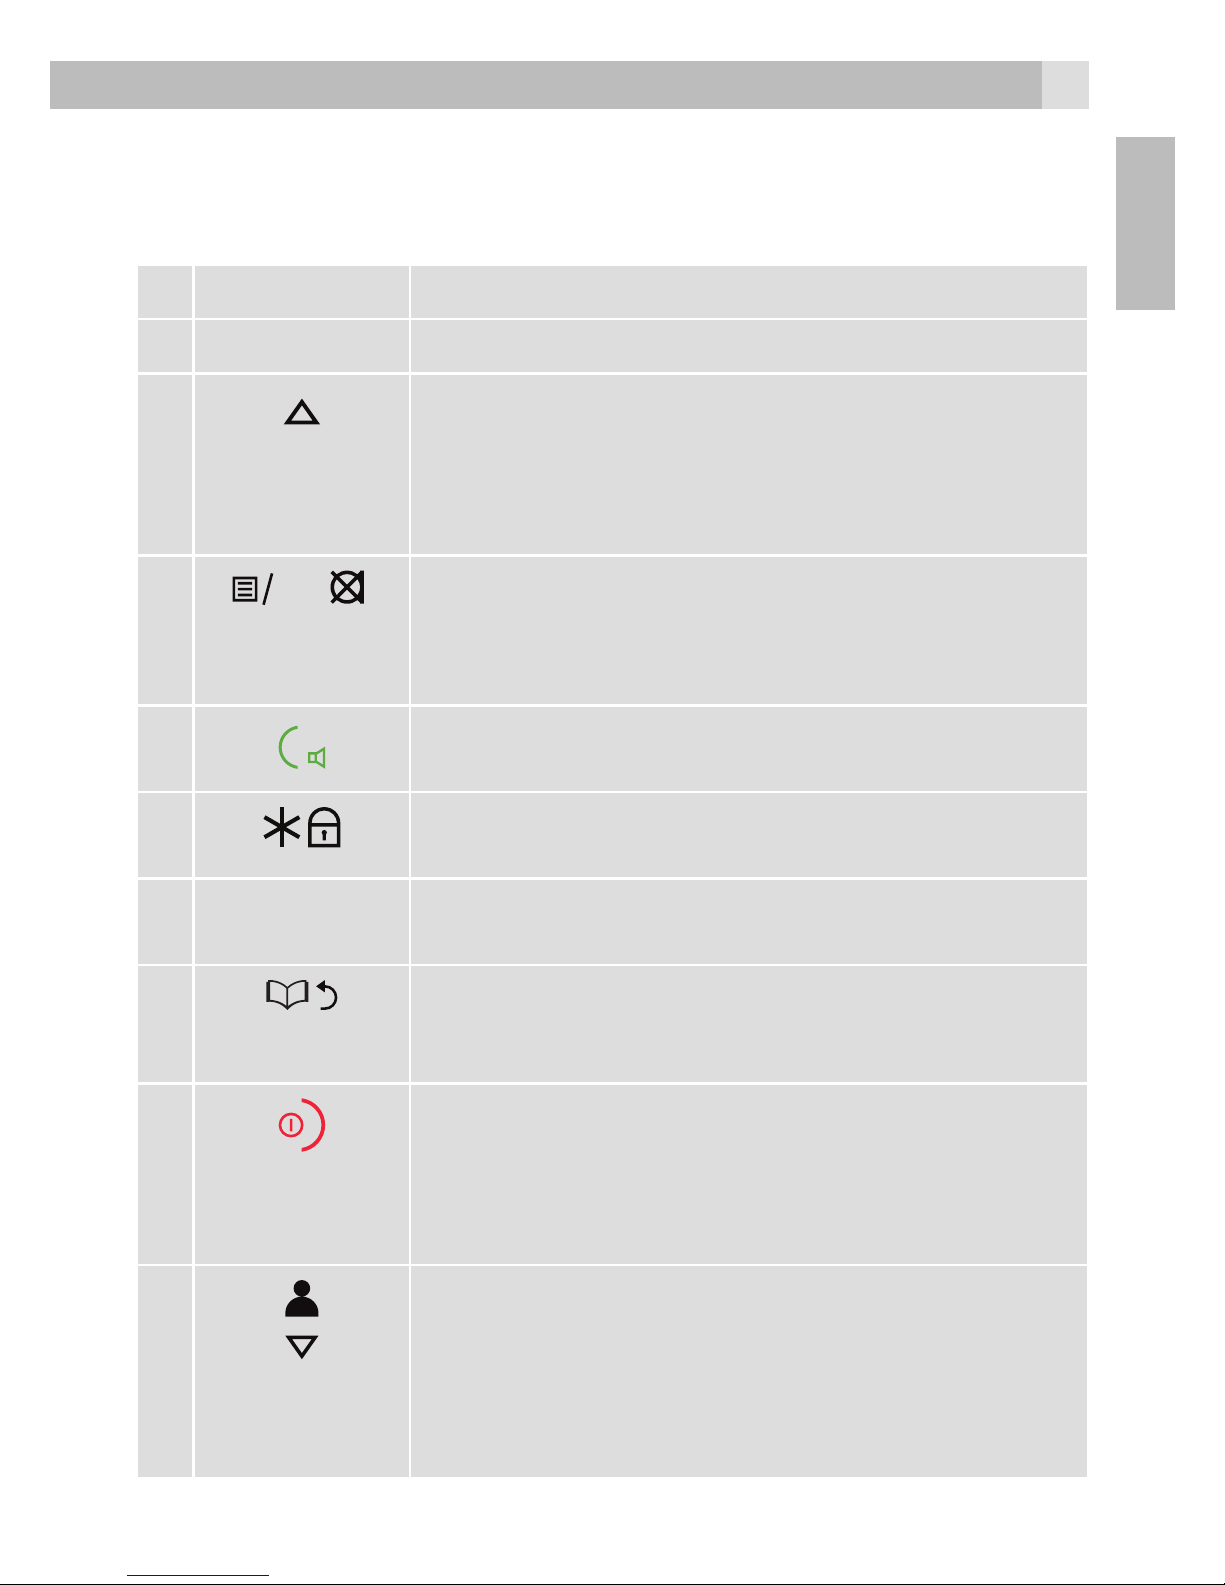
IMPORTANT
The base station must be plugged into the mains power at all times. Use only the
power adapter supplied with the product.
2.3 Connecting the base(see P5)
1. Plug the telephone line cord into the socket marked on the underside of
the base.Plug the other end of the telephone line cord into the telephone wall
socket.
2. Plug the power adapter connecter into the socket marked of the base and
plug the other end into the mains power wall socket.
2.4 Installing and charging the handset(see P3)
1. Remove the battery cover from the back of the handset and insert the
2 x AAA NiMH rechargeble batteries supplied. Please note the ‘+’ and ‘-’
markings inside the battery compartment and insert in the correct direction.

4
2. Slide the battery cover back into place.
3. When charging the batteries for the first time, place the handset on the base
to charge for at least 24 hours continuously.
4. When the handset is fully charged, icon will appear steadily on the display.
Note: Press and hold Menu to switch the idle screen between handset name and
number and the time and handset number.
2.5 Set display language
To change the display language :
1. Press the left soft key and / to select “PERSONAL SET”.
2. Press
OK
and / to select “LANGUAGE”.
3. Press
OK
and / to select the desired language.
4. Press
OK
to confirm.
2.6 Date and time
When subscribed to Caller ID, the date and time is set automatically for all
handsets when the first call is received. If there is no Caller ID, the date and time
can be set manually.
Set the date and time manually
1. Press , scroll to « CLOCK/ALARM » and press
OK
.
The display shows « DATE & TIME ».
2. Press
OK
to select.
3. Enter the date using the keypad (e.g. 12--08--14 for 12th of August 2014) and
press
OK
to confirm.
4. Enter the time using the keypad (e.g. 06--30 for 6.30) then scroll /to
choose AM or PM and press
OK
to confirm.

5
4
UK
3. GETTING TO KNOW THE PHONE
3.1 Overview of the handset(see P1)
A Earpiece
B Display
CDuring a call, press to increase earpiece volume.
When the phone is ringing, press to increase the
handset ringer volume.
Press to scroll through the menu options, redial list, call
list and phonebook entries.
D
OK
Menu key : Press to open the Menu.
Press to select menu options and to confirm a
displayed option.
During a call, press to turn mute on/off.
EPress to make and answer a call.
Press to switch hands-free on or off during a call.
FPress and hold to lock or unlock the keypad.
G
R
To generate a FLASH signal used with PABX or some
network services.
HIn standby mode, press to open the phonebook menu.
In editing mode, press to delete characters and digits.
Go back to the previous menu level.
IPress to end a call.
When viewing the redial / call list / phonebook or when
in the menu, press to exit and return to standby.
Press and hold for 3 seconds to switch the handset on /
off.
JDuring a call, press to decrease earpiece volume.
When the phone is ringing, press to decrease the
handset ringer volume.
Press to scroll through the menu options, redial list, call
list and phonebook entries.
In standby mode, press to open the call list.

6
KPress and hold to enter a pause (P) when pre-dialling or
storing numbers.
LUsed to make internal calls and transfer calls to other
handsets registered to the base.
MRedial key
3.2 Handset LCD Display icons(see P2)
Signal strenght icon
Eco mode is ON
Eco + is ON (zero emission)
Handset ringer is off
Indicates a missed call
Steady on when making an outgoing call
Flashes to indicate an incoming or internal call
Indicates an incoming call when viewing the calls list
Indicates an outgoing call when viewing the calls list
Hands-free mode is ON
Menu is open
Keypad is locked
Alarm is set
Indicates new voicemail message(s) received

7
6
UK
Phonebook is opened
More text
Battery is fully charged
Battery is partially charged
Battery is running low
Flashed when battery is almost empty
3.3 Overview of the base(see P4)
APaging key : Press to find misplaced handsets registered to the
base. Long press to start registration of handsets to the base.
3.4 Navigating the menus
The phone has an easy to use menu system. When the handset is switched on and
in standby:
1. Press to open the main menu.
2. Then use / buttons to scroll through the available options.
3. Press
OK
to select an option.
To return to the previous menu level, press . To exit the menu and return to
standby, press .
Note: If no buttons are pressed for 30 seconds, the handset returns to standby
automatically.

9
8
4. USING THE PHONE
4.1 Switch the handset on/off
Press and hold to switch the handset on or off.
4.2 Calls
4.2.1. Make a call
1. Press .
2. When there is a the dial tone, dial the number.
Note: The handset will automatically time the duration of all external calls. The call timer
will display after 10 seconds. When the call ends, the total duration of the talk time
flashes for 3 seconds.
4.2.2. Preparatory dialling
1. Dial the number first. If a mistake is made press to delete the last digit.
2. Press to dial.
4.2.3. End a call
Press , or place the handset on the base or charger.
4.2.4. Receive a call
When an external call is received, the phone rings and icon flashes on the display.
1. Press to answer the call or lift the handset from the base or charger to
answer the call.
Note: To answer calls by pressing even when the handset is lifted, switch Auto answer
off.
4.3 Adjust the earpiece volume
During a call, press /to increase or decrease the volume.
4.4 Redial
The last 10 dialled numbers are stored in the redial list.
View or dial an entry
1. Press to open the Redial list.
2. Scroll / to the required entry.
3. Press to dial the displayed entry or press to return to standby.
Note: If you have Caller ID and the caller’s number exactly matches an entry stored in
the phonebook, the name is displayed.
4.5 Lock/unlock the keypad

9
8
UK
The keypad can be locked so that it cannot be operated accidentally while carrying
it around.
Note: When the keypad is locked an incoming call can still be answered and the
handset will operate as normal. When the call ends, the keypad lock comes on again.
1. Press and hold *. KEYS LOCKED and icon is displayed.
2. Press and hold *again to unlock the keypad.
4.6 Mute
The handset can be muted so that a conversation can be held without the caller hearing.
1. During a call, press . The display shows « MUTE ON » and the caller cannot
hear. Press again to resume the call.
4.7 Intercom
4.7.1. Make an internal call
If more than one handset is registered to the base, internal calls can be made
between two handsets.
1. If only 2 handsets are registered to the base, press and the other handset
rings automatically.
2. If more than 2 handset are registered to the base press and scroll to the
handset number and press to call this handset.
4.7.2. Receive an internal call
When an internal call is received, icon flashes and the handset number that is
calling is displayed. Press to answer the call.
4.7.3. Transfer a call
To transfer an external call to another handset registered to the base.
During an external call:
1. If only 2 handsets are registered to the base, press and the other handset
rings automatically.
2. If more than 2 handset are registered to the base press and scroll to the
handset that is to be called and press .
3. When the other handset answers, press to complete the transfer.
Note: If there is no answer from the other handset press to return to the external
caller. The external call resumes automatically after 60 seconds if there is no answer.

10
4.8 Hands-free
To talk to the caller without holding the handset and for other people in the room to
listen to the conversation over the loudspeaker simply use the hands-free function.
4.8.1. Make a hands-free call
1. Press twice, then dial the number. icon is displayed and the call can be
heard over the handset loudspeaker.
2. Press to switch the call between the earpiece and the loudspeaker.
Note: During a hands-free call, press /to adjust the volume.
4.9 Paging/Find handset
Page can be used to locate a missing handset. .
1. Press on the underside of the base. All handsets registered to the base will ring.
2. To stop the ringing, press on the base again or press any button on the handset.
5. PHONEBOOK
The phonebook can store up to 50 names and numbers. Names can be up to 12
characters long and numbers up to 24 digits.
5.1 Store a name and number
When subscribed to Caller ID, to display the name of the caller instead of the
number, save the full telephone number including the area code to the phonebook.
To prevent unnecessary duplicated entries, the same name can be stored only once.
1. Press . The display shows « PHONEBOOK ».
2. Press
OK
scroll to « ADD NEW ».
3. Press
OK
the display shows « ENTER NAME ».
4. Enter the name and press
OK
. The display shows « ENTER NUMBER ».
5. Enter the number and press
OK
the entry is saved.
6. Press to return to standby.
5.1.1. Entering names
Use the keypad letters to enter names, e.g. to store TOM:
Press 8once to enter T.
Press 6three times to enter O.
Press 6once to enter M.
5.1.2. Writing tips
Press to delete the last character or digit. Press /to move between
characters/digits. Press 1to insert a space.

11
10
UK
5.2 View or dial an entry
1. Press . to open phonebook.
2. Scroll / to the required entry. OR
Enter the first letter of the name to search alphabetically. The first name that starts
with this letter or the nearest letter in the alphabet will be displayed.
Scroll /to the required entry.
3. Press to dial or to return to standby.
Note: When the name is displayed, to switch between the name and number press
OK
5.3 Edit a name and number
1. Press . The display shows « PHONEBOOK ».
2. Press
OK
, scroll to « EDIT » and press
OK
3. Scroll / to the entry that needs to be edited or search alphabetically and
press
OK
. The existing name is displayed.
4. Press to delete the name if required, then enter the new name and press
OK
. The existing number is displayed.
5. Press to delete the number if required, then enter the new number and
press
OK
the entry is saved.
6. Press to return to standby.
5.4 Delete an entry
1. Press . The display shows « PHONEBOOK ».
2. Press
OK
, scroll to « DELETE » and press
OK
.
3. Scroll /to the entry that you want to delete or search alphabetically and
press
OK
. The display shows « CONFIRM? ».
4. Press
OK
to confirm or to cancel.

12
6. CALLER ID AND CALLS LIST
MPORTANT
To use Caller ID, first subscribe to the service from the telephone provider. A
subscription fee may be payable. To ensure that the caller’s name is displayed, make
sure the full telephone number, including the area code is stored in the phonebook.
If the caller’s number is stored in the phonebook, the name assigned to it will be
displayed.
If the number is unavailable, « UNKNOWN » will be displayed.
If the call is from an international number, « INTERNATION. » will be displayed.
6.1 Caller Display
If subscribed to Caller ID, the caller’s number will be displayed (provided it is not
withheld) prior to answering the call. The display can show the first 12 digits or
characters of the phone numbers and name.
If the caller’s name and number are stored in the phonebook and a number match
is found, the caller’s name will be displayed instead.
6.2 Call list
The Call list stores details of the last 40 received calls, including the phone number
and date and time of the call.
The Call list also displays if there are unanswered calls.
The caller’s details are stored in the Call list whether or not the call has been
answered. When the list is full and a new call is received, the oldest entry will be
deleted automatically.
6.2.1. View the Call list
1. Press to open the Call list. If there are no calls in the list, the display shows
« LIST EMPTY ».
2. Scroll / to the required entry.
3. Press
OK
the display show «VIEW », press
OK
.
4. The display shows the date and time of the call.
6.2.2. Dial a number in the Call list
1. Press to open the Call list.
2. Scroll / to the required entry.
3. Press to dial the displayed entry.
6.2.3. Delete an entry
1. Press to open the Call list.
2. Scroll / to the required entry
3. Press
OK
scroll to « DELETE ».
4. Press
OK
the display shows « CONFIRM ? ».
5. Press
OK
to confirm or to cancel.

13
12
UK
7. PERSONAL SET
7.1 Handset tones
7.1.1. Handset ringer volume
The handset ring volume can be set to different volume level. Choose from 5
volume levels or Off.
1. Press , scroll to « PERSONAL SET » and press
OK
2. Press / to select « HANDSET TONE » and press
OK
3. The display shows « RING VOLUME », press
OK
4. Press / to select the volume (1 - 5 or « OFF »).
5. Press
OK
to confirm or to return to the previous menu.
Note: When the phone is ringing, adjust the ringer volume by pressing /.
7.1.2. Handset ringer melody
Different ringer melodies can be set. Choose from 5 different ringer melodies.
1. Press , scroll to « PERSONAL SET » and press
OK
2. Press / to select « HANDSET TONE » and press
OK
3. Press / to select « RING MELODY » and press
OK
4. Press / to select the ringer melody (1 - 5).
5. Press
OK
to confirm or to return to the previous menu.
7.1.3. Key tones
1. Press , scroll to « PERSONAL SET » and press
OK
2. Press / to select « HANDSET TONE » and press
OK
3. Press / to select « KEY TONE » and press
OK
4. Press / to select ON or OFF.
5. Press
OK
to confirm or to return to the previous menu.
7.2 Auto answer
The phone is set to answer calls by lifting the handset off the base or charger. This
feature can be switched off so that calls can only be answered by pressing .
1. Press , scroll to « PERSONAL SET » and press
OK
.
2. Scroll to « AUTO ANSWER » and press
OK
3. Press / to select « ON » or « OFF ».
4. Press
OK
to confirm or to return to the previous menu.

14
8. BASE SETTINGS
8.1 Eco mode
By operating the phone in Eco mode the power emissions level can be reduced.
When the Eco mode is set to ON, the base transmission power will be reduced.
This feature is set to OFF by default.
1. Press , scroll to « ADVANCED SET » and press
OK
.
2. The display shows « ECO MODE », press
OK
3. Press / to select « ON » or « OFF ».
4. Press
OK
to confirm or to return to the previous menu.
Note: When ECO mode is set to ON, the handset range will be reduced.
8.2 Zero Emission (Eco +)
When Zero emission is activated and the unit has been idle for 1 minute the
transmitted power between the handset and the base will stop. An incoming call
or pressing any key on handset will activate the unit and it will revert back to the
normal mode. This feature is set to OFF by default.
1. Press , scroll to « ADVANCED SET » and press
OK
.
2. Scroll to « ZERO EMIT », press
OK
.
3. Press / to select « ON » or « OFF »
4. Press
OK
to confirm or to return to the previous menu.
8.3 Restore default settings
The phone can be restored to its default (original) settings. All the handsets that
are registered to the base will be retained and not deleted.
IMPORTANT
Resetting the phone to its default settings will delete all entries in the Call
list. Current handset and base settings will also be reset. Entries stored in the
phonebook are retained.
1. Press , scroll to « ADVANCED SET » and press
OK
2. Scroll to « RESET » and press
OK
3. The display shows « RESET ? ».
4. Press
OK
to confirm or to return to the previous menu. The phone will
restart automatically.

15
14
UK
9. GENERAL INFORMATION
IMPORTANT
This equipment is not designed to make emergency telephone call when the
power fails. Alternative arrangements should be made for access to emergency
services. This product is intended for connection to analogue public telephone
networks or a private switchboard. (pabx)
Safety and Electromagnetic information
• Use only the power supply supplied with this product. Using an unauthorised
power supply will invalidate the guarantee and may damage the telephone.
• Use only the approved rechargeable batteries supplied.
• Do not open the handset (except to replace the handset batteries) or the base.
This could cause exposure to high voltages or other risks.
• Radio signal transmitted between the handset and base may cause interference
to hearing aids.
• The product may interfere with other electrical equipment, e.g. TV and radio sets,
clock/alarms and computers if placed them too close. It is recommended that the
product is placed at least one metre away from such appliances to minimize any
risk of interference.
• All batteries can cause property damage and/or bodily injury such as burns if a
conductive material such as jewellery, keys, or beaded chains touch the exposed
terminals. The conductive material may complete an electrical circuit (short
circuit) and become quite hot. Exercise care in handling any charged battery,
particularly when placing it inside a pocket, purse, or other container with metal
objects.
• Never dispose of batteries in a fire. There is a serious risk of explosion and/or the
release of highly toxic chemicals.
Environmental
• Do not expose to direct sunlight.
• The handset may become warm when the batteries are being charged or during
prolonged periods of use. This is normal. However, we recommend that to avoid
damage, do not place the product on antique/veneered wood.
• Do not place the product on carpets or other surfaces which generate fibres, or
place it in locations preventing the free flow of air over its surfaces.
• Do not submerge any part of the product in water and do not use it in damp or
humid conditions, such as bathrooms.
• Do not expose the product to fire, explosives or other hazardous conditions.
• There is a slight chance that the phone could be damaged by an electrical storm.
We recommend that it is unpluged from the power and telephone line cord
during an electrical storm.

17
16
10.GUARANTEE AND SERVICE
The phone is guaranteed for 24 months from the date of purchase shown on
your sales receipt. This guarantee does not cover any faults or defects caused
by accidents, misuse, fair wear and tear, neglect, faults on the telephone line,
lightning, tampering with the equipment, or any attempt at adjustment or repair
other than through approved agents.
Please keep your sales (till) receipt this is your proof of guarantee.
10.1 While the unit is under Guarantee
• Disconnect the base unit from the telephone line and the mains electricity supply.
• Pack up all parts of your phone system, using the original package.
• Return the unit to the shop where you bought it, making sure you take your sales
receipt.
• Remember to include the power adapter.
10.2 After the Guarantee has expired
If the unit is no longer under Guarantee, contact us via www.aegtelephones.eu
This product works with rechargeable batteries only. If you put nonrechargeable
batteries in the handset and place it on the base, the handset will be damaged and
this in NOT covered under the warranty conditions.

17
16
UK
11.TECHNICAL DETAILS
Standard DECT
1.88 to 1.9 GHz (bandwidth = 20 MHz)
Channel
bandwidth
1.728 MHz
Operating
range
Up to 300m outdoors; Up to 50m indoors
Operating
time
Standby: 200 hours, Talking: 10 hours
Battery charge time:24 hours
Temperature
range
Operating 0° C to 40° C,
Storage -20° C to 60° C
Electrical
power
Base/Charger :
MN-A002-A080
input 100-240VAC 50/60Hz 200mA,
output 7.5VDC 300mA
Battery Information
SANIK-SN-AAA30H, Type Ni-MH(Rechargeable battery)
Voltage Rating 300mAh, 2 X 1.2V AAA Size
KAIFENG-KF-HAAAJ300, Type Ni-MH(Rechargeable battery)
Voltage Rating 300mAh, 2 X 1.2V AAA Size

18
12.CE DECLARATION
This product is in compliance with the essential requirements and other relevant
provisions of the R&TTE directive 1999/5/EC.
The Declaration of conformity can be found on: www.aegtelephones.eu
13.DISPOSAL OF THE DEVICE (ENVIRONMENT)
At the end of the product lifecycle, you should not throw this product into the
normal household garbage but bring the product to a collection point for the
recycling of electrical and electronic equipment. The symbol on the product, user
guide and/or box indicate this. Some of the product materials can be re-used if you
bring them to a recycling point. By reusing some parts or raw materials from used
products you make an important contribution to the protection of the environment.
Please contact your local authorities in case you need more information on the
collection points in your area.
Batteries must be removed before disposing of the device. Dispose of
the batteries in an environmental manner according to your country
regulations.

19
18
ENDE
1. UNSER EINSATZ FÜR DIE UMWELT
Vielen Dank, dass Sie sich für dieses Produkt entschieden haben. Dieses Gerät
wurde mit größter Sorgfalt entwickelt und zusammengebaut, um Ihnen ein
ausgezeichnetes Produkt zu bieten und die Umwelt zu schonen. Deshalb liegt
diesem Produkt eine Kurzanleitung bei, um die Papiermenge (Seiten) zu reduzieren
und um die Anzahl der für Papier benötigten, gefällten Bäume zu vermindern.
Eine vollständige und ausführliche Bedienungsanleitung finden Sie auf
unserer Website www.aegtelephones.eu. Bitte laden Sie die vollständige
Bedienungsanleitung herunter, wenn Sie alle erweiterten Funktionen Ihres
Produkts nutzen möchten. Zum Schutz der Umwelt bitten wir Sie, die vollständige
Bedienungsanleitung nicht auszudrucken. Vielen Dank, dass Sie uns beim
Umweltschutz unterstützen.
2. EINFÜHRUNG
2.1 Aufstellort
Stellen Sie die Basisstation höchstens 1,5 Meter von einer leicht zugänglichen
Netzsteckdose entfernt auf, damit Sie sie im Notfall schnell von der
Stromversorgung trennen können.
Achten Sie darauf, dass sie sich mindestens 1 Meter von anderen elektrischen
Geräten befindet, um Funkstörungen zu vermeiden. Das Gerät sendet Funksignale
zwischen dem Mobilteil und der Basisstation aus. Die Signalstärke hängt vom
Aufstellort der Basisstation ab. Das beste Signal erhält man, wenn man die
Basisstation so hoch wie möglich aufstellt.
2.2 Signalstärke
Das Symbol auf dem Mobilteil zeigt an, dass es in Reichweite der Basisstation
ist. Wenn das Mobilteil außerhalb der Reichweite der Basisstation ist, blinkt dieses
Symbol . Wenn gerade ein Anruf stattfindet, ertönt ein akustisches Warnsignal.
WICHTIG
Die Basisstation muss permanent mit dem Netzstrom verbunden sein. Verwenden
Sie ausschließlich den mitgelieferten Netzadapter.
2.3 Die Basisstation anschließen (siehe P5).
1. Verbinden Sie das Telefonanschlusskabel mit der Buchse auf der Unterseite
der Basisstation. Stecken Sie das andere Ende des Telefonanschlusskabels in
den Telefonwandanschluss.
2. Verbinden Sie ein Ende des Netzadapters mit der Buchse in der
Basisstation und stecken Sie das andere Ende in eine Netzsteckdose.

21
20
2.4 Installation des Mobilteils und Aufladen der Akkus (siehe P3).
1. Öffnen Sie die Akkufachabdeckung auf der Rückseite des Mobilteils und legen Sie
die beiden mitgelieferten NiMH-Akkus (AAA) in das Akkufach ein. Achten Sie beim
Einlegen auf die PolaritätsmarkierungenimAkkufach von "+"und"-".
2. Schließen Sie die Akkufachabdeckung wieder.
3. Wenn Sie die Akkus zum ersten Mal laden, stellen Sie das Mobilteil auf die
Basisstation und laden Sie es vor dem ersten Gebrauch 24 Stunden auf.
4. Sobald das Mobilteil vollständig aufgeladen ist, leuchtet dasSymbol
dauerhaft auf dem Display.
Hinweis: Drücken und halten Sie die Taste Menü, um im Ruhezustand zwischen
dem Mobilteilnamen, der Rufnummer sowie der Uhrzeit und der Mobilteilnummer
umzuschalten.
2.5 Displaysprache einstellen.
Ändern der Displaysprache:
1. Drücken Sie die linke Softtaste und /wählen Sie « PERSONAL SET
(PERS. EINST.) ».
2. Drücken Sie
OK
und wählen Sie mit / « LANGUAGE (SPRACHE) ».
3. Drücken Sie
OK
und wählen Sie mit / die gewünschte Sprache.
4. Zum Bestätigen der Auswahl
OK
drücken.
2.6 Datum und Uhrzeit einstellen
Wenn Sie sich bei einem Anrufer-ID-Dienst angemeldet haben, werden Uhrzeit
und Datum automatisch bei Eingang des ersten Gesprächs aktualisiert. Wenn Sie
keine Anruferkennung angemeldet haben, können Uhrzeit und Datum manuell
eingestellt werden.
Manuelles Einstellen von Datum und Uhrzeit
1. Drücken Sie und , um « CLOCK/ALARM (UHR/WECKER) » auszuwählen
und bestätigen Sie mit
OK
.
Auf dem Display wird « DATE & TIME (DATUM & ZEIT) » angezeigt.
2. Zum Bestätigen der Auswahl
OK
drücken.
3. Geben Sie das Datum mithilfe des alphanumerischen Tastenfelds ein (z. B. 12-
-08--14 für den 12. August 2014) und drücken Sie zum Bestätigen der Auswahl
OK
.
4. Geben Sie die Uhrzeit mithilfe des alphanumerischen Tastenfelds ein (z. B.
06--30 für 6.30 Uhr), drücken Sie /um AM oder PM auszuwählen und
bestätigen Sie mit
OK
.
Other manuals for Voxtel D81
1
This manual suits for next models
2
Table of contents
Languages:
Other AEG Cordless Telephone manuals

AEG
AEG Voxtel D575 User manual

AEG
AEG Pyramid User manual

AEG
AEG Voxtel D235 User manual

AEG
AEG Voxtel S110 Combo User manual

AEG
AEG LOOP User manual

AEG
AEG voxtel d120 User manual

AEG
AEG Spirit 100 User manual

AEG
AEG Voxtel D505 User manual

AEG
AEG Voxtel D550 Instruction manual

AEG
AEG Voxtel S100 User manual

AEG
AEG Voxtel D555 twin Instruction manual

AEG
AEG Voxtel D80 User manual

AEG
AEG Birdy User manual

AEG
AEG VOXTEL D500 User manual

AEG
AEG Voxtel D85 twin User manual

AEG
AEG Voxtel S110 Combo User manual

AEG
AEG Prism 15 Instruction manual

AEG
AEG Designer 10 User manual

AEG
AEG Boomerang 10 User manual

AEG
AEG Voxtel D570 twin Guide