manuals.online logo
Brands
  1. Home
  2. •
  3. Brands
  4. •
  5. AeroPlus
  6. •
  7. Toy
  8. •
  9. AeroPlus YAK 55M User manual

AeroPlus YAK 55M User manual

www.aeroplusrc.com[email protected]
AeroPlusRCCopyright2013©AllRightsReserved


YAK55M60”
ItemNo:A‐G030010
Specifications
WINGSPAN:60"(1520mm)
LENGTH:58.5"(1490mm)
WINGAREA:738sq.in.(47.6sq.dm.)
FLYINGWEIGHT:5‐5.5lbs(2300‐2500g)
Electric:Brushlessoutrunner8Oz.PROPAPC16x10E‐17x8ELI‐POLY5‐6S3800‐5000mAh
Glow:.46‐.522C.52‐.824C
RADIO:4CH/5Sor4s1ESC(70A)

Description
CarbonFibre:  Wingtube,landinggear,tailgear;
Fiberglassservoarmsandhorn;
Lightweightwheels
ball‐linkhardware
PoweredbyElectricorGlow

2Colourschemes

 

A‐G030010B
A‐G030010A
www.aeroplusrc.com[email protected]
AeroPlusRCCopyright2013©AllRightsReserved



Unpacking

Carefullyunpackthemodelmakingsurethatifyouuseasharpknifetoopenbags,nottocutanycoveringonthe
model.Inspecteachitemtomakesurenotransitdamagehashappened.Ifyouarenothappywithanypartor
areunsurepleasecontacttheDealerthatyoupurchasedfrom.

Covering

Duetothemodelspendingtimeindifferentclimateszonesfromthefactoryonitswaytoyou,someofthe
coveringmayhavewrinkles.Wehighlyrecommendthatyoutaketimetore‐sealallcoveringedgeswithaniron
andtouseaheatguntoremoveanywrinklesandre‐tightenthecovering.Itisbesttodothisnowwhiletheplane
isnotassembled,remembertonotletanyheatgetnearanypartslikethecanopyorcowlasthismaycause
damage.

AssemblyTips

Wealsorecommendthatyougooveralltheaccessiblejointswithcyanoglue.Wickglueintoareasofhighstress
aroundtheU/Cplateandmotorbox.

UseNutlockonallmetaltometaljoints.Evenifyouareusingelectricwithlowvibrationlevelsitwillmakesure
thatthingsdonotdropoffyourairplane!!

www.aeroplusrc.com[email protected]
AeroPlusRCCopyright2013©AllRightsReserved


LandingGearAssembly



Pusheachaxlethroughthewhellholes,andtightenupwith1xselflockingnutand1xblindnut.Thenaxlethoughtheholeoflandinggear,and
tightenupwith1xselflockingnut




TheU/Crakesforwardsousethecorrectwheelpantperside,andusingafinedrill,drillholesforthescrews.



Nowlineupthewheelinthecentreofthewheelpantopeningandtightenthecollets.Remembertousenutlockandtomakesurethewheelcan
movefreely.
www.aeroplusrc.com[email protected]
AeroPlusRCCopyright2013©AllRightsReserved



RearStab
Removetheelevatorsandhingesfromtherearstabandplaceitintheopening.

Itisimportantthatcareistakenwhenaligningtherearstab.Measureeachsidetomakesurethatanequalamountshowsoneachside.
FittheCFwingtubeandlookingfromthefrontandbackcheckthattheelevatorplateisinhorizontalalignmenttotherearstab.Ifitisnotthentrim
theopeningsothatitisequal.
Fitthewingsandmeasurefromtheendofthewingtotheelevatorstabtomakesurethatbothsidesareequal

Glueing–Onceyouthinkyouarereadytoglue,measureagain.Werecommend2methodsforgluing.Eitherremovethecoveringontheareathatis
coveredbythefuselageandgluewithepoxyorleavethecoveringonandgluewiththincyno.Wickinginthinfirst,ifalargegapisvisiblethenuse
mediumorthick.Remembertowickinsmallamountsatatimekeepingtheplanelevel,thiswillensurethegluestayswhereitneedstobe.
 
Dependingonifyouarefitting1or2elevatorservo’syoumayneedtofittheelevatorjoiningbar.

Workouthowmuchofthejoinerbarneedtogointotheelevatorhalfbylayingthebaroverthehalvesandsettingthesamelengthastherearstab.
Openupthecoveringattheinsideofeachoftheelevatorhavesandmarktheareaofwoodthatneedstoberemoved.

Cuttheareaofwoodawaywithasharpknife

www.aeroplusrc.com[email protected]
AeroPlusRCCopyright2013©AllRightsReserved



Testfitthejoinerbar

Ironbackdownthecovering

Coverthejoinerbarleavingtheglueareaexposed

Cuttheareaforthejoinerbarontheotherelevatorhalf,irondownthecoveringandtestfit.
Gluethejoinerbarinto1oftheelevatorhalveswithepoxy.
Nowwecanhingeoneoftheelevatorswiththejoinerbargluedin.
Apply‘vaseline’tothehingepointonthehingesandusing30minuteepoxytogluetheseintotheboththestabandelevatorhalf.Wipeoffexcess
gluebeforeitsets.
Dryfittheotherelevatorhalfwiththehingesandmakesurethatbothhalvesaligntothestab.Trimwherethejoinerbarsitsifrequired.
Gluethehingesinbothstabandelevatoragainwith30minuteepoxy.Whilegluingusetapetokeepitinalignment

Completedelevator

Removethecoveringfortheelevatorservo



www.aeroplusrc.com[email protected]
AeroPlusRCCopyright2013©AllRightsReserved


Removethecoveringwheretheelevatorhornsfit,useeitherasolderingironorasharpknife.

Testfitthehorns

Theareaonthehornsthatgoesinsidetheelevatorneedstoberoughedupwithsandpaper.Thisallowsabettergluejoint.

Gluethehornsinplacewithepoxyglue.Putaboltthroughtheballjointholetomakesurethatthehornsstayinalignmentwhiledrying.

Beforefittingtheelevatorservofixanextensionleadsothatthewirecanberoutedthroughthecardboardtubewireholderinthefuselage.Onthe
servoleadjointaddaservoplugclip.
 
FittheElevatorServoservoandusingafinedrill,drillholesfortheservoscrews.Removetheservoanddropthincynointoall4holes.






www.aeroplusrc.com[email protected]
AeroPlusRCCopyright2013©AllRightsReserved


Re‐fittheelevatorservoandsecureitinwithservoscrews.

CentretheservousingyourTX,andfitaservoarm.Useeitheranaftermarketarmorattachthearmsthatweresuppliedtoaservohead.Screwball
jointsontothepushrod(useplierstoholdpushrod)andboltinplacewithsuppliedbolts.Centreofservoshouldalignwithelevatorflattothestab.
  
Ifyouareusingdualelevatorservosthenrepeattheprocessontheotherside.

Rudder

Assembletherudderhorns


Gluetherudderhingesintoboththerudderandfinusingepoxyglue.Remembertousevaselineonthehingejoint.Whiledryingusetapetokeepit
inalignment.

Drilltherudderscrewstofittherudderhronontherudder.Dothistobothsides.



www.aeroplusrc.com[email protected]
AeroPlusRCCopyright2013©AllRightsReserved



Assembletherudderservocontrolarmasbelow,drillholesforscrewsandusecynotostopthenutsfromcomingloose.
 
Fittherudderservoanddrillholesusingafinedrillfortheservoscrews,dropthincynointotheholestostrengthenthewood.
 
Usingservoscrewsfixtheservoinplace,notethesplineistowardsthefrontoftheplane

Theclosedloopwiresareassembledintheplane;attachtherearballjointstotherudder.Dothistobothsides.

Fitthearmontotherudderservoandcrimpthewirestoatauttension
  


TailGear

Locateallpartsasinpicture,whenassemblingremembertonutlockallparts

AssembletheGearasperphoto


www.aeroplusrc.com[email protected]
AeroPlusRCCopyright2013©AllRightsReserved



Attherearofthefuselageyouwillfindaplywoodarea,laytheCFgearonthisandmarkthe3holes.Takingcaretomakesureitisstraight.
Drilleachholewithafinedrillanddropthincynointotheholestostrengthenthewood.
 
ScrewtheCFgearonwiththethreesuppliedselftapingscrews.

Drillaholeinthebaseoftherudderfortheruddersteeringguide.

Beforegluingwithcyano,placeitoverthethinrod.
 


AileronServos
Theaileronsonthewingsarepre‐glued.Checkeachonebygentlypullingtomakesurethattheyaresecure
Removethecoveringwheretheaileronhornsaregluedinplace.Useeitherasolderingironorasharpknife

Usingsandpaperroughtheareathatwillbegluedintotheaileron.

Gluebothhornsinwithepoxyglue,useaboltthroughthehornswhengluingtomakesurethealignmentiscorrect.

Fittheaileronservoanddrillfineholeswheretheservoscrewswillfit.Thenapplythincyanotostrengthentheholes.
www.aeroplusrc.com[email protected]
AeroPlusRCCopyright2013©AllRightsReserved

 
Ifrequiredinstallaservoextensionleadontotheservo,remembertouseaservoplugclip.

Fittheservoandcentretheservoarm.
 
Usingthepushrodsuppliedscrewballjointsontoeachend.Thecorrectlengthwillleavetheaileronlineduptotheinnerpartstillattachedtothe
wing.

Usingsuppliedboltsattachthepushrodatbothends.Checktoseeyouhavesufficientmovementoftheaileron.Ifnotadjust.
  
Carryoutthesameprocedureontheotherwing.


Electric
Assemblethesuppliedelectricmotorboxandbolttotheenginebulkhead.
 
Dependingonthelengthofyourmotoryoumayneedtousethesuppliedroundplywoodspacerstoachievethecorrectlengthforthemotor.



www.aeroplusrc.com[email protected]
AeroPlusRCCopyright2013©AllRightsReserved


MounttheESCinairflowonthesideoftheelectricmotormount,usingavelcostrap.

Withtheremovalofthefueltankitleavesalargeareawherethebatteriescanbemounted.
Thecowlisfixedin4places,2atthetopand2atthebottom.Placemaskingtapeoverthebottom2andpiercewheretheblindnutholeis.

Refitthecowlanddrillwherethemarkedholewas.



Switch
Oneachsideofthefuselagenearthecanopyboltsareareasforswitchestobemounted.
 

RX
AconvienientplacetomounttheRXisjustinfrontoftherudderservo.Ensurethatitismountedonvelcoandstrappeddown.




Set‐up
Wehighlyrecommendtheuseofbothdualratesandexponential.Thiswillallowthemodeltoflybothprecisionand3Dattheflickofaswitch.

LowRates ExponentialHighRate Exponential
Elevator15‐20deg 15‐20% 35‐45deg 45‐60%
Ailerons15‐20deg 15‐20% 35‐45deg 45‐60%
Rudder25‐30deg 15‐20% 35‐45deg 45‐60%

Fortestflightsalwaysuselowrates,rememberthat+and–exponentialisdifferentpermanufacturer,checkyourTXmanual.
Alwayschecktherangeonyourmodelbeforethemaidenflight.Carryoutashortflightthengoovereverythingtomakesurenothinghascomeloose.









www.aeroplusrc.com[email protected]
AeroPlusRCCopyright2013©AllRightsReserved




CGLocation
WesuggestforinitialtestflightssettheCG106mmor4inchesfromtheleadingedgeofthewing.
Adjustafterfirstflightstopersonalpreference.



Other AeroPlus Toy manuals
AeroPlus MXS-R 30CC User manual

AeroPlus

AeroPlus MXS-R 30CC User manual
AeroPlus EXTRA 330SC 60CC User manual

AeroPlus

AeroPlus EXTRA 330SC 60CC User manual
AeroPlus Sbach 342 User manual

AeroPlus

AeroPlus Sbach 342 User manual
AeroPlus Sbach 342 20CC User manual

AeroPlus

AeroPlus Sbach 342 20CC User manual

AeroPlus Corvus Racer 540 59 User manual
AeroPlus

AeroPlus Corvus Racer 540 59 User manual

AeroPlus Edge 540 V3 20CC User manual

AeroPlus

AeroPlus Edge 540 V3 20CC User manual
AeroPlus Corvus Racer 540 User manual

AeroPlus

AeroPlus Corvus Racer 540 User manual
AeroPlus Edge 540 V3 35CC User manual

AeroPlus

AeroPlus Edge 540 V3 35CC User manual
AeroPlus Extra 330LT User manual

AeroPlus

AeroPlus Extra 330LT User manual

AeroPlus A?G030010A User manual

AeroPlus

AeroPlus A?G030010A User manual

AeroPlus Corvus Racer 540 35CC User manual

AeroPlus

AeroPlus Corvus Racer 540 35CC User manual

Popular Toy manuals by other brands

Nerf RIVAL NEMESIS MXVII-10K quick start guide

Nerf

Nerf RIVAL NEMESIS MXVII-10K quick start guide

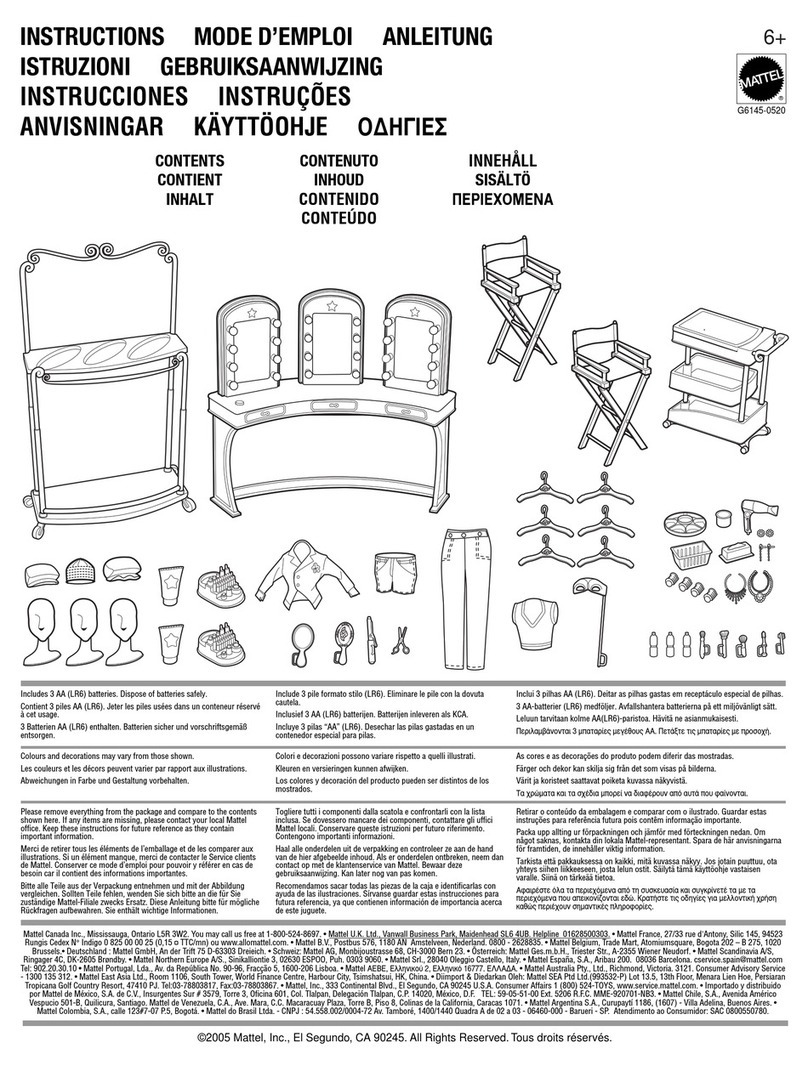
Mattel G6145 instructions

Mattel

Mattel G6145 instructions

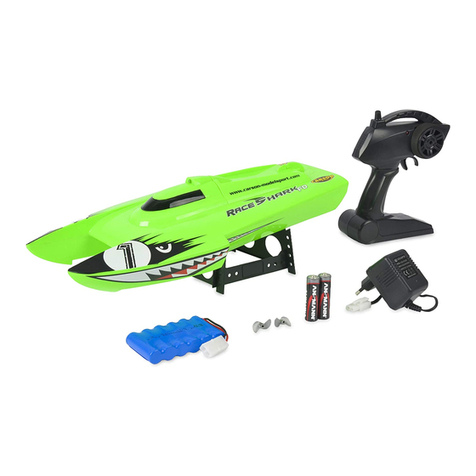
Carson Sea Shark FD instruction manual

Carson

Carson Sea Shark FD instruction manual

Faller COFFEE CUPS ROUNDABOUTS instructions

Faller

Faller COFFEE CUPS ROUNDABOUTS instructions

LEGO HOBBIT 79003 Building instructions

LEGO

LEGO HOBBIT 79003 Building instructions

Winfun Little Piano Tunes manual

Winfun

Winfun Little Piano Tunes manual

YAMARIN Cross 53 Bow Rider owner's manual
YAMARIN

YAMARIN Cross 53 Bow Rider owner's manual

SIG EDGE 540T Assembly manual

SIG

SIG EDGE 540T Assembly manual

SAB Heli Division Goblin 630 COMPETITION manual
SAB Heli Division

SAB Heli Division Goblin 630 COMPETITION manual

Mega Construx POKEMON WONDER BUILDERS DEINO GMD24 manual

Mega Construx

Mega Construx POKEMON WONDER BUILDERS DEINO GMD24 manual

Modellbau Laffont T6101 quick start guide

Modellbau Laffont

Modellbau Laffont T6101 quick start guide

LEGO 76015 Assembly manual

LEGO

LEGO 76015 Assembly manual

Arris X-Speed 250 Assembling manual

Arris

Arris X-Speed 250 Assembling manual

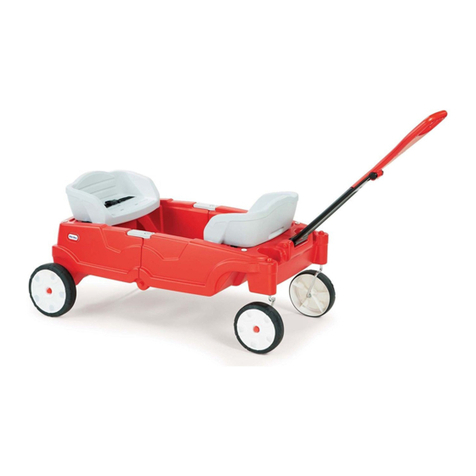
Little Tikes Fold 'n Go Folding Wagon Guide

Little Tikes

Little Tikes Fold 'n Go Folding Wagon Guide

Bell BHT-206L3-FM-1 LongRanger-III Flight manual

Bell

Bell BHT-206L3-FM-1 LongRanger-III Flight manual

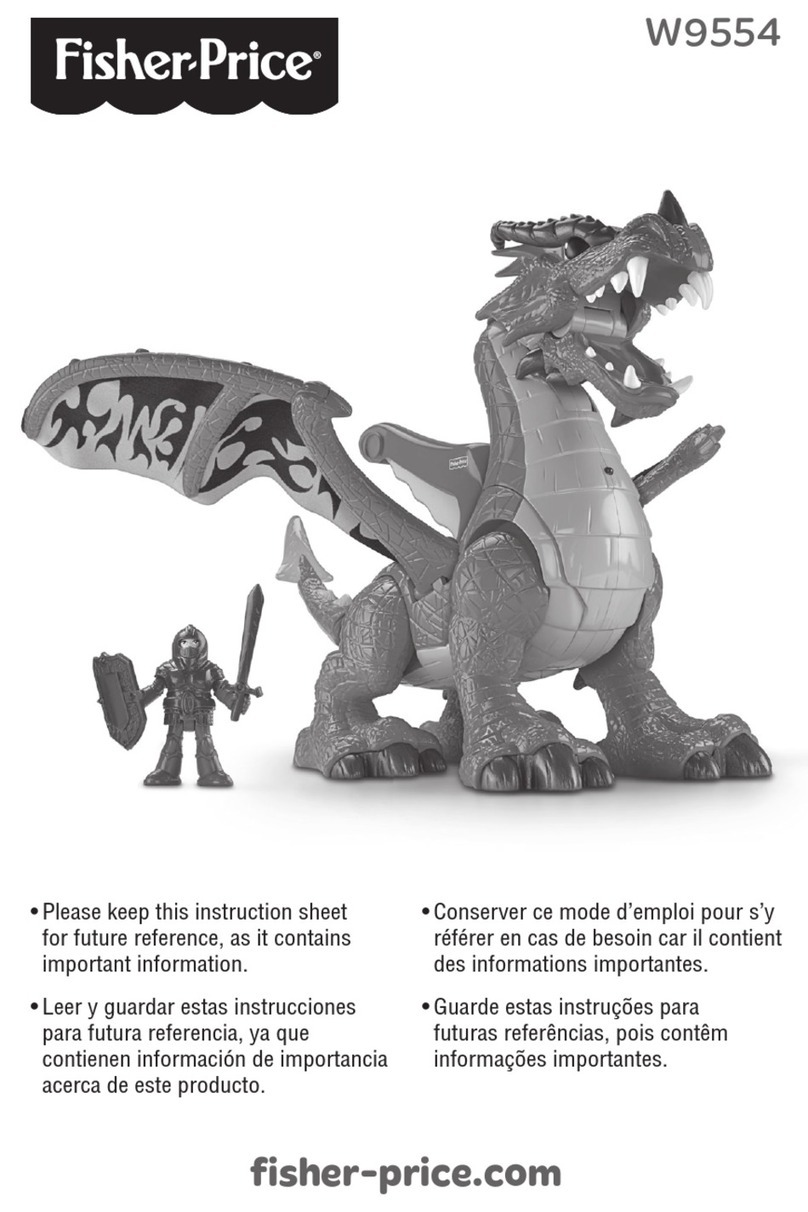
Fisher-Price W9554 instructions

Fisher-Price

Fisher-Price W9554 instructions

Eduard 48 945 manual

Eduard

Eduard 48 945 manual

Fisher-Price 71298 instructions

Fisher-Price

Fisher-Price 71298 instructions

manuals.online logo
manuals.online logoBrands
  • About & Mission
  • Contact us
  • Privacy Policy
  • Terms and Conditions

Copyright 2025 Manuals.Online. All Rights Reserved.