manuals.online logo
Brands
  1. Home
  2. •
  3. Brands
  4. •
  5. AeroPlus
  6. •
  7. Toy
  8. •
  9. AeroPlus A?G030010A User manual

AeroPlus A?G030010A User manual

www.aeroplusrc.com[email protected]
AeroPlusRCCopyright2013©AllRightsReserved


EXTRA300L30CC
ItemNo:A‐G030010
Specifications
WingSpan  73"(1860mm)
Length  68"(1730mm)
WingArea 1025sqin(66.1sqdm)
FlyingWeight 9.7‐11lbs(4400g‐5000g)
Glow  91‐1.20(2C)1.10‐1.40(4C)
Gasoline 26‐35ccgasDLE30/35RAMLD35JC30Evo
Electric6‐8SLipo
Radio  4CH/5‐6servos

Description
CoveringMaterialGenuineOracover
CarbonFibre:  Spinner,wingtubeandsleeves,landinggear,tailgear;
Fibreglassservoarms,hornandreinforcedU/Cmounting
Scalereaddeck
Canisterreadytunnel
Preplumbedtank
Adjustablepushrods
Ringedcowl
Predrilledhinges

2Colourschemes

 

A‐G030010B
White:ORACOVER21‐010
Yellow:ORACOVER21‐033
Blue:ORACOVER21‐052

A‐G030010A
Blue:ORACOVER21‐050
FerrariRed:ORACOVER21‐023
Lightred:ORACOVER21‐060
Yellow:ORACOVER21‐032
www.aeroplusrc.com[email protected]
AeroPlusRCCopyright2013©AllRightsReserved



Unpacking

Carefullyunpackthemodelmakingsurethatifyouuseasharpknifetoopenbags,nottocutanycoveringonthe
model.Inspecteachitemtomakesurenotransitdamagehashappened.Ifyouarenothappywithanypartor
areunsurepleasecontacttheDealerthatyoupurchasedfrom.

Covering

Duetothemodelspendingtimeindifferentclimateszonesfromthefactoryonitswaytoyou,someofthe
coveringmayhavewrinkles.Wehighlyrecommendthatyoutaketimetore‐sealallcoveringedgeswithaniron
andtouseaheatguntoremoveanywrinklesandre‐tightenthecovering.Itisbesttodothisnowwhiletheplane
isnotassembled,remembertonotletanyheatgetnearanypartslikethecanopyorcowlasthismaycause
damage.

AssemblyTips

Wealsorecommendthatyougooveralltheaccessiblejointswithcyanoglue.Wickglueintoareasofhighstress
aroundtheU/Cplateandmotorbox.

UseNutlockonallmetaltometaljoints.Evenifyouareusingelectricwithlowvibrationlevelsitwillmakesure
thatthingsdonotdropoffyourairplane!!

www.aeroplusrc.com[email protected]
AeroPlusRCCopyright2013©AllRightsReserved



LandingGearAssembly

Tostopthefuselagegettingdamagedwhilethemodelisassembledwerecommendfittingthelandinggearfirst.

Parts
CFLandingGear
2xwheelpants
2xwheels
2xaxles
4xcollets
4xM3bolts






Pusheachaxlethroughthelargeholesandtightenupusing2spanners.


Placeacolletontheaxlefollowedbythewheel,thenanothercolletontheoutsideasperbelowdiagram.

Donottightenupthecolletsyetasthewheelneedstobefittedanequaldistancewithinthewheelpant.

TheU/Crakesforwardsousethecorrectwheelpantperside.Putnutlockontothe2xfactoryfittedblindnutsonthewheelpant

Fitovertheaxleandsecurewith2xcapheadbolts

Nowlineupthewheelinthecentreofthewheelpantopeningandtightenthecollets.Remembertousenutlockandtomakesurethewheelcan
movefreely.

www.aeroplusrc.com[email protected]
AeroPlusRCCopyright2013©AllRightsReserved



RearStab
Removetheelevatorsandhingesfromtherearstabandplaceitintheopening.

Itisimportantthatcareistakenwhenaligningtherearstab.Measureeachsidetomakesurethatanequalamountshowsoneachside.
FittheCFwingtubeandlookingfromthefrontandbackcheckthattheelevatorplateisinhorizontalalignmenttotherearstab.Ifitisnotthentrim
theopeningsothatitisequal.
Fitthewingsandmeasurefromtheendofthewingtotheelevatorstabtomakesurethatbothsidesareequal

Glueing–Onceyouthinkyouarereadytoglue,measureagain.Werecommend2methodsforgluing.Eitherremovethecoveringontheareathatis
coveredbythefuselageandgluewithepoxyorleavethecoveringonandgluewiththincyno.Wickinginthinfirst,ifalargegapisvisiblethenuse
mediumorthick.Remembertowickinsmallamountsatatimekeepingtheplanelevel,thiswillensurethegluestayswhereitneedstobe.
 
Dependingonifyouarefitting1or2elevatorservo’syoumayneedtofittheelevatorjoiningbar.

Workouthowmuchofthejoinerbarneedtogointotheelevatorhalfbylayingthebaroverthehalvesandsettingthesamelengthastherearstab.
Openupthecoveringattheinsideofeachoftheelevatorhavesandmarktheareaofwoodthatneedstoberemoved.

Cuttheareaofwoodawaywithasharpknife

www.aeroplusrc.com[email protected]
AeroPlusRCCopyright2013©AllRightsReserved



Testfitthejoinerbar

Ironbackdownthecovering

Coverthejoinerbarleavingtheglueareaexposed

Cuttheareaforthejoinerbarontheotherelevatorhalf,irondownthecoveringandtestfit.
Gluethejoinerbarinto1oftheelevatorhalveswithepoxy.
Nowwecanhingeoneoftheelevatorswiththejoinerbargluedin.
Apply‘vaseline’tothehingepointonthehingesandusing30minuteepoxytogluetheseintotheboththestabandelevatorhalf.Wipeoffexcess
gluebeforeitsets.
Dryfittheotherelevatorhalfwiththehingesandmakesurethatbothhalvesaligntothestab.Trimwherethejoinerbarsitsifrequired.
Gluethehingesinbothstabandelevatoragainwith30minuteepoxy.Whilegluingusetapetokeepitinalignment

Completedelevator

Removethecoveringfortheelevatorservo

Removethecoveringwheretheelevatorhornsfit,useeitherasolderingironorasharpknife.
www.aeroplusrc.com[email protected]
AeroPlusRCCopyright2013©AllRightsReserved


Testfitthehorns

Theareaonthehornsthatgoesinsidetheelevatorneedstoberoughedupwithsandpaper.Thisallowsabettergluejoint.

Gluethehornsinplacewithepoxyglue.Putaboltthroughtheballjointholetomakesurethatthehornsstayinalignmentwhiledrying.

Beforefittingtheelevatorservofixanextensionleadsothatthewirecanberoutedthroughthecardboardtubewireholderinthefuselage.Onthe
servoleadjointaddaservoplugclip.
 
FittheElevatorServoservoandusingafinedrill,drillholesfortheservoscrews.Removetheservoanddropthincynointoall4holes.

Re‐fittheelevatorservoandsecureitinwithservoscrews.
www.aeroplusrc.com[email protected]
AeroPlusRCCopyright2013©AllRightsReserved


CentretheservousingyourTX,andfitaservoarm.Useeitheranaftermarketarmorattachthearmsthatweresuppliedtoaservohead.Screwball
jointsontothepushrod(useplierstoholdpushrod)andboltinplacewithsuppliedbolts.Centreofservoshouldalignwithelevatorflattothestab.
  
Ifyouareusingdualelevatorservosthenrepeattheprocessontheotherside.

Rudder
Removethecoveringwheretherudderhornspushthroughwitheitheraknifeorsolderingiron.

Testfittherudderhorns

Sandtheareaonthehornthatfitsinsidetheruddersothegluebondsbetter

Gluetherudderhingesintoboththerudderandfinusingepoxyglue.Remembertousevaselineonthehingejoint.Whiledryingusetapetokeepit
inalignment.
 
Gluetherudderhornsthroughtherudderwithepoxy,wipeoffexcessgluewhileitiswet.Usetheballjointandboltwhilegluingtomaintain
alignment.Whilestillmovablemeasurethatthesameamountpushesouteachside.Careneedstobetakenhereotherwiseyourruddergeometry
willbeincorrect.
www.aeroplusrc.com[email protected]
AeroPlusRCCopyright2013©AllRightsReserved


Assembletherudderservocontrolarmasbelow,drillholesforscrewsandusecynotostopthenutsfromcomingloose.
 
Fittherudderservoanddrillholesusingafinedrillfortheservoscrews,dropthincynointotheholestostrengthenthewood.
 
Usingservoscrewsfixtheservoinplace,notethesplineistowardsthefrontoftheplane

Theclosedloopwiresareassembledintheplane;attachtherearballjointstotherudder.Dothistobothsides.

Fitthearmontotherudderservoandcrimpthewirestoatauttension
  

TailGear

Locateallpartsasinpicture,whenassemblingremembertonutlockallparts

AssembletheGearasperphoto
www.aeroplusrc.com[email protected]
AeroPlusRCCopyright2013©AllRightsReserved


Attherearofthefuselageyouwillfindaplywoodarea,laytheCFgearonthisandmarkthe3holes.Takingcaretomakesureitisstraight.
Drilleachholewithafinedrillanddropthincynointotheholestostrengthenthewood.
 
ScrewtheCFgearonwiththethreesuppliedselftapingscrews.

Drillaholeinthebaseoftherudderfortheruddersteeringguide.

Beforegluingwithcyano,placeitoverthethinrod.
 


AileronServos
Theaileronsonthewingsarepre‐glued.Checkeachonebygentlypullingtomakesurethattheyaresecure
Removethecoveringwheretheaileronhornsaregluedinplace.Useeitherasolderingironorasharpknife

Usingsandpaperroughtheareathatwillbegluedintotheaileron.

Gluebothhornsinwithepoxyglue,useaboltthroughthehornswhengluingtomakesurethealignmentiscorrect.
www.aeroplusrc.com[email protected]
AeroPlusRCCopyright2013©AllRightsReserved


Fittheaileronservoanddrillfineholeswheretheservoscrewswillfit.Thenapplythincyanotostrengthentheholes.
 
Ifrequiredinstallaservoextensionleadontotheservo,remembertouseaservoplugclip.

Fittheservoandcentretheservoarm.
 
Usingthepushrodsuppliedscrewballjointsontoeachend.Thecorrectlengthwillleavetheaileronlineduptotheinnerpartstillattachedtothe
wing.

Usingsuppliedboltsattachthepushrodatbothends.Checktoseeyouhavesufficientmovementoftheaileron.Ifnotadjust.
  
Carryoutthesameprocedureontheotherwing.

GasEngine
Fromthetemplatethatcamewiththeengine,usingthecrossaxisontheengineboxmarkthemountingholes.

Checkthediameteroftherequiredboltsanddrillaccordingly.
www.aeroplusrc.com[email protected]
AeroPlusRCCopyright2013©AllRightsReserved


Mounttheenginewiththestandoffstothebulkhead.Remembertouselargewashersontheinsidetospreadtheloadanduseplentyofnutlock.
  
Exhaustoptions.Dependingontheenginemanyexhaustoptionsareavailable.Standardmuffler,PittsExhaustofcanisterwithheader.
  
Ifusingacanisterabracketisalreadyinsidethemodel.Usingsilicontubingitwillholdtheendofthecanister.
 
Thefrontoutletofthecanisterwillpopoutofthebottomofthecowl

Cutouttheareafortheenginecylinderheadandtheexhaustoutletonapieceofthincardandtapethistothefuselageatoneend.

Removetheengineandfitthecowl,thenfoldthecardbackover.

Marktheareaandcutoutusingadremel.Ensurethatenoughaircangetoutofthecowl.Therationisusually,3timeoutto1in.
Fittheignitiononthesideofthemotorbox.UseVelcroandalsoastraptoensureitdoesnotcomeoffwithvibration.
Thecowlisfixedin4places,2atthetopand2atthebottom.Placemaskingtapeoverthebottom2andpiercewheretheblindnutholeis.
www.aeroplusrc.com[email protected]
AeroPlusRCCopyright2013©AllRightsReserved


Refitthecowlanddrillwherethemarkedholewas.

Thefueltankispre‐installed.Attachpetrolproofpipeasperlabellingontank
 
Usethesuppliedpushrodwithaballjointtoconnecttothethrottlearmontheengine.Thenfindaconvenientplacetolocatethethrottleservo
usingthesuppliedmount.
 
Installtheengineboxcoverplateonceallconnectionshavebeenmadefortheengine.


Electric
Assemblethesuppliedelectricmotorboxandbolttotheenginebulkhead.
 
Dependingonthelengthofyourmotoryoumayneedtousethesuppliedroundplywoodspacerstoachievethecorrectlengthforthemotor.

MounttheESCinairflowonthesideoftheelectricmotormount,usingavelcostrap.
www.aeroplusrc.com[email protected]
AeroPlusRCCopyright2013©AllRightsReserved


Withtheremovalofthefueltankitleavesalargeareawherethebatteriescanbemounted.

Switch
Oneachsideofthefuselagenearthecanopyboltsareareasforswitchestobemounted.
 

RX
AconvienientplacetomounttheRXisjustinfrontoftherudderservo.Ensurethatitismountedonvelcoandstrappeddown.


Canopy
Thecanopyisheldinplacewiththe2thumbscrews,ensurethesearetightbeforeflying


Set‐up
Wehighlyrecommendtheuseofbothdualratesandexponential.Thiswillallowthemodeltoflybothprecisionand3Dattheflickofaswitch.

LowRates ExponentialHighRate Exponential
Elevator15‐20deg 15‐20% 35‐45deg 45‐60%
Ailerons15‐20deg 15‐20% 35‐45deg 45‐60%
Rudder25‐30deg 15‐20% 35‐45deg 45‐60%

Fortestflightsalwaysuselowrates,rememberthat+and–exponentialisdifferentpermanufacturer,checkyourTXmanual.
Alwayschecktherangeonyourmodelbeforethemaidenflight.Carryoutashortflightthengoovereverythingtomakesurenothinghascomeloose.

CGLocation
WesuggestforinitialtestflightssettheCG111mmor43/8inchesfromtheleadingedgeofthewing.
Adjustafterfirstflightstopersonalpreference.

www.aeroplusrc.com[email protected]
AeroPlusRCCopyright2013©AllRightsReserved











This manual suits for next models

1

Other AeroPlus Toy manuals
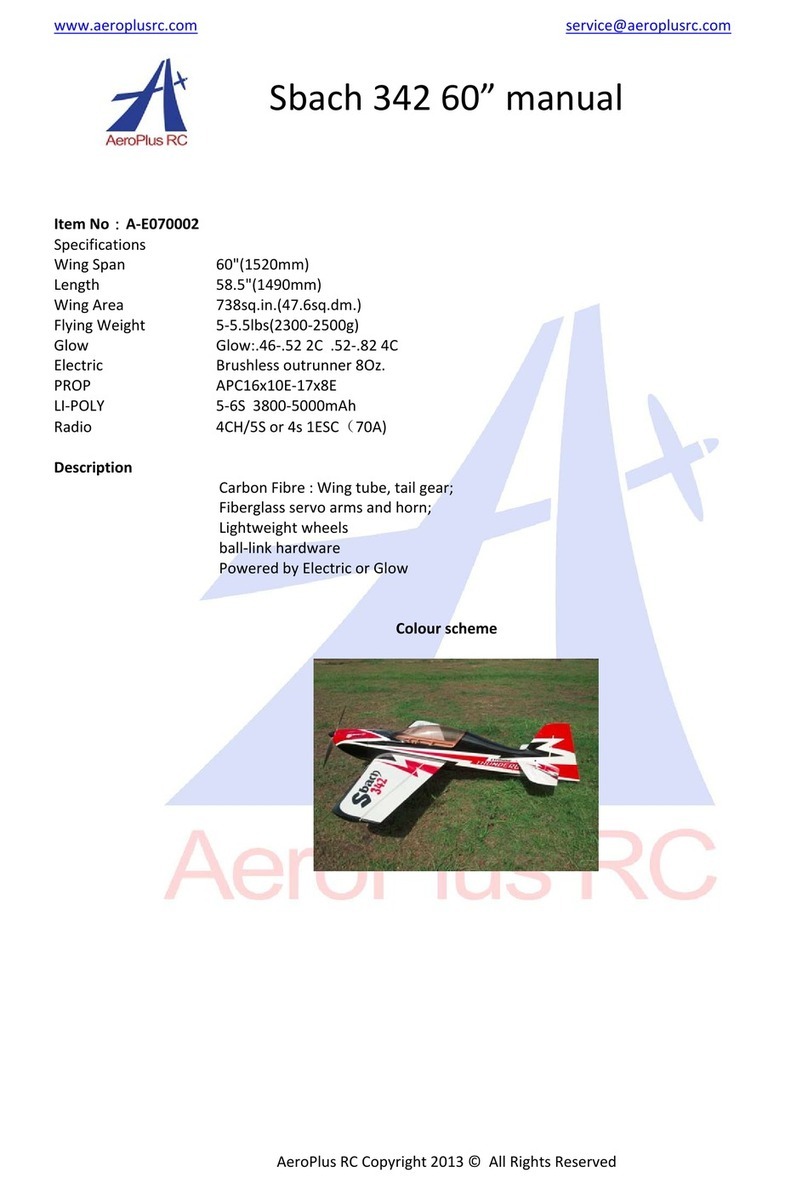
AeroPlus Sbach 342 User manual

AeroPlus

AeroPlus Sbach 342 User manual

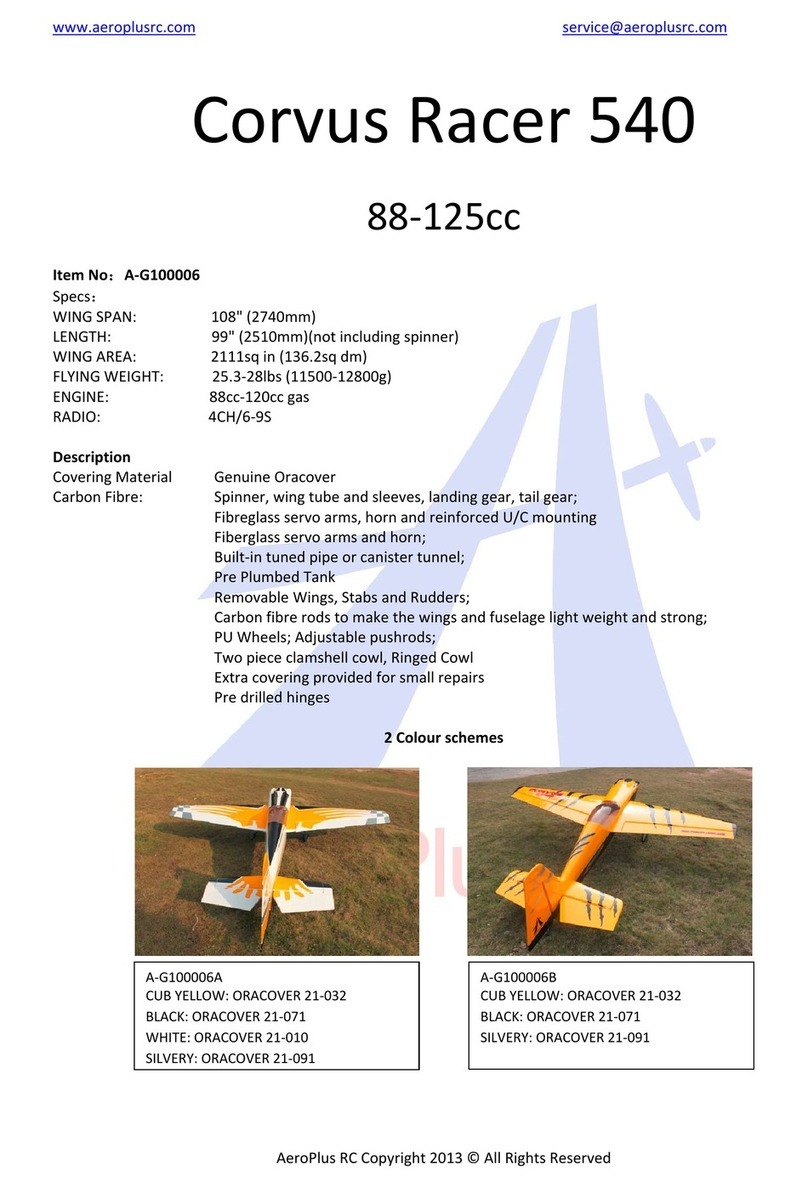
AeroPlus Corvus Racer 540 59 User manual
AeroPlus

AeroPlus Corvus Racer 540 59 User manual

AeroPlus Corvus Racer 540 User manual

AeroPlus

AeroPlus Corvus Racer 540 User manual
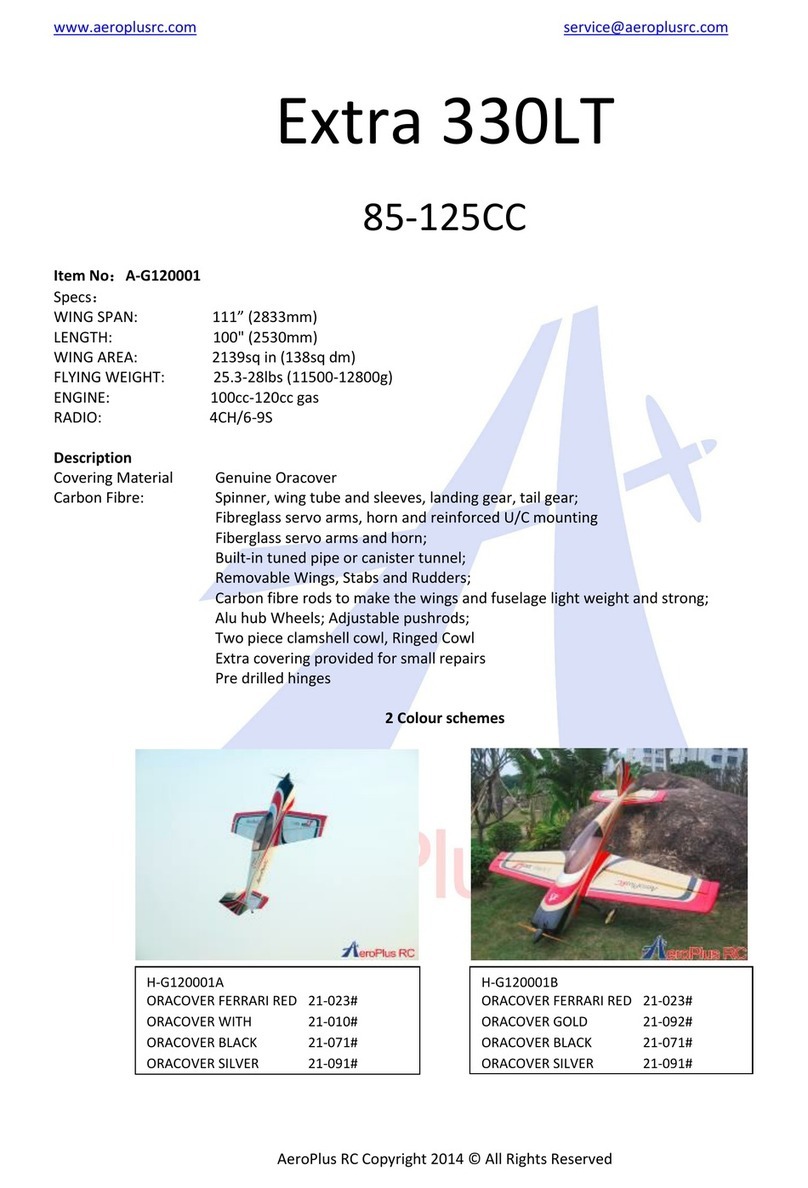
AeroPlus Extra 330LT User manual

AeroPlus

AeroPlus Extra 330LT User manual

AeroPlus YAK 55M User manual

AeroPlus

AeroPlus YAK 55M User manual
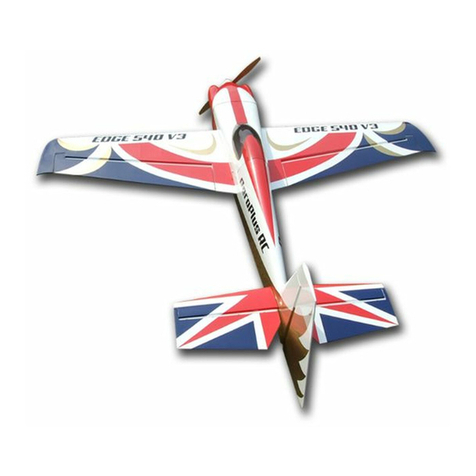
AeroPlus Edge 540 V3 35CC User manual

AeroPlus

AeroPlus Edge 540 V3 35CC User manual
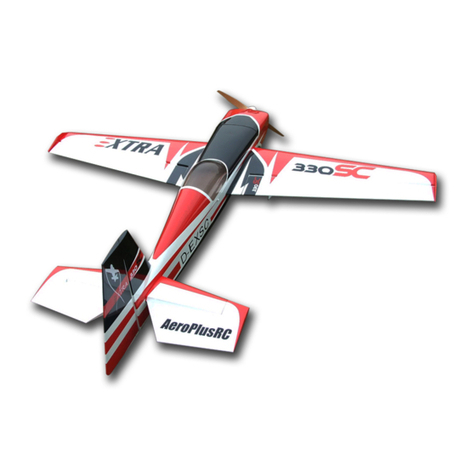
AeroPlus EXTRA 330SC 60CC User manual

AeroPlus

AeroPlus EXTRA 330SC 60CC User manual
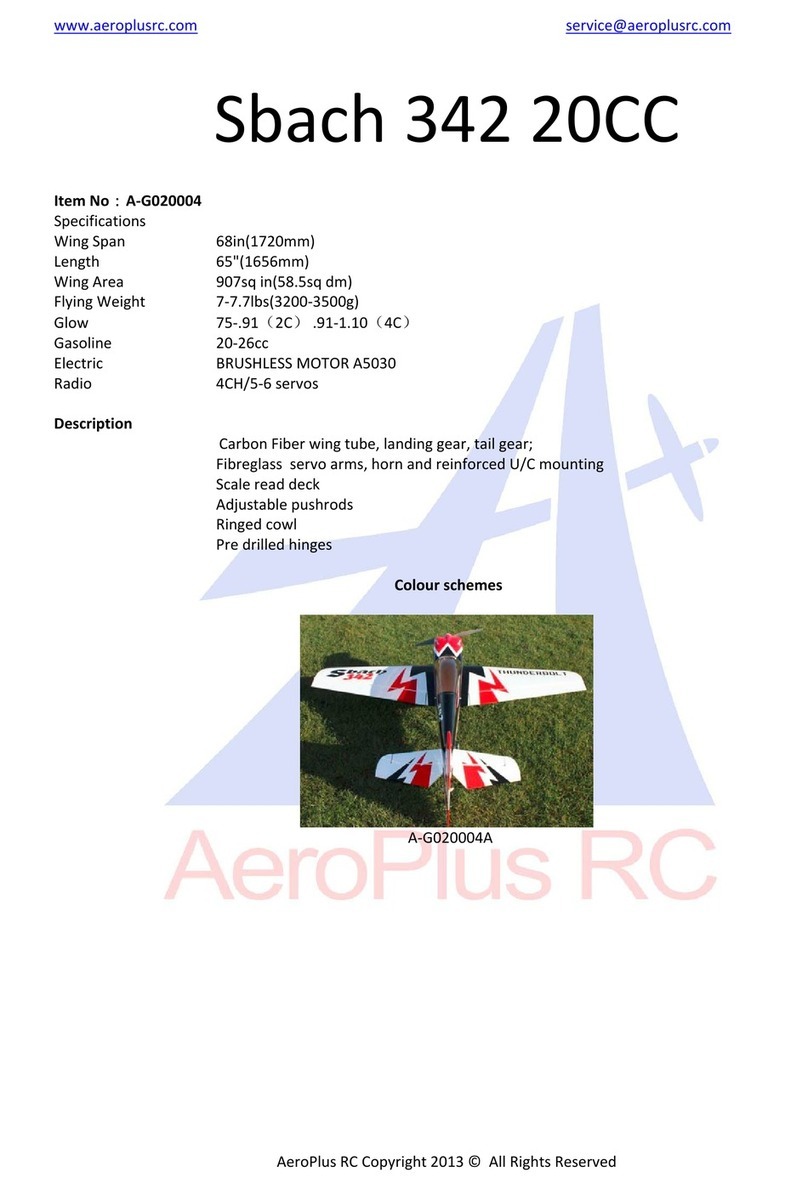
AeroPlus Sbach 342 20CC User manual

AeroPlus

AeroPlus Sbach 342 20CC User manual

AeroPlus Corvus Racer 540 35CC User manual
AeroPlus

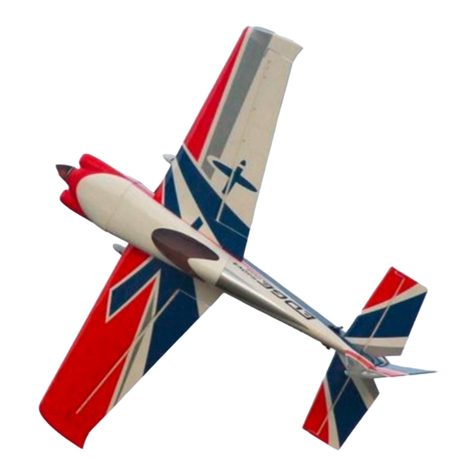
AeroPlus Corvus Racer 540 35CC User manual

AeroPlus Edge 540 V3 20CC User manual

AeroPlus

AeroPlus Edge 540 V3 20CC User manual

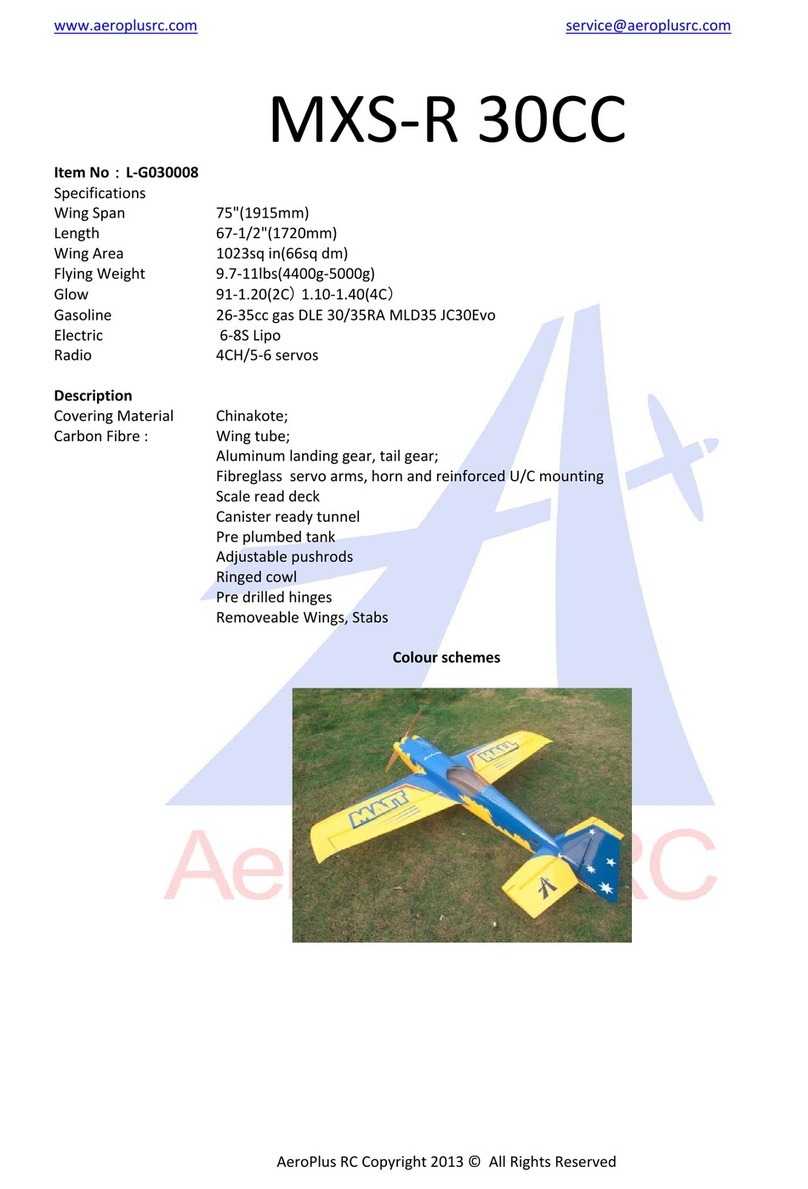
AeroPlus MXS-R 30CC User manual

AeroPlus

AeroPlus MXS-R 30CC User manual

Popular Toy manuals by other brands

Inspired Flight IF1200 user manual

Inspired Flight

Inspired Flight IF1200 user manual

Madcow Rocketry mini Aerobee Hi Assembly
Madcow Rocketry

Madcow Rocketry mini Aerobee Hi Assembly

Eduard B-52 landing flaps quick start guide

Eduard

Eduard B-52 landing flaps quick start guide

Protocol TracerJet with Gyro RC instruction manual
Protocol

Protocol TracerJet with Gyro RC instruction manual

Meister Scale 84" WING SPAN MESSERSCHMITT BF-109 Assembly manual
Meister Scale

Meister Scale 84" WING SPAN MESSERSCHMITT BF-109 Assembly manual

Hangar 9 Hangar 9 P-51 Mustang ARF instruction manual
Hangar 9

Hangar 9 Hangar 9 P-51 Mustang ARF instruction manual

Merlin Hobbies Knife Loop Yak 3DAerobatic Profile ARF instruction manual

Merlin Hobbies

Merlin Hobbies Knife Loop Yak 3DAerobatic Profile ARF instruction manual

K'Nex Education 78630 introduction

K'Nex Education

K'Nex Education 78630 introduction
Mattel Matchbox Rescue Net Super-Blast Fire Truck quick start guide

Mattel

Mattel Matchbox Rescue Net Super-Blast Fire Truck quick start guide

Modellbau Laffont Z3101 Assembly instructions
Modellbau Laffont

Modellbau Laffont Z3101 Assembly instructions

Fisher-Price HIT Entertainment my first Thomas & Friends Railway Pals... instructions

Fisher-Price

Fisher-Price HIT Entertainment my first Thomas & Friends Railway Pals... instructions
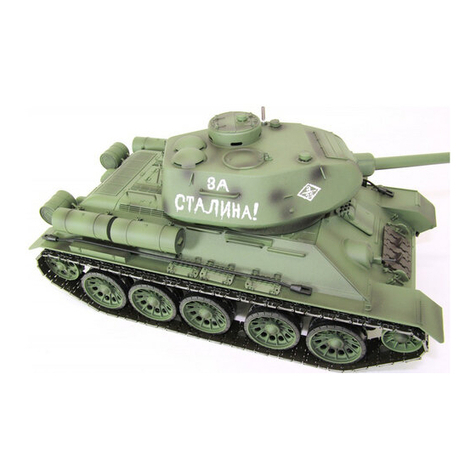
XciteRC T-34/85 Standard M 1:16 manual
XciteRC

XciteRC T-34/85 Standard M 1:16 manual
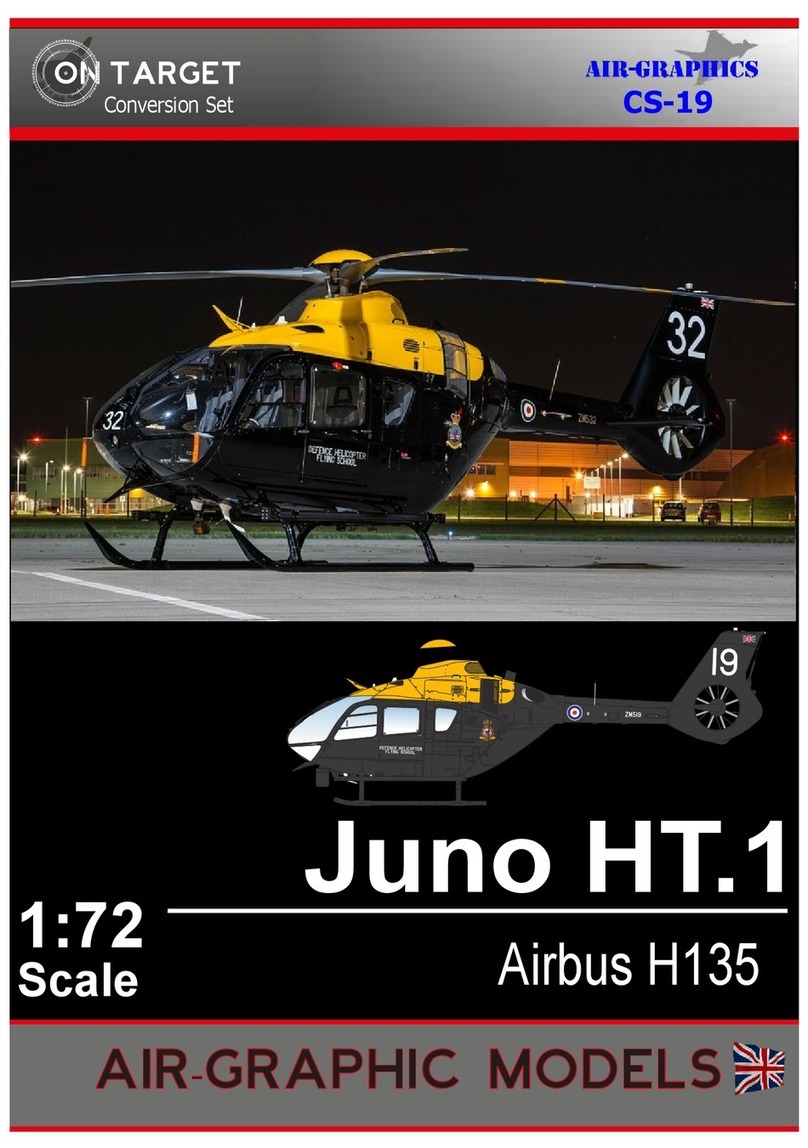
AIR-GRAPHICS Airbus H135 Juno HT.1 manual

AIR-GRAPHICS

AIR-GRAPHICS Airbus H135 Juno HT.1 manual

Eduard Aussie Eight 2119-NAV1 instruction sheet

Eduard

Eduard Aussie Eight 2119-NAV1 instruction sheet

Fisher-Price J9632 instruction sheet

Fisher-Price

Fisher-Price J9632 instruction sheet

Beleduc PUNAKAI Instruction

Beleduc

Beleduc PUNAKAI Instruction

Eagle A3 Pro instruction manual

Eagle

Eagle A3 Pro instruction manual

MODSTER Ranger 1600 manual

MODSTER

MODSTER Ranger 1600 manual

manuals.online logo
manuals.online logoBrands
  • About & Mission
  • Contact us
  • Privacy Policy
  • Terms and Conditions

Copyright 2025 Manuals.Online. All Rights Reserved.