manuals.online logo
Brands
  1. Home
  2. •
  3. Brands
  4. •
  5. AES
  6. •
  7. Intercom System
  8. •
  9. AES 702/AB User manual

AES 702/AB User manual

Installation Manual
for
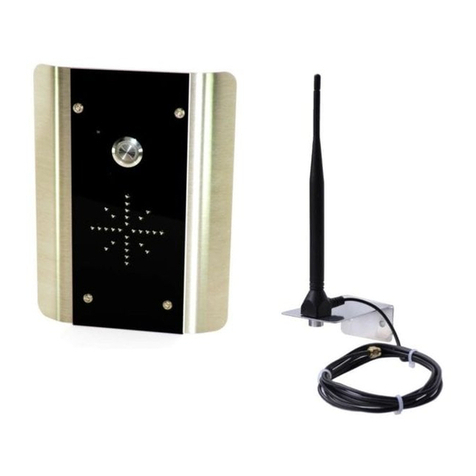
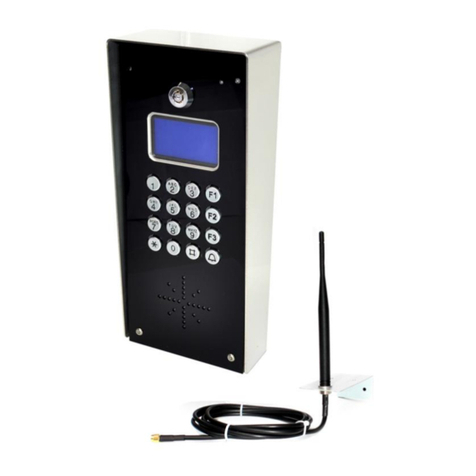
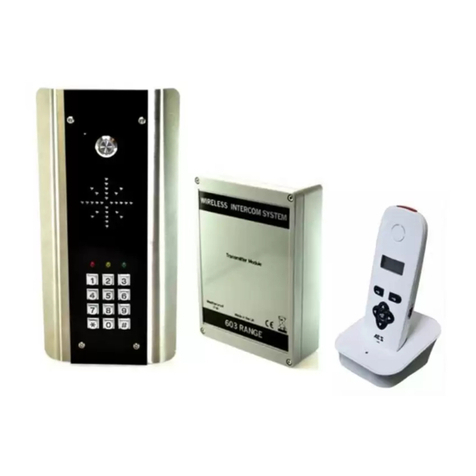
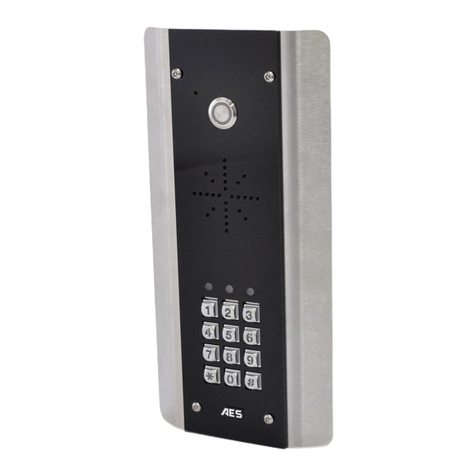
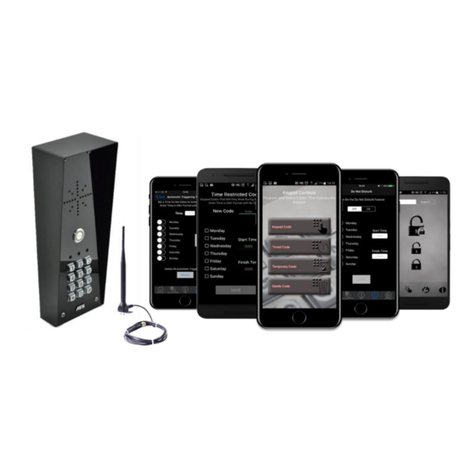
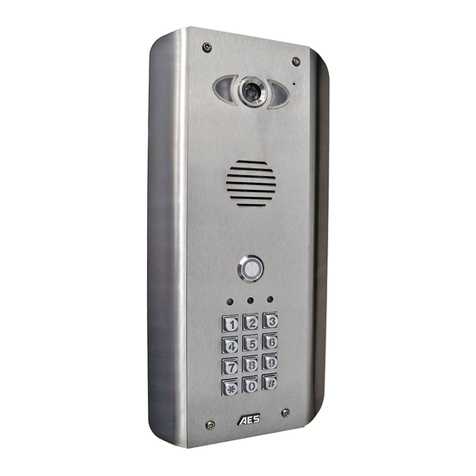
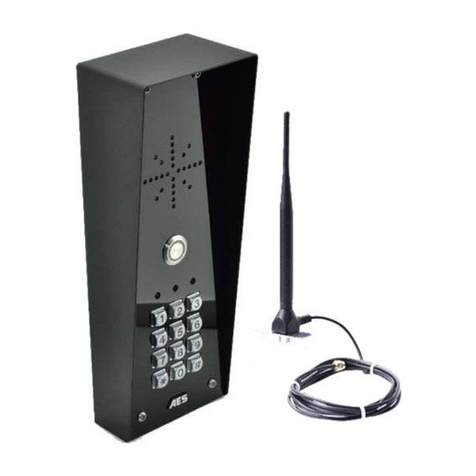
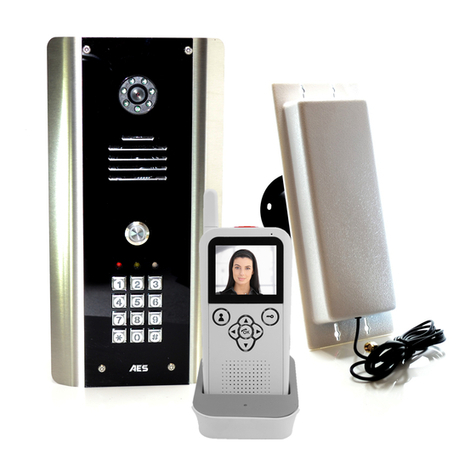
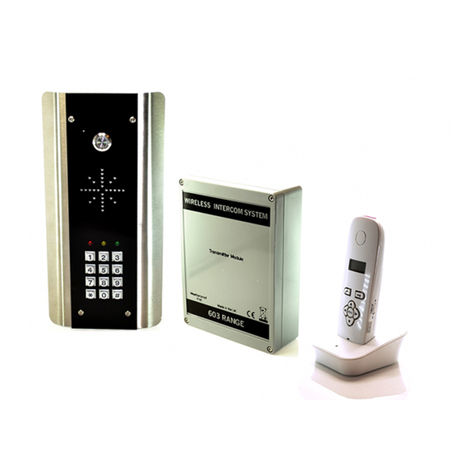
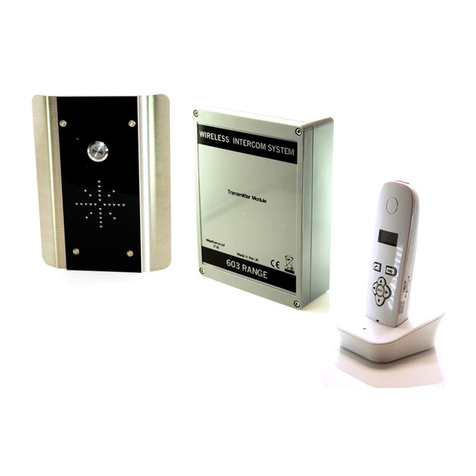
702/AB & ABK Wireless Intercom System
Installation
Keep short as possible, 8 meters max
Fig.2.
IMPORTANT:
Do NOT drill
holes in the top
or near the top
of the enclosure.
Do NOT use
silicone
sealants!
Wiring
Shielded CAT5
702
Intercom
Transmitter
Remove only
the top screws
for access.
The front plate
is hinged and
will open
downwards.
-
+ + -
ac/dc
12v
Shield can be
connected to
chassis
Solid core of shield
connected to 0V on
PCB above for better
audio quality.
1200 keypad manual
V1
+-
12-24v
dc
N/C
COM
N/O
N/C
COM
N/O
egress
OUT1 OUT2
OUT3 N/C
COM
N/O K or A
DU out
(-)GND
Sense
O/P1 inhib
INT Lock
Tamper
N/C
Single
button
Button 1Button 2
43
5
6
8 7
SPK
vol
-
++-
SPK 3 2 1 12v
out 12v
in-
+
12-13v
d.c Relay output
N/C or N/O
Caution
DELETE
Code
Antenna Relay
time
jumper
Once the system is installed and switched on, wait 30-60 seconds before
testing. The handsets should already be coded for you.
Press a call button and check the handset rings. The call can be
answered and pressing the lock release button should activate the relay
on the door controller.
Should the system not operate at the required range, try re-locating the
handset to a location which may have line of sight to the gate transmitter
through a window. Alternatively, a high gain antenna can be purchased
from your dealer to extend range.
Notes
Please read the entire instructions before installing.
Range test the system before installing items, or screwing items to walls,
otherwise your refund value will be affected due to items being marked or
not in new condition!
Relay time jumper
Jumper ON = 4 second pulse time.
Jumper OFF = Double pulse for strike lock.
Door / gate
release
Volume control
(at rear)
Power
connection
(5v D.C)
Entrance
Pillar
Transmitter / receiver - Keep
away from ground, as high as
possible. For best results, do
not install too close to sources
of electrical interference e.g.
gate automation panel
Speech
Unit
House or
reception
area
Note: Wood and glass only
reduce signal strength by
10-20%. Masonry will reduce
signal strength by 20-50%
per wall. Metal can totally
block signals.
For longer range
applications, locate the
handset near a window at
front of property.
150m
Typical
Fig.1.
Handset
Coding
Should you need to code a handset to the system, follow this procedure..
1) Clear the code from the new handset by shorting the pads on the
back, near the power connections. The handset will bleep to confirm.
Press and hold the appropriate corresponding push button on the
speech panel for more than 5 seconds. Once you begin to hear bleeping,
release the button.
2) Press and hold the unlock button on the handset until a bleep is heard
and release.
3) Both devices should play a short melody if the procedure was
successful.
The handset can be desk top mounted or
wall mounted, and comes complete with
a wall mounting bracket.
Power is supplied by a 5v d.c. wall plug
adaptor.
Volume control is behind the handset for
ringing volume.
This system is capable of supporting up
to 3 call buttons, and up to 3 handsets for
each call button, totalling 9 handsets
overall.
Note: For keypad models, ensure to connect both the relays on the
keypad and the intercom transmitter to the lock or gate controller.
For magnetic locks, relays should be connected in series, normally
closed. For strike locks, relays should be connected in parallel,
normally open.
Channel button
Procedure 2 - Code an additional handset in an apartment (where a
handset already exists)
1) Clear the code from the new handset by shorting the pads on the
back, near the power connections. The handset will bleep to confirm.
2) Press and hold the unlock button on the new handset. After a few
seconds you will hear a bleep. Keep holding until you hear a second and
then a third, and release the button.
3) Press and hold the lock/unlock button on the existing working
handset until the second bleep is heard.
4) Both handsets should bleep with a confirm tone if successful.
5) Now you need to tell the additional handset that it is a different
handset number to the first handset. To do this, press and hold both
buttons on the new handset until the first bleep is heard and release.
6) Then press the channel button once to select channel 2. Should you
be adding a third handset, you would press the channel button again to
select channel 3.
7) After a few seconds the procedure should be complete.
8) Press the call button on the intercom and check both handsets ring,
and that each can be answered and voice is working.
Procedure 1 - Code handsets from scratch (for a button with no
working handsets already coded)
Note: If the coding procedure is not done correctly or fails, and the system
is not coded correctly, it is advised to completely delete all codes and start
again from scratch to code in the handsets. The overall procedure to do
this is as follows..
1) Press code button on the door / gate transmitter to delete the code on it.
2) Delete the code on all handsets by shorting the pads as described
above.
3) Code the first handset for each button as shown in procedure 1.
4) Code any additional slave handsets in each apartment as per procedure
2 shown above.
EG IN (EGRESS INPUT)
Connect a push button between this terminal and (-)GND. When Egress button is pressed, output 1
will be activated for the programmed delay. Egress button is usually located inside a building and
used as a push to exit.
K or A. (KEYPAD ACTIVE OUTPUT)
An NPN transistor open collector output. It switches to (-) ground for 10 seconds on each key
touching. This can be used to turn on lights, CCTV camera, or buzzer to notify a guard. The rating
of this output is: Ic max: 100mA sink, Vc max: 24VDC
DU OUT (DURESS OUTPUT)
An NPN transistor open collector output. It switches to (-) ground after the Duress Code is entered.
Use it to trigger an alarm zone, or turn on a buzzer to notify a guard. Ic max: 100mA sink. Vc max:
24VDC
Additional keypad information –Note: These features are not commonly used.
Keypad Programming (only ABK models)
The unit is now in programming mode. Amber LED
will remain ON. 0000 is default programmers code.
Note: Pressing ** again will exit programming
mode.
0
Memory locations
000-999 for relay 1
001-100 for relay 2
001-100 for relay 3
0 0 0 *
1 0 2 0
Enter Programming mode
Programming SUPER user code
0
10= relay 1 codes
(1000 available)
20= relay 2 codes
(100 available)
30= relay 3 codes
(100 available)
Programming Relay output times & modes
? ? 01 -
0 = start / stop toggle mode (latching)
1-99999 = seconds momentary operation
Note: Programming can only begin 60 seconds after power on.
*
Enter new programmers code
Location
0 1 ?? ? ?
4-8 digit code Validate
#
Super user code is an optional feature which allows the same code to operate outputs 1, 2 or 3.
Record or Delete user codes
? ?? ? #0
2= add code
5= delete code Pin code 4-8 digits Validate
Example: Add user 31 to have access code 5555 operating relay 2….
2 0 2 0 3 5 55 5 #1
Group 2 Add code Location 31 Pin code 5555 Validate
Delete a code
? ? 5 ? ?? #
10=relay1
20=relay2
30=relay3 Delete code ID location to be deleted Validate
Delete all codes in a group
? ? 0 9 99 #
10=relay1 group
20=relay2 group
30=relay3 group Super delete code Validate
99999
or #
51=relay1
52=relay2
53=relay3
Validate
Location
0 2 ?? ? ?
4-8 digit code Validate
#
Using super user code
?? ? ? # 1 Activate output 1
?? ? ? # 2 Activate output 2
?? ? ? # 3 Activate output 3
To use standard code, simply enter the 4 digit code.
Note: Remember to exit programming mode with ** before testing user codes.
Using standard user code
Restoring defaults
While in programming mode, enter the following to delete all codes and settings apart from the
Master code.. (this can take up to 2.5 minutes)...
9 9 99 #
When the master code is forgotten….
1) Wire a push button (or replicate with wire link) across the EG IN terminal and (-)GND.
2) Switch off power for 1 minute.
3) Switch ON power.
4) during the first 60 seconds, press the EG button once to enable the function.
5) Enter the following code..
8 0 08 * *
The keypad should now be in programming mode, ready to accept new data.
DOOR SENSE
N/C connected to (-)GND, to be connected to a normally closed door contact. It can be used to
generate a door open alarm or door forced open alarm.
O/P 1 Inhibit
Normally open. When closed, this disables all codes for relay group 1 except super user and duress
codes.
Interlock Output
NPN transistor output, open collector, max power 24v dc, 100mA sink. Used to operate a door in
conjunction with another keypad, or prevent two doors being opened at the same time.
Tamper N/C
Normally closed tamper switch. This can be used in conjunction with a tamper switch on a box or
enclosure to prevent tampering. This can be connected to an alarm system.
LED indicators
ON when incorrect codes entered and outputs are locked out.
1 2 3
4 5 6
7 8 9
* 0 #
SLOW FLASHING - in normal standby mode.
ON in programming mode.
ON when relay 3 activated.
GREEN when output 1 activated.
RED when output 2 activated.
FAST FLASHING –Wrong code entered / error.

This manual suits for next models

1

Other AES Intercom System manuals

AES MultiCom 100 User manual

AES

AES MultiCom 100 User manual

AES GSM-3AB User manual

AES

AES GSM-3AB User manual

AES Cellcom Prime 5AB User manual

AES

AES Cellcom Prime 5AB User manual

AES 603AB Instruction Manual

AES

AES 603AB Instruction Manual

AES GSM-800/AB User manual

AES

AES GSM-800/AB User manual

AES 602AB User manual

AES

AES 602AB User manual

AES WiFi Predator User manual

AES

AES WiFi Predator User manual

AES MultiCOM Lite 4G User manual

AES

AES MultiCOM Lite 4G User manual

AES 603 SPARTAN User manual

AES

AES 603 SPARTAN User manual

AES 605A User manual

AES

AES 605A User manual

AES Prime 6E User manual

AES

AES Prime 6E User manual

AES MultiCom 500 User manual

AES

AES MultiCom 500 User manual

AES CellCOM Lite 4G User manual

AES

AES CellCOM Lite 4G User manual

AES MultiCOM Classic 4G User manual

AES

AES MultiCOM Classic 4G User manual

AES StylusAB Instruction Manual

AES

AES StylusAB Instruction Manual

AES Cellcom Prime6 User manual

AES

AES Cellcom Prime6 User manual

AES GSM-5AS/3GE Instruction Manual

AES

AES GSM-5AS/3GE Instruction Manual

AES 603AB User manual

AES

AES 603AB User manual

AES 601V User manual

AES

AES 601V User manual

AES AB Instruction Manual

AES

AES AB Instruction Manual

AES CellCOM Plus AB Instruction Manual

AES

AES CellCOM Plus AB Instruction Manual

AES 603 DECT User manual

AES

AES 603 DECT User manual

AES WiFi Predator User manual

AES

AES WiFi Predator User manual

AES Prime 6 Series User manual

AES

AES Prime 6 Series User manual

Popular Intercom System manuals by other brands

Auta onex KVD-1 S1 COAXLESS manual

Auta

Auta onex KVD-1 S1 COAXLESS manual

RTS AIO-16 user manual

RTS

RTS AIO-16 user manual

Perel SCAMSET16 user manual

Perel

Perel SCAMSET16 user manual

Fermax CITYLINE 4+n quick start guide

Fermax

Fermax CITYLINE 4+n quick start guide

PS Engineering PM3000 Operation and installation manual

PS Engineering

PS Engineering PM3000 Operation and installation manual

Vezco VZ-IP-BUTIDS-WI user manual

Vezco

Vezco VZ-IP-BUTIDS-WI user manual

Aiphone NE-SS instructions

Aiphone

Aiphone NE-SS instructions

DoorBird D21 Series installation manual

DoorBird

DoorBird D21 Series installation manual

Videx VRVK Series Installation handbook

Videx

Videx VRVK Series Installation handbook

PACH & COMPANY QUANTUM QC1 Installation and programming manual

PACH & COMPANY

PACH & COMPANY QUANTUM QC1 Installation and programming manual

Guinaz A2410 installation guide

Guinaz

Guinaz A2410 installation guide

Green-Go MCXD user guide

Green-Go

Green-Go MCXD user guide

Gira 1288 00 operating instructions

Gira

Gira 1288 00 operating instructions

Comelit MT/VCS/01 Technical manual

Comelit

Comelit MT/VCS/01 Technical manual

2N Helios IP Vario installation manual

2N

2N Helios IP Vario installation manual

Alcad ENARA manual

Alcad

Alcad ENARA manual

Commax DRC-nAB2 user manual

Commax

Commax DRC-nAB2 user manual

Aiphone KB-DAR-M instructions

Aiphone

Aiphone KB-DAR-M instructions

manuals.online logo
manuals.online logoBrands
  • About & Mission
  • Contact us
  • Privacy Policy
  • Terms and Conditions

Copyright 2025 Manuals.Online. All Rights Reserved.