SCIVOLA - Kit di ferramenta per porte scorrevoli / Hardware kits for sliding doors
2ISTRUZIONI DI MONTAGGIO / ASSEMBLY INSTRUCTIONS
106
70 18
18
31
31
1650 16
2
168
18
2128
16
92
16
18
88
31 106
168
168
31
2
1650
16
1818 70
31 106
168
31
2
1650
2
18
88
31 106 31
1650
168
ø25
0,5
26,5
2
65
28
168
16
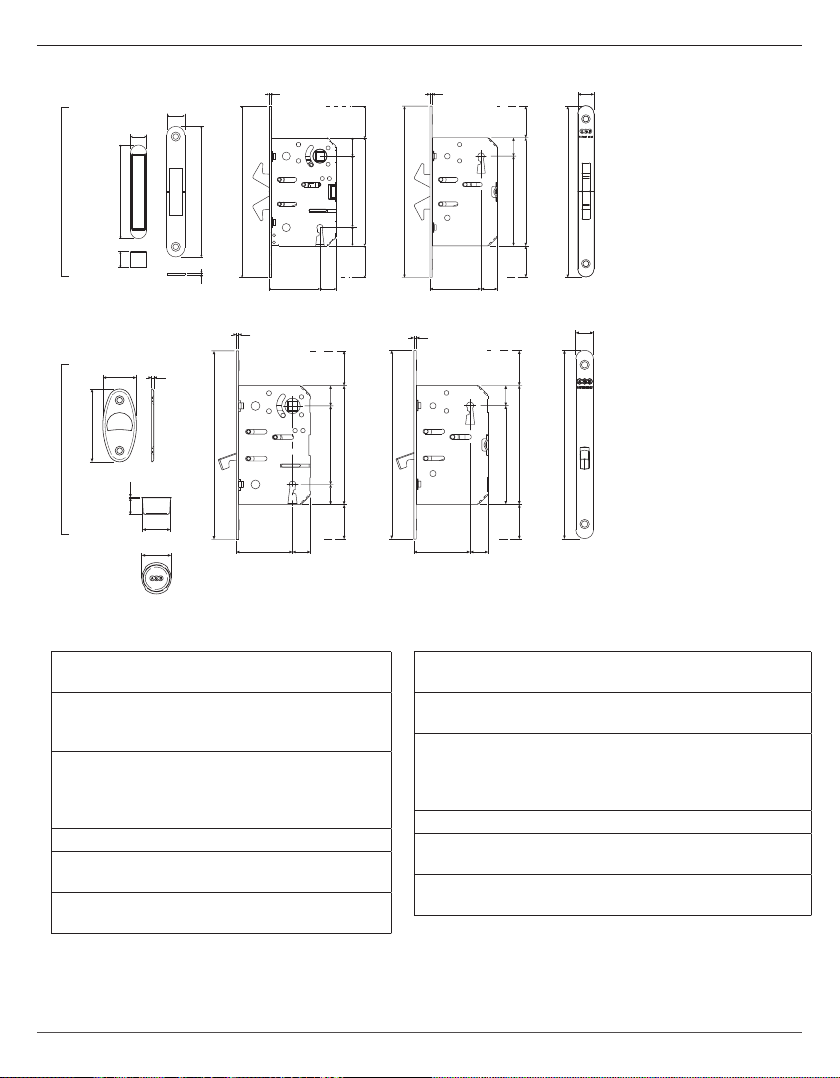
Scivola TTScivola T
Serrature / Locks Schema di foratura /
Milling diagram
Sequenza di montaggio componenti Sequence of components assembly
1) Fit the lock and clamp it with two 4x20 mm screws supplied
with the kit.
2) Fit the base plates into the corresponding holes and x them
with the dedicated screws provided (see the fastening diagram).
3) Choose the square pin for the handle according to the thickness
of the panel and t it into the lock follower:
L= 32 for thickness from 38 to 42 mm (kit C, D, R and T).
L= 37 for thickness from 43 to 47 mm (kit C, D, R and T).
4) Fasten the handles by screwing the expanding spindle.
5) Fit the nger pull after having applied some transparent silicone
inside the hole.
6) Position the striker on the frame according to the gasket
thickness.
Note. Do not t the base plates, escutcheons or plates to the base
plates before having fastened them to the panel.
1) Inserire la serratura e ssarla con due viti da mm 4x20
fornite con il kit.
2) Inserire le sottopiastre nelle rispettive sedi e ssarle
con le apposite viti in dotazione (vedi schema di
ssaggio).
3) Scegliere il perno quadro maniglia in funzione dello
spessore del pannello e inserirlo nel quadro serratura:
L= 32 per spessore da 38 a 42 mm (kit C, D, R e T).
L= 37 per spessore da 43 a 47 mm (kit C, D, R e T).
4) Fissare a pressione le placche sulle sottopiastre.
5) Inserire il ditale di trascinamento dopo aver applicato
del silicone trasparente nel foro.
6) Posizionare l’incontro sul telaio in funzione dello
spessore della guarnizione.
NB. Non assemblare le sottopiastre con le placche prima di
averle ssate al pannello.


