manuals.online logo
Brands
  1. Home
  2. •
  3. Brands
  4. •
  5. Agriframes
  6. •
  7. Outdoor Furnishing
  8. •
  9. Agriframes 30134-TBK User manual

Agriframes 30134-TBK User manual

4 X END PLUGS
10 X MOISTURE
SEALS
1 X ALLEN KEY
8 X SPACER BARS WITH
RING CLAMPS
8 X UPRIGHTS
1 X HOLE MAKER
*Optional Lattice &
Ties
Arch Cells Quantity
1.2m 4 x 3 4
1.5m 4 x 3 4
PARTS LIST
In the unlikely event you are missing any components please call 0117 934 1790 and state the name of the
product, size and description of the item. i.e. Classic Monet Arch Matt Black 1.2m, End Plug.
Assembly Instructions for Classic Monet Arch
Matt Black
Product Code: 30134-TBK & 30135-TBK
Please read the assembly instructions
carefully prior to construction.
Tips:
Positioning of the Spacer Bars
In many cases the position of the Spacer
Bars is down to personal preference.
However, if you have the lattice option you
will need to leave the correct distance
between bars.
On the bottom section the Spacer Bars need
to be at least 3 inches above the base of the
tube.
Tips:
Spacer Bars
Before positioning the Spacer Bars on the
uprights, half screw in the grub screws to
the ring clamps on the spacer bars, to
reduce the risk of losing the screws.
Once correctly positioned tighten the
grub screw to secure the spacer bar to
the uprights.
Lattice Panel Option
For illustrative purposes we have only
shown one side fixed with the lattice
panels. Attach panels to both sides as you
proceed.
Issues:
If you are experiencing any issues with your Agriframes product please contact our customer services team on
0117 934 1790 and quote your order reference.
WARNING, Contains small parts, tools and plastic bags. Keep children away until the unit is assembled and
everything is cleared away.
NOTE the card, paper sack, and polythene bags are recyclable - please dispose of carefully.
MISSING PARTS PROCEDURE, please call our customer service team on 0117 934 1790 and quote your order
reference and quote the missing part. E.g. ASO-----, 2 uprights missing.
AGRIFRAMES, Journal House, Hartcliffe Way, Bristol, BS3 5RJ
ORDERS(0)117 934 1790 FAX + (0)117 934 1791 ORDER ONLINE www.agriframes.co.uk
16 X GRUB
SCREWS IN RING
CLAMPS &
SPARES IN A BAG
* ONLY FOR ORDERS WITH LATTICE PANELS. PANELS CAN BE ORDERED FROM www.agriframes.co.uk
CLASSIC MONET ARCH - MATT BLACK
STEP 1
STEP 2
STEP 3
STEP 4
STEP 5
Assembly Instructions for Classic Monet Arch - Matt Black
Please read these instructions carefully.
Step 1:
Before assembly check Spacer Bars to ensure the grub screws are inserted into the holes on the ring clamps.
oLoosen these grub screws ½ way out of the hole, to ensure when the ring clamps are moved into position the grub screw does not scratch the outer
coating of the metal.
Connect the Monet arch curves (insert the reduced end into the plain ended curve) and cover the joints with moisture seals.
Slide the spacer bars on both sets of Monet curves and tighten the grub screws until the spacer bars are secured into place on the curves.
Positioning of the horizontal bar
In many cases the position of the horizontal bars is down to personal preference. However, if you have the lattice option you will need to leave the correct distance between bars.
On the bottom section the spacer bars need to be at least 3 inches above the base of the tube.
Attach the lattice using the cable ties, once the ties are secured trim the excess.
Step 2:
Once the top of the arch has been completed move the structure to where it will be installed and, firmly push the top of the arch into the ground to make
an impression, indentation or mark where the uprights should be placed. Then remove the top structure and check that the marks can clearly be seen.
Step 3:
Using the hole-maker make a hole 30cm into the ground, where you have marked or indented the ground in step 1, ensure that the holes are vertical and to
the same depth.
Insert the end plugs into the non-reduced ends of 6 uprights and insert these uprights into the hole in the ground, with the end plugs facing downwards.
Slide a moisture seal over the reduced and of the poles and then connect the remaining 6 uprights. Cover the join between the poles with a moisture seal.
The slide on the bottom spacer bars.
Step 4:
Slide over the remaining spacer bars onto the top of the uprights, then tighten the grub screws.
oIf you are have chosen the lattice option you will need to position the lower Spacer Bars approximately 14” above the ground.
oIf you are not using lattice the positioning of the Spacer Bars can be adjusted to suit, however there needs to two Spacer Bars on each set of
uprights and two Spacer Bars on the curve to ensure that the structure is stable.
Attach the lattice using the cable ties, once the ties are secured trim the excess.
Assembly requires: a Rubber Mallet, an Allen Key (provided), a ladder, spirit level and a tape measure.
Step 5:
Lift the constructed Arch top onto the uprights, cover the joins with moisture seals.
oYou will need at least 2 people for this step due to the weight of the Arch top.
If you have any questions regarding assembly please call our customer service team on 0117 934 1790
AGRIFRAMES, Journal House, Hartcliffe Way, Bristol, BS3 5RJ
ORDERS(0)117 934 1790 FAX + (0)117 934 1791 ORDER ONLINE www.agriframes.co.uk

This manual suits for next models

1

Other Agriframes Outdoor Furnishing manuals
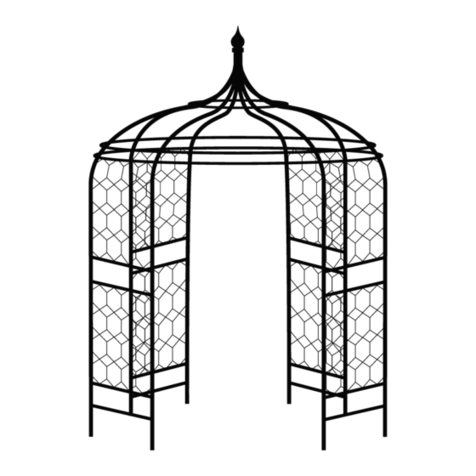
Agriframes 40548-TBK User manual

Agriframes

Agriframes 40548-TBK User manual

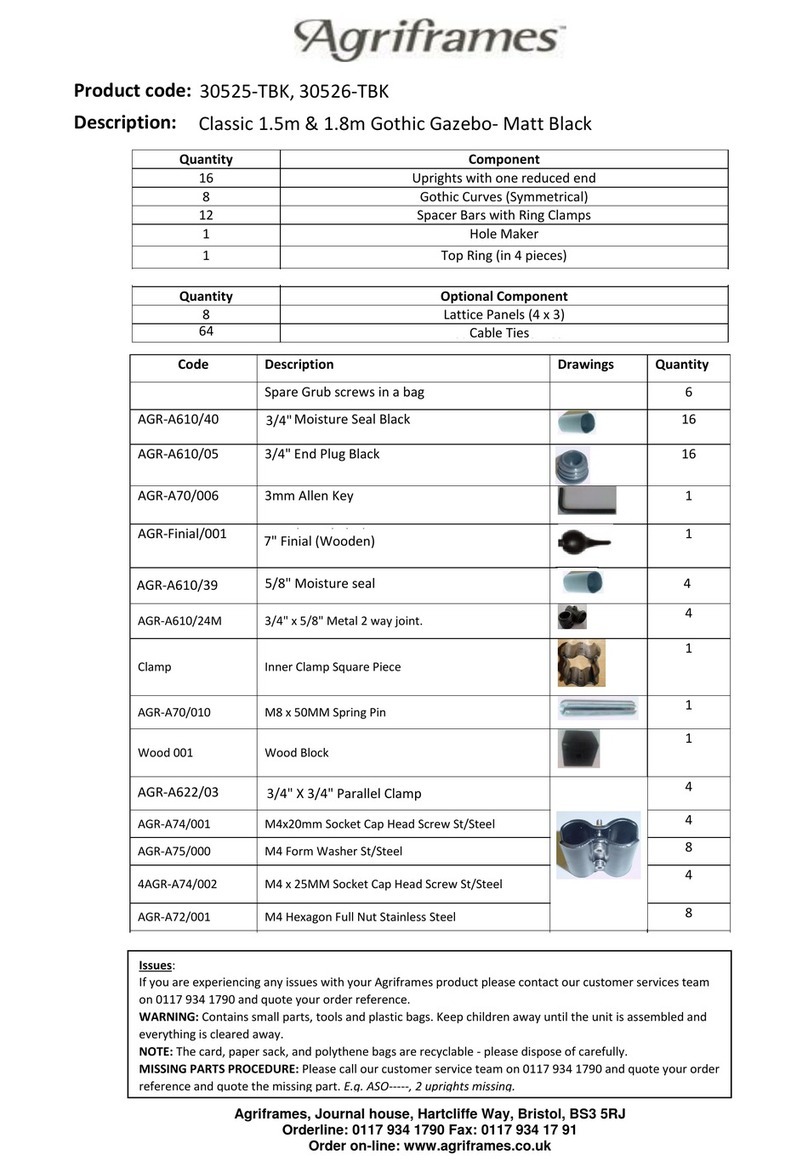
Agriframes 30525-TBK User manual

Agriframes

Agriframes 30525-TBK User manual
Agriframes 40136 User manual

Agriframes

Agriframes 40136 User manual

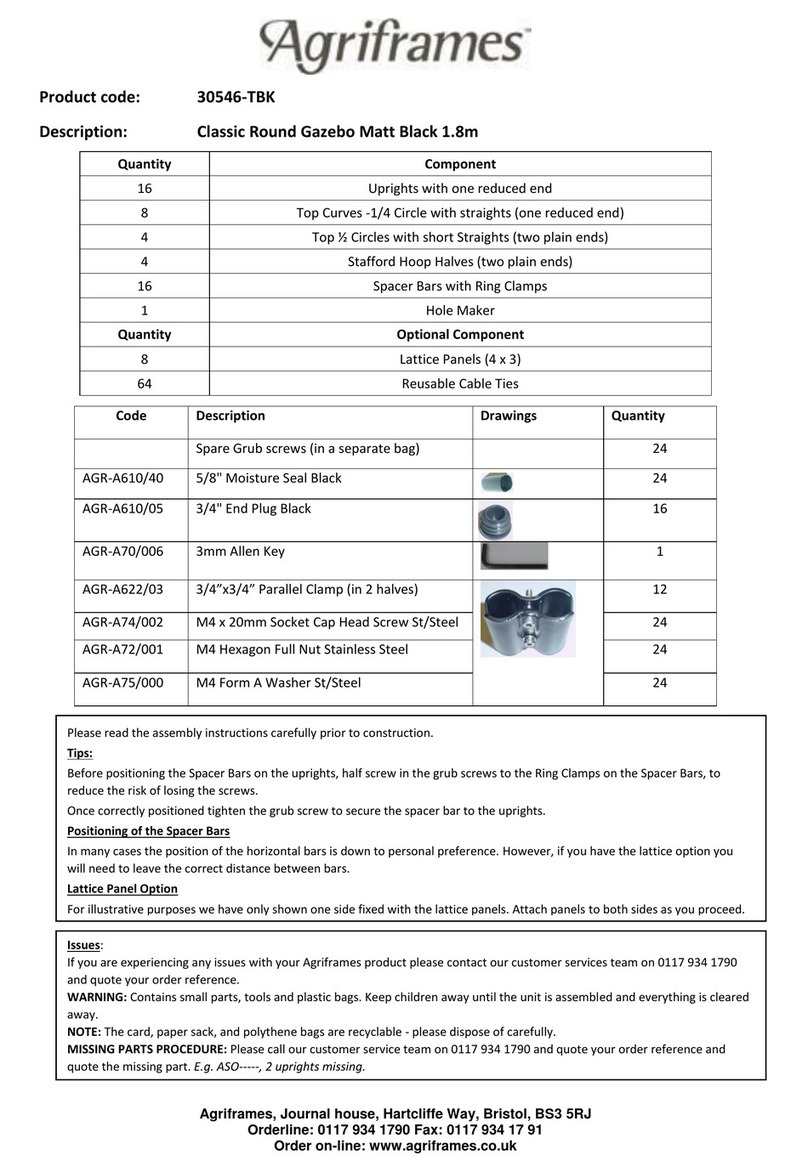
Agriframes 30546-TBK User manual

Agriframes

Agriframes 30546-TBK User manual
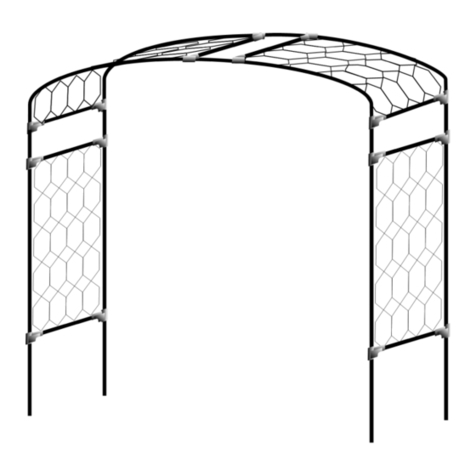
Agriframes 40540-TB User manual

Agriframes

Agriframes 40540-TB User manual

Agriframes 39100-TBK User manual

Agriframes

Agriframes 39100-TBK User manual

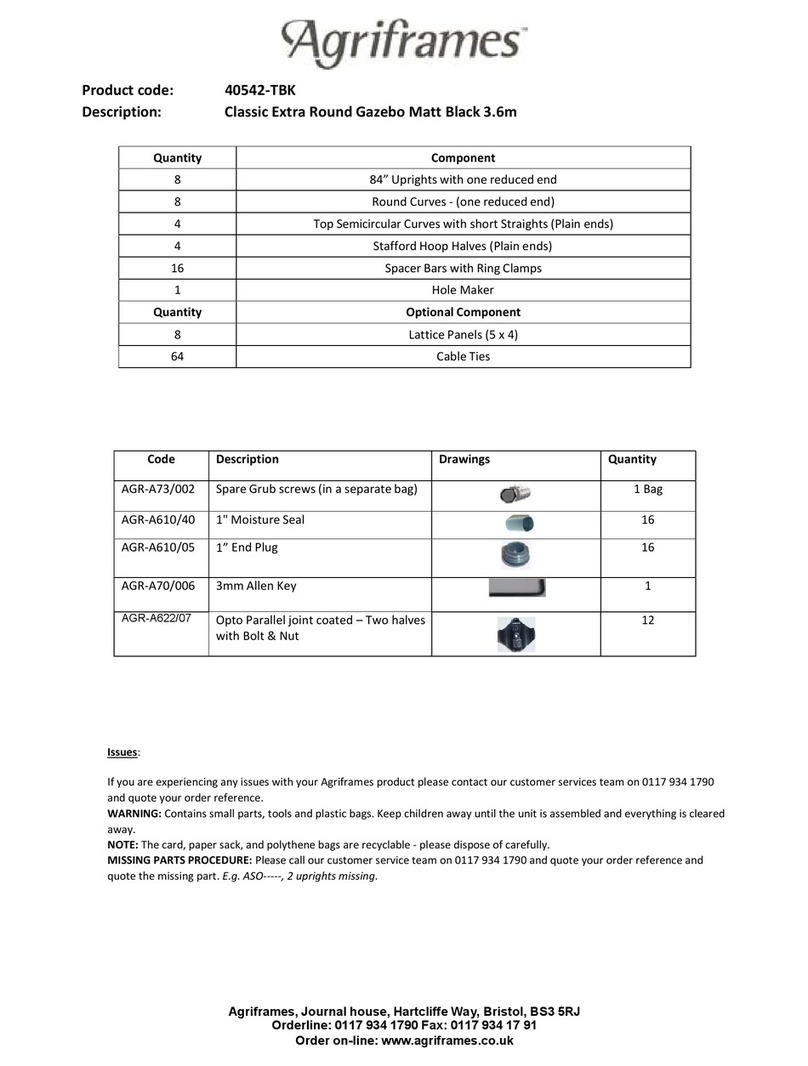
Agriframes 40542-TBK User manual

Agriframes

Agriframes 40542-TBK User manual

Agriframes 40520-TBK Operator's manual
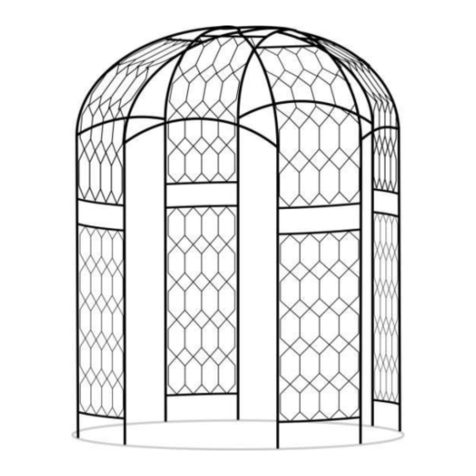
Agriframes

Agriframes 40520-TBK Operator's manual

Agriframes 40528-TBK User manual

Agriframes

Agriframes 40528-TBK User manual
Popular Outdoor Furnishing manuals by other brands

Westin Safira 3PC Seating Group With Cushions... instruction manual

Westin

Westin Safira 3PC Seating Group With Cushions... instruction manual

Stobag TP6500 instruction manual

Stobag

Stobag TP6500 instruction manual

Sunjoy A101012300 Assembly and safety instructions

Sunjoy

Sunjoy A101012300 Assembly and safety instructions

Backyard 1706828 owner's manual

Backyard

Backyard 1706828 owner's manual

Décor et Jardin 10180-T00 Assembly Notice

Décor et Jardin

Décor et Jardin 10180-T00 Assembly Notice

CARILOHA RESORT COMFORT BASE user manual

CARILOHA

CARILOHA RESORT COMFORT BASE user manual

Costway Patio Cream Rattan Sofa Set HW63215 user manual

Costway

Costway Patio Cream Rattan Sofa Set HW63215 user manual

cye-way CY2101 Assembly instructions

cye-way

cye-way CY2101 Assembly instructions

Hanover FNTDN5PCSWC Assembly instructions

Hanover

Hanover FNTDN5PCSWC Assembly instructions

Safavieh Outdoor Darryl PAT7078 Assembly instructions

Safavieh Outdoor

Safavieh Outdoor Darryl PAT7078 Assembly instructions

CANOPY SEC2000BIR Assembly instructions

CANOPY

CANOPY SEC2000BIR Assembly instructions

EAST OAK EO-CS002 owner's manual

EAST OAK

EAST OAK EO-CS002 owner's manual

Opitec Nesting Box 115.327 Assembly instructions

Opitec

Opitec Nesting Box 115.327 Assembly instructions

Safavieh Outdoor PAT6712A manual

Safavieh Outdoor

Safavieh Outdoor PAT6712A manual

Sunjoy SummerCove A106007600 manual

Sunjoy

Sunjoy SummerCove A106007600 manual

Lusso SAMOA Assembly instructions

Lusso

Lusso SAMOA Assembly instructions

CBBPET Pop Up instruction manual

CBBPET

CBBPET Pop Up instruction manual

for Living A111001301 Assembly instructions

for Living

for Living A111001301 Assembly instructions

manuals.online logo
manuals.online logoBrands
  • About & Mission
  • Contact us
  • Privacy Policy
  • Terms and Conditions

Copyright 2025 Manuals.Online. All Rights Reserved.