2
INDEX
1–MXK10inafewwords3
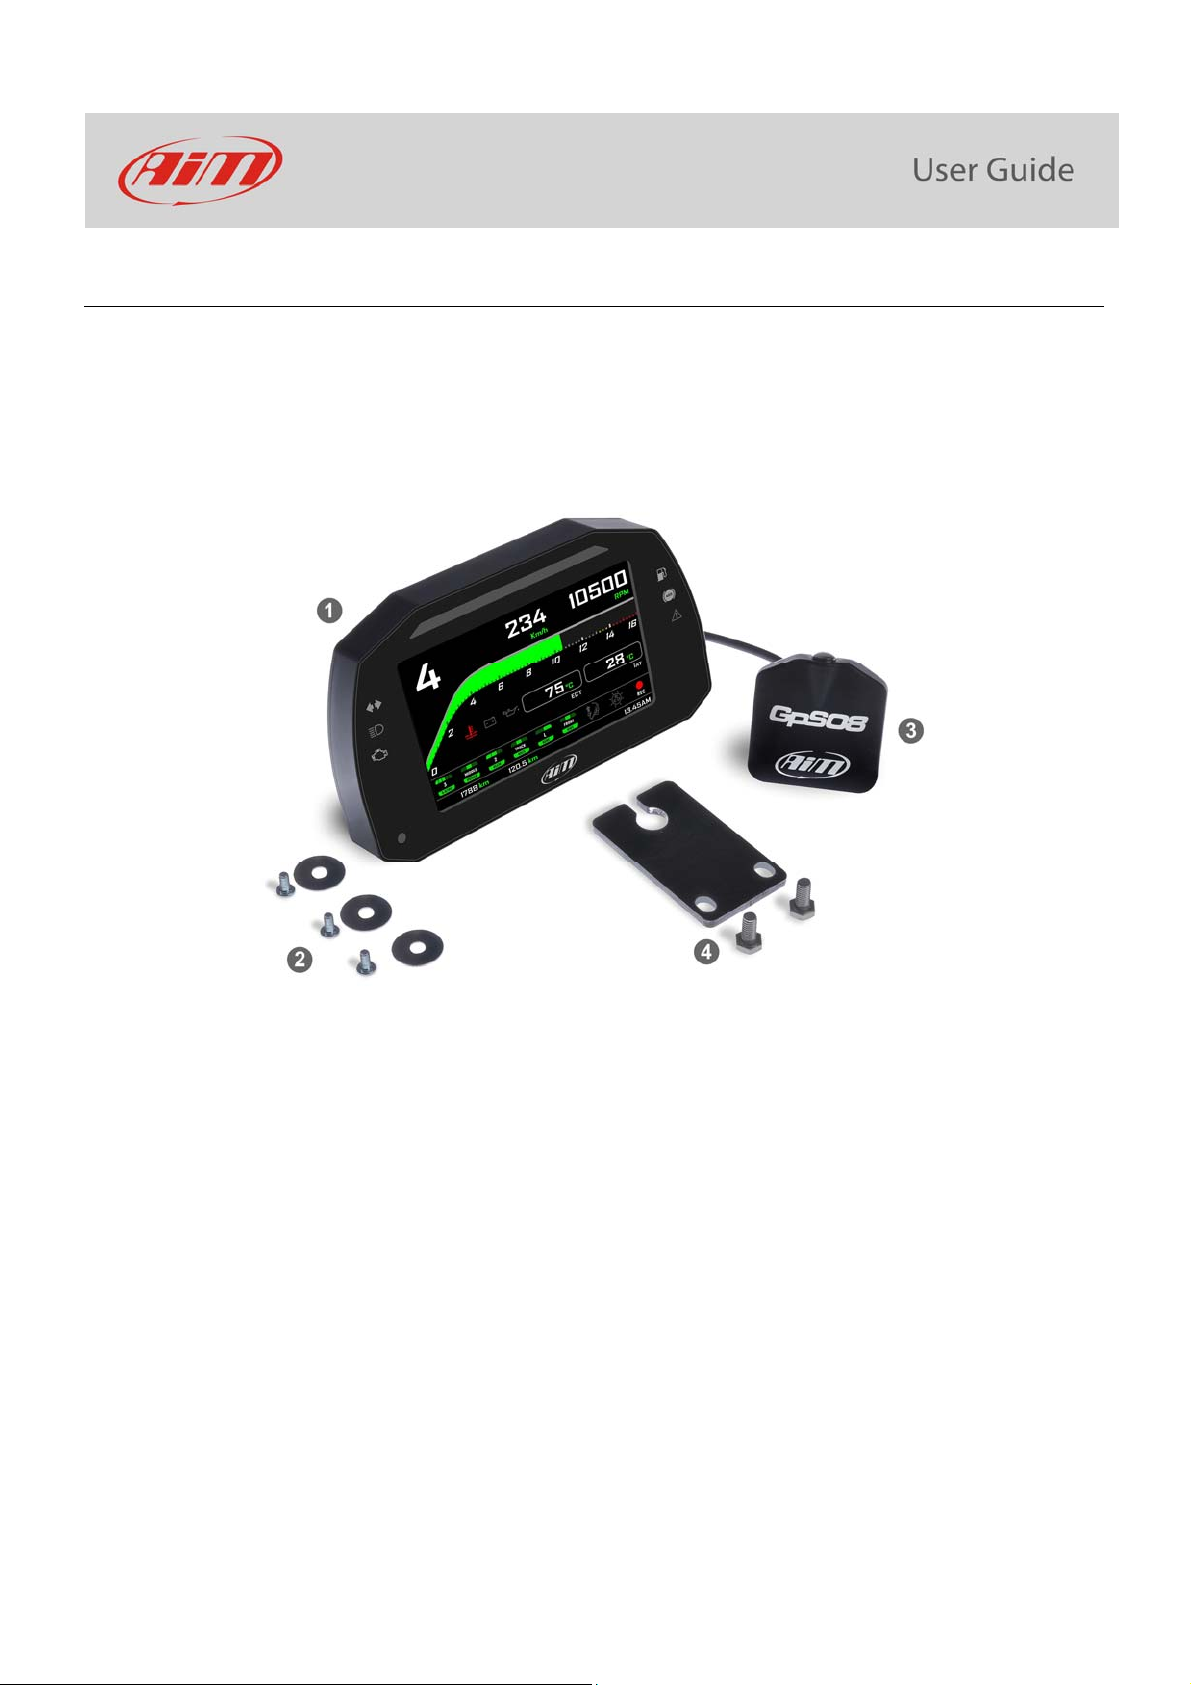
2–Whatisinthekit?4
3–Installation5
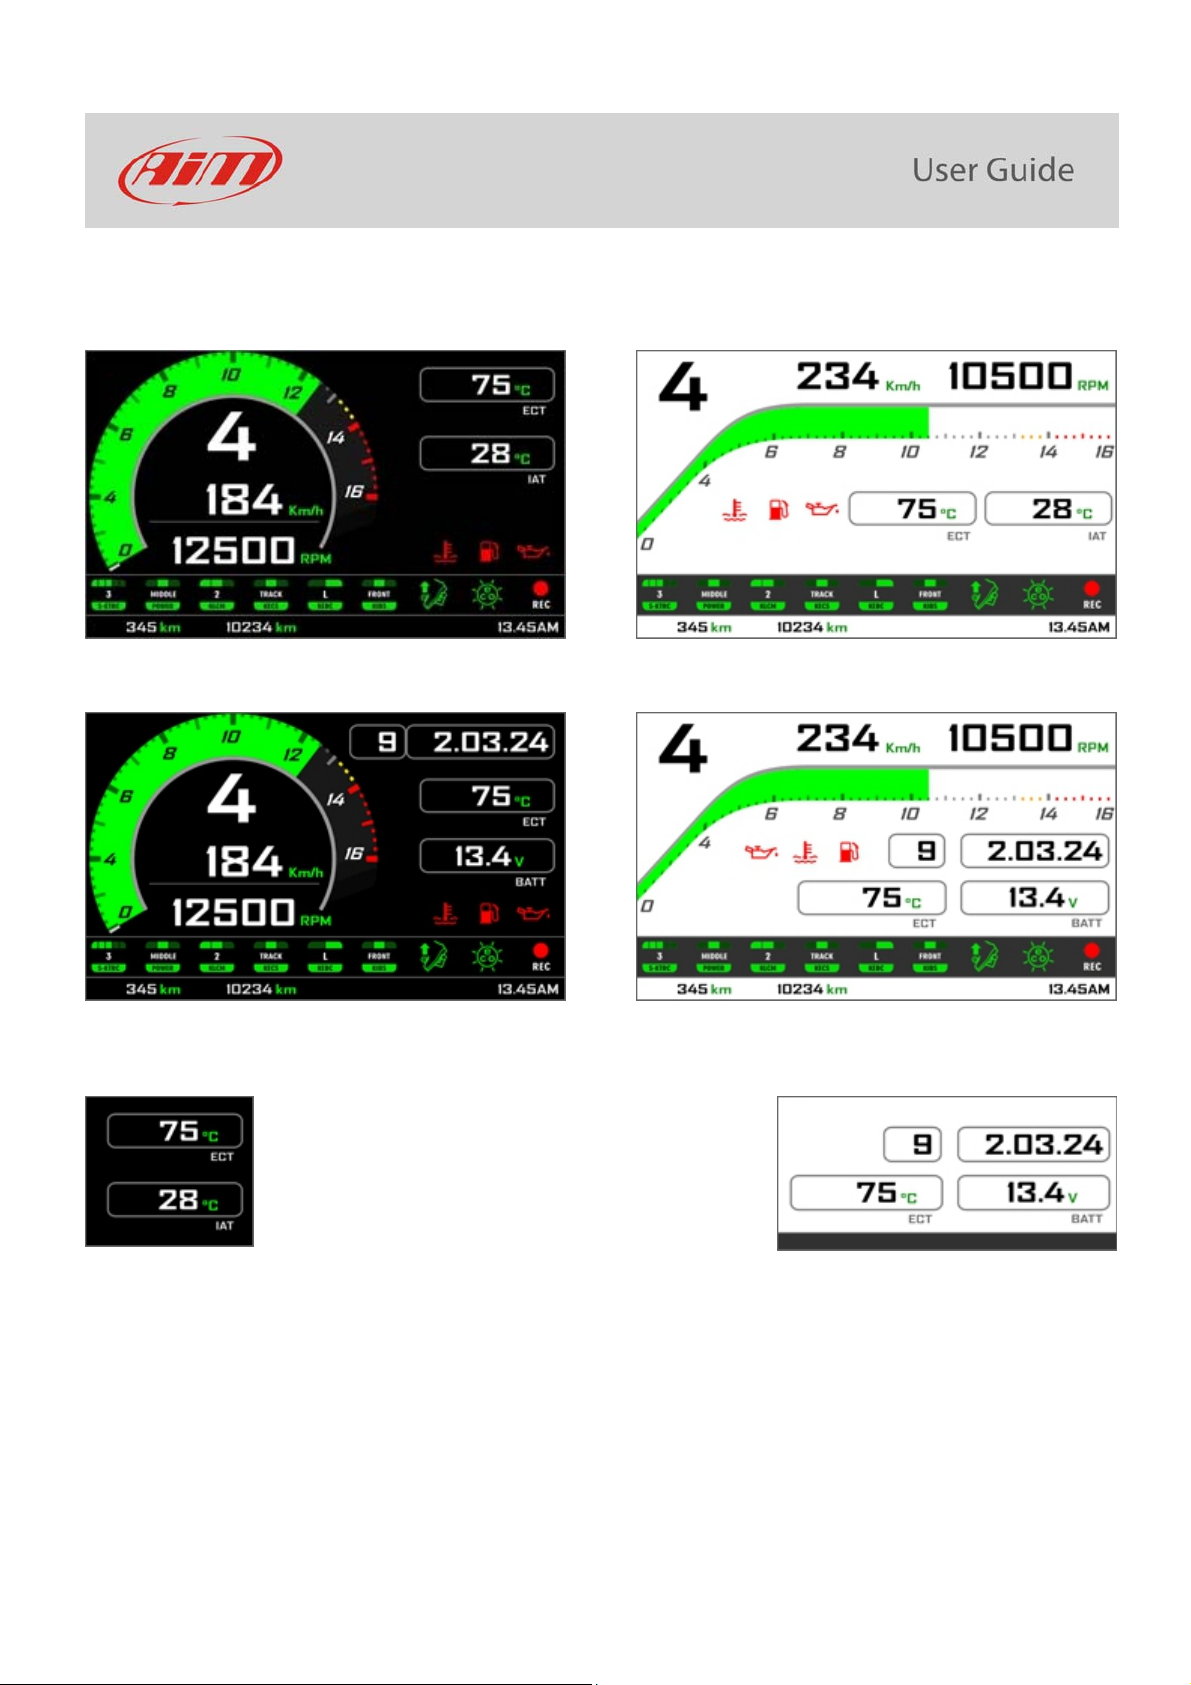
4–MXK10Mainfeatures5
4.1–LapTimes7
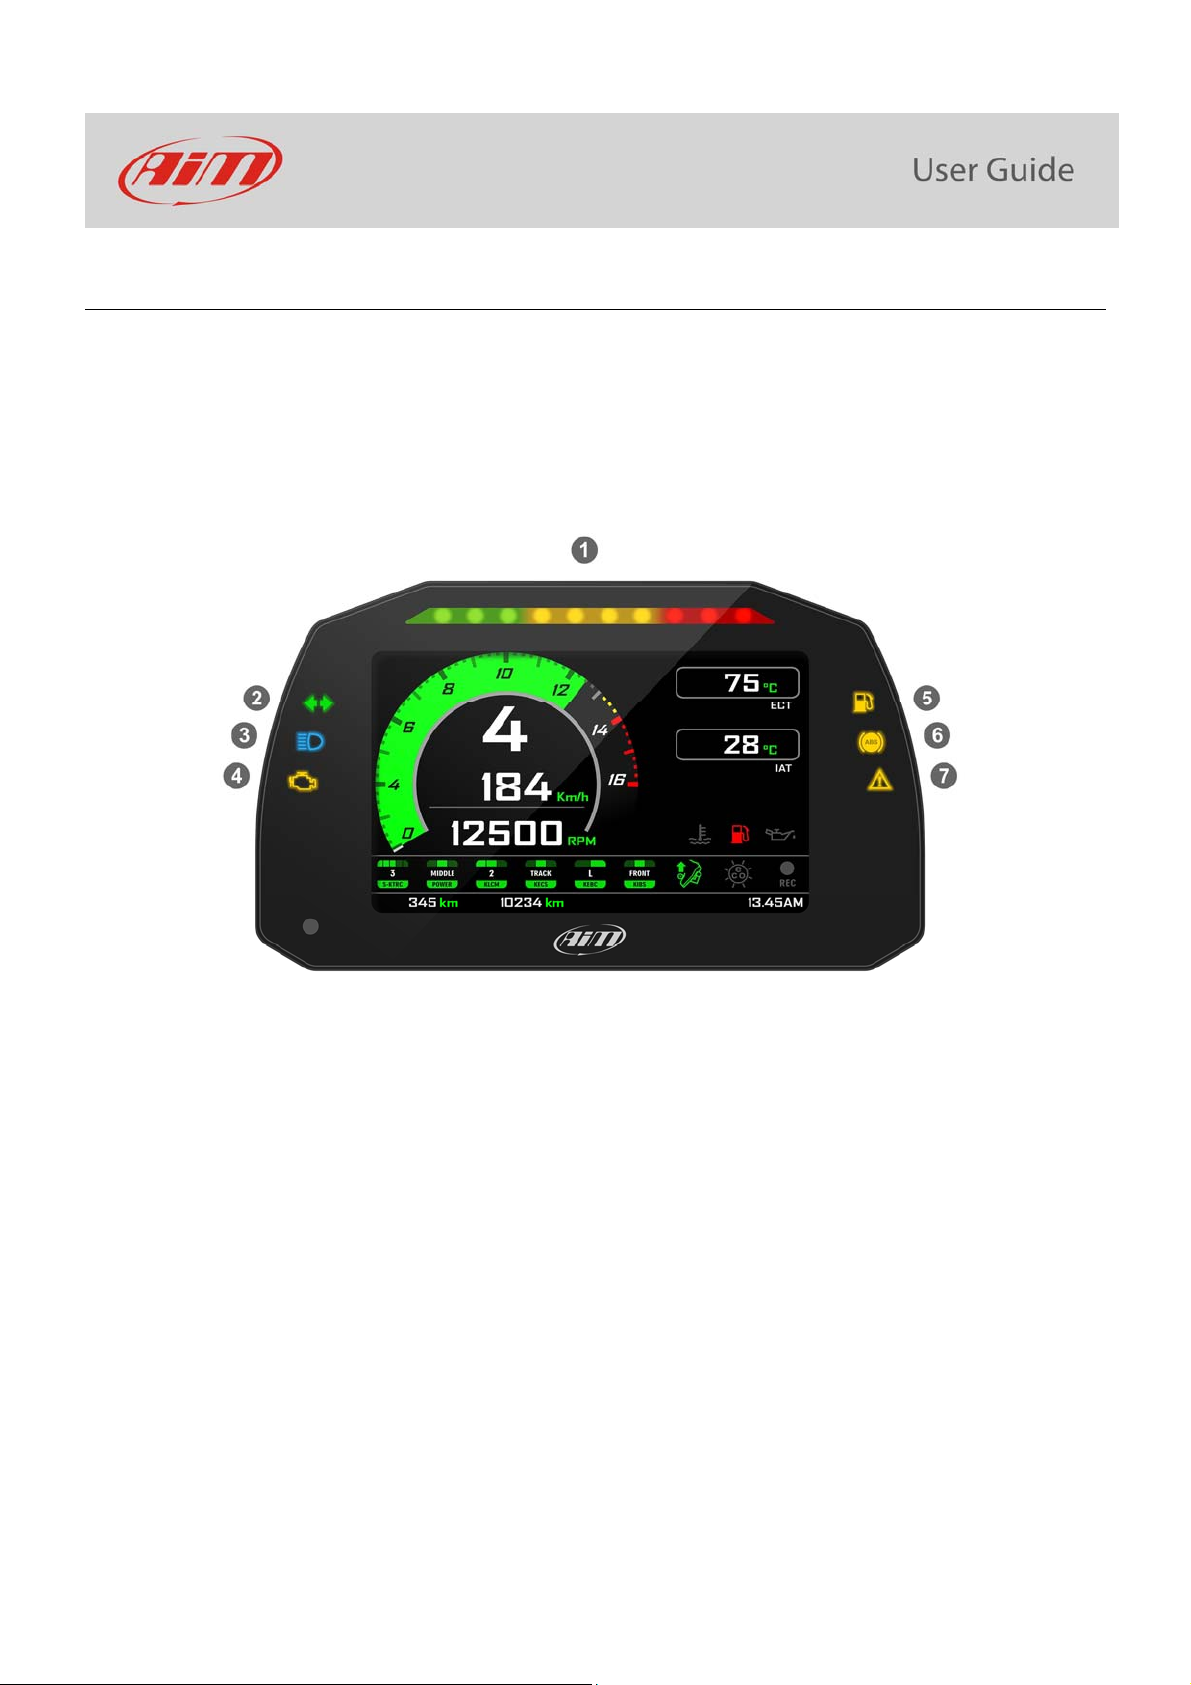
4.2–Icons8
4.3–LEDs9
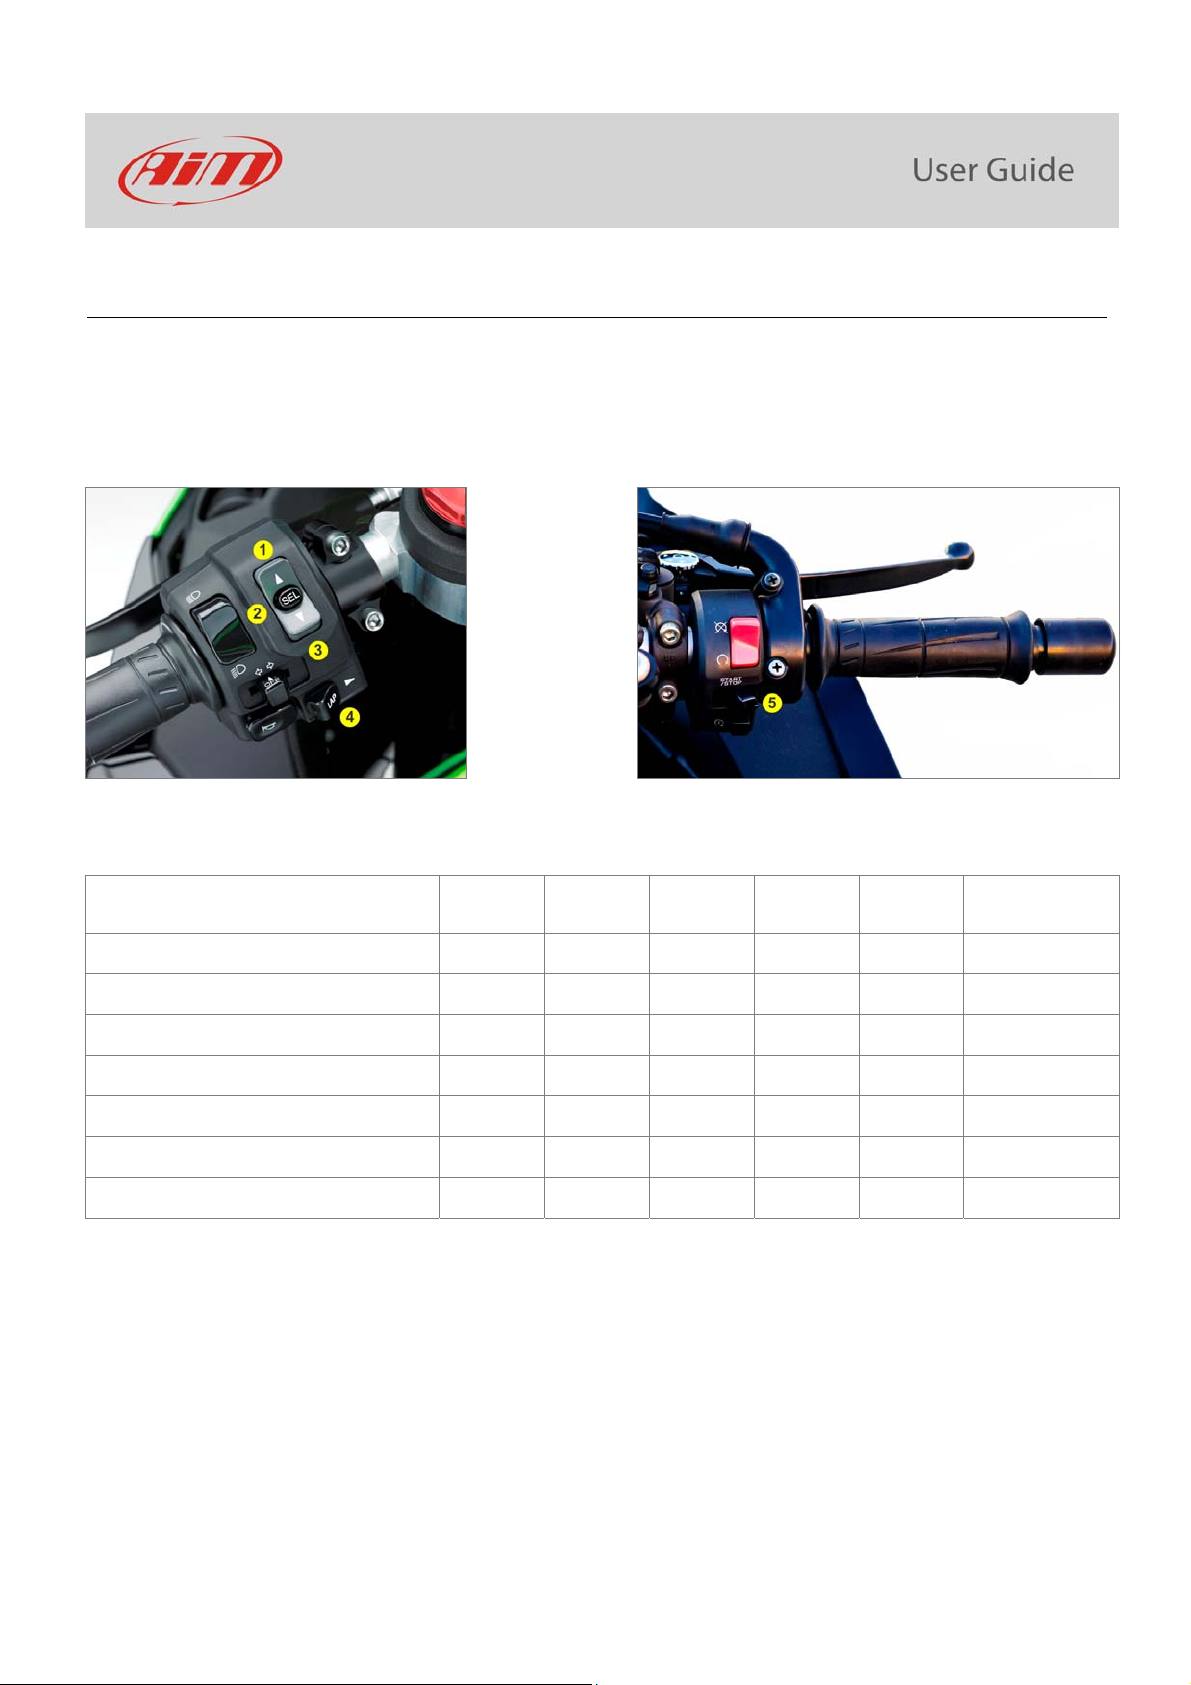
4.4–Thebikekeyboard10
4.5–Parameterssettingatstartuporwhileriding11
4.6–DataRecording11
5–Menu12
5.1–Vehiclesettings13
5.1.1–PowerModesetting......................................................................................................................................................................13
5.1.2–KQSUP(Quickshift)......................................................................................................................................................................14
5.1.3–KLCM(LaunchControlLevel).........................................................................................................................................................14
5.1.4–KIBS(Intelligentbrakingsystem)...................................................................................................................................................14
5.1.5–KECS(electronicsuspensions–withKECSunitonly)....................................................................................................................15
5.1.6–KECSsettings.................................................................................................................................................................................15
5.1.7–S‐KTRC(TractionControl)Settings................................................................................................................................................16
5.2–Preferences17
5.2.1–Display...........................................................................................................................................................................................18
5.2.2–Alarms...........................................................................................................................................................................................20
5.2.3–Lapswitch......................................................................................................................................................................................20
5.2.4–Brightness......................................................................................................................................................................................20
5.2.5–Wi‐Fi..............................................................................................................................................................................................21
5.3–Trip21
5.4–TrackManager21
5.5–System23
6–Ontrackapplication24
6.1–ConnectiontothePC24
6.2–Configuration25
6.2.1–CANexpansionsconfiguration......................................................................................................................................................26
6.2.2–ShiftLightsConfiguration..............................................................................................................................................................29
6.3–ManagingatrackonMXK10withRaceStudio330
7–Datarecall33
8–Datadownloadandanalysis34
9–Wi‐Ficonfiguration35
9.1–ConfiguringMXK10dash‐loggerasanaccesspoint(AP)37
9.2–AddingMXK10loggerstoanexistingnetwork39
9.3–Wi‐Finetworksettings42
9.4–TheInternetconnectivity43
9.5–Connectionissues43
9.6–WorkingonMacTMwithvirtualizedWindowsTM44
9.7–Connecteddevicevisualizationissues46
10–Newfirmwareupgrade47