aion STRATUS User manual

STRATUS CLASSIC OVERDRIVE 1
PROJECT NAME
STRATUS
BASED ON
EFFECT TYPE
PROJECT SUMMARY
DOCUMENT VERSION
Ibanez TS-808 Tube Screamer
The quintessential mid-hump overdrive pedal made famous by Stevie Ray Vaughan, and the source cir-
cuit behind dozens of high-dollar boutique pedals.
Overdrive 1.0.1 (2020-06-11)
BUILD DIFFICULTY
Easy
LEVEL
CLIPBASS
CLASSIC OVERDRIVE
DRIVE
TONE
9V
This documentation is for the kit version of the project. If you purchased the PCB by itself, please
use the PCB-only version of the documentation instead. The circuit is the same, but the instructions
are completely different due to the specialized parts and assembly methods used in the kit.
IMPORTANT NOTE

STRATUS CLASSIC OVERDRIVE 2
TABLE OF CONTENTS
1Project Overview
2Table of Contents
3Introduction
4Packing List
5Packing List (Cont.)
6Tools Needed
7Component Identification
8Hardware Identification
9PCB Assembly Overview
10 Resistors
11 Diodes
12 Sockets & ICs
13 Transistors
14 Capacitors (Non-Polarized) & Trimmer
15 Wire Headers
16 Capacitors (Polarized)
17 Footswitch PCB
18 Input/Output PCB
19 Enclosure Layout: Panel Mounts
20 Enclosure Layout: Panel Mounts (Cont.)
21 Enclosure Layout: Main & Footswitch PCBs
22 Enclosure Layout: Input/Output PCB
23 Final Testing & Assembly
24 Schematic
25 Full Parts List
26 Troubleshooting Information
27 Support & Resale Terms
28 Legal Information & Document Revisions

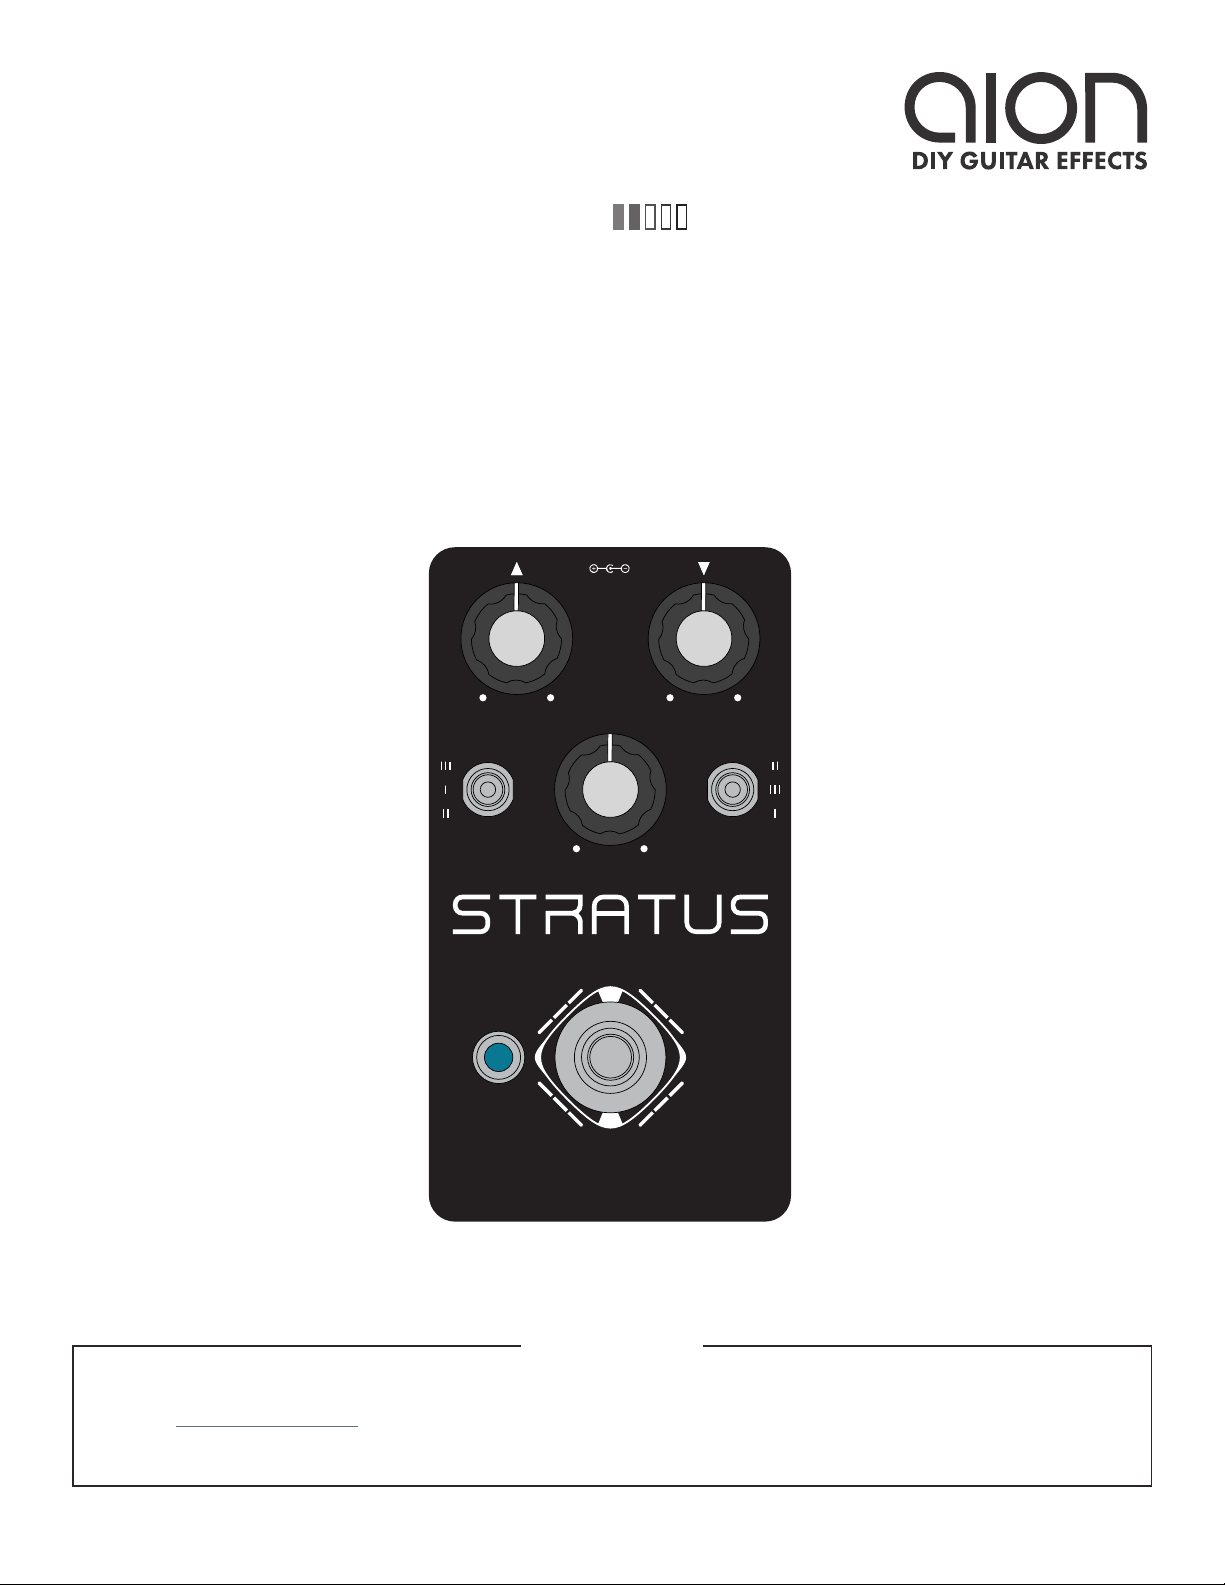
STRATUS CLASSIC OVERDRIVE 3
INTRODUCTION
If this is your first pedal, welcome to the hobby and thank you for choosing Aion FX. You’ve just joined
a community of over 40,000 people around the world with a passion for building homemade noise
machines using obsolete electronics technologies, and we’re glad to have you!
If you’ve done this before, it’s great to see you again and we’re confident you’ll find this build experience
an enjoyable one.
Aion FX kits are designed to empower anyone to build a high-quality pedal, no matter the skill level.
The pedalbuilding hobby has traditionally had a steep learning curve, but don’t be overwhelmed—we’ve
done all the hard work for you. All you need to do is follow these instructions and you’ll be on your way
to transforming your tone.
There are a few things to go over before you get started.
• You’re going to have to get your hands dirty—there’s no way around it. Nothing here comes
preassembled, and you’ll have to learn the skills to put it all together. This document will walk you
through everything you need, but be prepared to learn a few things along the way.
• This will take time. Plan on about two hours start to finish. It may take even longer if it’s your first
time building. Don’t rush it. If you find yourself getting frustrated or overwhelmed, take a break and
come back in a couple of hours or the next day.
• No direct technical support is offered. There are several DIY forums and Facebook groups with
thousands of members who enjoy troubleshooting and teaching. But please be sensitive to the fact
that the staff at Aion FX is minimal, and every minute spent helping individuals in private is time
that can’t be spent on new project development.
• There is no implied guarantee of a final product. Aion FX provides the ingredients and the recipe,
but you are responsible for putting everything together to make it work. We’ve tried to make the
process as clear and accessible as possible, but it must be expressly stated that purchasing the kit is
not a guarantee that you will end up with a working pedal.
It’s recommended to read through all of the instructions before you start, particularly if you’ve never
built a pedal before. If you familiarize yourself with the entire process ahead of time and you know what
the goal looks like, each step will make more sense.
Now, on to the fun stuff!

STRATUS CLASSIC OVERDRIVE 4
PACKING LIST
This is a list of all the parts that are included with the kit, grouped by value. For a list of all the parts
based on their PCB part numbers, please see page 25.
If you find that any parts are missing or damaged, please fill out the Missing Parts form.
Film Capacitors
NAME QTY
22n 2
47n 1
68n 1
100n 1
220n 2
1uF 3
Electrolytic Capacitors
NAME QTY
47uF 1
100uF 1
MLCC Capacitors
NAME QTY
47pF (marked “470”) 1
100n (marked “104”) 1
Resistors
NAME QTY
100R 1
220R 1
1k 4
4k7 2
10k 7
51k 1
510k 2
2M2 1
Diodes
NAME QTY
1N5817 1
1N914 6
LED, red 2
ICs
NAME QTY
JRC4558D 1
8-pin socket 1
Transistors
NAME QTY
2N5088 2

STRATUS CLASSIC OVERDRIVE 5
PACKING LIST (CONT.)
Potentiometers
NAME QTY
20kW 1
100kA 1
500kB 1
Dust cover 3
Knob 3
Mounting nut, potentiometer, 0.44" 3
Lock washer, potentiometer, 0.5" 3
Outer washer, potentiometer, 0.475" 3
Other
NAME QTY
LED bezel 1
LED, blue 1
9V battery snap 1
DC jack 1
Input/output jack 2
Mounting nut, jack, 0.54" 4
Outer washer, jack, 0.6" 2
Lock washer, jack, 0.5" (thin) 2
Enclosure 1
Enclosure screws 4
PCB, main circuit 1
PCB, footswitch 1
PCB, input/output/DC 1
Switches
NAME QTY
Toggle switch, SPDT on-off-on 2
Mounting nut, toggle switch, 0.36" 2
Lock washer, toggle switch, 0.4" 2
Dress nut, toggle switch, 0.375" 2
Stomp switch, 3PDT 1
Mounting nut, stomp switch, 0.6" 2
Lock washer, stomp switch, 0.6" 1
Dress nut, stomp switch, 0.77" 1
Wiring
NAME QTY
3-strand wire assembly, 70mm 2
4-strand wire assembly, 108mm 1
3-pin wire assembly header 2
4-pin wire assembly header 1

STRATUS CLASSIC OVERDRIVE 6
TOOLS NEEDED
SOLDERING IRON
Temperature-adjustable is
recommended. The optimum
soldering temperature is 700-725º
F (371-385º C) for leaded solder, or
750º F (400º C) for lead-free.
WIRE SNIPPERS
Also called nippers or wire cutters.
The Hakko CHP-170 is the best you
can get for less than $10.
SCREWDRIVER (PHILLIPS)
Used for the enclosure screws. Get a
powered driver if you’ll be building a
lot of pedals!
SOLDER
Preferably 63/37 or 60/40 leaded
solder. Lead-free is more difficult to
use, so if that’s the only type you can
get, it’s best to watch tutorials that
are specific to lead-free solder.
NEEDLE-NOSE PLIERS
These are used for bending leads on
components and other general uses.
Use the smaller type with a tip that’s
approximately 0.05” (1.25mm) wide.
FLAT SCREWDRIVER (SMALL)
This is used for tightening the set
screws on the knobs. The tip should
be no more than 0.1” (2.5mm) wide.
DIGITAL MULTIMETER (DMM)
Most cheap ones in the $10-30 range
are fine for what we’re doing. Make
sure it has audible continuity testing
(i.e. it beeps at the lowest resistance)
and transistor hFE measurement.
FLAT-NOSE PLIERS
Many general-purpose uses, but par-
ticularly tightening the nuts of pots,
switches and jacks. Quicker than
changing out sockets on a ratchet.
RUBBER BAND
Yes, a plain old rubber band. This is
used to tighten the dress nut to avoid
scratching or denting it (which can
happen with metal tools).

STRATUS CLASSIC OVERDRIVE 7
COMPONENT IDENTIFICATION
If you’ve never built a pedal before, you’ll need to know what all the components are. These are shown
actual size. (Not all of these types of components may be part of this kit.)
RESISTOR TRIM POTENTIOMETER
FILM CAPACITOR
SILICON DIODE
ZENER DIODE
LED
DC JACKWIRE ASSEMBLY HEADER
LED BEZEL
WIRE ASSEMBLY
ELECTROLYTIC CAPACITOR
GERMANIUM DIODE
OP-AMP / IC
TANTALUM CAPACITOR
SCHOTTKY DIODE
IC SOCKET SNAP-APART SOCKET
MLCC
RECTIFIER DIODE
TRANSISTOR OR JFET
Not polarized. Color may
vary by brand and type.
Not polarized. MLCC stands for
“multi-layer ceramic capacitor.”
Some Schottky diodes
also look like this.
These are very fragile, so be
careful when handling them.
Polarized. The positive side
is marked.
Polarized. The negative side
is marked.
Some voltage regulators
also look like this.
It’s recommended to use a
razor blade to separate
these cleanly.
Charge pumps and delay chips
also look like this. They may
have more than 8 legs.

STRATUS CLASSIC OVERDRIVE 8
HARDWARE IDENTIFICATION
The hardware comes unassembled, so you’ll need to sort & identify each of the pieces. The diagrams
below are actual size, so you can set them against the printed page to identify them if needed.
I/O JACK
TOGGLE SWITCH
POTENTIOMETER
(SINGLE)
FOOTSWITCH
POTENTIOMETER
(DUAL)
MOUNTING NUT
MOUNTING NUT
MOUNTING NUT
MOUNTING NUT
DRESS NUT
OUTER WASHER
DRESS NUT
OUTER WASHER KNOB
LOCK WASHER
LOCK WASHER
LOCK WASHER
LOCK WASHER
DIAMETER: 0.54” / 13.7mm
DIAMETER: 0.36” / 9.1mm
DIAMETER: 0.44” / 11.2mm DIAMETER: 0.5” / 12.7mm
DIAMETER: 0.6” / 15.2mm
DIAMETER: 0.375” / 9.5mm
DIAMETER: 0.475” / 12mm
DIAMETER: 0.5” / 12.7mm
DIAMETER: 0.4” / 10.1mm
DIAMETER: 0.6” / 15.2mmDIAMETER: 0.77” / 19.6mmDIAMETER: 0.6” / 15.2mm

STRATUS CLASSIC OVERDRIVE 9
PCB ASSEMBLY OVERVIEW
Now it’s time to start building!
The first thing you need to do is snap apart the PCB into 3 separate boards (if needed) and break off the
tabs from each using needle-nose or flat-head pliers. You should be left with this:
The general principle for PCB population is that you work in layers from shortest components (i.e.
lowest-profile) to tallest so that when the PCB is upside-down, everything is making contact with the
work surface and is held in place.
So, you will start by populating the resistors (the lowest-profile components), followed by the diodes,
sockets, film capacitors, and finally the electrolytic capacitors.

STRATUS CLASSIC OVERDRIVE 10
RESISTORS
PART VALUE
R1 1k
R2 510k
R3 10k
R4 10k
R5 4k7
R6 51k
R7 1k
PART VALUE
R8 10k
R9 220R
R10 1k
R11 1k
R12 510k
R13 10k
R14 100R
PART VALUE
R15 10k
R16 10k
R17 10k
RPD 2M2
LEDR 4k7
Using the parts list above, populate the resistors by pushing them through the holes and bending the
leads outward at an angle to hold them in place. Resistors are not polarized, so they will work in any
direction. Turn the board upside-down to keep the components held in place while you solder.
You’ll use this same technique for most of the other components as well.
Don’t try to do all of the resistors at once. You’ll want to stop periodically flip the board and solder
everything, then cut the leads using the wire snippers to make room for more. Generally you don’t want
to do more than 15 to 20 resistors at a time or the bottom of the board will get too crowded.
If this is your first time soldering, watch tutorial videos on YouTube and make sure you get it down
before you begin. You don’t want to practice or experiment on this board!

STRATUS CLASSIC OVERDRIVE 11
DIODES
PART VALUE
D1 1N5817
D2 1N914
D3 1N914
D4 1N914
D5 1N914
PART VALUE
D6 1N914
D7 1N914
D8 LED, red
D9 LED, red
Next, you’ll populate the diodes. Diodes are polarized, so make sure to identify the polarity band (which
indicates the “cathode”, or negative side) and match the band to the footprint on the PCB.
For LEDs, the flat edge indicates the cathode. Line this up with the PCB footprint on the top side of the
PCB and solder them flush with the PCB. (These LEDs are used as clipping diodes. The indicator LED will
be done in a later step.)

STRATUS CLASSIC OVERDRIVE 12
SOCKETS & ICS
Next up are the sockets. You can’t bend the leads of the sockets like you can with the other components,
so they won’t stay in on their own until they are soldered.
Again, it’s much easier to do all of these at once with gravity holding them in place for you, so you’ll want
do them before you do any of the taller components.
Installing the ICs
Don’t insert the ICs into the sockets just yet. We will do this in a later step, after we’ve finished soldering
the tallest components (the polarized capacitors). This information is just listed here for reference.
The legs of each IC are bent outward slightly during manufacturing, so they’ll need to be bent back
inward before they can be inserted into the sockets.
It’s easiest to do this by laying the IC legs against the table and bending the body itself so all four legs on
the side are straightened out at once. Then, flip it and do the other side.
ICs may have two different orientation marks: either a dot in the upper-left or a half-circle notch in the
middle of the top side. Some ICs have both marks. This shows which way the IC should be rotated when
inserting it into a socket (the socket also has a half-circle notch).
PART VALUE
IC1 JRC4558D

STRATUS CLASSIC OVERDRIVE 13
TRANSISTORS
Now we’ll do the transistors. If the legs are not already bent into 0.1” spacing, use your needle-nose
pliers to bend the outer two legs as shown.
Since these are just used as buffers and don’t need to be selected for gain, sockets are not necessary. You
can just solder them directly to the board.
Bend the outer leads to hold it in place on the board. Then, solder them and clip the leads.
PART VALUE
Q1 2N5088
Q2 2N5088

STRATUS CLASSIC OVERDRIVE 14
CAPACITORS (NON-POLARIZED)
After the sockets come the box film and MLCC capacitors. These are all several different heights, but
there aren’t as many, so just do them all at once. Bend the leads at an angle to hold them in place.
MLCCs and box capacitors are not polarized and will work in any direction. To keep things neat, though,
it’s recommended to put them all facing the same way.
PART VALUE
C1 22n
C2 1uF
C3 47pF MLCC
C4 47n
C5 220n
C6 220n
PART VALUE
C7 1uF
C8 100n
C9 1uF
C12 100n MLCC
CX2 22n
CX3 68n

STRATUS CLASSIC OVERDRIVE 15
WIRE HEADERS
Install the two 3-pin headers (wire connectors) as shown above. These have a polarity pin, so as long
as they are pressed all the way down, there’s only one possible way to install them. They do fit pretty
tightly in the holes, though, so press firmly.
There’s also a 4-pin header on the I/O board that we will do in a later step.

STRATUS CLASSIC OVERDRIVE 16
CAPACITORS (POLARIZED)
Populate the electrolytic capacitors. These are the tallest components so we save them for last. They are
polarized (i.e. they will only work in one direction), so note the vertical mark that indicates the negative
side. The longer leg is positive and fits in the square pad.
These are the last of the on-board components. Now is the time to go back to page 13 and insert the ICs
into the sockets.
PART VALUE
C10 100uF
C11 47uF

STRATUS CLASSIC OVERDRIVE 17
FOOTSWITCH PCB
Next, it’s time to finish up the footswitch board. You should have done most of the on-board components
on this board in a previous step, but if not, go back and do those.
There will be one longer assembly with 4 wires and two shorter ones with 3 wires. The longer one goes
in the middle and the shorter ones go on the left and right sides. The wire assemblies should then be
soldered to the footswitch board as shown.
Once all three wire assemblies are soldered, set the footswitch PCB aside. We’ll solder the actual
footswitch and LED in a later step.
PARTS
3-strand wire assembly (2)
4-strand wire assembly
STEP 3
Then, solder the wires from the top.
This is the trickiest part of the whole
build. You want to solder the pads
without touching the iron to the
wires themselves and risking burning
through the insulation. It helps to
use a sharp or narrow tip on the
soldering iron.
STEP 2
Next, bend the wires back upward
and fit the ends of the wires into the
solder pads.
On the top side of the PCB, bend the
exposed wires backward so it holds
the wire in place. Pull the header
back up through the slot partway.
STEP 1
First, thread the wire through the
strain-relief slots, with the blue
side facing outward and the PCB
silkscreen facing up.
For now, pull it through as far as it
can go.
BLUE
MARKING

STRATUS CLASSIC OVERDRIVE 18
INPUT/OUTPUT PCB
Almost done! Get the two input/output jacks, the DC jack and the wire header and snap them in place.
The PCB is designed for them to fit securely, so you can do them all at once before flipping and soldering.
After you’ve soldered everything, make sure to snip the leads on the I/O jacks as close as possible to
the PCB. There’s not a lot of clearance between the bottom of this board and the top of the main PCB
once everything is in place, and you don’t want the pins to short against anything on accident.
Next, we’ll hook up the 9V battery connector. This is optional. Not everyone uses batteries. But, if you
do, this pedal should last a long time on a single 9V so you won’t need to change it very often.
PARTS
Input & output jacks
DC jack
Wire header
9V battery snap
STEP 1
Thread the battery snap leads through the strain-
relief hole twice so it forms a single loop.
STEP 2
Bend the exposed wires back down and solder them
into the pads. Red is positive (+), black is negative (-).
After soldering, pull it tight.
For even more strain relief, you can thread the snap
through the loop to form a knot. (not shown)

STRATUS CLASSIC OVERDRIVE 19
ENCLOSURE LAYOUT: PANEL MOUNTS
Attach the hardware to the enclosure as shown. (The I/O board is done in a later step.)
125B
500kB 100kA
20kW
FOOTSWITCH
BEZEL
& LED
MOUNTING NUT
MOUNTING NUT
DRESS NUT
LOCK WASHER
MOUNTING NUT
LOCK RING
MOUNTING NUT
OUTER WASHER
LOCK WASHER
DUST CAP
FOOTSWITCH
BEZEL & LED
The dress nut fits over the top of the mounting nut and is for aesthetic
purposes only. Wrap a rubber band around it to use as a grip when tightening.
Do not use metal tools on it or you run the risk of scratching or denting it.
You’ll need to hold the bezel in place when
tightening the nut. The top of the bezel is fairly
sharp, so try using a rubber band for grip instead
of pressing your finger against the bottom.
The LED will just
sit loosely inside
the bezel for now.
POTENTIOMETERS
Volume: 100kA
Drive: 500kB
Tone: 20kW
SPDTSPDT
on-off-onon-off-on

STRATUS CLASSIC OVERDRIVE 20
ENCLOSURE LAYOUT: PANEL MOUNTS (CONT.)
125B
500kB 100kA
20kW
FOOTSWITCH
BEZEL
& LED
MOUNTING NUT
MOUNTING NUT
LOCK WASHER
TOGGLE SWITCHES
The dress nut acts as a mounting nut, unlike the footswitch dress nut. Use flat-
nose pliers on the flat sides of the nut to tighten securely.
SPDTSPDT
on-off-onon-off-on
Other manuals for STRATUS
1
Table of contents
Other aion Music Pedal manuals

aion
aion Lab Series User manual

aion
aion Lumitron User manual

aion
aion PROCYON User manual

aion
aion AZURE User manual

aion
aion Onyx User manual

aion
aion ZIRCON SILICON FUZZ User manual

aion
aion Gladiator Dual Drive User manual

aion
aion QUARK User manual

aion
aion REFRACTOR User manual

aion
aion DEIMOS User manual