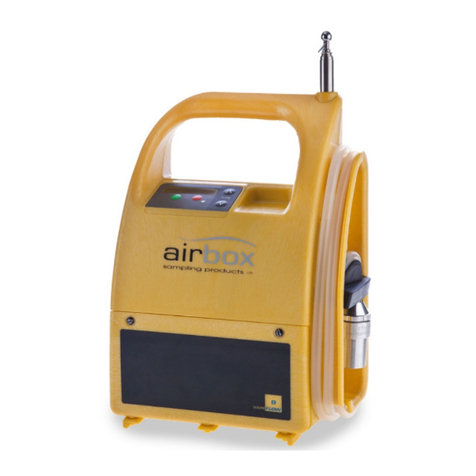
34
1. Setting up and using the Variflow pump
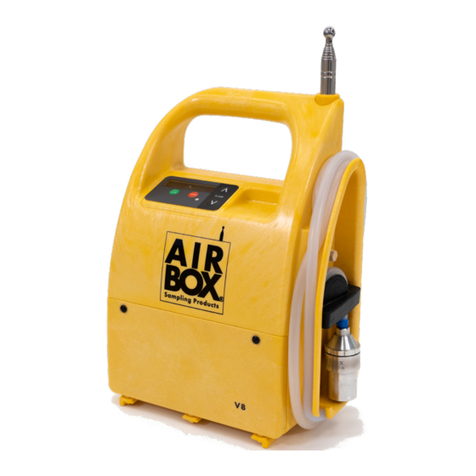
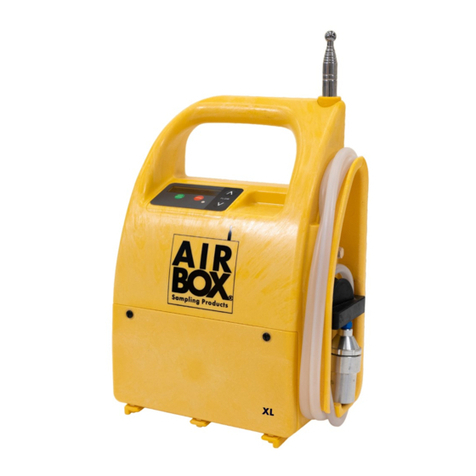
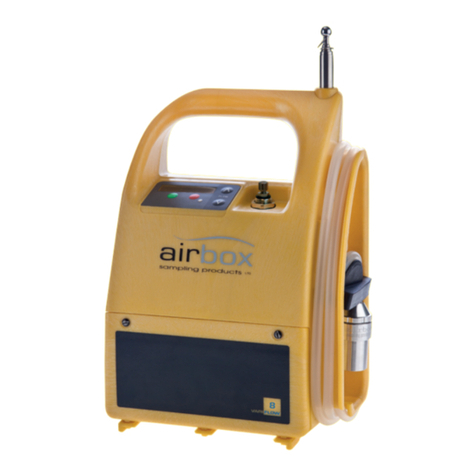
Before you use the VARIFLOW pump make sure it is fully charged. A battery level indicator
shows the available power when the unit is first switched on.
1.1 Charging the battery
When the charger is plugged into the charging socket a red LED will be illuminated. The LED
will change to green when the battery is fully charged. It takes approximately 6-8 hours to
completely charge the battery.
1.2 Removing the waterproof covers
IMPORTANT: Before switching the unit on, ensure the gold air outlet valve and sampling
head are not covered.
2. Switching on and setting the flow rate
Before switching on the VARIFLOW connect a flow meter to the air sampling head.
Press start/pause to switch on the unit. The display will show, in this order, the serial
number, the current firmware version and the battery status.
If start/pause is pressed the display shows ‘Flow not set’.
Press either arrow to open and start Calibration Mode and to Set Flow.
The pump is set at aprox 8 l/min as a default, to fine tune this:-
Press start/pause to start calibration. NOTE: Run for 45 seconds to allow to stabilise.
Press up/down arrows to adjust flow rate. (A single press advances the display by one
increment, holding while pressing advances the display by 10 increments). Check the
flow rate against the flow meter and adjust acording to flow requirements. (Any increment
changes will be saved for the post test flow check, see 2.2 & 2.3).
To confirm and set the flow rate press stop.
IMPORTANT: If pump is shutdown between setting the flow and starting the test, flow will
have to be re-calibrated by repeating the steps above.
2.3 If Timed Test is selected
Press start/pause the display shows ‘Enter Run Time’
Press arrows to adjust time:-
Press start/pause to move between (Hrs) 00 (Mins) 00 (Sec) 00.
Press start/pause the pump runs and the timer starts. When the time has elapsed the
display shows ‘Test Completed - Check Flow’.
Press stop display shows ‘Test completed - Check Flow’.
Press stop display shows ‘Connect flow meter’ (now reconnect your flow meter to check
the flow rate).
Press start/pause display shows ‘Flow Check’ (any increment changes made when
setting the flow rate (see 2) will be shown.
NOTE: Wait 45 seconds for flow rate to stabilise.
Press stop display shows ‘Flow Check Complete’
Press stop to shutdown.
Note: If the pump switches itself off during either Free Running or Timed Test (i.e if the
battery dies or the sampling head gets blocked) on restart it will either show:-
1. ‘Test Incomplete, Restart Test?’, Press start/pause to resume test and see where the
previous test got to.
2. ‘Test Completed Check Flow’, in which case continue as instructions above.
3. ‘Low battery’, in which case either replace battery (within 10 minutes of disconnecting
old one) or charge pump directly from the mains for a short time to complete the flow
check.
2.2 If Free Running is selected
Press start/pause the pump runs and the timer starts counting, (you can pause during
the test by pressing start/pause)
Press stop during test and the display shows ‘Test Stop? Are you sure?’ If you are not sure,
press start/pause to continue test, if you are sure:-
Press stop display shows ‘Test completed - Check Flow’.
Press stop display shows ‘Connect flow meter’ (now reconnect your flow meter to check
the flow rate).
Press start/pause, display shows ‘Flow Check’ (any increment changes made when
setting the flow rate (see 2) will be shown).
NOTE: Wait 45 seconds for flow rate to stabilise.
Press stop display shows ‘Flow Check Complete’.
Press stop to shutdown.
2.1 Setting test mode
Press start/pause the display will show ‘Set test mode’.
Press arrows to select ‘Free Running’ or ‘Timed test’.


