Getting Started
English - 26 -
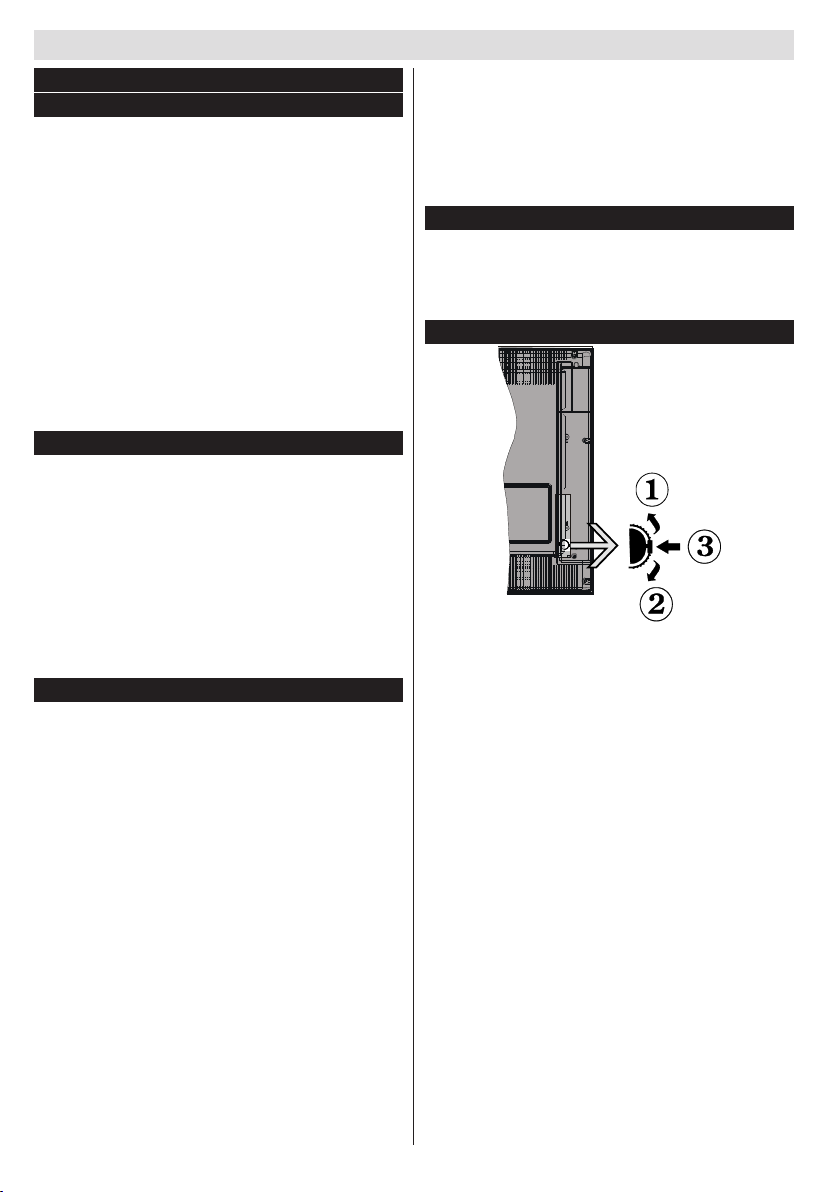
Switching On/Off
To Switch the TV On
Connect the power cord to the 220-240V AC, 50 Hz.
To switch on the TV from standby mode either:
Press the “ ” button, P+ / P- or a numeric button on
the remote control.
Press the side function switch until the TV comes on
from standby.
To Switch the TV Off
Press the “ “ button on the remote control or press
the side function switch until the TV switches into
standby mode.
To power down the TV completely, unplug the
power cord from the mains socket.
Note: When the TV is switched to standby mode, the standby
LED can blink to indicate that features such as Standby
Search, Over Air Download or Timer is active. The LED can
also blink when you switch on the TV from standby mode.
First Time Installation
When turned on for the first time, the language
selection screen is displayed. Select the desired
language and press OK.
The First Time Installation (FTI) screen will be
displayed next. Set your preferences using the
navigation buttons and when nished, press OK to
continue.
You can activate Store mode option to be available
in “Other settings” menu and your TV’s features will
be illustrated on the top of the screen. A conrmation
screen will be displayed. Select YES to proceed.
If Home Mode is selected, Store mode will not be
available after the First Time Installation. Press OK
button to continue.
Default PIN code can change depending on the
selected country.
If you are asked to enter a PIN code for viewing a
menu option, use one of the following codes: 4725,
0000 or 1234.
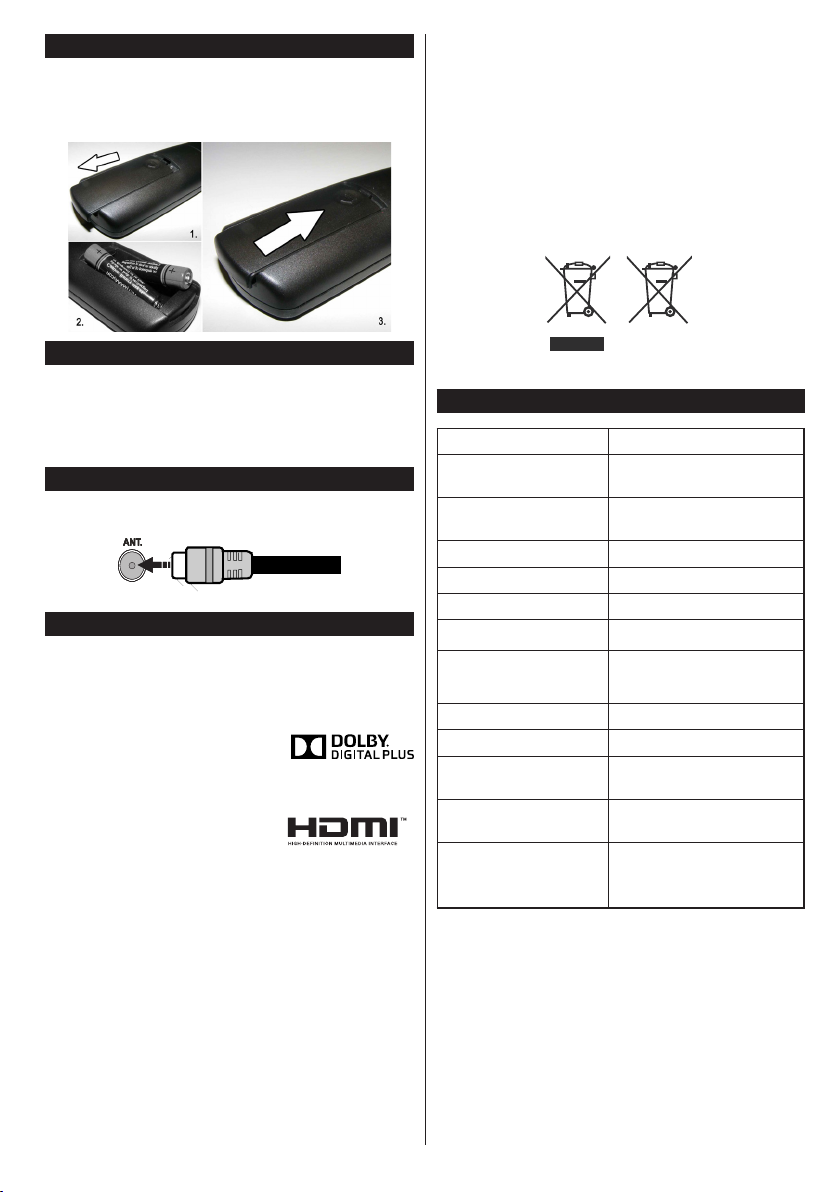
Aerial Installation
If you select AERIAL option from the Search Type
screen, the television will search for digital terrestrial
TV broadcasts.
NOTE: You can press MENU button to cancel.
After all the available stations are stored, the Channel
List will be displayed on the screen. If you like how the
channels are sorted according to the LCN (*), please
select “Yes” and than press OK.
Press MENU button to quit channel list and watch TV.
(*) LCN is the Logical Channel Number system that
organizes available broadcasts in accordance with a
recognizable channel sequence (if available).
Cable Installation
If you select CABLE option and press OK button on
the remote control. To continue, please select YES
and press OK. To cancel operation, select NO and
press OK. You can select frequency ranges from
this screen.
Enter the frequency range manually by using the
numeric button.
Note: Searching duration will change depending on the
selected search step.
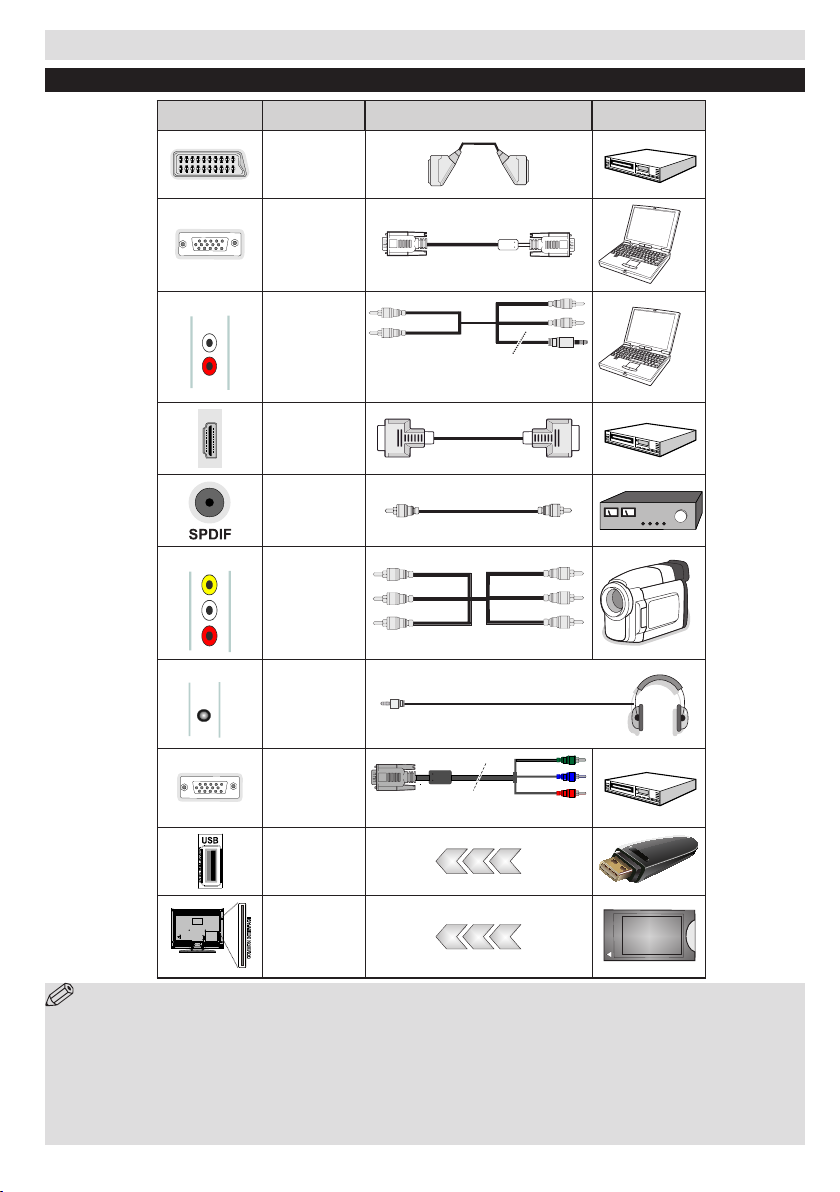
Media Playback via USB Input
You can connect a 2.5” and 3.5” inch (hdd with external power
supply) external hard disk drives or USB memory stick to your
TV by using the USB inputs of the TV.
IMPORTANT! Back up your files before making
any connections to the TV. Manufacturer will not be
responsible for any le damage or data loss. Certain
types of USB devices (e.g. MP3 Players) or USB hard
disk drives/memory sticks may not be compatible
with this TV.
While formatting a USB hard disk that has 1TB (Tera
Byte) or more file capacity, you can experience
problems with the formatting process. Do not
repeatedly quickly plug and unplug the drive. This
may cause physical damage to the USB player and
USB device itself. Do not pull out USB module while
playing a le.
Media Browser Menu
You can play photo, music, and movie les stored on a
USB disk by connecting it to your TV. Connect a USB
disk to one of the USB inputs located on the side of
the TV. Pressing the MENU button while in the Media
Browser mode will access the Picture, Sound and
Settings menu options. Pressing the MENU button
again will exit from this screen. You can set your Media
Browser preferences by using the Settings Menu.
Loop/Shufe Mode Operation
Start playback with and
activate
TV plays next file and loop
the list.
Start playback with OK and
activate
the same le will be played in a
loop (repeat).
Start playback with OK/ and
activate the le will be played in a shufe.
First Time Installation - USB Connections