3
Ifyouare studying foryour license and want to familiarize yourselfwith the operationofthe
radio, the receivermaybe operated with or without a licensed operator present under the
condition, that essentialpartsof the transmit section have been made temporarily inoperable.
Under no circumstancesit isallowed to use thisamateur radio as“CB-Transceiver”.Even
licensed amateur radio operatorsare not allowed to use thistransceiver for CBradio
purposes. The regulationsrequire that adedicated notified or approved CB transceiver will be
used for CB radio purposes.
For more information regarding amateur licensing,contact your nearest amateur radio dealer,
or for completedetailscontactone ofthe world-wide amateur radioclubs, e.g.inGermany the
“DARC-eV”. Youcan alsofind moreinformations viawww.darc.de
INSTALLATION
1. Contents
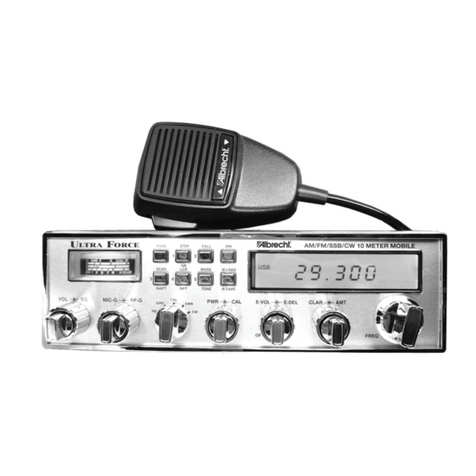
Unpack and inspect your UltraForce for missing or damaged components. Your UltraForce
includesthe following items:
• UltraForce Transceiver
• Up / Down Microphone
• Mounting Bracket and Installation Hardware
• Power Cord
• Operating Manual
Install the UltraForce
Choose a location where there iseasy accessto allfront panelcontrolsand aircirculation
available tothe rearpaneland aluminum heatsink. Donot installthe transceiverinany
compartment that restrictsairflow. Attachthe mounting bracket to the vehiclefirst then mount
the transceiver to the bracket.If the rear panelisnot easily accessible you may want to attach
the power cord and antenna feed linepriorto mounting.
Make Electrical Connections
The transceiver isdesigned to work on any 13.8 VDC power source with a negative ground.
The condition of a vehicle’selectricalsystemcan affect operation.A lowbattery,worn
generator/alternator, or poor voltage regulator willseriously impairthe performance ofthe
transceiver.
Any ofthe aboveconditionscouldresultin a high levelof receiver noise generation ora
substantialloss ofthe transmitter’sRF output.Make sure that allof these componentsofyour
vehicle’selectrical systemare in good condition prior toinstallingthe transceiver. Before
making any electricalconnections make sure the AF gain (volume) control on the transceiver
isinthe “OFF” position. Connectthe positive(+)red wire and negative (-)black wire fromthe
transceiverdirectlyto the battery.Connecting directly to the batteryhasseveralbenefits,the
first of which isto maximize RF output.
Secondly, the batteryisa very large capacitorand willhelp eliminate certaintypesofambient
and vehiclenoise. Depending on your mounting location, additional power cablemay be
required. On additional runsof2 m or less use 2.5 qmm stranded wire. Use thicker wire for
longer longer runs.
CAUTION!
• ANY VOLTAGEEXCEEDING15 VDC WILLDAMAGETHERADIO
• MEASURE VOLTAGE ATBATTERY TERMINALS,WITHENGINE RUNNING,
PRIOR TOINSTALLATION!
Legalinformation
The presentlyvalid European “Automotive Directive”doesnot allowto operate this
transceiver from the car’sDC network incarsduring motion.
Please do not use thistransceiver whileYou are riding the car. However, the “Automotive
Directive”isunder revision, and the newedition2004/104/EG (14. 10.2004) again allows to
use non-safety-relevant CE marked after-market equipment likeamateur transceiversin car
installations. Because ofEMC reasons, the car manufacturershavethe right to issue
installationrulesand instructions for installing transmittersand their antennasin cars.These

