Alderon Industries Power Post VA-02 User manual
Other Alderon Industries Security System manuals

Alderon Industries
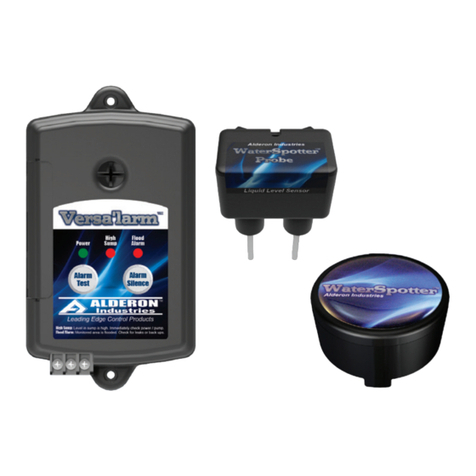
Alderon Industries WaterPro WaterSpotter AVFD Series User manual
Alderon Industries
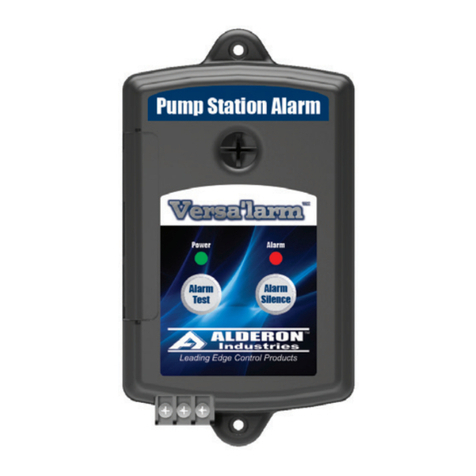
Alderon Industries Versa'larm VA02A User manual
Alderon Industries
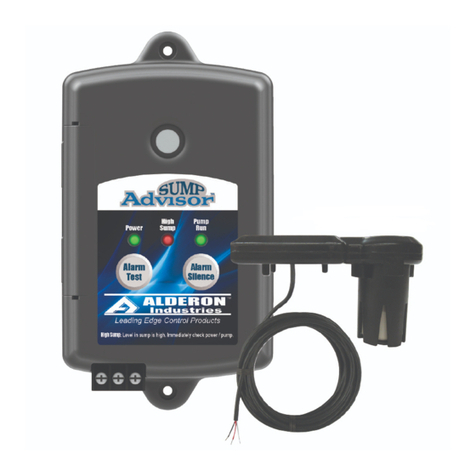
Alderon Industries Sump Advisor 2000514 User manual
Alderon Industries
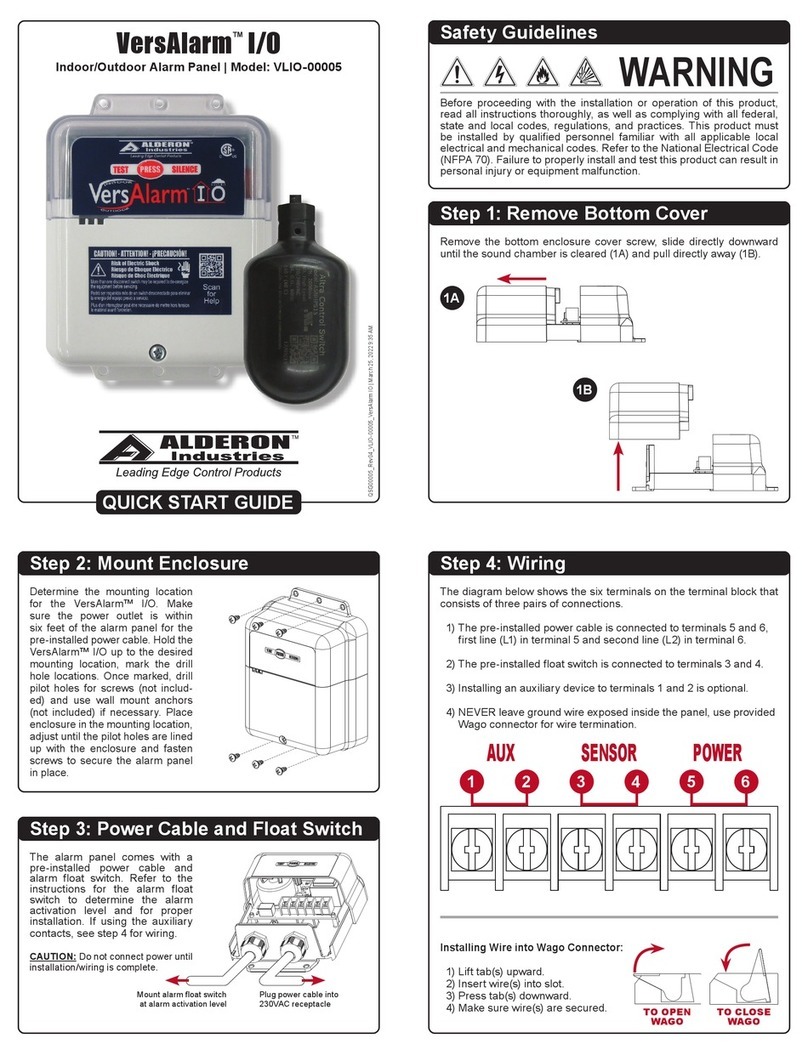
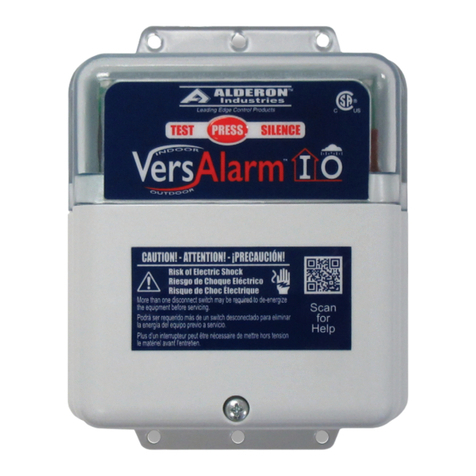
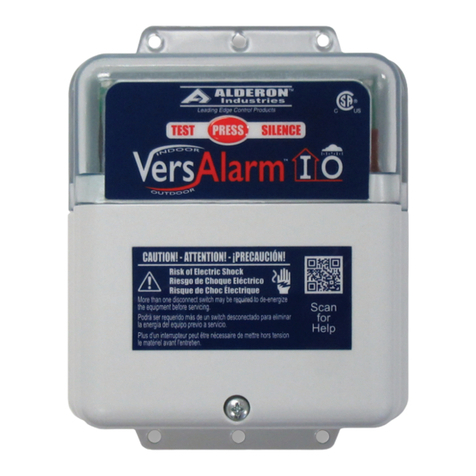
Alderon Industries VersAlarm I/O VLIO-0001 User manual
Alderon Industries
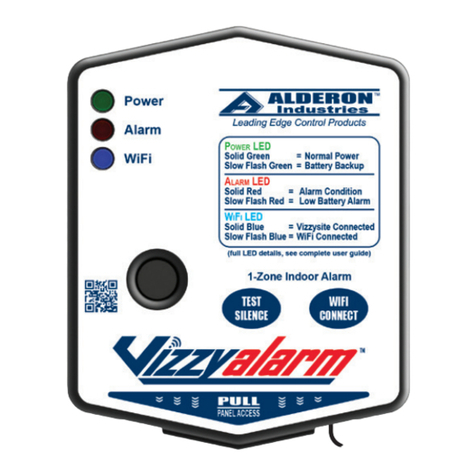
Alderon Industries Vizzyalarm VZW-02 User manual

Alderon Industries
Alderon Industries Oil Alert VA02 User manual
Alderon Industries
Alderon Industries Versa'larm VA01A User manual
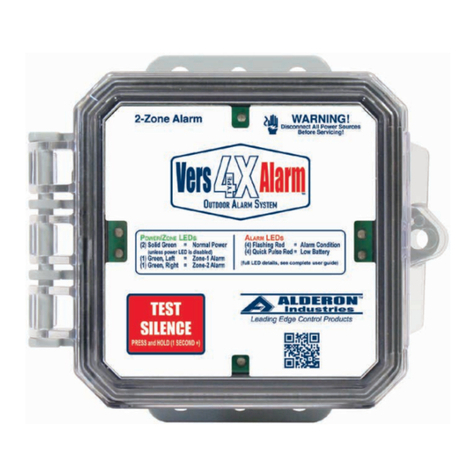
Alderon Industries
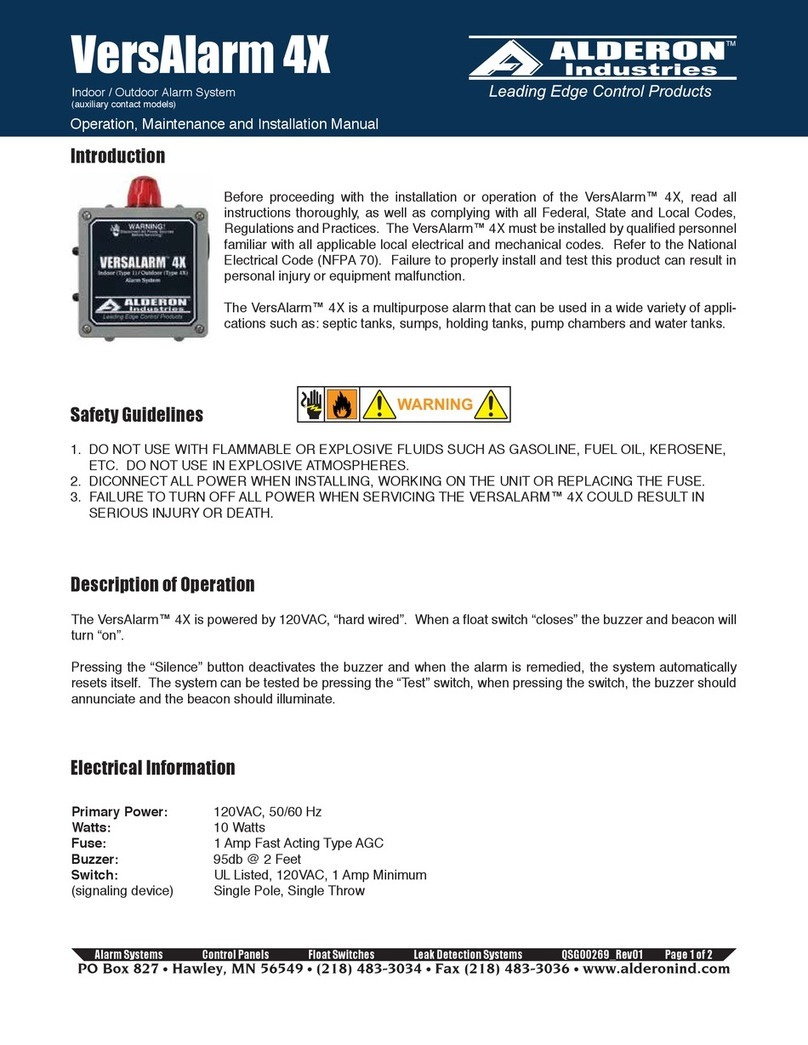
Alderon Industries VersAlarm 4X User manual
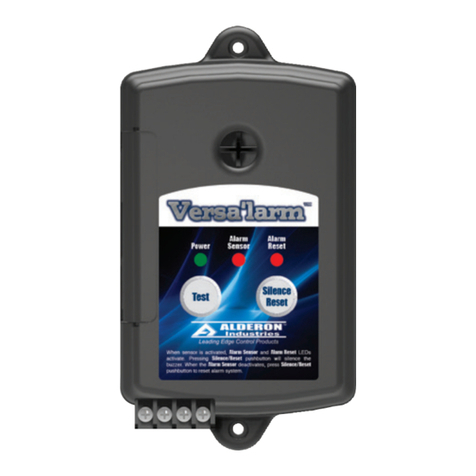
Alderon Industries
Alderon Industries Versa'larm 8124 User manual
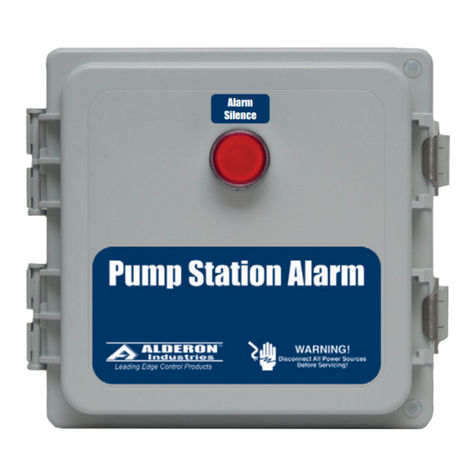
Alderon Industries
Alderon Industries 8059 User manual
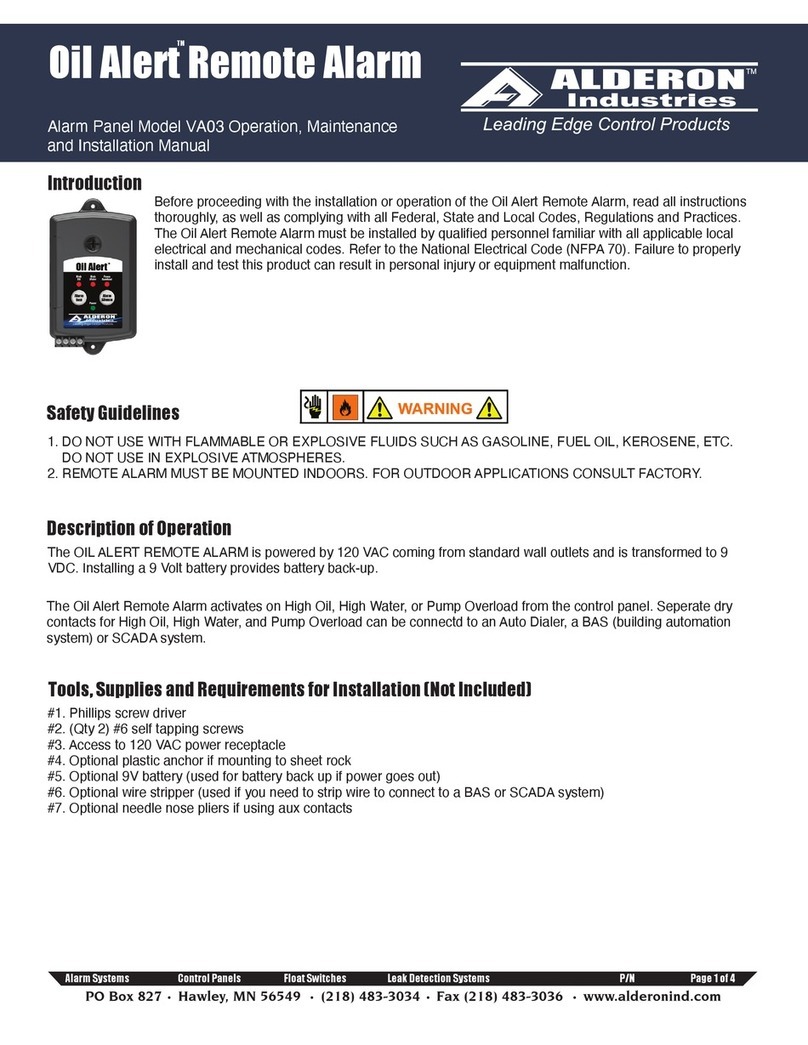
Alderon Industries
Alderon Industries Oil Alert VA03 User manual
Alderon Industries
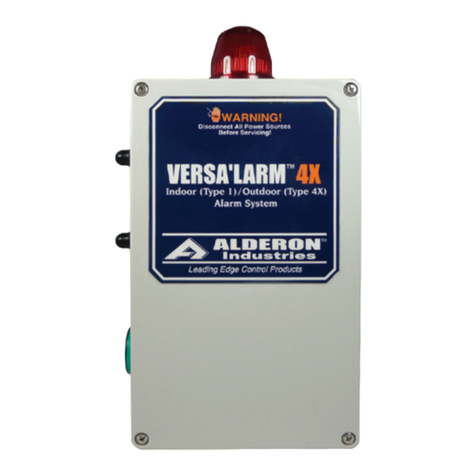
Alderon Industries Versa'larm 4X User manual
Alderon Industries
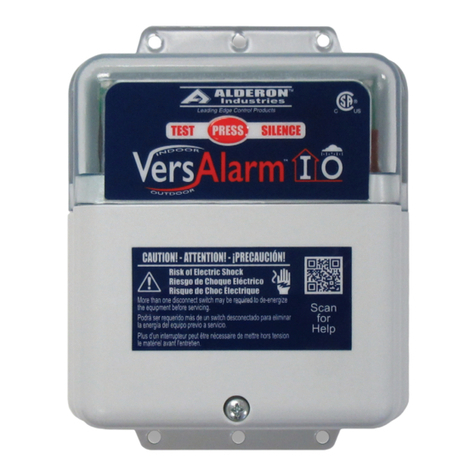
Alderon Industries VersAlarm VLIO-0004 User manual

Alderon Industries
Alderon Industries Sump Advisor 2000514 User manual
Alderon Industries
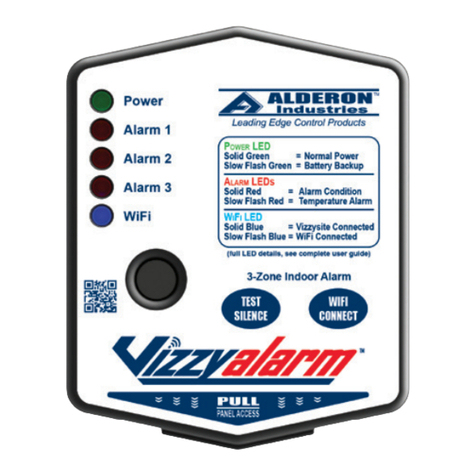
Alderon Industries Vizzyalarm VZW-01 User manual
Alderon Industries
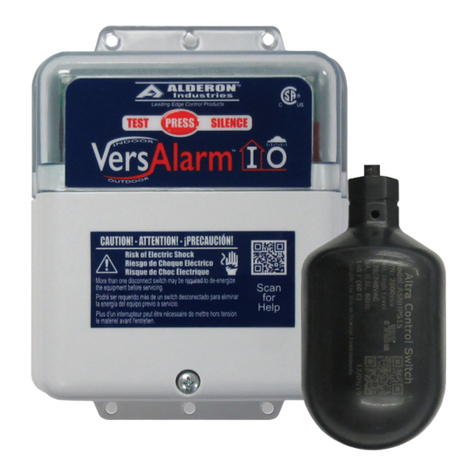
Alderon Industries VersAlarm I/O VLIO-0002 User manual
Alderon Industries
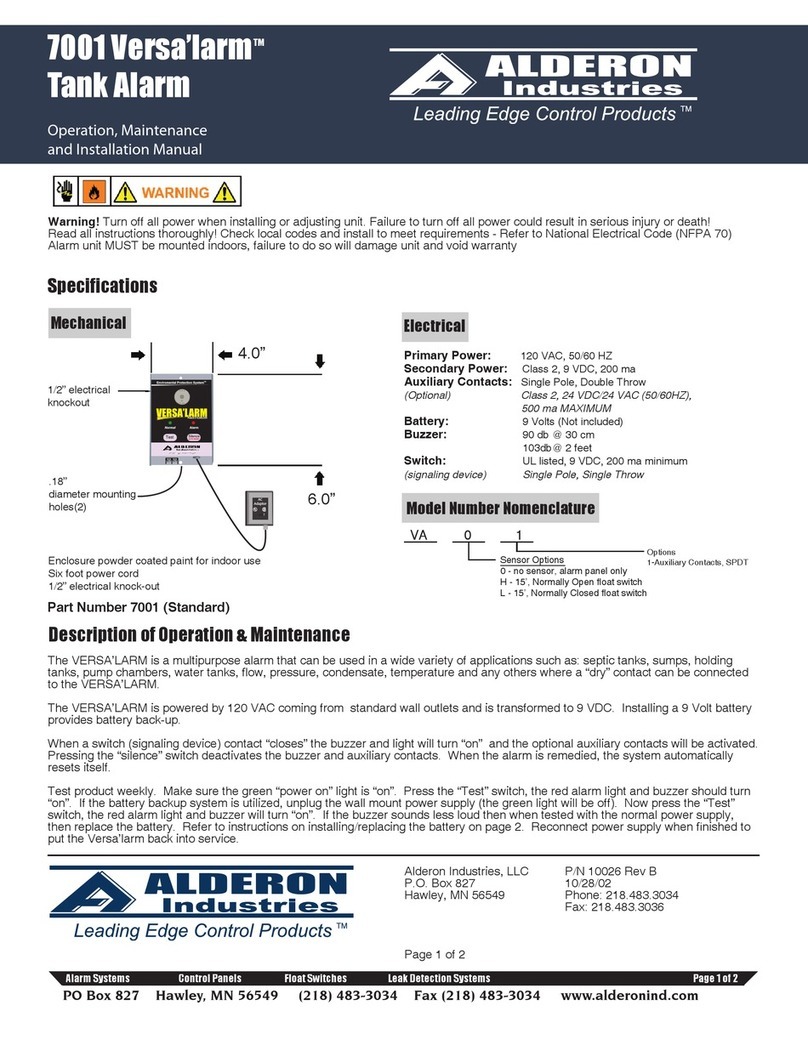
Alderon Industries 7001 Versa’larm User manual
Alderon Industries
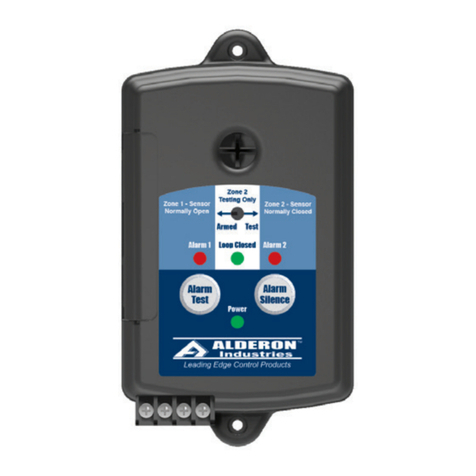
Alderon Industries Versa'larm VA02B User manual
Alderon Industries
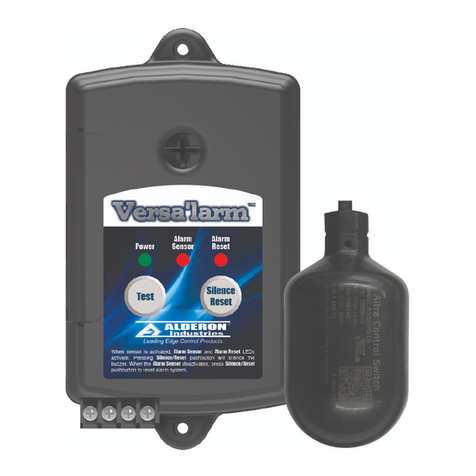
Alderon Industries Wireless Versa'larm VA01B User manual
Alderon Industries
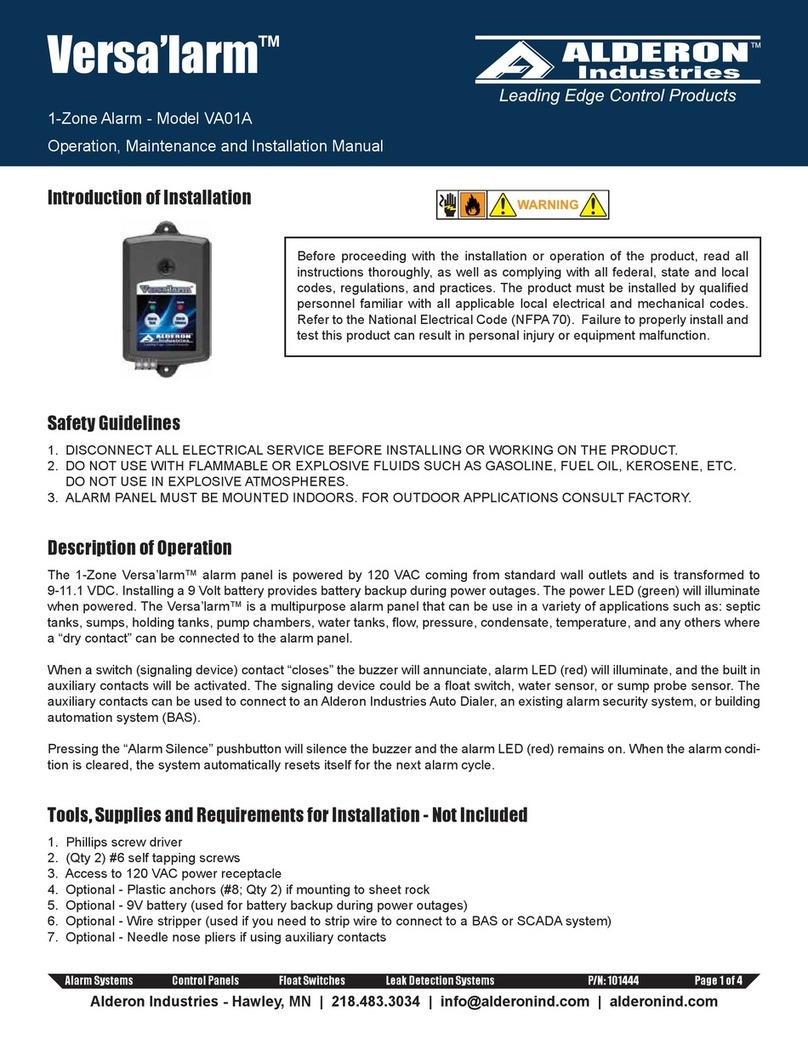
Alderon Industries Versa'larm VA01A User manual
Popular Security System manuals by other brands

Secure
Secure USAB-1 operating instructions

B&B
B&B 480 SERIES Operation & maintenance manual

ADEMCO
ADEMCO VISTA-20P Series Installation and setup guide

Inner Range
Inner Range Concept 2000 user manual

Johnson Controls
Johnson Controls PENN Connected PC10 Install and Commissioning Guide

Aeotec
Aeotec Siren Gen5 quick start guide
