4
2.1.2.
Design with the communication and supply device BKN 230-24 and the actuating mechanism
BLF 24-T-ST. It simplifies electrical wiring and interconnection of fire damper. It facilitates on site
check and enables central control and checks of fire damper by means of a simple 2-conductor
wiring.
BKN 230-24 functions as a decentralized network device for supplying the actuating mechanism
BLF 24-T-ST with a spring back drive on one hand and on the other hand it transmits the signal
informing about the fire damper position OPERATION and FAILURE through 2-conductor wiring
to the central. Control command SWITCHED ON - SWITCHED OFF from the central through
BKN 230-24 goes through the same wiring to the actuating mechanism.
To simplify the connection, the actuating mechanism BLF 24-T-ST is equipped with connecting
plugs that are inserted directly to BKN 230-24. BKN 230-24 is supplied with a conductor and an
EURO plug to be connected to the 230V mains.
2- conductor wiring is connected to BKN 230-24 by means of terminals 6 and 7.
If the drive is supposed to be controlled without any signal from the central, it can be switched on
by means of a bridge between the terminals 3 and 4. A green LED pilot light on BKN 230-24 is
on when voltage is present in the drive (AC 24V). If the button on BAE 72-S is switched on or if
the power supply (e.g. by a signal from ELECTRICAL FIRE SIGNALISATION ) is disconnected,
the fire damper position will be "FAILURE".
2.1.3.
Signaling damper blade position "OPEN" and "CLOSED" is secured by two built-in, firmly set
terminal switches.
2.1.
Actuating mechanism
2.2.
Communication and control devices
2.2.1.
BKS 24-1B communication and control device is used for control and checks of fire flap valves
with the BLF 24-T-ST actuating mechanism in conjunction with the BKN 230-24 supply and
communication device. BKS 24-1B receives information about the situation of the fire damper
through the BKN 230-24 supply and communication device and issues controlling commands.
The device is intended for building in into the distribution board. Light diodes on the front side of
the device signalise the operating situations of the damper and breakdowns of the whole system.
Nonpotential auxiliary contacts enable connection to the master control system (signalisation of
the damper position, failure reports, release of the ventilators etc.).
While a flashing green LED pilot light signalises flap blade motion towards the given position, the
same pilot light reports reaching the required position when shining constantly. If the damper, with
respect to the given time, does not reach the required position, then a red LED pilot light starts to
flash and at the same time, the failure contact is active. Once the damper blade reaches the given
position, this contact is deactivated. The LED pilot light keeps flashing unless the failure is
unblocked by means of the RESET button.
2. Design
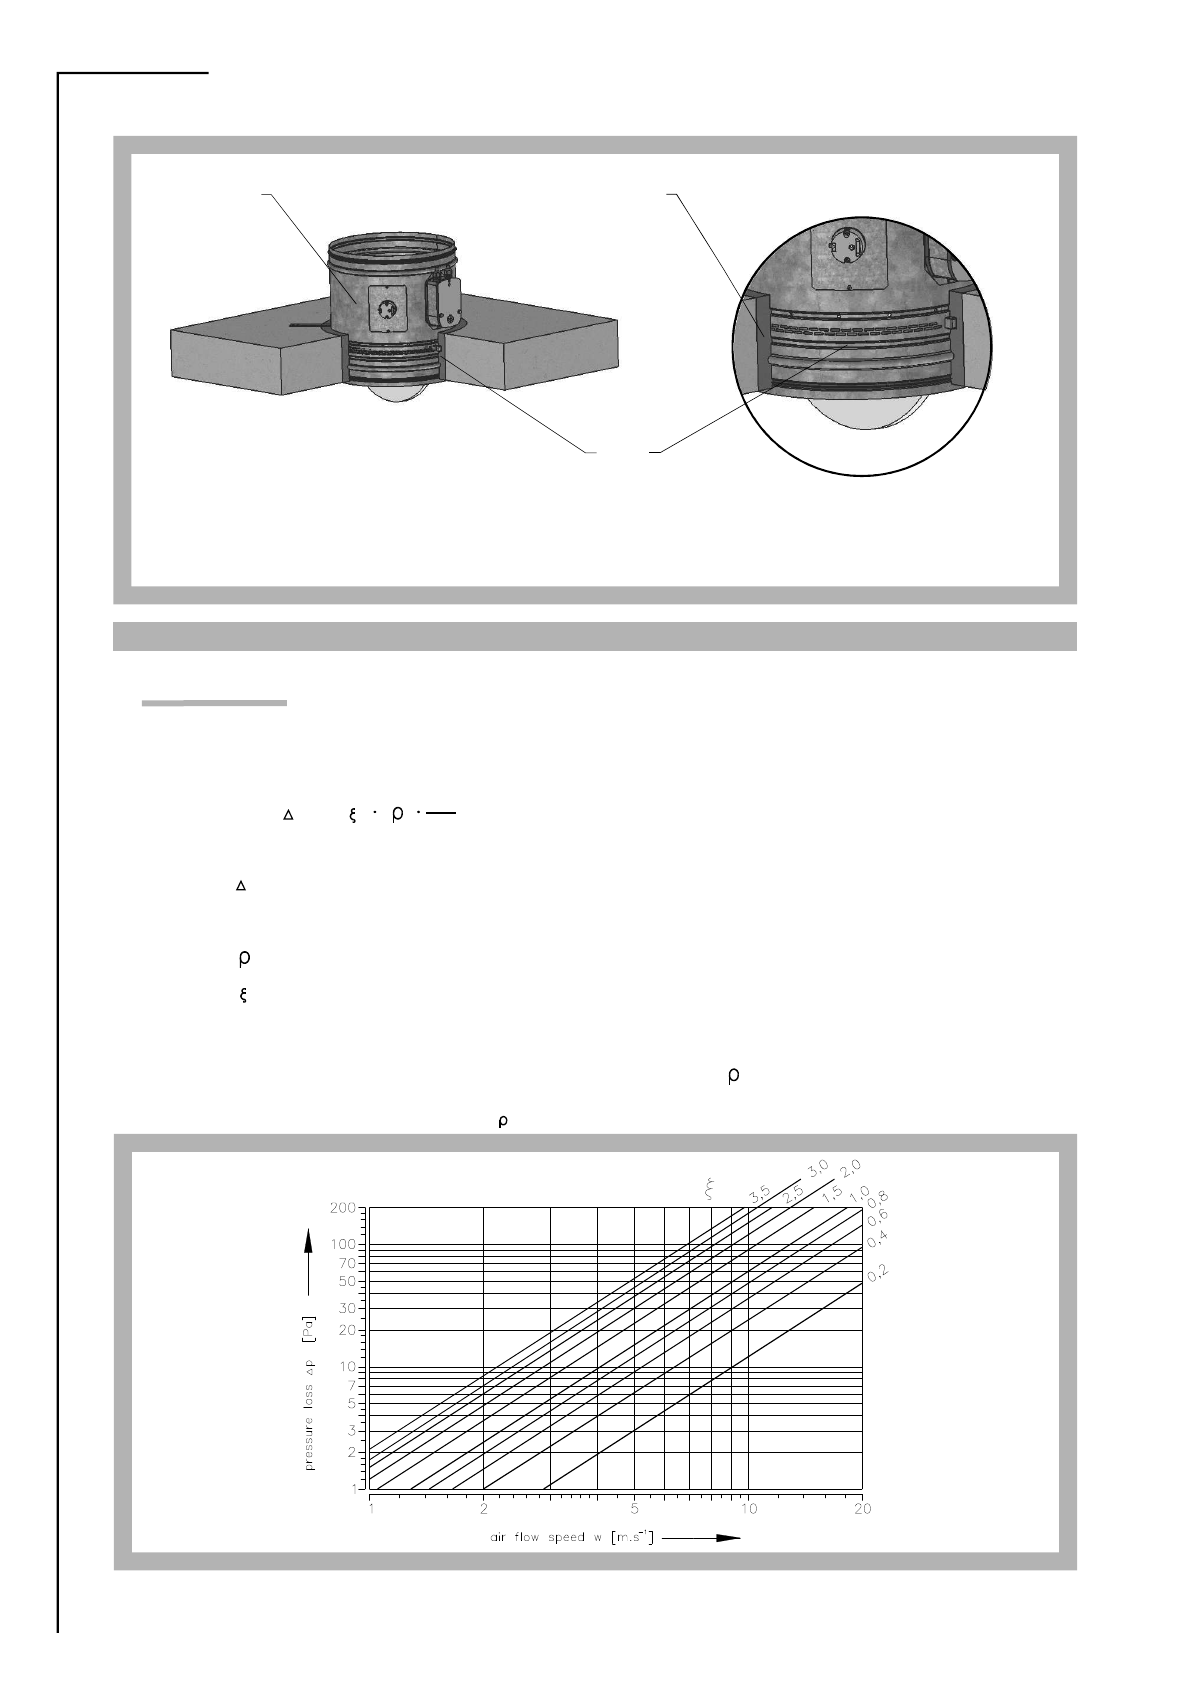
2.1.1.
Design with an actuating mechanism BLF 24-T or BLF 230-T (further only "actuating
mechanism"). After being connected to power supply AC/DC 24V or 230V, the actuating
mechanism displaces the damper blade into operation position "OPEN" and at the same time it
pre-stretches its back spring. When the actuating mechanism is under voltage, the damper blade
is in the position "OPEN" and the back spring is pre-stretched. Time needed for full opening of
the flap blade from the position "CLOSED" to the position "OPEN" is maximum 140s. If the
actuating power supply is cut off (due to loss of supply voltage, activation of thermoelectrical
actuating mechanism or pushing the reset button on the thermoelectrical starting mechanism
BAE 72B-S), the back spring displaces the damper blade into the breakdown position "CLOSED".
The time of displacing the blade from the position "OPEN" to the position "CLOSED" takes
maximum 16 s. In case that the power supply is restored again (the blade can be in any position),
the actuating mechanism starts to re-displace the damper blade into the position "OPEN".
A thermoelectrical starting mechanism BAE 72B-S, which contains three thermal fuses Tf1 and
Tf2/Tf3, is a part of the actuating mechanism. These fuses are activated when temperature
+72 °C has been exceeded (the fuse Tf1 when the temperature around the damper and the fuses
Tf2/Tf3 when the temperature inside the air-conditioning piping has been exceeded). After the
thermal fuse Tf1 or Tf2/Tf3 has been activated, the power supply is permanently and irreversibly
cut off and the actuating mechanism, by means of the pre-stretched spring, displaces the damper
blade into the breakdown position "CLOSED".