9
031-295-B0-001 Rev.A
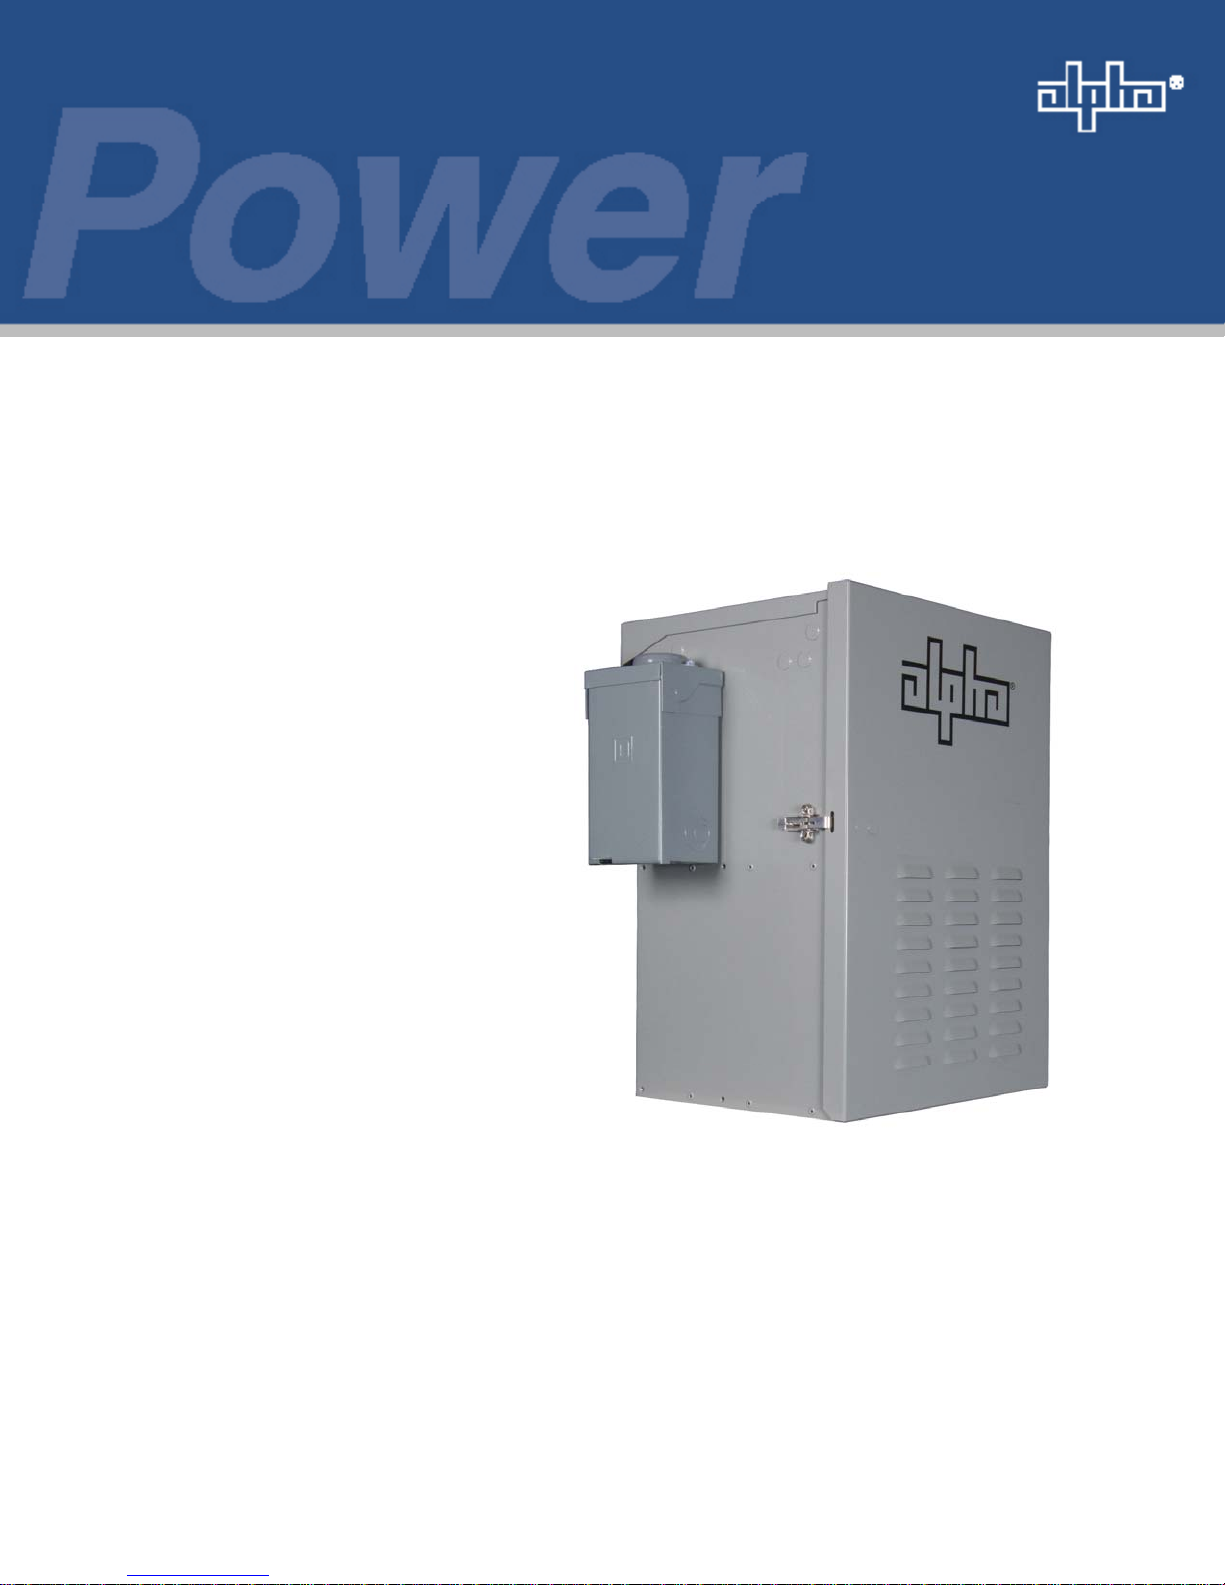
1.0 Introduction
Grounding Connection Notes
In order to provide a ready, reliable source of backup power it is necessary to connect the power supply to an
effective grounding and Earthing system that not only provides for the safety of the service personnel responsible for
its operation and maintenance, but also facilitates the proper operation and protection of the equipment within the
network. Such a grounding system provides protection with respect to operator safety, system communication, and
equipment protection.
Safety Ground
The safety ground is a two-part system, comprised of the utility service and the Alpha system.
1. First, utility service;
As a minimum requirement for the protection of Alpha equipment, the local utility service must provide a low-
impedance path for fault current return to Earth. This must meet or exceed the requirements of the US National
Electrical Code. The connection between theAlpha Power Supply and the utility must also meet or exceed the
requirements of the US National Electrical Code.
2. Second, the Alpha grounding system,
The Alpha grounding system consists of a low-impedance connection between the enclosure and an Earth Ground
(located at least 6’ away from the Utility Earth connection).
This impedance between the enclosure and Earth must be 25 Ohms or less at 60 Hertz.
Local soil conditions will determine the complexity of the grounding system required to meet the 25 Ohm (maximum)
resistance specified above.
For example, a single 8’ ground rod may be sufficient to meet the requirement. In some cases, a more elaborate
system may be required such as multiple ground rods connected by a #6AWG solid copper cable buried 8-12” below
the surface. Where this is not possible, contact a local grounding system expert for alternate methods that will meet
the 25 Ohm (maximum) specification.
All ground rod connections must be made by means of a listed grounding clamp suitable for direct burial or
exothermically welded.
Signal Ground
For proper operation, the Service Power Inserter (SPI) must be securely grounded to the enclosure chassis. This is of
particular importance in systems using an external status monitoring transponder. The transponder chassis is grounded
via a separate ground wire to the SPI case. For systems using an embedded transponder, the ground connection is
made either through a separate chassis ground block, or by means of the internal mounting hardware which grounds
the transponder through the XM2/XM2HP power supply. Please refer to the appropriate Communications product
manual for installation procedures.
Strike (Lightning) Ground
Lightning strikes, grid switching, or other aberrations on the power line and/or communications cable have the
potential to cause high-energy transients which can damage the powering or communitations systems. Without a low-
impedance path to ground, the current, when traveling through wires of varying impedance, produce damaging high
voltage. The most viable method available to protect the system from damage is to divert these unwanted high-energy
transients along a low-impedance path to ground. A low-impedance path to ground prevents these currents from
reaching high voltage levels and posing a threat to equipment. The single-point grounding system provides a low-
impedance path to ground, and the key to its success is the proper bonding of the ground rods, so the components of
the grounding system appear as a single point of uniform impedance. Alpha recommends the use of a surge arresting
device electrically bonded to the Alpha Ground System.
Low impedance grounding is mandatory for personnel safety and critical for the proper
operation of the cable system .
WARNING!
NOTE: