Alpinespas HAWAII 735L User manual

1
735L HAWAII
OWNER’S MANUAL

2

3
Table of Contents
IMPORTANT SAFETY INSTRUCTIONS ....................................................4
Important Safety Instructions........................................................................................ 6
ELECTRICAL REQUIREMENTS ................................................................8
Electrical Wiring............................................................................................................ 9
SPA START-UP........................................................................................10
Installation Guide........................................................................................................ 10
Selecting a Location................................................................................................... 10
Outdoor Spa Installation Guidelines........................................................................ 12
Indoor Spa Installation Guidelines........................................................................... 13
Filling the Spa with Water........................................................................................... 14
Powering the Spa On ................................................................................................. 15
Testing the RCD......................................................................................................... 15
Priming Pumps........................................................................................................... 16
Water Preparation ...................................................................................................... 16
Ultrazone.................................................................................................................... 16
TOPSIDE CONTROLLER INSTRUCTIONS Error! Bookmark not defined.
Spa Operation .............................................................. Error! Bookmark not defined.
Temperature Operation ................................................ Error! Bookmark not defined.
Modes of Operation...................................................... Error! Bookmark not defined.
General Messages ....................................................... Error! Bookmark not defined.
MAINTAINING THE SPA ..........................................................................17
Draining the Spa......................................................................................................... 17
Pillow Care .............................................................................................................. 18
Jet Care................................................................................................................... 18
Removing, Installing and Cleaning Filters .................................................................. 19
Storing or Winterizing the Spa.................................................................................... 20
Spa Cabinet Care....................................................................................................... 20
Cleaning the Spa Interior............................................................................................ 20
Spa Cover Use, Installation and Care ........................................................................ 21
Chemical Treatment of Water .................................................................................... 21
WARRANTY .............................................................................................22
Warranty Exclusions................................................................................................... 23

4
IMPORTANT SAFETY INSTRUCTIONS
PLEASE TAKE THE TIME TO READ ALL OF THESE WARNINGS AND CAUTIONS
PRIOR TO USING THE SPA.
PLEASE, be a responsible spa owner. When installing and using this spa, always
adhere to basic safety precautions. Be certain to explain safety precautions to all new or
occasional users of the spa. Remember, they may not be aware of the possible risks
associated with the spa water temperature.
READ AND FOLLOW ALL INSTRUCTIONS
WARNING –To reduce the risk of injury, do not permit children to use this product
unless they are closely supervised at all times. The appliance can be used by children
aged 8 years and above and persons with reduced physical, sensory or mental
capabilities or lack of experience and knowledge if they have been given supervision or
instruction concerning use of the appliance in a safe way and understand the hazards
involved. Children shall not play with the appliance. Cleaning and user maintenance
shall not be made by children without supervision.
DANGER –Risk of Accidental Drowning –Extreme caution must be exercised to
prevent unauthorized access by children. To avoid accidents, ensure that children
cannot use this spa unless they are supervised at all times.
DANGER –Risk of Injury - The suction fittings in this area are sized to match the
specific water flow created by the pump. Should the need arise to replace the suction
fittings or the pump, be sure the flow rates are compatible.
Never operate spa if the suction fittings are broken or missing. Never replace a suction
fitting with one rated less than the flow rate marked on the original suction fitting.
DANGER –Risk of Electrical Shock –Warning: Before obtaining access to
terminals, all supply circuits must be disconnected. Install at least 5 feet (1.5 m)
from all metal surfaces. As an alternative, a spa may be within 5 feet of metal surfaces if
each metal surface is permanently connected by a minimum 8 AWG (8.4 mm) solid
copper conductor to the wire connector on the terminal box that is provided for this
purpose.
DANGER –Risk of Electric Shock - Do not permit any electrical appliance such as a
light, telephone, radio, or television, within 5 feet (1.5 m) of a spa. Parts containing live
parts, except parts supplied with safety extra-low voltage not exceeding 12 V, must be
inaccessible to a person in the bath. Parts incorporating electrical components, except
remote control devices, must be located or fixed so that they cannot fall into the bath.

5
WARNING –To reduce the risk of injury:
•The water in a spa should never exceed 104 F (40 C). Water temperatures
between 100 F (38 C) and 104 F (40 C) are considered safe for a healthy adult.
Lower water temperatures are recommended for young children and when spa
use exceeds 10 minutes.
•Since excessive water temperatures have a high potential for causing foetal
damage during the early months of pregnancy, pregnant or possibly pregnant
women should limit spa water temperatures to 100 F (38 C).
•Before entering a spa, the user should measure the water temperature with an
accurate thermometer since the tolerance of water temperature regulating
devices varies.
•The use of alcohol, drugs, or medication before or during spa use may lead to
unconsciousness with the possibility of drowning.
•Obese persons and persons with a history of heart disease, low or high blood
pressure, circulatory system problems, or diabetes should consult a physician
before using a spa.
•Persons using medication should consult a physician before using a spa since
some medication may induce drowsiness while other medication may affect heart
rate, blood pressure, and circulation.
To ensure proper functionality and component longevity, individual Jet Pumps must not
be cycled on and off more than one time every minute.
KEEP THESE SAFETY INSTRUCTIONS IN A CONVENIENT
AND READILY ACCESSIBLE LOCATION!

6
Important Safety Instructions
WARNING!
Read and follow all instructions in this owner’s manual and on the
equipment. Failure to follow instructions can cause severe injury and/or
death.
WARNING SUCTION ENTRAPMENT HAZARD
Suction in suction outlets and/or suction outlet covers which are damaged,
broken, cracked, missing, or unsecured can cause severe injury and/or death
due to the following entrapment hazards:
Hair Entrapment: Hair can become entangled in suction outlet cover.
Limb Entrapment: A limb inserted into an opening of a suction outlet sump or suction
outlet cover that is damaged, broken, cracked, missing, or not securely attached can
result in a mechanical bind or swelling of the limb.
Body Suction Entrapment: A negative pressure applied to a large portion of the body
or limbs can result in an entrapment.
Evisceration / Disembowelment Entrapment: A negative pressure applied directly to
the intestines through an unprotected suction outlet sump or suction outlet cover which
is damaged, broken, cracked, missing, or unsecured can result in evisceration /
disembowelment entrapment.
Mechanical Entrapment: There is potential for jewellery, swimsuit, hair decorations,
finger, toe, or knuckle to be caught in an opening of a suction outlet cover resulting in
mechanical entrapment.
Failure to remove pressure test plugs and/or plugs used in winterization of the
pool/spa from the suction outlets can result in an increased potential for
suction entrapment as described on the previous page.
Failure to keep suction outlet components clear of debris, such as leaves, dirt,
hair, paper and other material, can result in an increased potential for suction
entrapment as described above.
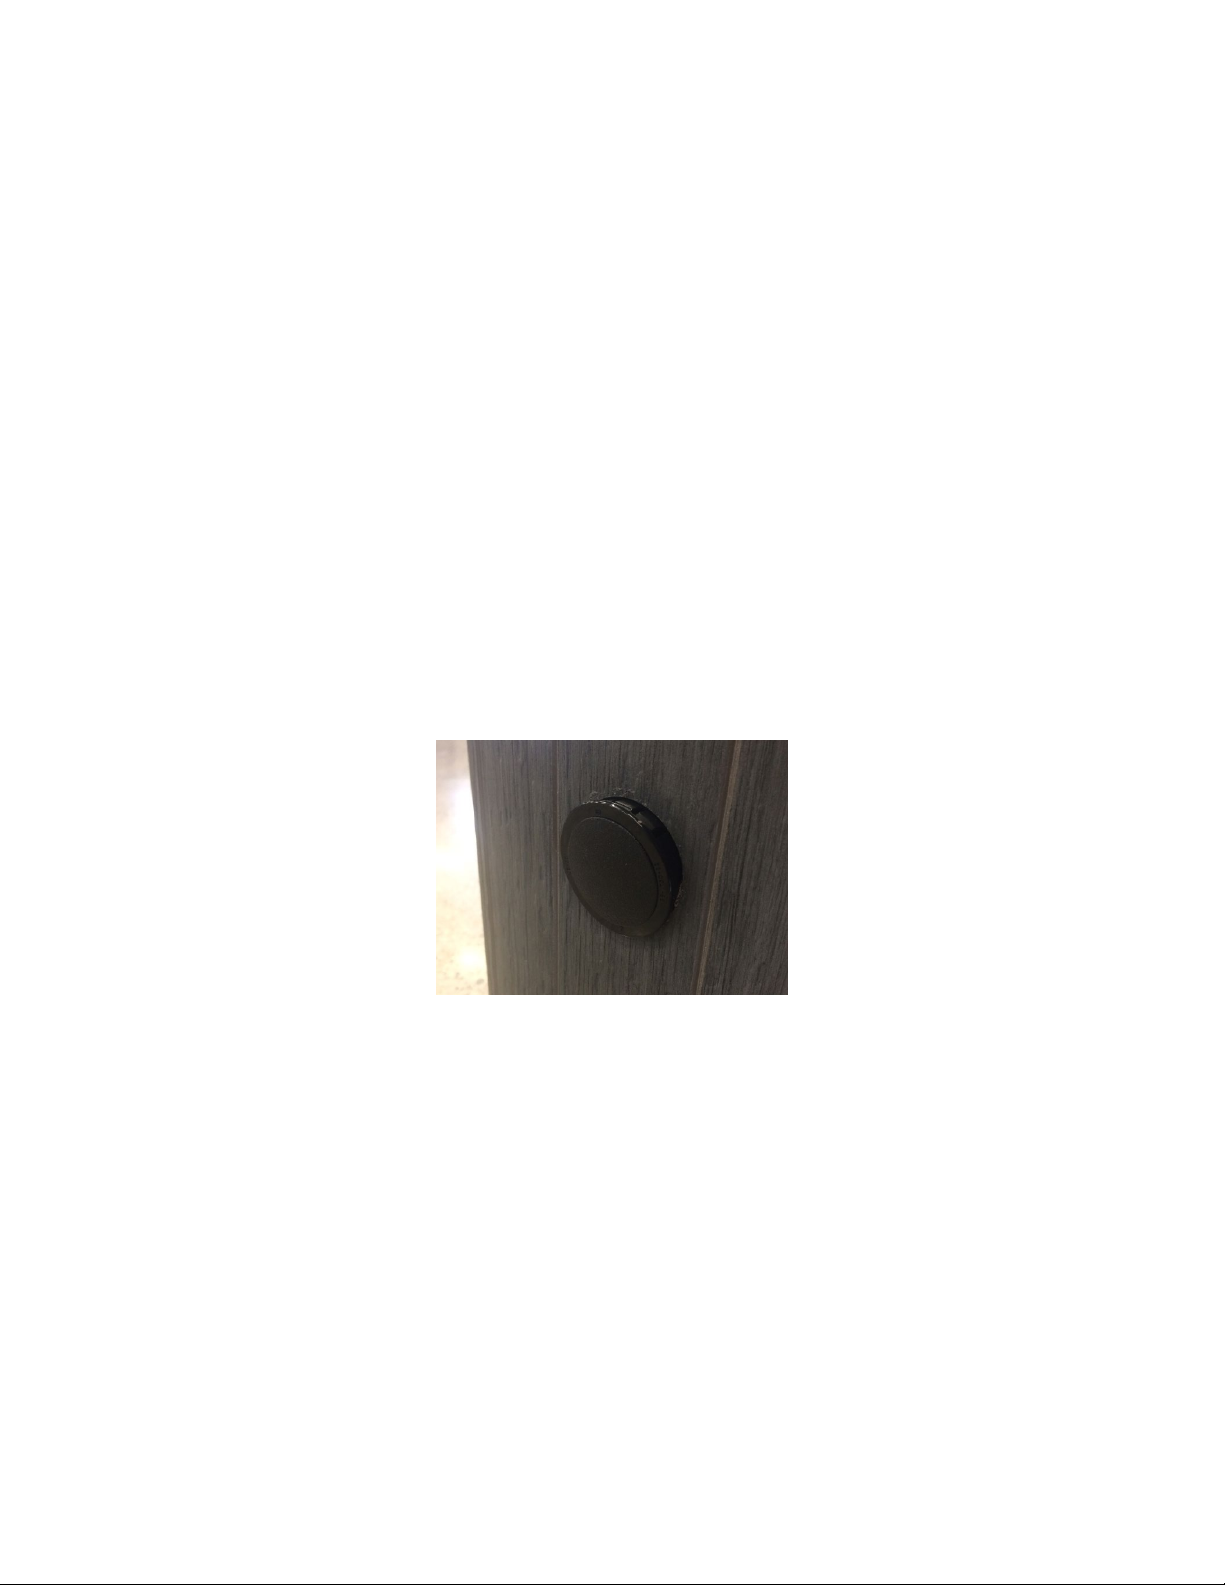
Suction outlet components have a finite life. The cover/grate should be
inspected frequently and replaced at least every seven years, or if found to be
damaged, broken, cracked, missing, or not securely attached.
If the fitting is missing or broken, replace with a fitting of equivalent rating or
higher. Use of a lower rated suction fitting could result in entrapment of the
body which could result in serious injury including drowning.

7
Do not use or operate pool, spa, or hot tub if suction fittings are missing,
broken or not secured per instructions. The suction fitting is intended to
prevent entrapment of the body. Use of the spa hot tub with a missing, broken
or improperly secured suction grate may result in serious personal injury
including drowning.
When the pool, spa or hot tub is in operation, suction is created at this fitting.
Users of the spa or hot tub must be instructed not to come in contact with this
fitting in such a way as to block its orifice. If a user of the spa or hot tub blocks
this fitting with his/her body, serious personal injury or drowning may occur.
In order to remove the suction cover (for service or winterization), using a
Phillips-head screw driver remove the screws. Inspect both the suction cover
and suction fitting for any cracks or damages.
It is imperative to securely attach the suction cover to the wall fittings (use only
the original supplied screws or obtain original replacements). Do not over
tighten the screws. Inspection of fasteners and observation for
damaged/tampered with suction fittings is required.
Any and all broken or missing parts must be replaced prior to starting spa or
pool pump. Never operate spa or pool without drain cover in place and
properly affixed, death or serious injury can result.
Do not exceed the safe flow rate. Do not increase flow through system by
increasing pump size or horsepower.
Do not allow children to sit, play or interact with main drains or suction outlet.

8
ELECTRICAL REQUIREMENTS
The following information is provided for guidance alone in connecting the electrical
power supply to the new spa.
A qualified, licensed, electrician must perform this work.
Failure to follow these instructions will terminate all warranty coverage and could
result in serious injury or death.
These Artesian Spa Pools are factory preset to operate at 240 Volts with 3 wires and 15
Amp maximum input. This product must always be connected to a residual current
device (RCD).

9
Electrical Wiring
WARNING: The spa must be wired by a certified electrician in accordance with
local codes and regulations, as well as with these instructions. Failure to do so
will terminate all warranties and invalidate the independent certification
company’s mark.
The Spa has a 15amp power cable provided, which is attached to the spa controller
(behind the front cabinetry). A 15amp socket will need to be fitted by a suitably
qualified electrician.
The power supply must have a suitable RCD, according to national installation
requirements and with suitable trip current. This could be used as the shut-off
switch, which must be installed in plain view of the spa. This electrical service must
be readily accessible to the spa occupants, but must not be within 5 feet of the spa.
After the spa has been positioned, route power cable through the round plastic
knockouts on the left or right front corner of the spa.
Alternatively, the power cable can be put through any side panel or through the
ABS base of the spa by drilling suitable holes
Detailed electrical schematics can be provided on request

10
SPA START-UP
Installation Guide
For more detailed information and tips on positioning and installing, we highly
recommend you read through our ‘Pre-Delivery Guide’. The guide was emailed to you
upon/after purchase. A copy can be downloaded from our support page:
http://alpinespas.co.nz/support/
Please read each step of the Start-up section prior to performing the steps.
Selecting a Location
General Guidelines
In preparation for installing the new spa, ensure that the following general guidelines are
considered:
•Place the spa on a structurally sound and level surface that is large enough for
the entire spa. Allow additional space for easy access to equipment
compartments and circuit breakers. The location must allow for electrical
connections and components to remain dry and away from external sources of
water. An adequate drainage system containing proper drainage away from the
spa to deal with overflow water and prevent water from entering the electrical
equipment areas is necessary in both semi-inground and above ground
installations in order to prevent damage to electronics and tripping circuit
breakers. The foundation and/or floor must be able to bear the weight of the
expected load consisting of both the filled spa and occupants. Please contact
your local authorized dealer and/or contractor to get the maximum weight value
for the corresponding spa model.
•If the spa is placed on the ground, even for a short period of time, it must be
supported by pavers that are at least 2 inches (5.1 cm) thick and 12 inches (30.5
cm) square. Placing the spa on a solid foundation as soon as possible is
recommended.
•The spa must be on a solid, level foundation which may include a concrete pad,
concrete pavers or reinforced deck. Concrete foundations must be a minimum 4
inch (10 cm) cement slab that has properly cured for at least 72 hours (this
duration may vary due to local conditions and cement properties) and should be
reinforced with rebar or mesh. Rebar or mesh reinforcement in the pad should be
attached to a #10 AWG bonding wire per national electrical codes. Contact your
local building department and/or electrical code compliance inspector for more

11
information and to determine whether an inspection for proper foundation and
grounding is required before pouring the concrete slab.
•The spa warranty will be voided if an improper installation is performed.
Structural damage due to an inadequate or improper foundation is not
covered under warranty.
•Ensure ample space is provided for any required servicing, that equipment
access panels are not blocked and easy access to electrical panels or the RCD
is available. Installation of all spas must be in accordance with national, state and
local electrical codes and rules. A licensed Electrician must perform the
electrical installation of models without a preinstalled cord and conduct a
RCD test procedure in accordance with applicable codes and approved
building plans if required. Fixed wiring requires a disconnect device to be
incorporated into the wiring in accordance with national, state and local
electrical codes and rules. All Alpine spas are manufactured and tested to all
required codes and standards providing maximum protection against electrical
shock. Spa safety features may not operate properly due to improper wiring
and could result in risk of fire, electrical shock, injury, or death. In
accordance with all pertinent national, state and local codes and rules, all
metal components within the maximum specified distance must be bonded
and connected to the ground lug on the exterior of the spa control pack.
•Ensure the equipment compartment is in a location where it will not be damaged
by water infiltration due to drainage or constant exposure. Cover the equipment
compartment with a heavy screen if rodents are a problem.
Damage due to rodents is not covered under warranty.

12
Outdoor Spa Installation Guidelines
WARNING: To prevent serious damage to the spa, support surfaces, support structures
and/or injury, it is important that the spa foundation be supported by a stable and
consistent subsurface.
Spa placement must take into consideration national, state and local building,
electrical, plumbing and safety codes, as well as local environmental and
geotechnical conditions. Proof of code compliance for the proposed design plans
by a qualified licensed contractor, engineer and/or architect prior to installation
may be required for issuance of construction permits. The spa must be
positioned at the minimum horizontal and vertical distances from all overhead
power lines as required by national, state and local codes. Further factors to
consider are the desired proximity to the home, environmental exposures such as wind
and sun (ultraviolet radiation), location of trees and other vegetation (falling leaves,
grass and dirt tracked into spa, roots, shade, etc.), dressing area, landscaping design,
lighting, etc. when selecting a location
Since ambient humidity will rise around the spa, materials and components in the
surrounding area must be able to withstand elevated humidity levels. Some chemicals
for use in sanitation of the spa may corrode metals or degrade other materials in the
surrounding area. To avoid potential water damage to the cabinet and frame, the spa
must be located on a site away from automatic sprinklers, drains, gutters, etc. and/or
sources of frequent external water exposure.
For installations on a deck or elevated surface, the maximum filled weight of the
spa and occupants must be determined. The adequacy of the structural support
for a spa placed on a deck or an elevated structure must be determined by a
licensed structural engineer, architect or contractor depending on local and state
requirements. Inadequate structural support may result in structural damage to
the spa and/or serious injury or death to occupants. Have the spa deck installed
by a knowledgeable contractor to ensure proper support.

13
Indoor Spa Installation Guidelines
Spa placement must take into consideration national, state and local building, electrical
and plumbing codes, local geotechnical conditions affecting the structure of the building,
indoor environmental conditions, etc. The surrounding floor surface must have sufficient
traction to prevent slips and falls when wet. It is recommended that a floor drain and/or
catch basin is present to remove water that accumulates in the area with a capacity up
to the total volume of the spa model. Since ambient humidity will rise due to the spa,
ample ventilation is required to prevent mould, mildew, rot, fungus, bacteria and other
conditions related to high humidity. Materials and components in the surrounding area
must be able to withstand elevated humidity levels. Some chemicals for use in
sanitation of the spa may corrode metals, or degrade other materials in the surrounding
area. A ventilation design incorporating suction, fresh air intake, cross ventilation and/or
dehumidifiers may be required and should be determined by an appropriately licensed
professional. Ensure ample room is provided for any required servicing and that
equipment access panels are not blocked. Strong foundational support is vital,
particularly if a second story site is selected. The adequacy of the structural
support for a spa placed on a floor above ground level or an elevated surface
must be determined by a licensed structural engineer, architect or contractor
depending on local and state requirements. Have the spa deck installed by a
knowledgeable contractor to ensure proper support.

14
Filling the Spa with Water
Perform an inspection of the entire spa prior to filling it with water. Look for and remove
any debris in the spa tub and/or in the filter area. Verify that pump plugs are installed on
the pumps and all pump unions are tight.
DO NOT fill the spa with hot water straight out of a water heater or tap. This water
may be in excess of 140 F (60 C) and will cause damage to the surface and
plumbing of the spa and may cause severe burns to individuals. Filling the spa
with hot water will void the warranty. Ensure the spa is level before filling.
•Prepare to fill the tub by removing all debris.
•Remove the filters from the spa (see Removing, Installing and Cleaning Filters,
page 36).
•Insert the hose in the area where the circ filter was located as shown in the
picture below (the circulation filter has a purple top).
Figure 7. Filling Location in Filter Housing
•Fill the spa to the bottom of the pillows to cover jets. DO NOT overfill the spa.
The water level will rise when occupants are inside.
•With the front panel off, verify there are no leaks at the pump unions. Pump
unions can become loose during shipping. Verify that there are no leaks
during filling of the spa.
•Replace both filters.

15
Powering the Spa On
Turn the power to the spa on at the main circuit breaker. Verify that the spa has no
warnings or error messages on the panel display. To verify the circulation system is in
good working order, perform the following steps:
1. Open all jets to maximum flow position.
2. Press the Jet buttons to turn the individual pumps on or off.
3. Observe and verify good water flow exists in the jets of each seat.
Upon initial start, one pump will initially come on for 5 minutes and then cycle through
each pump sequentially for a one minute duration.
Testing the RCD
The electrical service panel for the spa must be equipped with a RCD. To avoid
the risk of electrical shock, perform the following safety test before each use of
the spa:
1. Check that the power is turned on at the electrical service panel.
2. Turn on the RCD. If the RCD stays on, it is functioning properly.
DANGER RISK OF ELECTRICAL SHOCK
If the RCD fails to operate as described, there is a possibility of electric shock if the spa
is used. Shut off the power at the main electrical service panel until the source of the
problem has been identified and corrected by a licensed electrician or qualified spa
technician.

16
Priming Pumps
1) Turn off power at electrical service panel.
2) Locate and loosen the pump union by turning it counter-clockwise one half of
one turn.
3) Allow air to escape from the fitting. When a steady stream of water flows from the
pump union, close it by turning it clockwise until tight.
4) Turn on power at electrical service panel.
5) Perform one additional check to ensure water is flowing from the jets during the
auto purge cycle. If so, continue to Water Preparation. If no water flow is coming
from the spa jets, please call Alpine Spas for further assistance.
Water Preparation
Proper understanding of the treatment of fresh water prior to use is an important part of
maintenance and is one of the key aspects enabling worry free usage. Failure to
properly prepare the water can result in substantially decreased life of the components
and may void the warranty in severe cases. Please consult Alpine Spas in regards to
appropriate start-up and maintenance kits available when purchasing the spa.
Ultrazone
Your spa will be fitted with an Ultrazone sanitizer. Refer to the provided guides for
correct operation of the Ultrazone.

17
TOPSIDE CONTROLLER INSTRUCTIONS
Figure 9. Tropic Seas Spas™ One Pump Topside Controller Face
Figure 10. Tropic Seas Spas™ Two Pump Topside Controller Face
Figure 11. Tropic Seas Spas™ Three Pump Topside Controller Face

18
Menus
Navigating the entire menu structure is done with 2 or 3 buttons on the control panel. The
Up Arrow (Warm) or Down Arrow (Cool) buttons are:
These buttons allow changing the Set temperature while the numbers are flashing in the
LCD.
The LIGHT Button is used to choose the various menus and navigate each
section.
Pressing the LIGHT button while the numbers are flashing will enter the menus.
The menus can be exited with certain button presses. Simply waiting for several seconds
will return the panel operation to normal.
Figure 12. Menu Layout
Spa Operation
When the spa is first actuated, it will go into Priming mode which is indicated by “Pr”. This
Priming mode will last for 5 minutes and then the spa will begin to heat and maintain the
water temperature in the Standard Mode.
After turning the power on at the main power panel, the top-side panel display will go
through specific sequences. These sequences are normal and display a variety of
information regarding the configuration of the hot tub control.
While the Temperature is

19
Priming Mode –M019*
This mode will last for 4-5 minutes or you can manually exit the priming mode after the
pump(s) have primed.
Regardless of whether the priming mode ends automatically or you manually exit the
priming mode, the system will automatically return to normal heating and filtering at the
end of the priming mode. During the priming mode, the heater is disabled to allow the
priming process to be completed without the possibility of energizing the heater under
low-flow or no-flow conditions. Nothing comes on automatically, but the pump(s) can be
energized by pushing the “Jets” button.
If the spa has a Circ Pump, it can be activated by pressing the “Light” button during
Priming Mode.
Priming the Pumps
As soon as the above display appears on the panel, push the “Jet” button once to start
Pump 1 in low-speed and then again to switch to high-speed. Also, push the Pump 2 or
“Aux” button, if you have a 2nd pump, to turn it on. The pumps will now be running in high
speed to facilitate priming. If the pumps have not primed after 2 minutes, and water is not
flowing from the jets in the spa, do not allow the pumps to continue to run. Turn off the
pumps and repeat the process.
NOTE: Turning the power off and back on again will initiate a new pump priming session.
Sometimes momentarily turning the pump off and on will help it to prime. Do not do this
more than 5 times. If the pump(s) will not prime, shut off the power to the spa and call for
service.
Important: A pump should not be allowed to run without priming for more than 2 minutes.
Under NO circumstances should a pump be allowed to run without priming beyond the
end of the 4-5 minute priming mode. Doingso may cause damage to the pump and cause
the system to energize the heater and go into an overheat condition.
Exiting Priming Mode
You can manually exit Priming Mode by pressing the Up Arrow (Warm) or Down Arrow
(Cool) buttons.

20
Note that if you do not manually exit the priming mode as described above, the priming
mode will be automatically terminated after 4-5 minutes.
Be sure that the pump(s) have been primed by this time. Once the system has exited
Priming Mode, the top-side panel will momentarily display the set temperature but the
display will not show the temperature yet, as shown below. This is because the system
requires approximately 1 minute of water flow.
Pumps
To ensure proper functionality and component longevity, individual jet pumps
must not be cycled on and off more than one time every minute.
Press the “Jets” button once to turn pump 1 on or off, and to shift between low
and high speeds if equipped.
If left running, the pump will turn off after a timeout period. The pump 1 low-speed will
time out after 30 minutes. The high-speed will time out after 15 minutes.
Circulation Pump Mode
If the system is equipped with a circulation pump, it will be configured to
work in one of three different ways:
1. The circulation pump operates continuously (24 hours) with the exception of
turning off for 30 minutes at a time when the water temperature reaches 3°F
(1.5°C) above the set temperature (most likely to happen in very hot climates).
2. The circulation pump stays on continuously, regardless of water temperature.
3. A programmable circulation pump will come on when the system is checking
temperature (polling), during filter cycles, during freeze conditions, or when
another pump is on.
The specific Circulation Mode that is used has been determined by the Manufacturer and
cannot be changed in the field.
Table of contents
Other Alpinespas Hot Tub manuals
Popular Hot Tub manuals by other brands

Wellis
Wellis Olympus user manual

Sterling Plumbing
Sterling Plumbing ENSEMBLE 71131100 Specifications

REVLON
REVLON Pediprep Spa operating instructions

American Standard
American Standard Acrylux Builder Series 6030Y2A.102.XXX installation instructions

glass 1989
glass 1989 mawi spa 175/200 manual

M-Spa
M-Spa B100 RIVIERA Important safety instructions