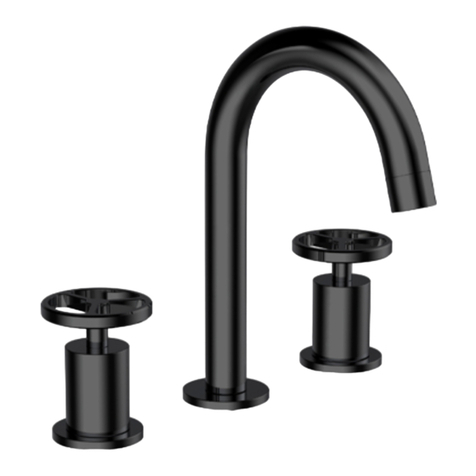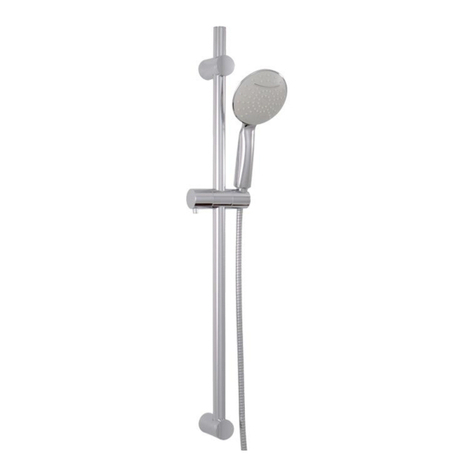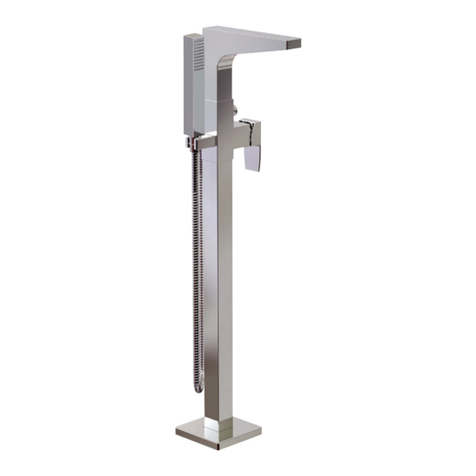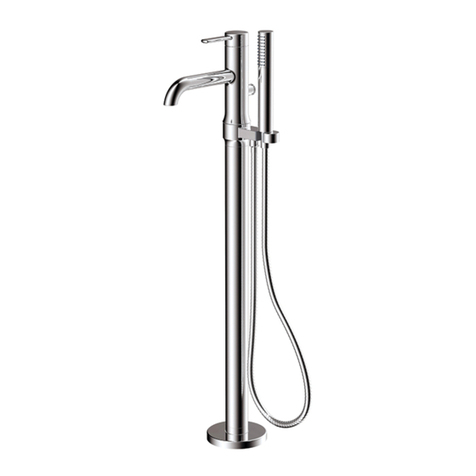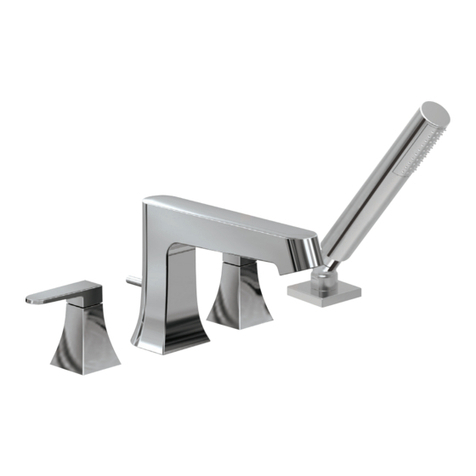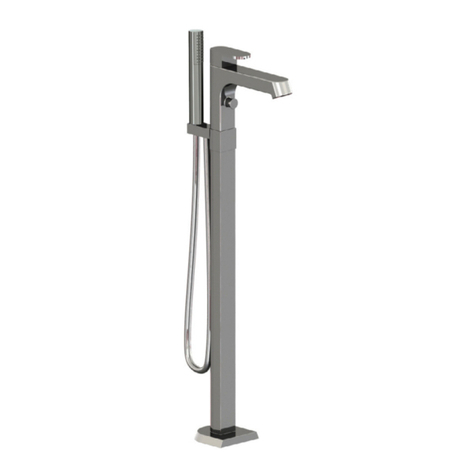
Riga #20772 3-pc deckmount tub filler with handshower / robinet de bain 3mcx avec douchette
alt-aqua.com
WARRANTY
GARANTIE
LIMITED LIFETIME WARRANTY
ALT products are manufactured to the highest quality standards and will
procure you with many years of trouble-free enjoyment. We stand behind
our brand and certify that ALT products carry a limited lifetime warranty
against defects in materials and workmanship.
RESIDENTIAL APPLICATIONS
ALT products carry a limited lifetime warranty on all cartridges and also
on the polished chrome finish. All other ALT product components and
parts carry a limited five-year warranty, with same terms applying, except
duration of warranty. First owners of new residential units are included
as original consumer purchaser and receive same rights in respect to
warranty. ALT will provide necessary parts without charge for any part
that proves defective in material and manufacturing workmanship,
under normal installation, use and service. Normal wear of the finish is
not covered by this warranty. The ALT warranty is limited strictly to the
original consumer purchaser of the product, as well as first owners of
new residential units. Proof of purchase must be made available to ALT
for all limited warranty claims. Products that are deemed defective must
be returned to our factory for inspection prior to replacement. The limited
warranty is not transferable and is limited to products sold and installed
in Canada and the United States. ALT products should be installed by a
licensed professional plumber.
COMMERCIAL INDUSTRIAL APPLICATIONS
Industrial, Commercial, and Business purchasers of ALT products are ex-
tended a five-year limited warranty from date of purchase, with all other
warranty terms applying, except duration of warranty.
THE ALT WARRANTY DOES NOT COVER THE FOLLOWING:
- Damages resulting in whole or part from installation error, product
abuse, misuse, neglect, improper maintenance, abrasives, corrosion
and/or accidents whether caused or performed by a plumber, contrac-
tor, service provider, or anyone else.
- Any and all ALT products that are subjected to any type of harsh
abrasive, such as cleaners containing abrasive cleansers, ammonia,
bleach, acids, waxes, alcohol, or solvents.
- Normal wear of the finish.
- Damages caused by hard water, calcareous deposits or sediments.
- The damage or loss sustained in a natural calamity such as fire,
earthquake, flood, thunder, electrical storm, etc.
ALT is not responsible for any labor charges and/or damages incurred in
whole or in part from installation, removal, re-installation, shipping, repair
or replacement of any ALT product or part, nor for any indirect, incidental
or consequential damages, injuries, losses, or expenses of any nature
relating to ALT parts and/or products.
To obtain warranty service, please contact the retailer where the product
was purchased. The original sales receipt must be available to exercise
our warranty.
This warranty is extended to the first purchaser at retail (Including first
owners of new residential units). This warranty is NOT transferrable. All
shipping costs are NOT included and will be charged with applicable
taxes.
ALT reserves the right to make product specification changes without
notice or obligation and to change or discontinue certain models.
This warranty is in lieu of and excludes all other warranties, conditions
and guarantees, whether expressed or implied, statutory or otherwise,
including any implied warranties of merchantability, or fitness for use.
For any customer service and/or technical inquiries regarding Alt products,
please contact AD WATERS, exclusive distributor of ALT products across
North America (Canada and USA).
www.ad-waters.com
www.alt-aqua.com
GARANTIE LIMITÉE À VIE
Les produits ALT sont fabriqués selon les standards les plus élevés et vous
procurerons de nombreuses années d’usage sans soucis. Nous sommes
fiers de notre marque et certifions que les produits ALT offrent une garan-
tie à vie limitée contre les défauts de matériaux et de fabrication.
USAGE À DES FINS RÉSIDENTIELLES
Les produits ALT sont couverts par notre garantie limitée à vie sur toutes
les cartouches ainsi que sur le fini en chrome poli. Toutes les autres
pièces et composantes ont une garantie limitée de cinq (5) ans avec les
mêmes conditions, sauf pour la durée de la garantie. Les propriétaires de
nouvelles unités résidentielles sont considérés comme premiers acheteurs
et ont droit à la même garantie. ALT fournira les pièces nécessaires sans
frais pour remplacer toute pièce ayant un défaut de matériel ou de main
d’œuvre sous une installation et un usage normal. L’usure normale du fini
n’est pas couverte par cette garantie. La garantie ALT est strictement limi-
tée à l'acheteur original du produit, ainsi que les premiers propriétaires
de nouvelles unités résidentielles. Une preuve d'achat doit être mise à la
disposition ALT pour toutes réclamations liées à la garantie. Les produits
qui sont considérés défectueux devront être retournés à notre usine pour
inspection avant de pouvoir fournir le remplacement. La garantie limitée
n'est pas transférable et est limitée aux produits vendus et installés au
Canada et aux États-Unis. Les produits ALT doivent être installés par un
plombier professionnel accrédité.
USAGE À DES FINS COMMERCIALES
Tout produit ALT destiné pour usage dans un lieu industriel ou commercial
jouit d’une garantie limitée de cinq (5) ans à partir de la date d’achat,
selon les même modalités de garantie, excepté pour la durée de la
garantie.
LA GARANTIE ALT NE COUVRE PAS:
- Dommages causés en entier ou en partie d’une erreur d’installation,
d’abus de produit, de négligence, d’utilisation non conforme, d’usage
de produits abrasifs, de corrosion et/ou d’accidents causés par un
professionnel ou par toute autre personne.
- Tout produit ALT nettoyé avec des produits abrasifs, tel que les
détergents et les nettoyants contenant de l’ammoniac, du javellisant,
des acides, des cires, de l’alcool ou des solvants.
- L’usure normale du fini.
- Dommages causés par l’eau dure, les dépôts de calcaire ou les sédiments.
- Les dommages ou les pertes résultant d’une catastrophe naturelle telle
que le feu, un tremblement de terre, une inondation, le tonnerre, un
orage électrique etc.…
ALT n’accepte aucune responsabilité pour tous frais de main d’œuvre et/
ou tout autre dommages causés en tout ou en partie lors de l’installation,
la désinstallation, la réinstallation, l’expédition, la réparation, ou le rem-
placement de tout produit ou pièce ALT, ni pour tout dommage indirect,
fortuit, ou consécutif, pour toutes blessures, dépenses, pertes directes ou
indirectes de toute nature, en lien avec des pièces et/ou produits ALT.
Pour exercer la garantie, veuillez contacter le détaillant d’où le produit a
été acheté. La preuve d’achat originale sera exigible pour l’application
de la garantie.
Cette garantie s’applique au premier acheteur (incluant les proprié-
taires de nouvelles unités résidentielles) et n’est PAS transférable. Les
frais d’expédition ne sont pas couverts et seront facturés avec les taxes
applicables.
ALT se réserve le droit de modifier les spécifications de ses produits sans
avis ni obligation ainsi que de remplacer ou de retirer certains modèles.
Cette garantie annule et remplace toute autre garantie ou condition,
expresse ou implicite, statutaire ou autre, incluant les garanties implicites
de qualité marchande et de convenance à une fin particulière.
Pour toute demande concernant les produits Alt (techniques, service
après-vente), veuillez contacter AD WATERS, distributeur officiel des
produits ALT à travers le Canada et les États-Unis.
www.ad-waters.com
www.alt-aqua.com
