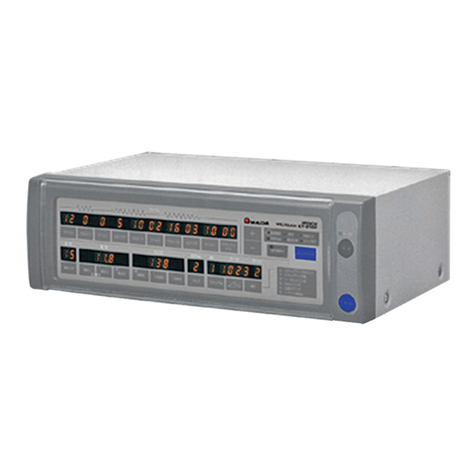
CT-110E
Contents
1. Special Notes ............................................................................................................................. 1-1
(1) Safety Precautions.....................................................................................................................................................1-1
(2) Precautions for Handling...........................................................................................................................................1-4
(3) On Disposal.................................................................................................................................................................1-4
2. Features...................................................................................................................................... 2-1
3. Name and Function of Each Section....................................................................................... 3-1
(1) Front Panel..................................................................................................................................................................3-1
(2) Rear Panel ..................................................................................................................................................................3-2
(3) Internal Block Diagram..............................................................................................................................................3-3
4. Connection................................................................................................................................. 4-1
(1) Basic Configuration....................................................................................................................................................4-1
(2) Connection of Power Source...................................................................................................................................4-2
(3) Installation Method for the Current-Detecting Coil................................................................................................4-3
(4) Selecting of Functions ...............................................................................................................................................4-6
(5) Input Method for Start Signals................................................................................................................................4-10
5. Interface...................................................................................................................................... 5-1
(1) External Input and Output Signals...........................................................................................................................5-1
(2) Timing Chart................................................................................................................................................................5-7
6. Operation Method...................................................................................................................... 6-1
(1) Basic Operation..........................................................................................................................................................6-1
(2) Setting of Schedule Data..........................................................................................................................................6-4
(3) Setting of the Monitor.................................................................................................................................................6-6
(4) Setting by Mode No...................................................................................................................................................6-9
(5) Setting of the Maximum Current............................................................................................................................6-15
(6) Current Calibration Method ....................................................................................................................................6-16
7. Maintenance............................................................................................................................... 7-1
(1) Replacement of Fuses............................................................................................................................................7-1
8. Specifications ............................................................................................................................ 8-1
(1) Standard Specifications ............................................................................................................................................8-1
(2) Specification Chart.....................................................................................................................................................8-6
(3) Data Out Function (Option) ......................................................................................................................................8-7
(4) Outline Drawing..........................................................................................................................................................8-9
9. Schedule Data Table ................................................................................................................. 9-1
10. Error Indication and Countermeasures........................................................................................ 10-1
