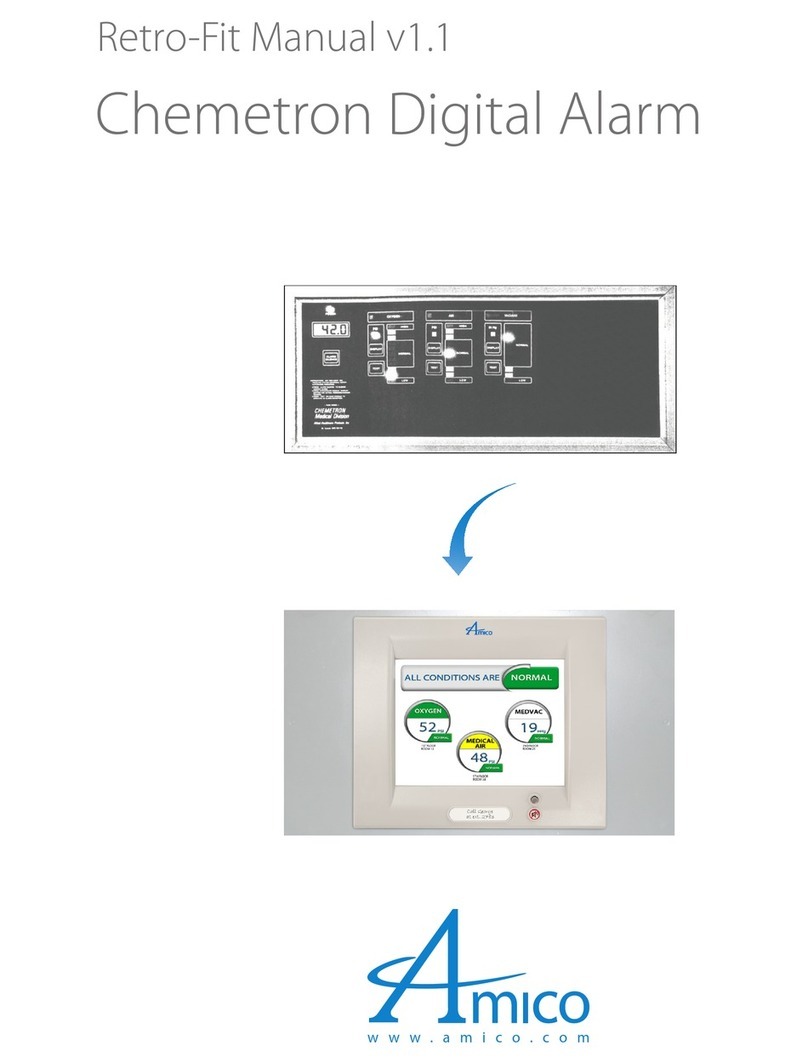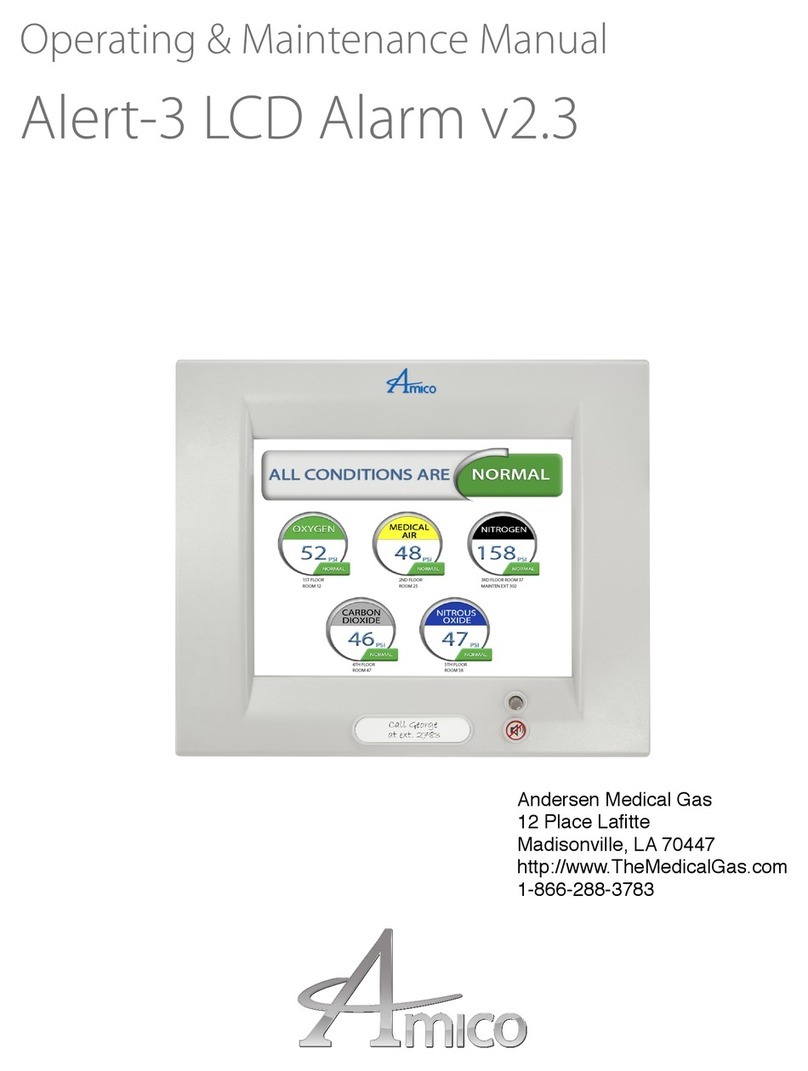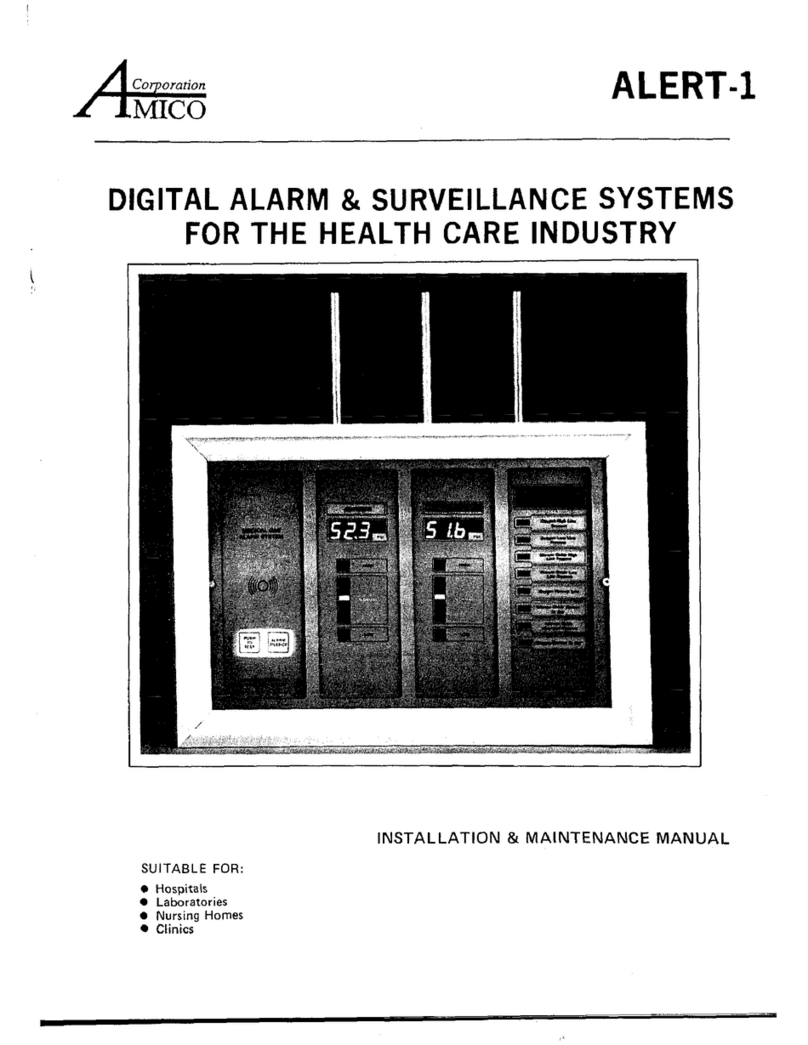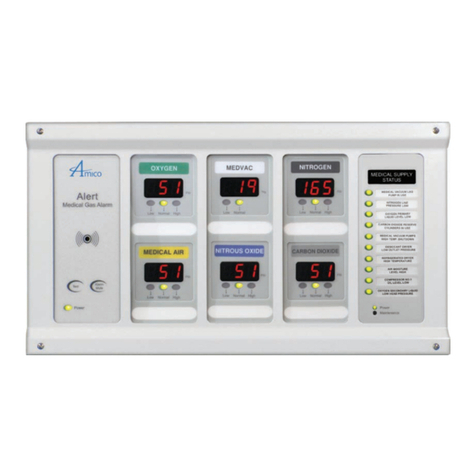
The Amico Retro-fit Alarm will allow an existing Chemetron/Allied alarm to be replaced, without moving the existing
back box and pipe-stubs.
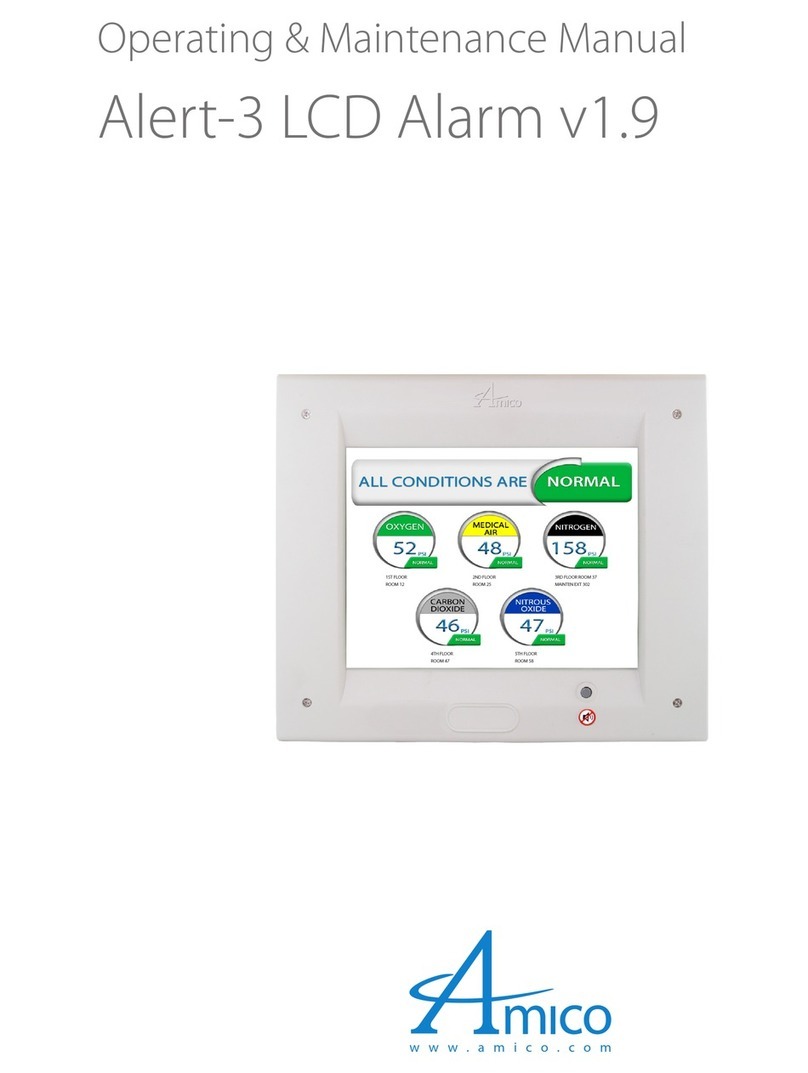
The LCD filler frame enables the Amico Alert-3 LCD alarm front assembly to sit on the wall of the existing alarm panel
box. The filler frame acts like a spacer between the Chemetron/Allied box and the front assembly. Please make sure
that the power source at the breaker panel is turned off before replacing the power supply. The gas supply may also be
required to be shut off.
The filler frame acts like a spacer between the Chemetron box and the front assembly.
Please make sure that the gas is turned off before the retro-fit alarm is installed.
Remove the front frame and the display module from the back box. When removing the
display module you have to remove the sensor connection to the pipe stub.
Remove all internal components of the Chemetron Alarm (mother board, power supply,
sensors and all wiring).
Ensure that the back box is clear of all screws, studs, stand-offs and insert tabs. Bend the
lower front lip of the alarm box. Ensure that the lip is flat. Add the chrome sensor fitting
that is factory supplied, and that is attached to each sensor.
Add the power supply to the far left corner of the back box assembly. Use 4 tapping
screws to hold the power supply into the box. Use tapping screws for grounding wires.
Please note that tapping screws, or any other screws, are not supplied by Amico.
Plug in the Amico sensor with the gas label facing you.
Add the Amico filler box to the wall surface. Ensure that the box on the wall is at the
center of the filler box.
Remove the Amico front frame from the divider plate. First, attach the LCD filler plate
hinge, then attach the LCD filler plate wire to the filler box.
Screw the LCD filler plate to the filler box and attach the front LCD filler frame.
Product Specifications
Installation Instructions
2Amico Corporation
