TSL2540 EVM Getting Started Guide
Page 5
Figure 8. Installation Completed Successfully
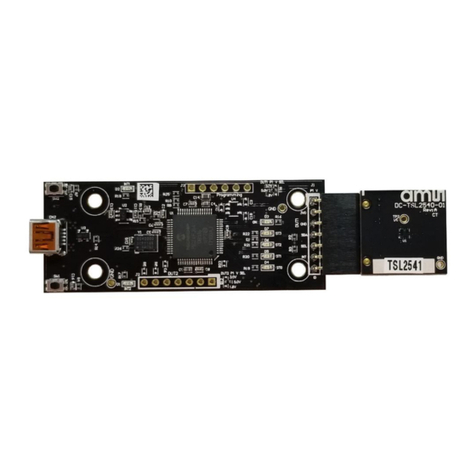
3 Connect Hardware
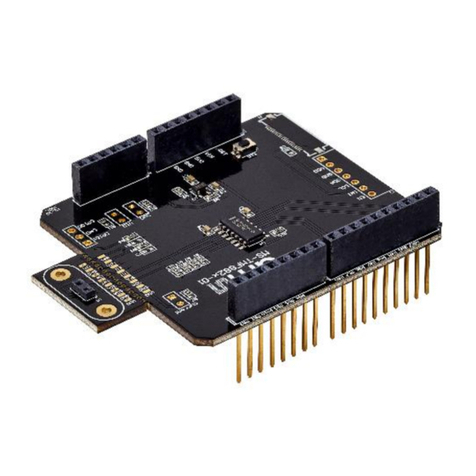
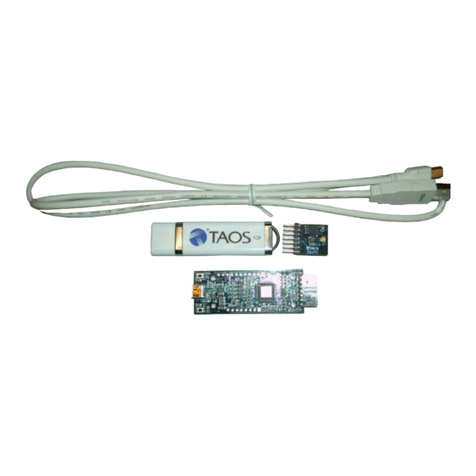
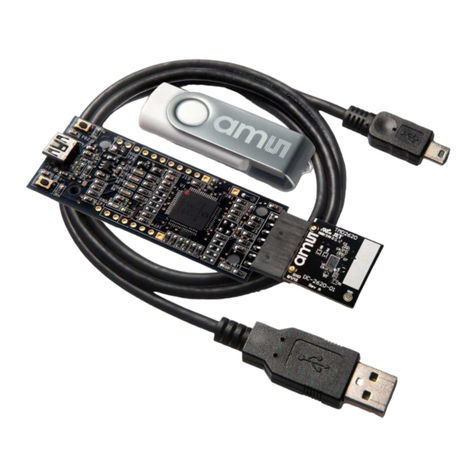
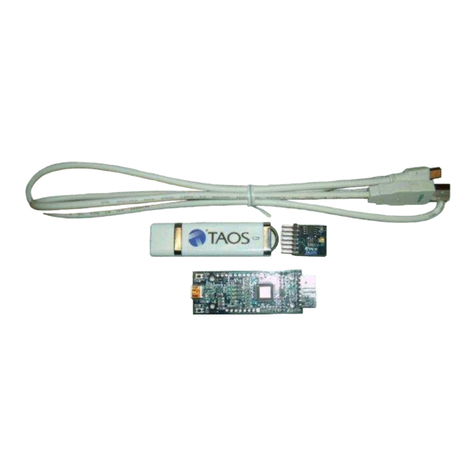
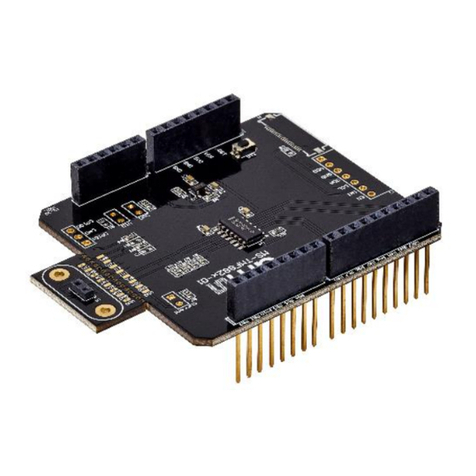
Plug the TSL2540 Daughterboard into the Controller board. (Figure 1) Always use ESD procedures
when handling the EVM.
Using the enclosed USB cable, plug the mini-B connector into the EVM module. Using the other
end of the cable, plug the USB A-connector into a USB port on the computer.
When the USB cable is connected, the green LED should flash on power up to indicating that power
is being received via the USB interface, and the controller board processor is running. If the green
LED does not flash, check the USB cable connections; unplug the USB cable and try again. If the
green LED still does not flash, check the PC for USB error messages.
4 Start the Application
To start the application select ams > TSL2540 EVM > TSL2540 EVM on the All Programs menu.
The default installation directory depending on the device and the operating system you are using
is:
C:\Program Files\ams\TSL2540_EVM Windows 32 bit operating systems
C:\Program Files (x86)\ams\TSL2540_EVM Windows 64 bit operating systems
A different install path may be selected by the user during the install (Figure 4). When started, the
TSL2540 window will open on the PC and automatically connect to the hardware.
