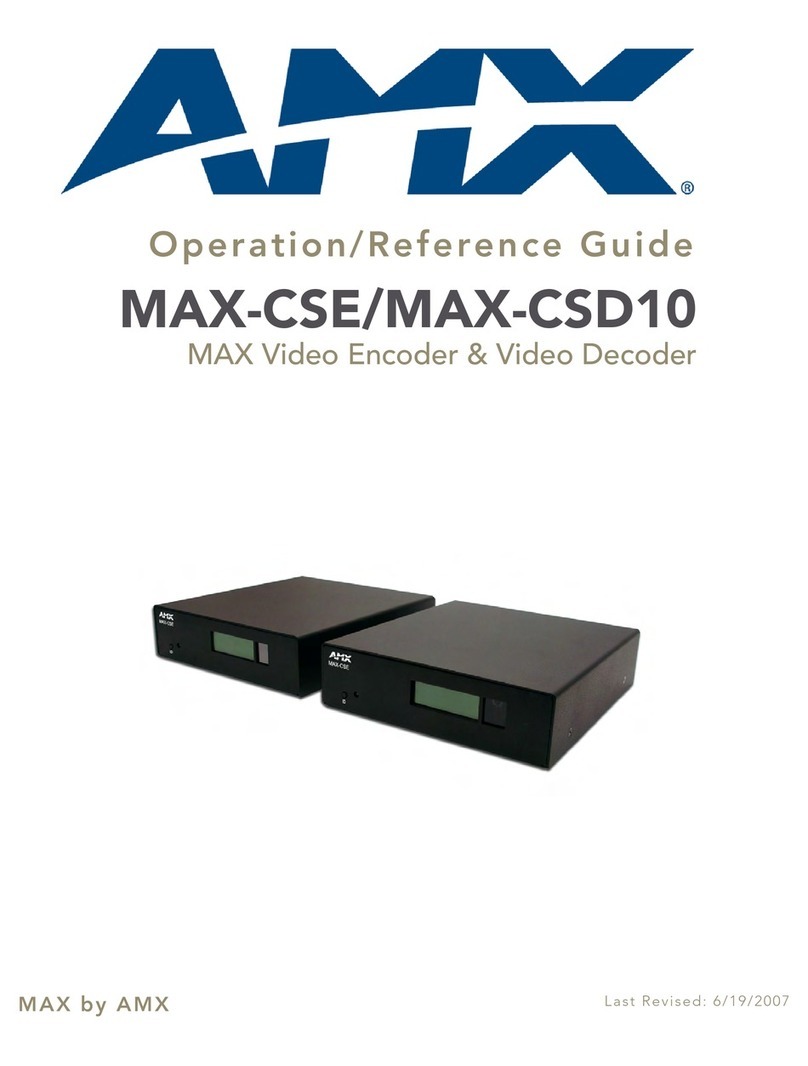
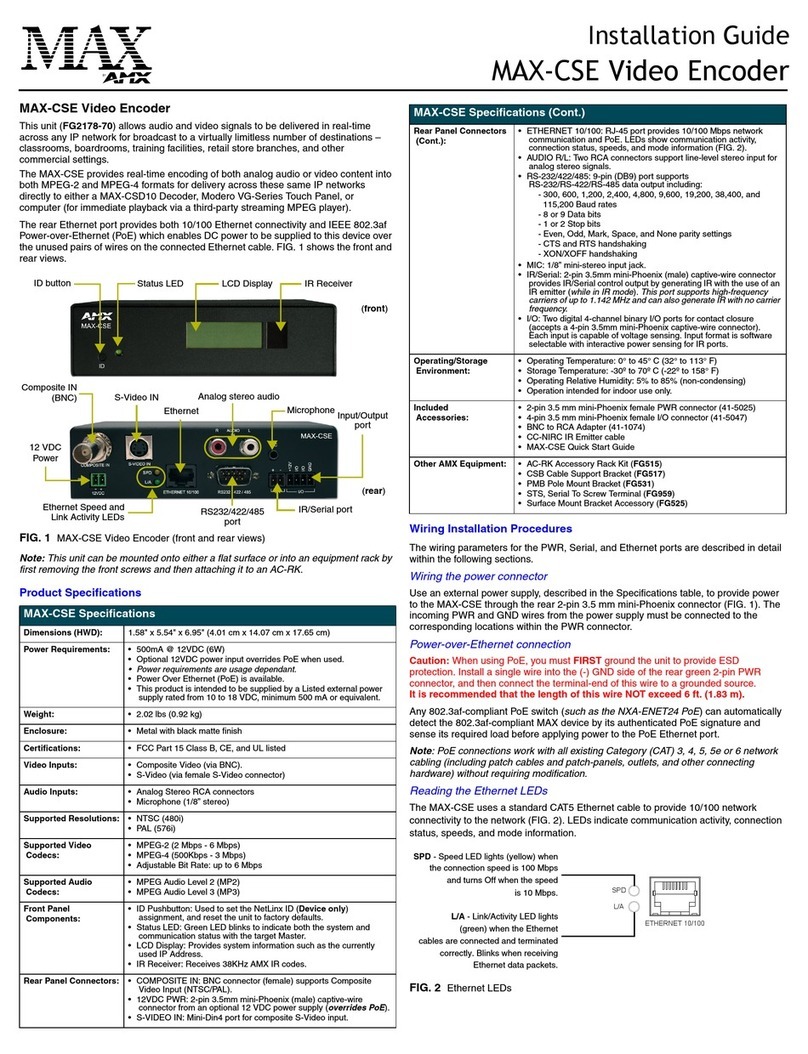
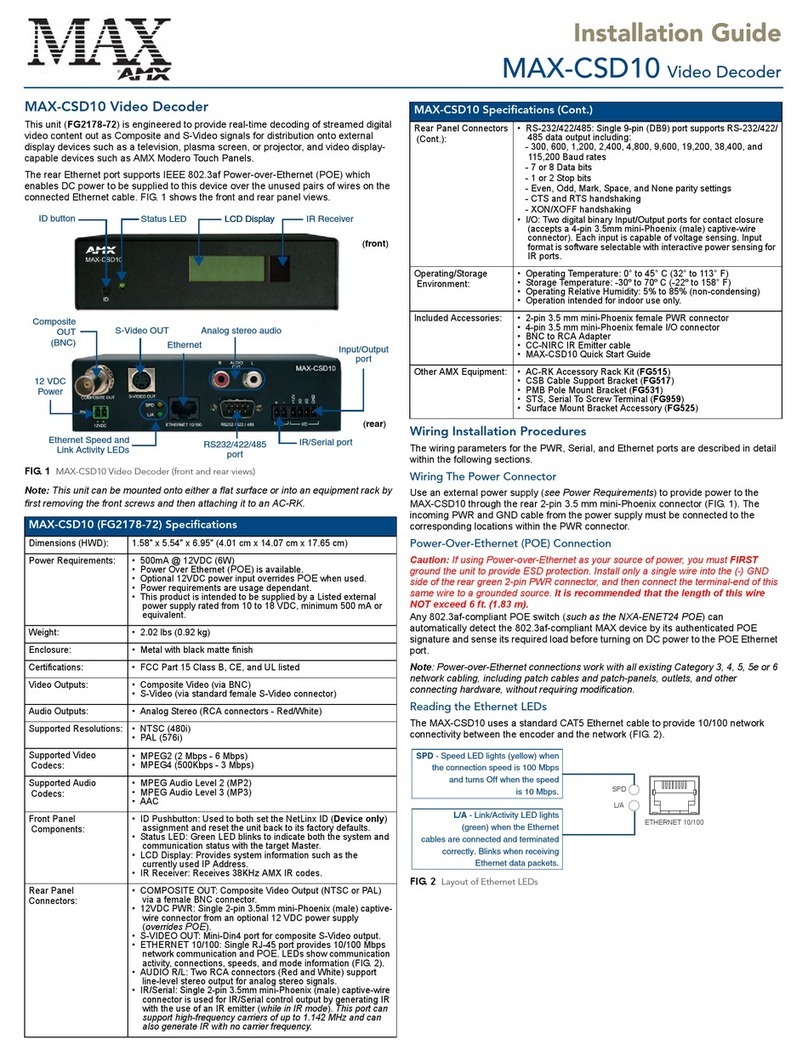
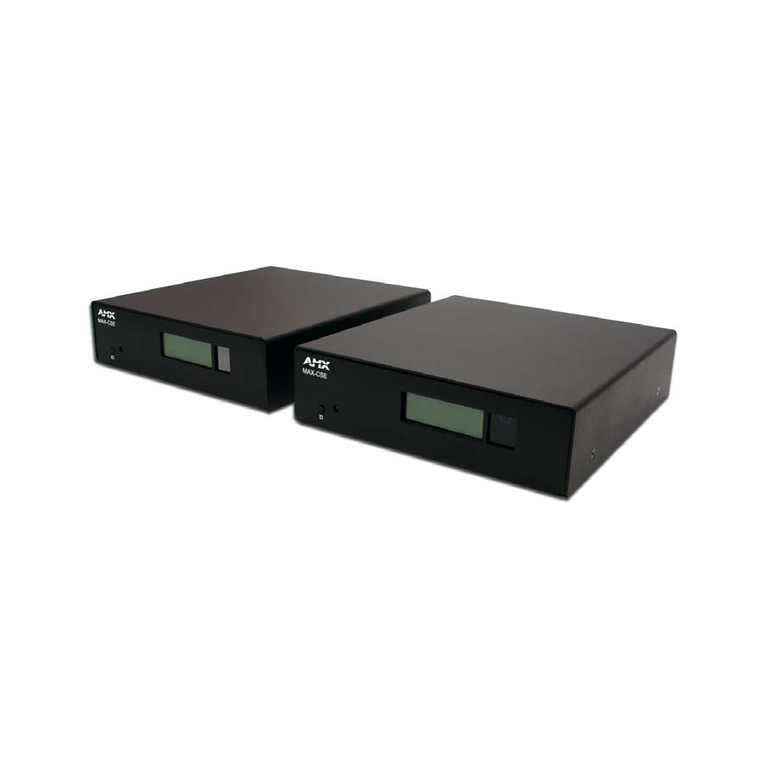
AMX MAX-CSD ENCODER User manual

instruction manual
MAX-CSE
MAX Video Encoder

AMX Limited Warranty and Disclaimer
AMX Corporation warrants its products to be free of defects in material and workmanship under normal use for three
(3) years from the date of purchase from AMX Corporation, with the following exceptions:
• Electroluminescent and LCD Control Panels are warranted for three (3) years, except for the display and touch
overlay components that are warranted for a period of one (1) year.
• Disk drive mechanisms, pan/tilt heads, power supplies, and MX Series products are warranted for a period of one
(1) year.
• AMX Lighting products are guaranteed to switch on and off any load that is properly connected to our lighting
products, as long as the AMX Lighting products are under warranty. AMX Corporation does guarantee the
control of dimmable loads that are properly connected to our lighting products. The dimming performance or
quality cannot be guaranteed due to the random combinations of dimmers, lamps and ballasts or transformers.
• Unless otherwise specified, OEM and custom products are warranted for a period of one (1) year.
• AMX Software is warranted for a period of ninety (90) days.
• Batteries and incandescent lamps are not covered under the warranty.
This warranty extends only to products purchased directly from AMX Corporation or an Authorized AMX Dealer.
All products returned to AMX require a Return Material Authorization (RMA) number. The RMA number is
obtained from the AMX RMA Department. The RMA number must be clearly marked on the outside of each box.
The RMA is valid for a 30-day period. After the 30-day period the RMA will be cancelled. Any shipments received
not consistent with the RMA, or after the RMA is cancelled, will be refused. AMX is not responsible for products
returned without a valid RMA number.
AMX Corporation is not liable for any damages caused by its products or for the failure of its products to perform.
This includes any lost profits, lost savings, incidental damages, or consequential damages. AMX Corporation is not
liable for any claim made by a third party or by an AMX Dealer for a third party.
This limitation of liability applies whether damages are sought, or a claim is made, under this warranty or as a tort
claim (including negligence and strict product liability), a contract claim, or any other claim. This limitation of
liability cannot be waived or amended by any person. This limitation of liability will be effective even if AMX
Corporation or an authorized representative of AMX Corporation has been advised of the possibility of any such
damages. This limitation of liability, however, will not apply to claims for personal injury.
Some states do not allow a limitation of how long an implied warranty last. Some states do not allow the limitation or
exclusion of incidental or consequential damages for consumer products. In such states, the limitation or exclusion of
the Limited Warranty may not apply. This Limited Warranty gives the owner specific legal rights. The owner may
also have other rights that vary from state to state. The owner is advised to consult applicable state laws for full
determination of rights.
EXCEPT AS EXPRESSLY SET FORTH IN THIS WARRANTY, AMX CORPORATION MAKES NO
OTHER WARRANTIES, EXPRESSED OR IMPLIED, INCLUDING ANY IMPLIED WARRANTIES OF
MERCHANTABILITY OR FITNESS FOR A PARTICULAR PURPOSE. AMX CORPORATION
EXPRESSLY DISCLAIMS ALL WARRANTIES NOT STATED IN THIS LIMITED WARRANTY. ANY
IMPLIED WARRANTIES THAT MAY BE IMPOSED BY LAW ARE LIMITED TO THE TERMS OF THIS
LIMITED WARRANTY.
This product includes the GoAhead Web Server.
Copyright (c) 2006 GoAhead Software, Inc. All Rights Reserved.
Table of Contents
i
MAX Video Encoder
Table of Contents
MAX Video Encoder .................................................................................................1
Overview ........................................................................................................................... 1
MAX-CSE Product Specifications ..................................................................................... 2
Connections and Wiring ..........................................................................................5
Port Assignments and Functionality .................................................................................. 5
Wiring Guidelines - Direct Power ...................................................................................... 5
Wiring length guidelines ........................................................................................................... 5
Preparing captive wires............................................................................................................ 5
Wiring a power connection....................................................................................................... 6
Wiring Guidelines - Indirect Power (via PoE) .................................................................... 6
PoE - Special wiring instructions.............................................................................................. 6
Wiring the MAX-CSE connectors and cables........................................................................... 7
Ethernet/RJ-45 Port: Connections and Wiring .................................................................. 8
Power over Ethernet (PoE) wiring............................................................................................ 9
Ethernet LEDs.......................................................................................................................... 9
DB9 Device Port: Connections and Wiring...................................................................... 10
IR/Serial Port: Connections and Wiring........................................................................... 10
Input/Output (I/O) Port: Connections and Wiring............................................................. 11
Installation ...............................................................................................................13
Installing Into an Equipment Rack................................................................................... 13
MAX-CSE Web Interface ........................................................................................15
Overview ......................................................................................................................... 15
Security Terms ................................................................................................................ 15
Default Security Configuration......................................................................................... 16
Communicating with the unit via the browser-based UI ......................................................... 17
Browser-based UI Application Overview ......................................................................... 17
MAX -CSE User Interface Overview and Features ............................................................... 18
Administration Page ........................................................................................................ 20
Stream Profiles Page ...................................................................................................... 23
A/V Setup Page............................................................................................................... 29
NetLinx Settings Page..................................................................................................... 31
IP Settings Page.............................................................................................................. 34
User Page ....................................................................................................................... 36

ii MAX Video Encoder
Table of Contents
Configuring Communication .................................................................................39
Reading the Front Panel LCD......................................................................................... 39
Configuring the MAX Communication Parameters ......................................................... 40
Step 1: Obtaining the unit’s initial DHCP Address ................................................................. 40
Step 2: Communicating with the unit via the browser-based UI............................................. 40
Step 3: Assigning a Static IP Address to the unit via the browser-based UI.......................... 41
Communicating with the target Master via an IP............................................................. 43
Associating the MAX unit to a Target Master.................................................................. 45
Changing the MAX’s Device Number.............................................................................. 48
Changing the device number via the UI................................................................................. 48
Changing the device number via Studio ................................................................................ 48
Recommended NetLinx Device numbers............................................................................... 49
Using the ID button to change the MAX’s Device Value ........................................................ 49
Resetting the MAX unit to a Factory Default State.......................................................... 50
Configuration and Firmware Update ....................................................................51
MAX vs. NetLinx Master - Functional Overlap ................................................................ 51
Verifying the MAX’s current version of Firmware - via the UI................................................. 51
Upgrading MAX Firmware............................................................................................... 52
Upgrading the MAX’s Firmware - via the UI........................................................................... 52
Upgrading the MAX’s Firmware - via NetLinx Studio ............................................................. 53
Displaying Stream Content ...................................................................................55
Overview ......................................................................................................................... 55
Requirements for Receiving Streamed Content.............................................................. 55
Setting up a Modero Panel to Receive and Display a Stream ........................................ 56
Step 1: Obtaining the IP Address of the target panel............................................................. 56
Step 2: Configuring the MAX-CSE for communication........................................................... 57
Step 3: Configuring the MAX-CSE audio/video inputs ........................................................... 60
Step 4: Setup a streaming page within TPDesign4................................................................ 60
Step 5: Establishing the final connection between the two units............................................ 63
Setting up a Computer to Receive and Display a Stream............................................... 64
Step 1: Obtaining the IP Address of the target computer....................................................... 64
Step 2: Configure the MAX-CSE for communication to a computer ...................................... 64
Step 3: Establishing the final connection between the CSE and computer ........................... 65

Table of Contents
iii
MAX Video Encoder
NetLinx Programming ............................................................................................67
Device:Port:System (D:P:S) ............................................................................................ 67
Port Assignments ............................................................................................................ 67
MAX-CSE Only: Streaming Commands (Port 1)............................................................. 68
RS-232/422/485 Send_Commands (Port 2) ................................................................... 73
RS-232/422/485 Send_String Escape Sequences (Port 2) ............................................ 77
IR / Serial Ports Channels ............................................................................................... 78
IR/Serial Port (Port 3) Commands................................................................................... 78
I/O Port Commands (Port 4)............................................................................................ 84
IR RX Port Channels (Port 5) .......................................................................................... 84
LCD Commands (Port 6)................................................................................................. 85

iv MAX Video Encoder
Table of Contents

MAX Video Encoder
1
MAX Video Encoder
MAX Video Encoder
Overview
The MAX-CSE (Commercial Solutions Encoder) allows audio and video signals to be delivered in
real-time across any IP network for broadcast to a virtually limitless number of destinations –
classrooms, boardrooms, training facilities, retail store branches, and other commercial settings.
The MAX-CSE also provides real-time encoding of both analog audio or video content into both
MPEG-2 and MPEG-4 formats for delivery across these same IP networks directly to either a
MAX-CSD10 Decoder, Modero VG-Series Touch Panel, or computer (playback is enabled via a
third-party streaming MPEG player).
The MAX Encoder features a rear Ethernet port which provides 10/100 Ethernet connectivity as
well as IEEE 802.3af Power-over-Ethernet (PoE) functionality. This feature enables DC power to
be supplied to this device over the unused pairs of wires on the connected Ethernet cable.
The following table gives a quick overview of this unit’s features.
MAX Encoder Features
MAX-CSE (FG2178-70)
Components:
Front Panel LCD
10/100 Ethernet Connectivity
On-Board Web Server
NetLinx Connectivity
RS-232/485/422 (Serial) Connectivity
IR Control
I/O Control (2 ports)
IR Receiver
NTSC / PAL Compatible
A/V Inputs:
Composite Video In
S-Video In
Microphone In
Stereo Audio In

MAX Video Encoder
2MAX Video Encoder
MAX-CSE Product Specifications
FIG. 1 shows the front and rear views of the MAX-CSE unit.
The following table outlines the specifications for MAX-CSE Video Encoder.
FIG. 1 MAX-CSE Video Encoder (front and rear views)
MAX-CSE Specifications
Dimensions (HWD): 1.58" x 5.54" x 6.95" (4.01 cm x 14.07 cm x 17.65 cm)
Power Requirements: • 500mA @ 12VDC (6W)
• Optional 12VDC power input overrides PoE when used.
• Power requirements are usage dependant.
• Power Over Ethernet (PoE) is available.
• This product is intended to be supplied by a Listed external power supply
rated from 10 to 18 VDC, minimum 500 mA or equivalent.
Weight: • 2.02 lbs (0.92 kg)
Enclosure: • Metal with black matte finish
Certifications: • FCC Part 15, Class B, CE, and UL listed
Supported Transport Protocols: • RTP (MPEG-2/MPEG-4 Transport Stream)
• UDP (MPEG-2 Transport Stream)
Video Inputs: • Composite Video (via BNC).
• S-Video (via female S-Video connector)
Audio Inputs: • Analog Stereo RCA connectors
• Microphone (1/8” stereo)
Supported Resolutions: • NTSC (480i)
• PAL (576i)
Supported Video Codecs: • MPEG-2 (2 Mbps - 6 Mbps)
• MPEG-4 (500Kbps - 3 Mbps)
• Adjustable Bit Rate: up to 6 Mbps
Ethernet
12 VDC
(
front
)
(
rear
)
Composite IN
Ethernet Speed and
S-Video IN
IR/Serial port
Analog stereo audio
Microphone
ID button Status LED LCD Display IR Receiver
Power
Link Activity LEDs
RS232/422/485
port
Input/Output
port
(BNC)

MAX Video Encoder
3
MAX Video Encoder
MAX-CSE Specifications (Cont.)
Supported Audio Codecs: • MPEG Audio Level 2 (MP2)
• MPEG Audio Level 3 (MP3)
Front Panel Components:
ID pushbutton: • Used to set the NetLinx ID (Device only) assignment and reset the unit
to factory defaults.
• Press and hold this button for at least 10 seconds to set the unit back to
its default settings.
Status LED: • Green LED blinks to indicate both the system and communication status
with the target Master.
• Green LED provides an indication of both the system status and
communication status with the target Master.
- 1 blink every 5 seconds indicates there is currently active
communication between the CSE and a target Master.
LCD Display: • Provides system information such as the currently used IP Address.
IR Receiver: • Receives 38KHz AMX IR codes.
Rear Panel Connectors:
COMPOSITE IN: • BNC connector (female) supports Composite Video Input (NTSC/PAL).
12VDC PWR: • 2-pin 3.5mm mini-Phoenix (male) captive-wire connector for power from
an optional 12 VDC-compliant power supply (overrides POE).
S-VIDEO IN: • Mini-Din4 port for composite S-Video input.
ETHERNET 10/100: • RJ-45 port provides 10/100 Mbps network communication and POE.
LEDs show communication activity, connection status, speeds, and
mode information:
- SPD (speed) - Yellow LED lights On when the connection speed is
100 Mbps and turns Off when the speed is 10 Mbps.
- L/A (link/activity) - Green LED lights On when the Ethernet cables
are connected/terminated correctly, and then blinks when receiving
Ethernet data packets.
• This port automatically negotiates the connection speed
(10 Mbps or 100 Mbps), and whether to use half or full duplex mode.
AUDIO R/L: • Two RCA connectors support line-level stereo input for analog stereo
signals.
RS-232/422/485: • 9-pin (DB9) port supports RS-232/RS-422/RS-485 data output including:
- 300, 600, 1,200, 2,400, 4,800, 9,600, 19,200, 38,400, and 115,200
Baud rates
- 8 or 9 Data bits
- 1 or 2 Stop bits
- Even, Odd, Mark, Space, and None parity settings
- CTS and RTS handshaking
- XON/XOFF handshaking
MIC: • 1/8” mini-stereo input jack.
IR/Serial: • 2-pin 3.5mm mini-Phoenix (male) captive-wire connector provides
IR/Serial control output by generating IR with the use of an IR Emitter
(while in IR mode).
• This port supports high-frequency carriers of up to 1.142 MHz and can
also generate IR with no carrier frequency.

MAX Video Encoder
4MAX Video Encoder
MAX-CSE Specifications (Cont.)
Rear Panel Connectors (Cont.):
I/O: • Two digital 4-channel binary I/O ports for contact closure (accepts a 4-pin
3.5mm mini-Phoenix captive-wire connector).
• Each input is capable of voltage sensing. Input format is software
selectable with interactive power sensing for IR ports.
Operating / Storage
Environment:
• Operating Temperature: 0° to 45° C (32° to 113° F)
• Storage Temperature: -30º to 70º C (-22º to 158° F)
• Operating Relative Humidity: 5% to 85% (non-condensing)
• Operation intended for indoor use only.
Included Accessories: • 2-pin 3.5 mm mini-Phoenix female PWR connector (41-5025)
• 4-pin 3.5 mm mini-Phoenix female I/O connector (41-5047)
• BNC to RCA Adapter (41-1074)
• CC-NIRC IR Emitter cable
• MAX-CSE Quick Start Guide
Other AMX Equipment: • AC-RK Accessory Rack Kit (FG515)
• CSB Cable Support Bracket (FG517)
• PMB Pole Mount Bracket (FG531)
• STS, Serial To Screw Terminal (FG959)
• Surface Mount Bracket Accessory (FG525)

Connections and Wiring
5
MAX Video Encoder
Connections and Wiring
Port Assignments and Functionality
The rear Port Assignments are as follows:
Wiring Guidelines - Direct Power
The MAX-CSE unit requires the use of either an external 12 VDC-compliant power supply or an
802.3af-compliant device to provide DC power. Power can be fed to the unit thru either the rear
2-pin 3.5 mm mini-Phoenix PWR connector or the rear Ethernet connector (PoE).
Use the Specifications table’s power requirements to determine the unit’s power draw.
Wiring length guidelines
Refer to the following table for the wiring length information related to the target MAX unit:
Preparing captive wires
You will need a wire stripper and flat-blade screwdriver to prepare and connect the captive wires.
1. Strip 0.25 inch (6.35 mm) of insulation off all wires.
2. Insert each wire into the appropriate opening on the connector (according to the wiring
diagrams and connector types described in this section).
MAX-CSE Port Assignments
Description ICSP Port #
Video Encoder 1
RS-232/422/485 Serial Port 2
IR/Serial Port 3
I/O Port 4
IR RX Port 5
LCD Display 6
This unit should only have one source of incoming power.
Although the unit can be connected to two separate power sources, the
12 VDC-compliant power input overrides the PoE. Refer to the Wiring Guidelines -
Indirect Power (via PoE) section on page 6 for specific PoE wiring procedures and
restrictions.
MAX-CSE @ 500 mA
Wire size Maximum wiring length
18 AWG 216.76 feet (66.07 meters)
20 AWG 137.61 feet (41.94 meters)
22 AWG 88.78 feet (27.06 meters)
24 AWG 54.15 feet (16.50 meters)
Never pre-tin wires for compression-type connections.

Connections and Wiring
6MAX Video Encoder
3. Tighten the screws to secure the wire in the connector. Do not tighten the screws excessively
doing so may strip the threads and damage the connector.
Wiring a power connection
To use the 2-pin 3.5 mm mini-Phoenix connector with a 12 VDC-compliant power supply, the
incoming PWR and GND cables from the external source must be connected to their corresponding
locations on the connector (FIG. 2).
Wiring Guidelines - Indirect Power (via PoE)
Power-over-Ethernet (PoE) can be used to indirectly provide DC power to this 802.3af-compliant
device via the unused wire pairs in the UTP or STP Ethernet cable (RJ-45 pins 4, 5, 7, and 8).
PoE power is overridden if a direct power feed (via the rear 2-pin PWR connector) is detected.
Any 802.3af-compliant PoE switch (such as the NXA-ENET24 PoE) can automatically detect the
MAX device by its authenticated PoE signature and sense its required load before applying power
to the PoE Ethernet port on a target device.
PoE - Special wiring instructions
Before beginning the connection from the PoE switch to the target MAX unit, follow these
instructions carefully:
Refer to the procedures outlined within the previous Preparing captive wires section on
page 5.
Install a single wire into the (-) GND side of the rear green 2-pin mini-Phoenix connector
(FIG. 3).
Connect this wire to a grounded source (FIG. 3). This GND wire provides the necessary
ESD protection to the unit. Only after this step has been completed, can you continue on
to the wiring of the PoE connection.
FIG. 2 2-pin mini-Phoenix connector wiring diagram (direct power)
PWR +
GND -
To the rear of the MAX unit
Power Supply
PoE connections work with all existing Category (CAT) 3, 4, 5, 5e or 6 network
cabling (including patch cables and patch-panels, outlets, and other connecting
hardware) without requiring modification.
When using PoE, you must FIRST ground the unit to provide ESD protection.
The length of the GND wire should not exceed 6 feet (1.83 meters).

Connections and Wiring
7
MAX Video Encoder
Pre-configure the 802.3af-compliant PoE switch (such as the NXA-ENET24 PoE) and
prepare it for power transmission to the target MAX unit. Refer to the PoE’s product
documentation for more details.
Connect a CAT5/CAT6 Ethernet cable from the RJ-45 PoE connector on the PoE switch
to the rear RJ-45 (Ethernet) connector on the target MAX unit (FIG. 3).
Wiring the MAX-CSE connectors and cables
The rear connectors (FIG. 4) are used to input external multimedia signals and then stream them to
the network/web. This stream can be displayed through either a MAX-CSD10 Decoder, VG-Series
Modero Touch Panel or through a third-party player such as VLC®.
FIG. 3 ESD grounding and PoE connection of a MAX unit
FIG. 4 MAX-CSE connector wiring diagram
PWR +
GND -
Grounded Metal
plate or object
MAX-CSE
R
E
A
R
802.3af-compliant
PoE switch
EthernetPWR
MAX-
CS
E
MAX-CSE
Encoder
Box
F
R
O
N
T
R
E
A
R
Outbound Audio/Video/Data (RJ-45)
Ethernet - Data (RJ-45)
12 VDC power
supply
COMPOSITE IN (BNC)
IR/Serial
I/O
or
S-VIDEO IN (MiniDin4)
RS232/422/485
Right Audio Channel IN
Left Audio Channel IN
Microphone IN

Connections and Wiring
8MAX Video Encoder
The rear-panel wiring connections are described below (from left to right):
Ethernet/RJ-45 Port: Connections and Wiring
The following table lists the pinouts, signals, and pairing for the Ethernet connector.
• COMPOSITE IN: Uses a BNC connector to feed a Composite video signal in from an
outside video source and then out to an external streaming media
display or device via the Ethernet port.
The BNC connector can be modified to receive signals from an RCA
connector by using the included BNC to RCA Adapter (41-1074).
This signal can also be fed from a DB15 connector by using an
optional NXA-RGBCBL (15-pin to 5X BNC) RGB Breakout cable
(FG2250-80).
Note: Although the MAX-CSE can accept either a Composite or
S-Video input signal type. If both signal types are detected, the unit (in
its default state) will use the Composite signal. This selection can be
later changed by the user via the A/V Setup UI page.
• S-VIDEO IN: Uses a female S-Video connector to feed a video signal in from an
external video source and then out to an external streaming media
display or device via the rear Ethernet port.
Note: Although the MAX-CSE can accept either a Composite or
S-Video input signal type. If both signal types are detected, the unit (in
its default state) will use the Composite signal. This selection can be
later changed by the user via the A/V Setup UI page.
•PWR 2-pin 3.5 mm mini-Phoenix connector connects to a direct
12 VDC-compatible power supply.
•ETHERNET: RJ-45 connector routes streamed Audio/Video and Data out to an
external device capable of receiving the streamed media content
(including a MAX-CSD10, VG-Series touch panel, or computer).
The Power-over-Ethernet (PoE) feature of the Ethernet port can be
used to provide indirect DC power to this 802.3af-compliant device
over the unused wire pairs in the UTP or STP Ethernet cable
(RJ-45 pins 4, 5, 7, and 8).
• AUDIO IN: Stereo line-level input via two rear RCA connectors (R/L).
• MIC IN: Stereo line-level input via a rear 1/8” mini-stereo jack.
•IR: 2-pin 3.5 mm mini-Phoenix connector accepts a single IR Emitter
(CC-NIRC) and can connect one IR- or Serial-controllable device.
• I/O: 4-pin 3.5 mm mini-Phoenix connector allows for the connection of up
to two devices. The I/O port responds to either switch closures,
voltage level (high/low) changes, or can be used for logic-level
outputs. When used for outputs, the I/O port acts as a switch to GND.
Ethernet RJ-45 Pinouts and Signals
Pin Signals Connections Pairing Color
1 TX + 1 --------- 1 1 --------- 2 Orange-White
2 TX - 2 --------- 2 Orange
3 RX + 3 --------- 3 3 --------- 6 Green-White
4 no connection 4 --------- 4 Blue
5 no connection 5 --------- 5 Blue-White
6 RX - 6 --------- 6 Green
7 no connection 7 --------- 7 Brown-White
8 no connection 8 --------- 8 Brown
12 3 45 6 78
12 3 45 6 78

Connections and Wiring
9
MAX Video Encoder
FIG. 5 diagrams the RJ-45 pinouts and signals for the Ethernet RJ-45 connector and cable.
Power over Ethernet (PoE) wiring
PoE can be used to indirectly provide DC power to this 802.3af-compliant device via the unused
wire pairs in the UTP or STP Ethernet cable (RJ-45 pins 4, 5, 7, and 8).
PoE power is overridden if a direct power feed (via the rear 2-pin PWR connector) is
detected.
Any 802.3af-compliant PoE switch (such as the NXA-ENET24 PoE) can automatically detect the
MAX device by its authenticated PoE signature and sense its required load before applying power
to the PoE Ethernet port on a target device.
Ethernet LEDs
MAX Encoders use a standard CAT5 Ethernet cable to provide 10/100 network connectivity to the
network. LEDs indicate communication activity, connection status, speeds, and mode information
as described in FIG. 6.
FIG. 5 RJ-45 wiring diagram
FIG. 6 Ethernet LEDs
SPD
L/A
ETHERNET 10/100
SPD
- Speed LED lights (yellow) when
and turns Off when the speed
is 10 Mbps.
the connection speed is 100 Mbps
L/A
- Link/Activity LED lights
(green) when the Ethernet
cables are connected and
terminated correctly.

Connections and Wiring
10 MAX Video Encoder
DB9 Device Port: Connections and Wiring
FIG. 7 shows the connector pinouts for the rear RS-232/RS-422/RS-485 (DB9) Device Port. This
port supports most standard RS-232 communication protocols for data transmission.
The DB9 Device Port connector supports RS-232 communication protocols for PC data
transmission. This table’s wiring specifications are applicable to the rear RS-232/422/485 Device
Port connectors on the MAX-CSE unit.
IR/Serial Port: Connections and Wiring
You can connect one IR- or Serial-controllable device to the IR/Serial connector on the rear of the
MAX-CSE.
This connector (FIG. 8) accepts the included IR Emitter (CC-NIRC) that mounts onto the device's
IR window, or an optional mini-plug (CC-NSER) that connects to the device's control jack. You can
also connect a data 0 - 5 VDC device.
FIG. 7 RS-232/422/485 DB9 (male) connector pinouts for the rear Device Port
RS-232/422/485 Device Port Wiring Specifications
Pin Signal Function RS-232 RS-422 RS-485
1 RX- Receive data X X (strap to pin 9)
2 RXD Receive data X
3 TXD Transmit data X
4 TX+ Transmit data X X (strap to pin 6)
5 GND Signal ground X X
6 RX+ Receive data X X (strap to pin 4)
7 RTS Request to send X
8 CTS Clear to send X
9 TX- Transmit data X X (strap to pin 1)
FIG. 8 IR/SERIAL connector
5
4
3
2
1
9
8
7
6
Male
DB9 Device Port pinouts (male connector)
Pin 2: RX signal
Pin 3: TX signal
Pin 5: GND
Pin 7: RTS
Pin 8: CTS
RS-232
Pin 1: RX -
Pin 4: TX +
Pin 5: GND
Pin 6: RX +
Pin 9: TX -
RS-422
Pin 1: A (strap to 9)
Pin 4: B (strap to 6)
Pin 5: GND
Pin 6: B (strap to 4)
Pin 9: A (strap to 1)
RS-485
IR
Signal: Function:
GND (-) Signal GND
Signal (+) IR/SERIAL data

Connections and Wiring
11
MAX Video Encoder
Input/Output (I/O) Port: Connections and Wiring
The I/O port responds to either switch closures, voltage level (high/low) changes, or it can be used
for logic-level outputs. You can connect up to two devices on this MAX unit.
A contact closure between the GND and an I/O port is detected as a Push.
When used for voltage inputs, the I/O port detects a low (0 - 1.5 VDC) as a Push, and a
high (2.0 - 3.3 VDC) signal as a Release (this IO port uses 3.3V logic but can handle up
to 5V without harm).
When used for outputs, the I/O port acts as a switch to GND and is rated at 200 mA @
12 VDC. This device can utilize up to 2 I/O ports (see table below).
The PWR pin provides +12 VDC @ 200 mA and is designed as a power output for the
PCS2 or VSS2 (or equivalent).
The GND connector is a common ground and is shared by all I/O ports. A common
ground is shared with I/O ports 1 & 2 (see table below)
FIG. 10 shows the rear connectors on a MAX-CSE unit.
FIG. 9 INPUT/OUTPUT connector
I/O Port Wiring Specifications
Pin Signal Function
1 GND Signal GND
2 I/O 1 Input/Output
3 I/O 2 Input/Output
4 12 VDC PWR
FIG. 10 MAX-CSE unit (rear view)
+12V
GND
I/O
I/O
I/O

Connections and Wiring
12 MAX Video Encoder

Installation
13
MAX Video Encoder
Installation
Installing Into an Equipment Rack
Use the optional AC-RK Accessory Rack Kit (FG515) to mount the MAX unit into a standard
19 inch equipment rack.
1. Discharge the static electricity from your body by touching a grounded object.
2. Align the front of the MAX unit through any of the three rectangular openings on the AC-RK.
3. Use the included mounting screws to secure the MAX unit’s faceplate to the AC-RK.
4. Thread the cables through the opening in the equipment rack. Allow for enough slack in the
cables to accommodate for movement during the installation process.
5. Reconnect all cables to their source/terminal locations.
Verify that the terminal end of the power cable is not connected to the a power supply
before plugging in the 2-pin power connector.
If using indirect PoE to feed power into the unit, verify that the terminal end of the RJ-45
is not connected to an 802.3af-compliant PoE switch.
6. Align the ends of the AC-RK with the screw openings along the sides of the equipment rack.
7. Secure the AC-RK to the rack by using the four #10-32 screws (80-0186) and four #10 washers
(80-0342) supplied in the kit.
8. Verify the terminal audio/video source is properly configured and connected properly.
9. Apply power to the unit to complete the installation process.
To prevent repetition of the installation, test the incoming wiring by connecting the
MAX’s connectors to their terminal locations and applying power. Verify that the unit
is receiving power and functioning properly. Disconnect the terminal end of either the
power cable from the connected 12 VDC-compliant power supply or Ethernet
connector from the PoE switch.

Installation
14 MAX Video Encoder
This manual suits for next models
2
Table of contents
Other AMX Media Converter manuals

AMX
AMX Video Decoder MAX-CSD10 User manual

AMX
AMX NMX-ENC-N2151 User manual

AMX
AMX Video Decoder MAX-CSD10 User manual

AMX
AMX MAX-CSD 10 User manual

AMX
AMX Video Decoder MAX-CSD10 User manual

AMX
AMX N2412A User manual

AMX
AMX Line Level Converter DAS-LLC User manual

AMX
AMX SVSi N3121 User manual

AMX
AMX SCL-1 User manual

AMX
AMX NMX-ENC-N1122 User manual