6
When the unit is first turned on, it will charge the batteries at a constant current of 50 amps for a –12
model and 38 amps for a –24 model. During this time, the red ‘Charging’ LED will be on. If the
batteries are seriously discharged, the ‘Low Output’ LED and the audible alarm will also come on.
After a period of time, which may be minutes to hours, the batteries will reach the float voltage, and
the charging current will reduce as necessary to maintain the batteries at that voltage. Once this
happens, the red ‘Charging’ LED will go off. You may now check the float voltage at the output
terminals of the unit with a good digital voltmeter. As shipped from the factory, the unit is preset to
13.6 volts, which is generally recommended for lead-acid batteries. The generally recommended
voltage for gel type batteries is 13.9 volts. Your battery supplier may also recommend a different
voltage. If you need to adjust the float voltage, refer to the section above for the correct procedure.
Troubleshooting:
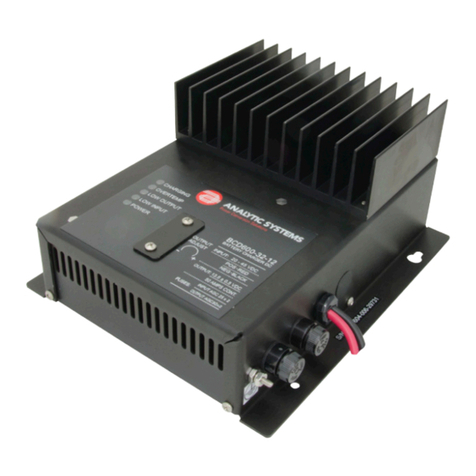
If the red Over-temperature LED and the audible alarm come on, the unit has overheated, and it will
shut down until it cools off sufficiently. You may not have allowed sufficient space around the unit for
cooling, or there may be too many devices connected to the output of the unit. Either reduce the
number of devices connected to the unit, or reposition the unit for better cooling. If necessary, direct
a stream of moving air over the unit.
If the yellow Low Input LED comes on, the input voltage has dropped below 19 VDC (27 VDC on the -
24 version). To keep from completely discharging the batteries (if the battery charger is being
operated from batteries), the unit will shut down until the voltage recovers to 21 VDC (29 VDC on the
-24 version). Make sure that the charging system is operating properly, and that the wires connecting
the input voltage to the unit are not corroded or damaged.
If the red Charging LED, the Low Output LED and the audible alarm come on, and the green Output
On LED is completely off, the output of the unit has been shorted out, or there has been an internal
failure. Turn the unit off, disconnect the battery bank connected to it, and turn it back on again. If it
comes on normally, then the battery bank or output connections have a short. You must rectify the
cause of the fault before reconnecting the battery bank. If the condition still exists after the battery
bank has been disconnected, the unit is defective, and must be returned to the factory or an
authorized service center for repair.
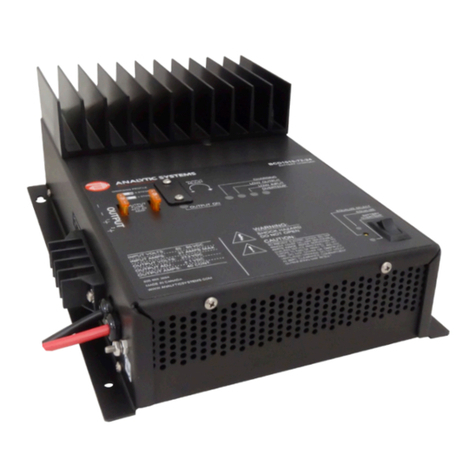
If the unit will not turn on at all, check the input fuse. If it is blown, replace it with a new one. If that
fuse blows as well or the unit still will not turn on, it is defective, and must be returned to the factory or
an authorized service center for repair.
If the green ‘Output On’ LED is on, but there is no voltage at the output terminals, check the output
fuses. If they are blown, replace them with AGC 30A fuses. If there is still no voltage at the
terminals, the unit is defective, and must be returned to the factory or an authorized service center for
repair.
