FRANÇAIS Antal - Winchs - Guide de l’Utilisateur
PUISSANCE
Les winchs sont généralement repérés par leur rapport
de puissance 1:P, qui est le rapport entre l'effort exercé
sur la manivelle de winch et la force résultante sur le
bout.
VITESSE DE RÉCUPÉRATION (Fig. 2)
La vitesse de récupération S est la longeur de cordage que
l’on embraque avec un tour de manivelle. Manifestement
sur un winch à deux vitesses il y a 2 valeurs de puissance
et par conséquent 2 vitesses de récupération.
POSITION DU WINCH (Fig. 3)
Angle du bout sur la poupée : il est bon d'avoir un angle
entre 2 et 10° dans le plan vertical pour assurer une
bonne embraque du cordage sur la poupée.
INSTALLATION
1. OUVERTURE (fig.1-4)
Pour atteindre les trous de fixation de l’embase de winch
il suffit de retirer la poupée. Sur ces modèles il suffit
d’enlever le circlip (A) et retirer la poupée.
2. POSITION DE L’EMBASE (pour les modèles à 2 vitesses)
Il est très important sur les modèles à 2 vitesses de
s’assurer que le pignon de sortie (celui que entraîne la
poupée) soit placé en considérant la direction de traction
comme indiqué sur la fig. 5, du même côté que le bout
sur la poupée. Marquer la position des trous des boulons,
retirer le winch et percer.
3. FIXATION DE L’EMBASE
Avant de serrer les boulons, étaler du mastic sur la face
inférieur de la base en s’assurant que chaque boulon soit
enduit mais que les engrenages et les trous d’évacuation
d’eau soient propres et dégagés de toutes traces de
mastic.
Pour tous les modèles il est nécessaire d’utiliser des
boulons à tête fraisée (UNI 5933, Fig. 6). La quantité et
le diamètre des boulons est rapporté sur le tableau 1 ci-
dessous, la longueur dépend de l’épaisseur du pont. 4.
4. MONTAGE DU WINCH
Positionner l’embase, le boulonner en serrant
progressivement et remonter la poupée.
UTILISATION DE VOTRE WINCH
Le cordage doit être enroulé au minimum avec trois
tours autour de la poupée pour éviter une charge trop
importante qui provoquerait le glissement du bout dans
les mâchoires du “selftailing”,puis le tour venant de la
poupée doit passer sur le doigt du bras et introduit tendu
entre les mâchoires à ressort. Pour entrainer la poupée,
introduire la manivelle dans son logement sur le haut de
l’axe du winch et tourner dans le sens des aiguilles d’une
montre ou dans le sens contraire des aiguilles d’une
montre selon le modèle du winch.
W6 - W7 - W8
Sens des aiguilles d’une montre : 1 vitesse - Sens
contraire des aiguilles d’une montre : au point mort
W16 - W30 - W42
Sens des aiguilles d’une montre : 1 vitesse rapide - Sens
contraire des aiguilles d’une montre : 1 vitesse lente
W44 - W48 - W52
Sens des aiguilles d’une montre : 1 vitesse lente - Sens
contraire des aiguilles d’une montre : 1 vitesse rapide.
ENTRETIEN
NETTOYAGE
Après avoir démonté le winch, retirer les vieilles graisses
et impuretés à l’aide d’une brosse en utilisant un
diluant(type gas-oil) et sécher à l’aide un chiffon propre
en coton (si possible sans peluches).
LUBRIFICATION (Fig. 7)
Avec la même brosse appliquer un peu de graisse type
Hidrolub sur toutes les pièces mobiles: cliquets, pignons,
axes, arbres, roulements, rondelles. Hidrolub est une
graisse, spécial pour la lubrification des winchs et la
protection de l’aluminium.
MONTAGE DES CLIQUETS ET PIGNONS (Fig. 8)
Au remontage des pignons bien vérifier le sens de
montage des cliquets sur les pignons.
PROTECTION
La graisse protège l’aluminium de la corrosion, (là où il
est en contact avec d’autres matériaux) il sera donc utile
de graisser chaque pièce en inox tels que les vis, les
axes et le rondelles. L’huile de vaseline peut être utilisée
pour protéger la poupée de winch: appliquer l’huile sur
la poupée, intérieur et extérieur, attendre 24/48 heures,
nettoyer et sécher à l’aide d’un chiffon doux.
FRÉQUENCE
Dans des conditions normales, il sera suffisant de faire
l’entretien des winchs deux fois par à la fin de la saison
de navigation.
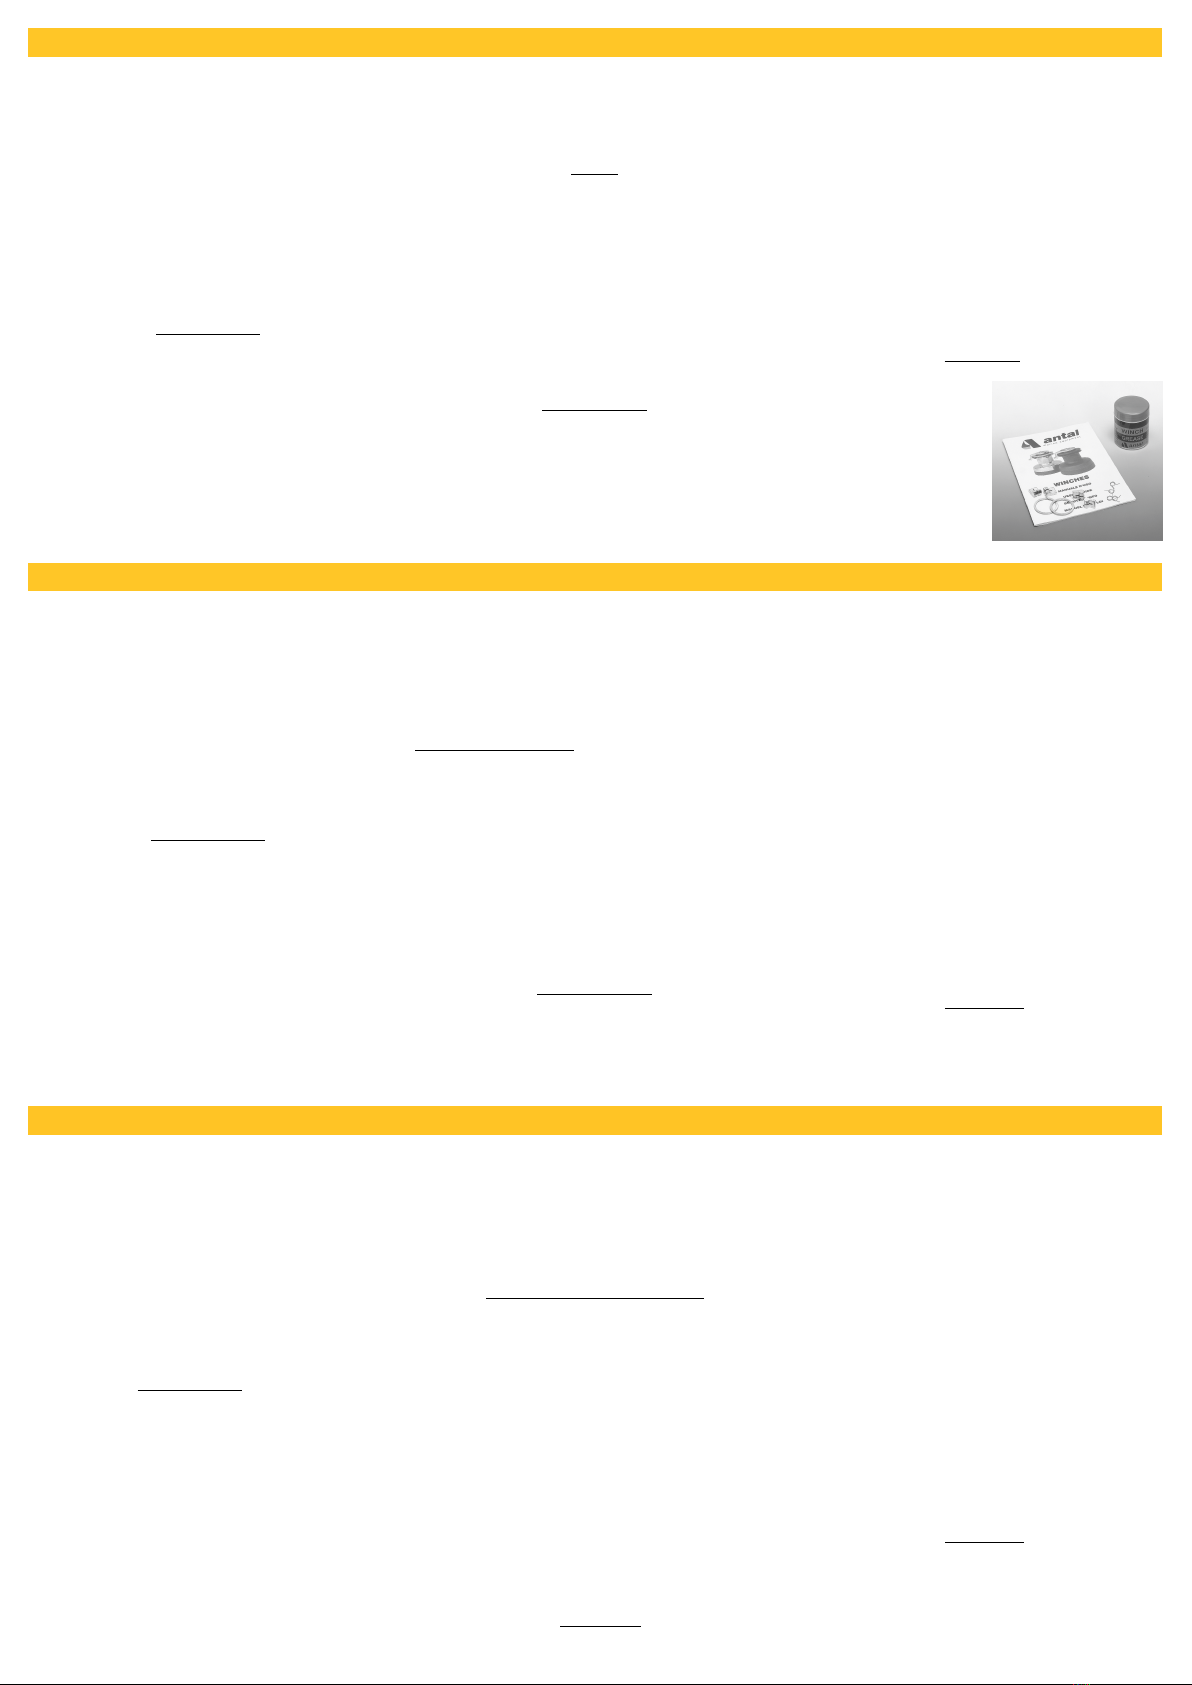
KIT WINCH
Antal livre sur demande:
- Un kit universel indiqué pour tous les types de winchs
W qui comprend 4 cliquets, 4 ressorts, 1 circlip;
- Une boîte de graisse Hidrolub (100 gr);
- Manuel d’emploi pour winchs manuelles et électriques.
ITALIANO Antal - Winch - Manuale d’Uso
POTENZA
I winch vengono normalmente identificati per il proprio
rapporto di potenza 1:P, cioè il rapporto fra la forza
applicata sulla manovella ed il tiro ottenibile trascurando
gli attriti.
VELOCITÀ’ DI RECUPERO (Fig. 2)
La velocità di recupero S è la lunghezza di manovra
recuperata con 1 giro di manovella. Nei winch a due
velocità si possono considerare 2 potenze e quindi 2
velocità di recupero.
POSIZIONE DEL VERRICELLO (Fig. 3)
La manovra deve arrivare al winch con una inclinazione
tra 2 e 10 gradi ad evitare il sovrapporsi delle spire.
INSTALLAZIONE
1. APERTURA DEL WINCH (fig.1-4)
Per avere accesso ai fori di fissaggio del winch è
necessario togliere la campana. E’ sufficiente togliere il
seger A per poter sfilare la campana.
2. POSIZIONAMENTO DELLA BASE (solo per modelli
a 2 velocità)
Posizionare il winch in modo che l’ingranaggio che
trasmette il moto alla campana sia tangente rispetto alla
direzione del tiro (vedi fig. 5), quindi segnare la posizione
dei fori di fissaggio, spostare il winch e procedere alla
foratura.
3. FISSAGGIO DELLA BASE
Prima di bloccare i bulloni di fissaggio, interporre del
sigillante tra winch e coperta per evitare infiltrazioni,
facendo attenzione a non ostruire i canali di drenaggio
ricavati nella base.
Per tutti i modelli occorrono bulloni a testa svasata
(UNI 5933, Fig. 6). Il numero ed il diametro dei bulloni è
riportato in tabella 1, mentre la lunghezza dipende dallo
spessore della coperta.
4. MONTAGGIO DEL WINCH
Procedere al rimontaggio della campana, operando in
maniera inversa allo smontaggio.
USO DEL VERRICELLO
La manovra deve essere avvolta con almeno tre giri
attorno al tamburo del verricello; qualora si verificassero
degli scivolamenti, aumentare il numero di giri. Per
azionare il verricello, inserire la manovella nell’apposita
sede nella parte superiore del winch, quindi ruotarla
in senso orario e/o in senso antiorario a seconda del
modello del verricello.
W6 - W7 - W8
Senso orario: 1 velocità - Senso antiorario: folle
W16 - W30 - W42
Senso orario: veloce - Senso antiorario: ridotta
W44 - W48 - W52
Senso orario: ridotta - Senso antiorario: veloce
MANUTENZIONE
RIMOZIONE DEI VECCHI LUBRIFICANTI
Dopo aver smontato il verricello si deve togliere il grasso
vecchio con un solvente (va bene il gasolio per motori
diesel); usare un pannello a setole dure ed asciugare con
un panno morbido.
LUBRIFICAZIONE (Fig. 7)
Con lo stesso pennello si stende uno strato sottile di
grasso (poco!) tipo Antal Hidrolub su tutte le parti mobili:
i cricchi, i denti degli ingranaggi, gli assi e le boccole
degli ingranaggi, rondelle di plastica, l’alberino centrale
ed i cuscinetti a rulli. Antal Hidrolub è un grasso studiato
appositamente per la lubrificazione dei winch e la
protezione dell’alluminio
PROTEZIONE
Dove l’alluminio viene in contatto con altri metalli
sarà bene ungerlo con lo stesso grasso usato per la
lubrificazione, per evitare la corrosione. In particolare
ingrassare i filetti delle viti di acciaio e le rondelle
metalliche. La campana, quando in alluminio, può
essere impregnata di olio di vasellina, lasciato assorbire
per 24/48 ore, quindi asciugato con un panno l’olio in
eccesso.
MONTAGGIO CRICCHI/INGRANAGGIO (Fig. 8)
Prestare molta attenzione nel rimontare gli ingranaggi
al senso di rotazione in funzione del corretto lavoro dei
cricchi (solo modelli a due velocità).
FREQUENZA
Per chi utilizza la barca in condizioni normali ed
impiega un buon lubrificante, le operazioni di pulizia
ed ingrassaggio saranno necessarie alla fine di ogni
stagione
KIT WINCH
L’Antal fornisce su richiesta:
- Un kit universale adatto ad ogni tipo di winch W
(composto da 4 “cricchi” con molle ed 1 seger);
- Il grasso Hidrolub per la lubrificazione (confezione da
100 gr);
- I manuali d’uso per winch manuali ed elettrici
POWER
Winches are usually marked with their power ratio (1:P).
This is the ratio between the force on the winch handle
and the resulting force on the line. Unfortunately this
value doesn’t take in the factor of friction.
RECOVERY SPEED (Fig. 2)
The recovery speed (S) is the length of the line recovered
with one 360-degree turn of the winch handle. On 2-speed
winches, there are 2 power values, and consequently 2
recovery speeds.
WINCH POSITION (Fig. 3)
The drum lead angle is the line angle measurement
in degrees from the horizontal. The correct angle is
between 2 and 10 degrees to obtain correct winding of
the line around the winch drum.
INSTALLATION
1. DISMANTLING (fig.1-4)
To access the fixing holes on the base (C) of the winch,
it is necessary to take off the drum (B). Take off the circlip
(A) to remove the drum.
2. BASE INSTALLATION (Only for two speed models)
On two speed models the output gear has to be positioned
to the load pull direction as shown on fig. 5, then mark the
position of the holes on the deck, take off the winch-base
and drill the holes.
3. BASE FASTENING
Put sealant on the screw holes between the deck and the
winch base to avoid the water ingress.
Sealant should not obstruct the drain holes on the
bottom of the winch base. Winch tightening bolts, use
countersunk head screws (UNI 5933, Fig. 6). The size
and the number of bolt is written in the table 1.
4. REFIT THE DRUM
Reverse the “Dismantling” process.
IN USE
It is recommended that the line being used should have
at least three turns around the drum, otherwise excessive
load on the self-tailing plates could cause the line to slip.
To operate the winch put the handle into the main shaft
and turn clockwise or counterclockwise according to the
different models.
W6 - W7 - W8
Clockwise: 1 speed - Counterclockwise: neutral
W16 - W30 - W42
Clockwise: high speed - Counterclockwise: low speed
W44 - W48 - W52
Clockwise: low speed - Counterclockwise: high speed
MAINTENANCE
OLD GREASE REMOVING
After taking the winch apart, remove of the old grease
using a solvent like diesel fuel. Use of a brush and dry
cloth is recommended.
LUBRICATION (Fig. 7)
When greasing a winch, apply using a brush on all
moving parts including pawls, gears, spindles, shaft
bearing washers, etc. Regular cleaning of the winch will
improve it’s performance and longevity.
For winch and gear lubrication, use Antal Hidrolub.
PAWLS - GEAR MOUNTING (Fig. 8)
When reassembling the gears, check the correct coupling
with the pawls (only for two speed models).
PROTECTION
Grease will protect aluminium from corrosion (where
contact with dissimilar metals occurs). It is useful to
use some grease especially on stainless steel screws,
threads, and stainless washers. Vaseline oil can be
used to protect the drum. Put the oil on the drum,
outside and inside. Wait 24 to 48 hours, then clean and
dry with a soft cloth.
FREQUENCY
Under normal use, it will be sufficient to break down the
winches twice a year, once in the beginning and once
at the end of the season.
ENGLISH
Antal can supply you with:
- Universal repair kit suitable
for all winch types W
(including 4 pawls, 4 pawls
springs, 1 circlip);
-Type Hidrolub grease(100
gr tubes);
-User’s guide for manual or
electric winches.
Antal - Winches - User’s Guide
KIT WINCH


