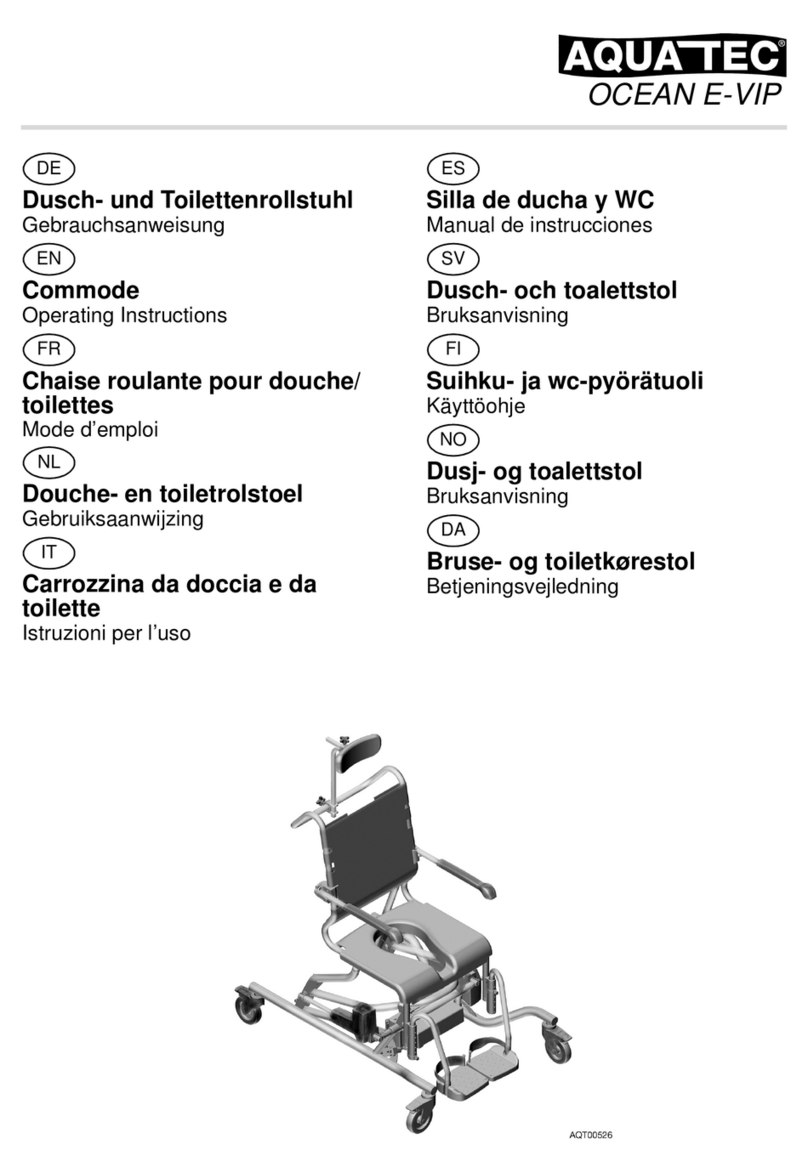
Aquatec OCEAN User manual

Montageanleitung
Montage der Nabe und Bremse für Aquatec®Ocean 24“-Räder
Assembly instruction
Assembly of the hub and brake for self-propelling wheels Aquatec®Ocean
Monteringsanvisning
Montering av nav och bromsar for drivhjul Aquatec®Ocean
WARNUNG / WARNING / VARNING
▸Alle, in diesem Dokument beschriebenen, Montagen und Einstellungen müssen von einem autorisierten Fachhändler/Techniker
vorgenommen werden.
▸All assemblies and adjustements, described in this document, must be carried out by an authorised dealer/technician.
▸Alla monteringar och justeringar som beskrivs i det här dokumentet måste utföras av en auktoriserad återförsäljare/tekniker.
Tools / Werkzeuge / Verktyg: 17, 24
E
B
C
D
B
A
DE
Nabe montieren
iDie Verfahrensweise ist für die linke und rechte Seite identisch!
1. Abdeckkappen aus den Aufnahmen Ⓓim Seitenteil Ⓒentfernen.
2. Scheibe Ⓑauf die Nabe Ⓐaufschieben.
3. Nabe mit Scheibe von außen in die Aufnahme Ⓓam Seitenteil stecken.
4. Scheibe Ⓑvon innen auf die Nabe aufschieben und die Mutter Ⓔaufschrauben.
5. Die Schraube mit geeignetem Werkzeug gegenhalten und die Mutter Ⓔ mit einem Drehmoment von 20 - 30 Nm fest anziehen.
EN
Assemble the hub
iThe procedure is the same for the right and left side.
1. Remove the dummy plugs from the holes Ⓓof the side frame Ⓒ.
2. Put a washer Ⓑon the hub Ⓐ.
3. Push the hub with the washer into the hole Ⓓof the side frame.
4. From the inside, put a washer Ⓑon the hub and screw on the nut Ⓔ.
5. Hold the bolt with a suitable tool and tighten the nut Ⓔwith a torque of 20 - 30 Nm.
SV
Montering av nav
iFörfaringssättet är identiskt för stolens högra och vänstra sida.
1. Montera av täcklocken Ⓓfrån sidogavlarna Ⓒ.
2. För på en hålbricka Ⓑpå navdelen Ⓐ.
3. För navdelen med brickan genom hålet Ⓓi sidogaveln från stolens yttersida.
4. Sätt på en hålbricka Ⓑpå navdelen från stolens insida och skruva på muttern Ⓔ.
5. Håll skruven med ett lämpligt verktyg och dra åt muttern Ⓔ med minst ett dragmoment på 20 - 30 Nm.
Ⓔ →20 - 30 Nm

Tools / Werkzeuge / Verktyg: Ã6
C
D
G
FE
B
A
DE
Bremse montieren
iDie Verfahrensweise ist für die linke und rechte Seite identisch!
1. Abdeckkappen aus den Aufnahmen Ⓔim Seitenteil Ⓒentfernen.
2. Feststellbremse Ⓓmit dem Hebel Ⓕnach vorn aufsetzen.
3. Die Scheiben Ⓑauf die Schrauben Ⓐaufstecken und die Schraube von innen einstecken.
4. Die Muttern Ⓖvon außen aufstecken und die Schrauben Ⓐ mit einem Drehmoment von 5 Nm fest anziehen.
5. Das 24“ Rad auf die Nabe aufstecken (→24“ Rad und Quick-Release Achse anbringen/einstellen, Seite 3).
6. Bremsen nachjustieren.
!WICHTIG
▸Funktion der Bremsen regelmäßig überprüfen.
EN
Assemble brake
iThe procedure is the same for the right and left side.
1. Remove the dummy plugs from the holes Ⓔof the side frame Ⓒ.
2. Put on the brake Ⓓwith the lever Ⓕfacing forward.
3. Put the washers Ⓑon the bolts Ⓐand put in the bolts from the inside.
4. Put in the nuts Ⓖand tighten the bolts Ⓐwith a torque of 5 Nm.
5. Place the 24“ Wheel on the hub (→Installing/Adjusting 24“ Wheel and Quick-Release Axle, page 3).
6. Readjust brakes.
!IMPORTANT
▸Check function of brakes regularly.
SV
Montering av bromsar
iFörfaringssättet är identiskt för stolens högra och vänstra sida.
1. Ta bort täcklocken Ⓔfrån sidogaveln Ⓒ.
2. Montera handbromsen Ⓓmed spaken Ⓕpekandes framåt.
3. Montera på hålbrickorna Ⓑpå skruvarna Ⓐoch för in skruvarna i hålen från sidogavelns insida och genom handbromsen.
4. Lås med muttrarna Ⓖpå utsidan. Dra åt skruvarna Ⓐmed minst ett dragmoment på 5 Nm.
5. Placera 24“ hjul på navet (→Installera/justera 24-tumshjul och axel med snabbfäste, sida 3).
6. Justera om bromsen.
!VIKTIGT
▸Kontrollera bromsens funktion regelbundet.
Ⓐ →5 Nm

Tools / Werkzeuge / Verktyg: 19
DE
24“ Rad und Steckachse anbringen/einstellen
iDie Verfahrensweise ist für die linke und rechte Seite identisch!
WARNUNG
▸Vor dem Anbringen des 24“ Rads sicherstellen, dass die Nabe Dfest und sicher angezogen ist.
▸Sicherstellen, dass beide Federlager Ckomplett und sicher plaziert sind.
1. Druckknopf Fin der Steckachse Aeindrücken and die Achse durch das 24“ Rad und die Nabe schieben.
2. Druckknopf loslassen und sicherstellen, dass die Rastbolzen Evollständig herausstehen.
!WICHTIG
▸Sicherstellen, dass die Rastbolzen vollständig durch die Nabe stehen.
▸Zu großes Spiel der Steckachse beseitigen.
3. Spiel der Steckachse durch einstellen der Kontermutter Berhöhen bzw. verringern.
WARNUNG
▸Vor der Benutzung überprüfen, dass der Druckknopf Fvollständig heraussteht.
EN
Installing/Adjusting 24“ Wheel and Quick-Release Axle
iThe procedure is the same for the right and left side.
WARNING
▸Make sure that the hub Dis securely tightened before installing the 24“ wheels.
▸Make sure that both sprung bearings Care completely and securely in place.
1. Depress detent pin Fin the quick-release axle Aand slide axle through the 24“ wheel and the hub.
2. Release detent pin ensuring that the locking pins Eare fully released.
!IMPORTANT
▸Make sure that the locking pins protrude past the end of the hub to fully release.
▸Eliminate excessive play of the quick release axle.
3. Increase or decrease end play by adjusting the locknut Bon the end of the quick-release axle.
WARNING
▸Make sure that the detent pin Fis fully released before operating.

©2014, Aquatec Operations GmbH, D-88316 Isny
Part No. 16410-B / 2014-05
SV
Installera/justera 24-tumshjul och axel med snabbfäste
iFörfaringssättet är identiskt för stolens högra och vänstra sida.
VARNING
▸Se till att navet Där ordentligt åtdraget innan 24-tumshjulen sätts dit.
▸Se till att båda fjäderlagren Csitter ordentligt och säkert på plats.
1. Tryck ner spärrsprinten Fi axeln med snabbfäste Aoch för axeln genom 24-tumshjulet och navet.
2. Släpp upp spärrsprinten och se till att låssprintarna Eär helt uppsläppta.
!VIKTIGT
▸Kontrollera att låssprintarna sticker ut på andra änden av axelmottagaren så att de släpps upp helt.
▸Eliminera överdrivet spelrum.
3. Öka eller minska ändspelrummet genom att justera låsmuttern Bpå änden av axeln med snabbfäste.
VARNING
▸Se till att spärrsprinten är helt uppsläppt innan den används.
Aquatec Operations GmbH
Alemannenstrasse 10,
88316 Isny - Germany
Tel.: (49) 7562 7 00 0,
Fax.: (49) 7562 7 00 66
E-Mail: [email protected]
Other manuals for OCEAN
3
Table of contents
Other Aquatec Mobility Aid manuals