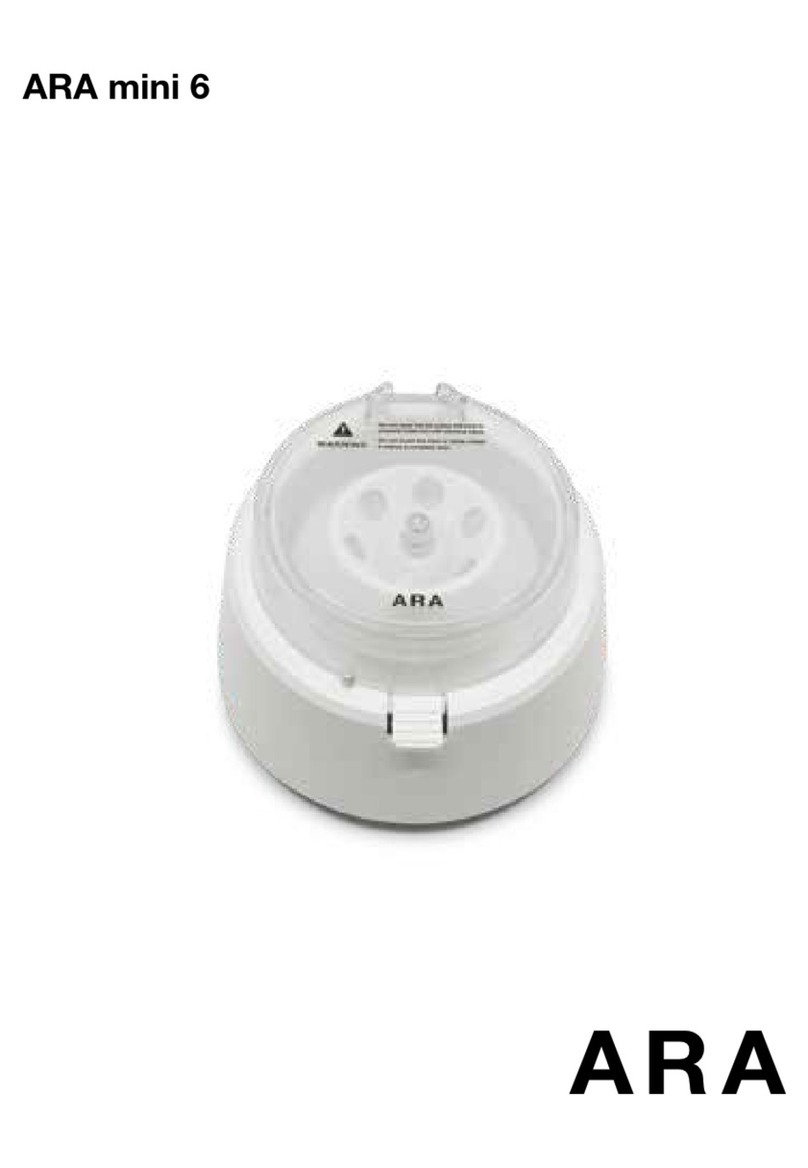
ARA mini 6-RC User manual

ARA min i 6-RC

RESEARCH USE ONLY
PRODUCT INFORMATION
Manufacturer : GYROZEN Co., Ltd.
1F & 5F, 16 Arayuk-ro, Gimpo-si, Gyeonggi-do, KOREA
Model : ARA mini6-RC
UM-mini6-RC(E)(Rev.0) 20210611
ARA min i 6

To improve performance, the product specifications and
instructions can be changed without pre-notice.
1. Safety Precautions ------------- 4
1-1. Precautions for Installation ---- 4
1-2. Precautions for Use --------- 5
2. Product Description ------------ 5
3. Configuration -------------------- 6
4. Product Specifications --------- 7
5. Installation and Operation ----- 8
5-1. Power Connection ----------- 8
5-2. Operation ------------------ 9
6. Trouble Shootings ------------ 10
Adaptors for 0.2/0.5 mL Tubes ------ 11
CONTENTS

4
USER MANUAL MINI CENTRIFUGE
1. Safety Precautions
1-1. Precautions for Installation
1. Avoid hot, humid places and install in well-ventilated areas.
2. Keep a distance of 30 cm from the wall and install it horizontally on a vibration
free, rigid table.
3. For safety reasons, avoid flammable materials and places that may cause
explosive risks.
4. Be sure to check the rated voltage and connect it to the correct power supply.
5. Do not use it at the areas with high voltage fluctuation.
(Allowable voltage variation +/- 10%)
A/S Inquiry : +82-2-3452-8966 / techsupport@gyrozen.com
This manual contains informationforproper use and maintenance
of mini6 table-top centrifuge.
Thus, Please readthe manual beforeusing it.

5
USER MANUAL MINI CENTRIFUGE
2. Product Description
1-2.Precautions for Use
1. Place the body on a flat, rigid surface.
2. Keep the body dry and clean.
3. When adding samples to the rotor, adjust the weight of the samples
and place them symmetrically.
4. Do not move the equipment while it is spinning.
5. Do not arbitrarily decelerate or stop the rotating rotor.
6. Do not spill liquid or put foreign substances into the body or power adaptor.
If liquid is spilt inside the equipment or around the power connection, disconnect the
power adaptor and clean and dry all parts completely. If it is not working even with
full cleaning, contact A/S center.
7. Stop running if the equipment makes big noise or trembling. Check the rotor coupling
and sample balance. If the problem is not eliminated, contact A/S center.
8. Do not apply a strong impact or move the equipment while it is spinning.
9. Precautions for handling power adaptors
- Do not pull or bend the power adaptor hard.
- Do not heat the cord or use it in humid places.
- Do not keep the power adaptor with power supplying status if it is not in use.
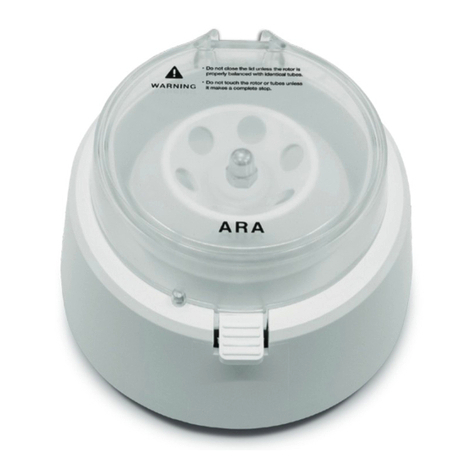
The mini6-RC table -topcentrifuge runs up to 6,500rpm with fast acceleration
and deceleration, 4 seconds and 2 seconds respectively. It startsto spin when the
lid is closedand stops when the lid is open.Simple action of “LidOpenButton ”
makeits operationmuch easier.
The magnet sensor betweenthe lid and the bodyrecognizesthe status of lid and keeps
its safeoperation.

6
USER MANUAL MINI CENTRIFUGE
Lid open button
Lid sensor
Power
Connector
Running Mode Selection Switch
Lid
As soon as the lid is closed, the rotor starts to spin.
As soon as the lid is opened, the rotor stops to spin.
Counterclockwise rotation
Button to open the lid
Short mode (S)
Spin for 12 sec while the lid is closed.
Continuous mode (C)
Operate for 15 minutes while the lid is closed.
Operation change switch
3. Configuration
Operating Direction
Battery Mode On/Off Switch
* more infomation P.10

7
USER MANUAL MINI CENTRIFUGE
ARA Smart 6
USERMANUAL
Angle Rotor
(1.5/2.0 mL x 6-hole)
Rotor
(2-PCR Strips) Rotor Fixing Nut
A Spanner for Rotor
Decoupling & Coupling
Max. RPM 6,500 RPM
Max. RCF Angle Rotor (1.5/2.0 mL x 6-hole) : 2,234 xg
2-PCR Strips Rotor : 1,412 xg
Radius Angle Rotor (1.5/2.0 mL x 6-hole) : 47.3 mm
2-PCR Strips Rotor : 29.9 mm
Tube capacity 6 x 1.5/2.0 mL, 2 x 8-tube PCR Strips
Time Selectable, Short (12 sec) or Continuous (15 min)
Accel/Decel 4 sec/2 sec
Weight
Power supply
Power consumption 7Watts
Dimension
150W x 150D x 103H, mm
Cat. No.
* Components
Main Body
User ManualPower Cable0.2/0.5 mL Adaptor
(Optional)
4. Product Specifications
AC-M6-RC
DC 12V 2A , AC100~240V, 50/60Hz or Rechargeable Li-Battery
0.79 kg

8
USER MANUAL MINI CENTRIFUGE
5. Installation and Operation
5-1. Power Connection
Unpack the box, and check for the included components;
A main body with an angle rotor coupled, a spanner, power cable,
and user manual.
Do not bend or pull the power adaptor too hard.
For the first time the power is connected, the lid closure will not
initiate spinning even if the lid is completely closed. It is for user’s
safety. It will be properly functioned when the lid is simply open
and closed.
1. Check if the rotor and the lock nut are on place and tightly fixed to the motor shaft.
2. Connect the DC adaptor to the connector on the back of the main body.
3. Plug in the power code into proper wall outlet.
4. Small buzzing sound will be heard when the power is correctly connected.
WARNING
Do not close the lid unless the rotor is property balanced with identical tubes.
Do not touch the rotor or tubes unless it makes a complete stop.
Do not use any other than the poweradapter providedby GYROZEN.
(AdaptorINPUT :AC 100~240V, OUTPUT :DC12V)

9
USER MANUAL MINI CENTRIFUGE
As soon as the Lid Open Button is pressed, the deceleration begins
with slight opening of the lid. Until the rotor is completely stops, the
lid can be open further. Please do not open the lid while spinning
for user’s safety.
Open the cover by pressing the open button.
3. Lid open
2. Product operation and stop
Short mode (S)
- Closing the lid after mode selection starts operation.
Continuous mode (C)
- After mode is selected, it is operated for 15 minutes before it is stopped.
5-2. Operation
1. Rotor coupling and decoupling
This model is supplied with a coupled rotor. In case of
any needs of decoupling, use the supplied spanner.
Counterclockwise turns make decoupling and clockwise for
coupling the rotor.
2. Operation
This model is release with the “C mode” selected. Therefore, it
runs for 15 minutes at 6,500 rpm unless the lid is opened.
For shorter spinning, it can be stopped any time when the lid
is open. Another safer way of short spin is to select “S” mode
for 12 sec spinning.
3. Lid open
Whenever the termination of spinning is required, the simple action of pressing-down “Lid Open Button”
drives deceleration. The lid will be open slightly and should make full opening by hands when complete
stop is recognized.

USER MANUAL MINI CENTRIFUGE
10
5-3. Battery Mode
Within the product an AC adapter is provided.
When using portable without AC power, be sure to turn the switch on the lower part of the back of
the product as shown in the figure below.
It can be used after setting it to On.
The speed may change depending on the amount of charge in the battery, so be sure to use the
AC adapter when not in use.
Power Connect (AC Adapter)
Running Mode Selection Swich
(Mode1 : Short mode(S)
(Mode2 : Continuous (15 min)
Battery Mode Selection Swich
(Mode1 : ON)
(Mode2 : OFF)
If the AC adapter is removed, be sure to use it in Battery Mode.
Turn the Battery Mode selection switch to OFF when not used.
If you keep it on, the battery will be discharged.

USER MANUAL MINI CENTRIFUGE
Adaptors for 0.2/0.5 mL Tubes
Adaptor (
Cat. No.)
GAS-m0.2(2) GAS-m0.5(2)
Tube
Capacity
0.2 mL 0.5 mL
Adaptor bore (Φ x L, mm) 6.5 x 23 8 x 31
Radius (mm) 29.2 36.2
Max. RPM / RCF 6,500 rpm / 1,379 xg 6,500 rpm / 1,710 xg
6. Trouble Shootings
If the equipment does not operate,
1. Incorrect connection between power adaptor and equipment.
→ Please check if the main body and the power adaptor are plugged in properly.
2. When the initial buzzing sound is not followed by power connection, there is
high chance of faulty board problem. Then contact service center.
3. When power connection and main board are no problem, there might be a lid
sensing failure. Then contact service center.
11
Gyrozen Co., Ltd. Service Center
T. +82-2-3452-8966 /techsupport@gyrozen.com

im-ara.com
Table of contents
Other ARA Laboratory Equipment manuals
Popular Laboratory Equipment manuals by other brands

Thermo Scientific
Thermo Scientific gibco CTS Rotea user guide
Selecta
Selecta SELECT-HORN-TFT manual
Vitlab
Vitlab genius2 operating manual
Troxler
Troxler PaveTracker Plus 2701-B Manual of Operation and Instruction

Fisher Scientific
Fisher Scientific 15-460-2Q Installation and operation manual

Jenoptik
Jenoptik VARIOSCAN high resolution Series manual

