manuals.online logo
Brands
  1. Home
  2. •
  3. Brands
  4. •
  5. dosatron
  6. •
  7. Laboratory Equipment
  8. •
  9. dosatron D14MZ2 Programming manual

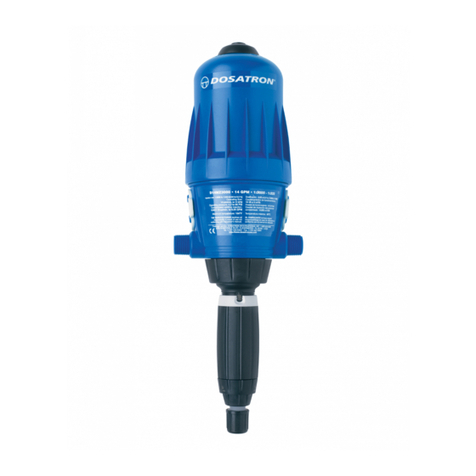
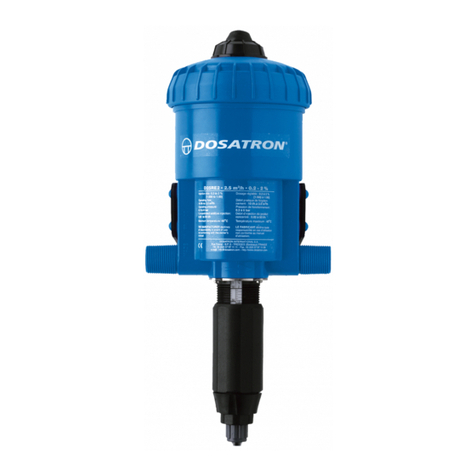
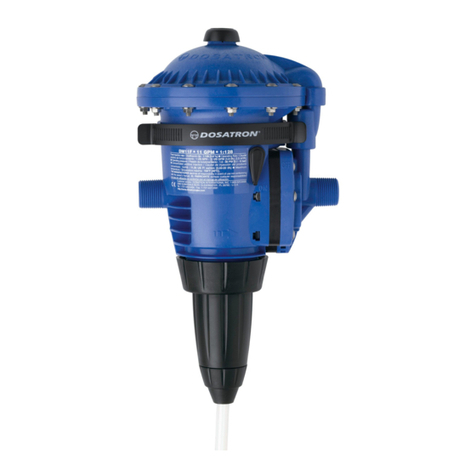
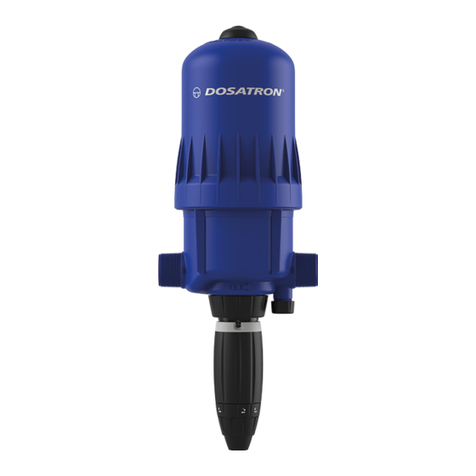
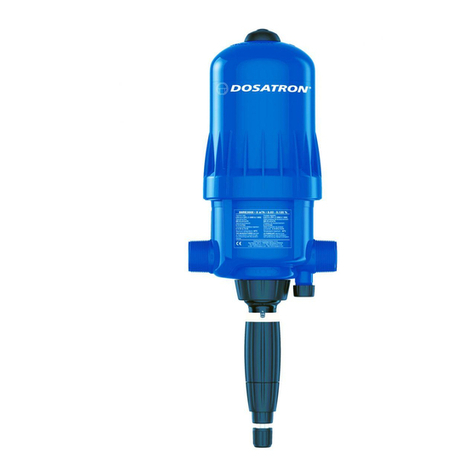
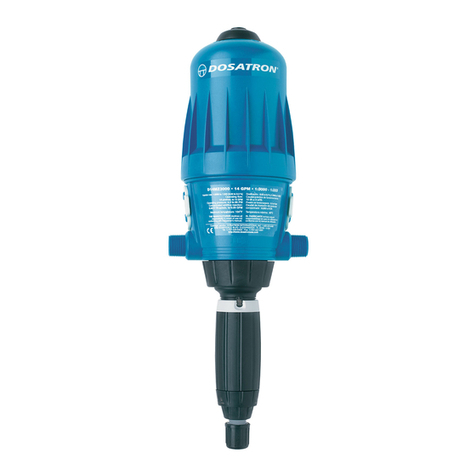
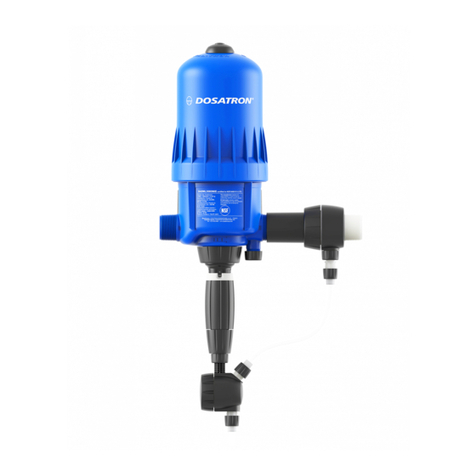
dosatron D14MZ2 Programming manual

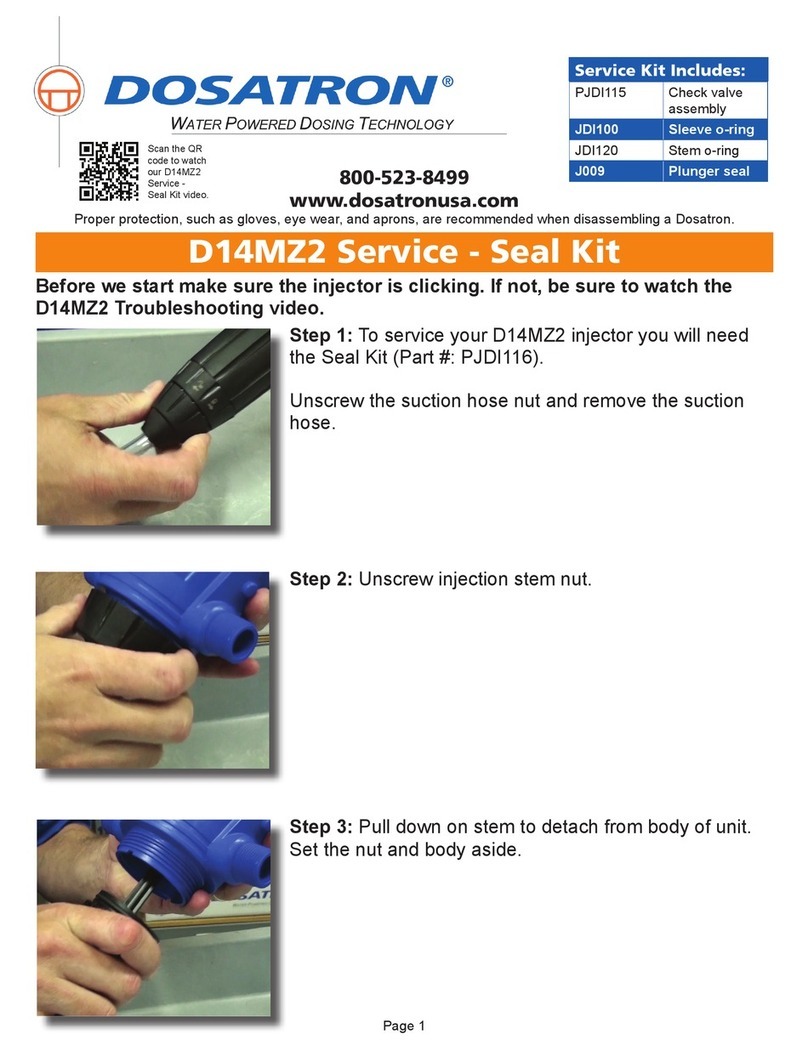
Page 1
800-523-8499
www.dosatronusa.com
Proper protection, such as gloves, eye wear, and aprons, are recommended when disassembling a Dosatron.
Step 3: Also, make sure the strainer is clear of debris.
Step 2: Check to see if you feel suction on your nger.
If so, just cut 1/2” off your suction hose and reattach.
Step 1: While the unit is still installed, turn the water on.
Remove the suction hose nut and suction hose.
D14MZ2 Troubleshooting - Part 1
This D14MZ2 Troubleshooting will cover: The injector is clicking, but not
drawing the solution or liquid is going down into the stock tank.
Scan the QR
code to watch
our D14MZ2 -
Troubleshooting
video.
Page 2
800-523-8499
www.dosatronusa.com
Proper protection, such as gloves, eye wear, and aprons, are recommended when disassembling a Dosatron.
Step 4: If you don’t feel suction on your nger turn the
water off and release pressure by pressing the air bleed
button and remove the Dosatron.
Step 5: Unscrew the injection stem nut and pull the stem
straight out from the body. Set the nut and stem aside.
Step 6: Unscrew and remove the bell housing.
D14MZ2 Troubleshooting - Part 1
Page 3
800-523-8499
www.dosatronusa.com
Proper protection, such as gloves, eye wear, and aprons, are recommended when disassembling a Dosatron.
Step 8: Hold the piston and inspect the plunger seal for
nicks, grooves, or wear.
Step 7: Pull the piston out of the body. Set the bell
housing and body aside.
Step 9: You can test the plunger seal by inserting the
plunger down into the stem. When you pull it out it
should make a pop sound. If not, or if you see
damage it is denitely time to replace the plunger seal
(Part #: J009).
D14MZ2 Troubleshooting - Part 1
Page 4
800-523-8499
www.dosatronusa.com
Proper protection, such as gloves, eye wear, and aprons, are recommended when disassembling a Dosatron.
Step 10: To change, roll the seal off and install the new
one.
Step 11: Pick up the black stem, unscrew and remove
the check valve nut.
D14MZ2 Troubleshooting - Part 1
Step 12: Pull the check valve straight out. It may be a bit
snug, but it will slide out.
Page 5
800-523-8499
www.dosatronusa.com
Proper protection, such as gloves, eye wear, and aprons, are recommended when disassembling a Dosatron.
Step 15: To reassemble put the cone (Part #: PDI729)
onto the top of the barb.
Step 14: Once you have the parts out make sure they
are not damaged, gummy, sticky, or missing. If the parts
are dirty you can just clean and reinstall them (Part #:
CLEANSER-ALL - Dosa-Klean). If you see damage or if
parts are missing, it is time to replace.
NOTE: Remember to keep these parts clean and in good
shape so your check valve will do its job and not allow
water to go down into the solution tank.
Step 13: Set the stem aside and grasp the white retainer
and twist it a quarter turn counter clockwise to release
the check valve parts.
D14MZ2 Troubleshooting - Part 1
Page 6
D14MZ2 Troubleshooting - Part 1
800-523-8499
www.dosatronusa.com
Proper protection, such as gloves, eye wear, and aprons, are recommended when disassembling a Dosatron.
Step 18: Reinstall the check valve assembly into the
stem.
Step 17: Position the top guide (Part #: PDI739) over
the shaft. Align the guide and twist it a quarter turn
clockwise to lock. Give it a tug to make sure everything
is in position.
Step 16: Next slide the spring (Part #: MDI358) over
the shaft.
Page 7
D14MZ2 Troubleshooting - Part 1
800-523-8499
www.dosatronusa.com
Proper protection, such as gloves, eye wear, and aprons, are recommended when disassembling a Dosatron.
Step 21: Replace the bell housing, hand tight.
Step 20: Insert the piston into the blue body.
Step 19: Reinstall the check valve nut.
Page 8
D14MZ2 Troubleshooting - Part 1
800-523-8499
www.dosatronusa.com
Proper protection, such as gloves, eye wear, and aprons, are recommended when disassembling a Dosatron.
Step 24: One last thing, take a look at the top of the
suction hose. If it ares out cut an inch or so off and
reinstall. Or, if the suction hose is cracked, ridged, or
looks really old just replace it.
Step 23: Reinstall the nut hand tight.
Step 22: Align the notches in the lower part of the body
with the teeth on the top of the injection stem assembly.
Page 9
D14MZ2 Troubleshooting - Part 1
800-523-8499
www.dosatronusa.com
Proper protection, such as gloves, eye wear, and aprons, are recommended when disassembling a Dosatron.
Step 27: Hand tighten the nut. Make sure to set your
injector to the desired setting.
Step 25: Thread the suction hose nut onto the
suction hose.
Step 26: Slide it onto the barb.
Page 10
800-523-8499
www.dosatronusa.com
Proper protection, such as gloves, eye wear, and aprons, are recommended when disassembling a Dosatron.
D14MZ2 Troubleshooting - Part 2
Step 3: Visually inspect the upper (Part #: PDI643) and
lower (Part #: PDI644) white anges on the piston shell.
If they are worn or have scratches the anges need to
be replaced.
Step 2: Pull the piston straight out.
Step 1: Remove the blue bell housing.
This D14MZ2 Troubleshooting will cover: The injector isn’t clicking.
Page 11
800-523-8499
www.dosatronusa.com
Proper protection, such as gloves, eye wear, and aprons, are recommended when disassembling a Dosatron.
D14MZ2 Troubleshooting - Part 2
Step 6: Now insert the piston into the body. It should
be a snug t. If either is loose the anges need to be
replaced.
Step 5: To test the lower ange remove the plunger by
turning it a quarter turn counter clockwise and pulling it
straight out.
Step 4: Another way to check the anges is by doing a
t test. To test the upper ange invert the piston and
insert it into the blue bell housing. It should t snuggly.
Page 12
800-523-8499
www.dosatronusa.com
Proper protection, such as gloves, eye wear, and aprons, are recommended when disassembling a Dosatron.
Step 9: Reinstall the plunger by aligning the top with
the retainer. Press it in and turn a quarter turn clockwise
to lock.
Step 8: To reinstall align the tooth inside the ange with
the notch in the piston shell. Press it down into place and
twist clockwise until it locks.
NOTE: The procedure is the same for the top and
bottom ange. If anything is damage or missing
replace the parts.
Step 7: To replace the anges grasps and twist counter
clockwise. Remove by lifting straight up.
D14MZ2 Troubleshooting - Part 2
Page 13
800-523-8499
www.dosatronusa.com
Proper protection, such as gloves, eye wear, and aprons, are recommended when disassembling a Dosatron.
Step 11: Reinstall the blue housing hand tight.
Step 10: Place the piston back into the body.
D14MZ2 Troubleshooting - Part 2
Note: To watch the video go to Dosatron’s video page www.dosatronusa.com/videos.aspx or
YouTube Channel www.youtube.com/user/DosatronIntl

Other manuals for D14MZ2

3

Other dosatron Laboratory Equipment manuals
dosatron D14MZ10 Operating instructions

dosatron

dosatron D14MZ10 Operating instructions

dosatron D25RE2 Operating instructions

dosatron

dosatron D25RE2 Operating instructions

dosatron D8RE3000 Operating instructions

dosatron

dosatron D8RE3000 Operating instructions

dosatron MKD14MZ3000AF User manual

dosatron

dosatron MKD14MZ3000AF User manual

dosatron D14MZ2VFII User manual

dosatron

dosatron D14MZ2VFII User manual

dosatron D14MZ3000 Operating instructions

dosatron

dosatron D14MZ3000 Operating instructions

dosatron D45RE15 Operating instructions

dosatron

dosatron D45RE15 Operating instructions

dosatron D128R Operating instructions

dosatron

dosatron D128R Operating instructions

dosatron D 25 F 1 Operating instructions

dosatron

dosatron D 25 F 1 Operating instructions

dosatron D14MZ3000AFII User manual

dosatron

dosatron D14MZ3000AFII User manual

dosatron DM11F Operating instructions

dosatron

dosatron DM11F Operating instructions

dosatron D 25 F 1 Assembly instructions

dosatron

dosatron D 25 F 1 Assembly instructions

dosatron D14MZ2 Assembly instructions

dosatron

dosatron D14MZ2 Assembly instructions
dosatron D40WL3000NIEAF User manual

dosatron

dosatron D40WL3000NIEAF User manual

dosatron D14 MZ 3000 User manual

dosatron

dosatron D14 MZ 3000 User manual
dosatron D8RE2 Operating instructions

dosatron

dosatron D8RE2 Operating instructions

Popular Laboratory Equipment manuals by other brands

Rhima DEKO 190iX Operator's manual

Rhima

Rhima DEKO 190iX Operator's manual

NUVE NC 23S user manual

NUVE

NUVE NC 23S user manual

CORNING LSE 6703 instruction manual

CORNING

CORNING LSE 6703 instruction manual

Hettich ROTINA 420 operating instructions

Hettich

Hettich ROTINA 420 operating instructions

Bruker BPHG 90 user manual

Bruker

Bruker BPHG 90 user manual

Lovibond TC Series instruction manual

Lovibond

Lovibond TC Series instruction manual

Symmetricom 5071A Operating and programming manual

Symmetricom

Symmetricom 5071A Operating and programming manual

Cognionics Quick Series manual

Cognionics

Cognionics Quick Series manual

Azure Sapphire Eraser user manual

Azure

Azure Sapphire Eraser user manual

SKC biosampler 225-9595 operating instructions

SKC

SKC biosampler 225-9595 operating instructions

Thermo Scientific Dionex ICS-5000 Operator's manual

Thermo Scientific

Thermo Scientific Dionex ICS-5000 Operator's manual

Labnet ProBlot 6 instruction manual

Labnet

Labnet ProBlot 6 instruction manual

Benchmark R4040 Operation manual

Benchmark

Benchmark R4040 Operation manual

NSK Ultimate XL Operation manual

NSK

NSK Ultimate XL Operation manual

CAMAG DBS-MS 500 installation guide

CAMAG

CAMAG DBS-MS 500 installation guide

Netafim NetaJet NMC User and installation manual

Netafim

Netafim NetaJet NMC User and installation manual

Norecs HumiStat manual

Norecs

Norecs HumiStat manual

nanoString GeoMx DSP user manual

nanoString

nanoString GeoMx DSP user manual

manuals.online logo
manuals.online logoBrands
  • About & Mission
  • Contact us
  • Privacy Policy
  • Terms and Conditions

Copyright 2025 Manuals.Online. All Rights Reserved.